Let’s be real: living small is all about being clever. You’ve got to be a master of optimization, a wizard of multi-purpose furniture, and, if you’re anything like me, a DIY-obsessed lunatic who just wants their space to feel like a million bucks without actually spending it. I mean, who wants to live in a shoebox that looks like a shoebox, right? A few years ago, I started my own tiny home journey, and trust me, I learned quickly that every single inch—and every dollar—counts.
My biggest challenge wasn’t downsizing my stuff; it was figuring out how to make a small space feel luxurious. I’ve spent countless hours scrolling through Pinterest, saving pins of gorgeous, high-end interiors, and then immediately crushing my dreams when I saw the price tags. But after a while, I noticed a pattern. The things that made these spaces look so good weren’t custom cabinetry or bespoke furniture. They were often small, easily overlooked details. So, I started hacking my way to a high-end look on a thrift store budget. And now, I’m spilling the tea on the 11 small home upgrades under $50 that look seriously luxe.
1. Peel-and-Stick Backsplash for Luxe Kitchen Vibes
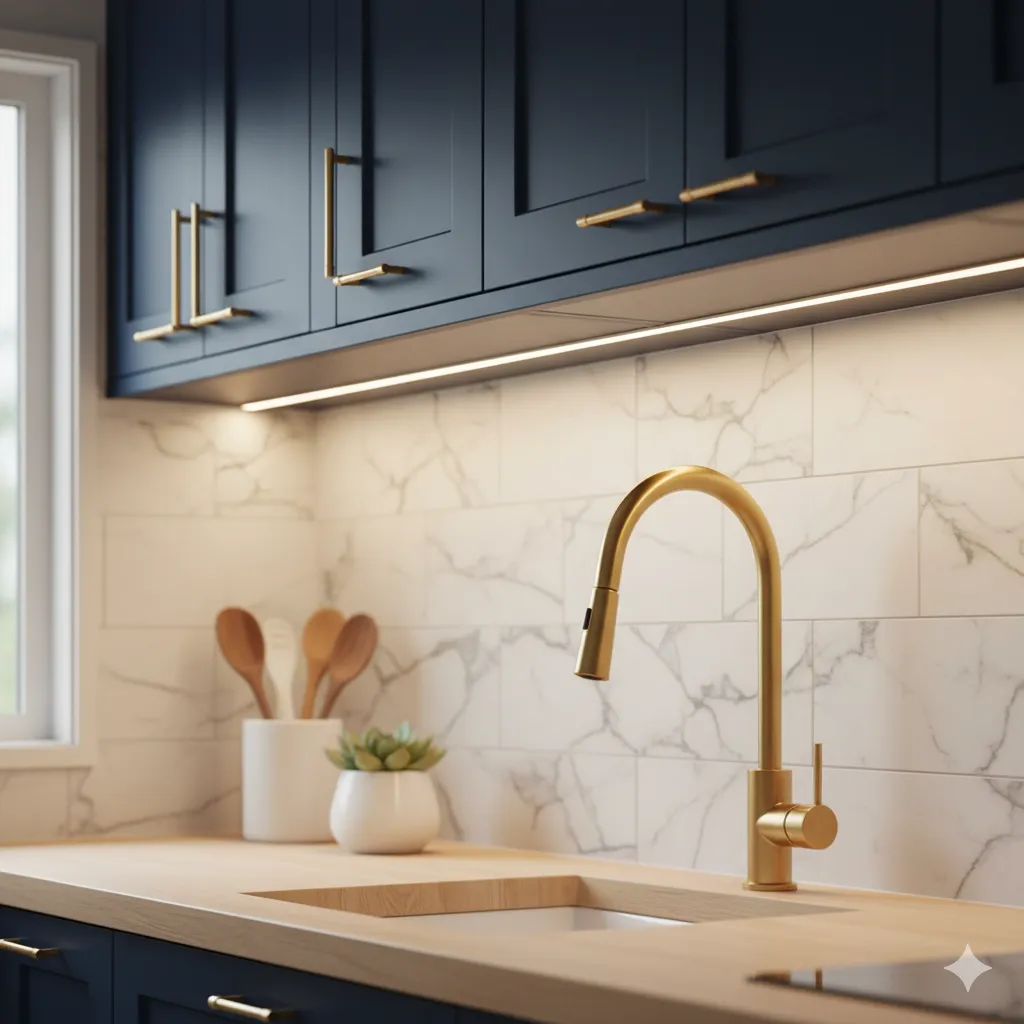
This is, hands down, the easiest way to give your kitchen a total facelift. Seriously. Whether you’re a tiny home owner or a renter in a cramped apartment, a peel-and-stick backsplash can completely change the look and feel of your kitchen in a single afternoon. When I did this, I was a total skeptic. I thought it would look cheap and plastic-y. But I chose a faux-marble design, and, oh boy, it looks like real tile.
Why it works: It’s all about adding texture and a focal point. A plain wall is boring. A wall with a tile pattern—even a fake one—adds depth and visual interest. It elevates the entire kitchen without the mess or cost of real tiling.
Cost estimate: You can find quality peel-and-stick tile sheets for as little as $5 to $10 a sheet. For a small tiny home kitchen, you can easily get the job done for well under $50.
DIY steps: All you need is a tape measure, a utility knife, and a clean wall. Measure your space, cut the sheets to size, peel off the backing, and stick them on. It’s truly that simple. Just make sure you line up the patterns before you stick, or you’ll get a wonky-looking design.
Useful Hack: Use a hairdryer on a low setting to slightly warm up the adhesive before you apply it. This makes it more pliable and helps it stick better, especially in corners.
2. Under-Cabinet LED Lighting that Looks Expensive
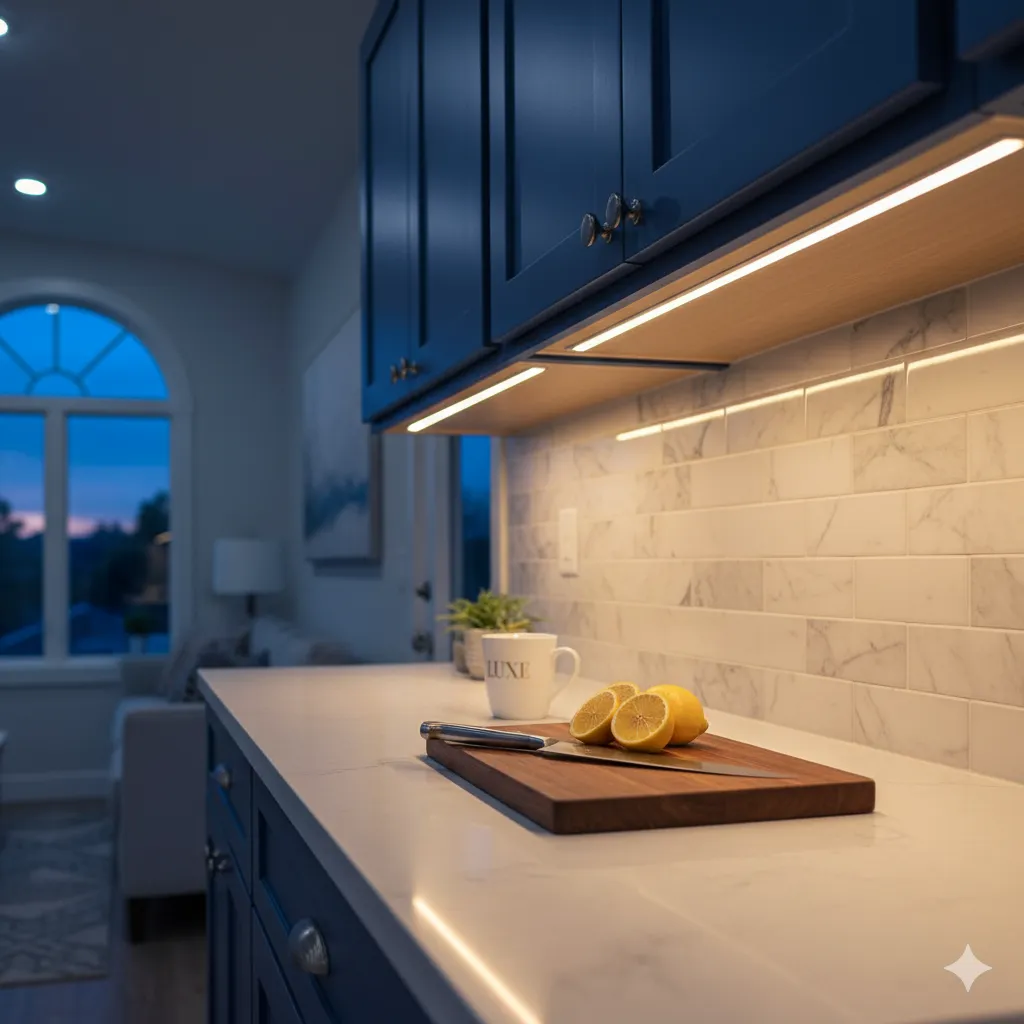
Ever walked into a fancy kitchen and noticed that soft, inviting glow coming from under the cabinets? That’s not just for aesthetics—it’s super functional. This little upgrade makes food prep easier and gives your space a sophisticated, layered lighting look. It’s a game-changer for a small kitchen where overhead lighting can often be harsh and unflattering.
Why it works: Lighting is a key element of design. It can make a space feel bigger and more inviting. Under-cabinet lighting adds a warm, ambient glow that creates a high-end atmosphere without the high-end price.
Cost estimate: A decent set of battery-operated or plug-in LED strips can be found on Amazon or at most hardware stores for between $15 and $40.
DIY steps: Most of these kits come with strong adhesive backing. Just clean the underside of your cabinets, measure and cut the strip to the right length (some are trimmable), and stick it on. Seriously, the whole thing takes less than 15 minutes.
Useful Hack: If you opt for battery-powered lights, buy rechargeable batteries. Not only is it better for the environment, but it’ll save you money in the long run!
3. Gold or Matte-Black Hardware for an Instant Upgrade
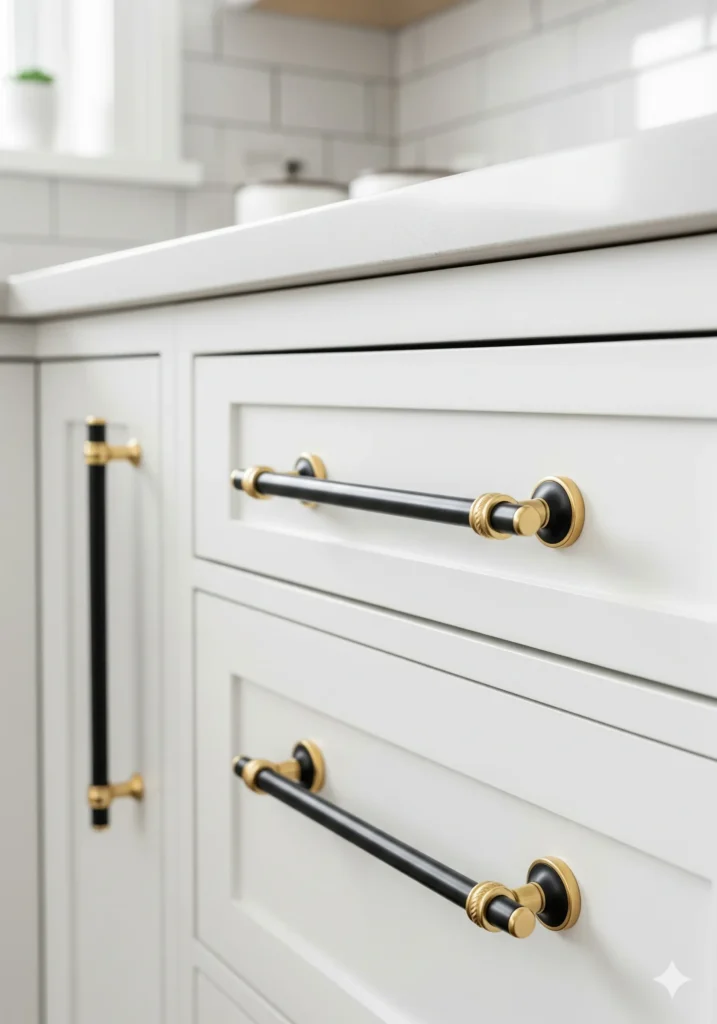
You’ve heard this one before, and for good reason: it works. Swapping out old, dated knobs and pulls on your cabinets or drawers is like giving them a brand-new outfit. I recently swapped out my chrome hardware for a chic matte black set, and my cabinets instantly went from “meh” to “ooh la la.” The difference is wild.
Why it works: It’s all about the details. Hardware is the jewelry of your furniture. It’s a small, intentional touch that shows you care about the design of your space. It’s an inexpensive way to tie a color palette together.
Cost estimate: You can find sets of new hardware for as little as $2–$5 per pull or knob. For most tiny homes, you’re looking at a total cost of $20–$50.
DIY steps: Unscrew the old hardware. If the holes don’t match the new ones, you can get a simple jig to help you drill new ones. Screw on the new hardware. Done. So easy, even I can’t mess it up.
Useful Hack: If you can’t find new hardware you love or want to save even more money, just spray paint your existing hardware! You can buy a can of matte black or gold spray paint for under $10.
4. Contact Paper on Counters or Shelves for a High-End Finish
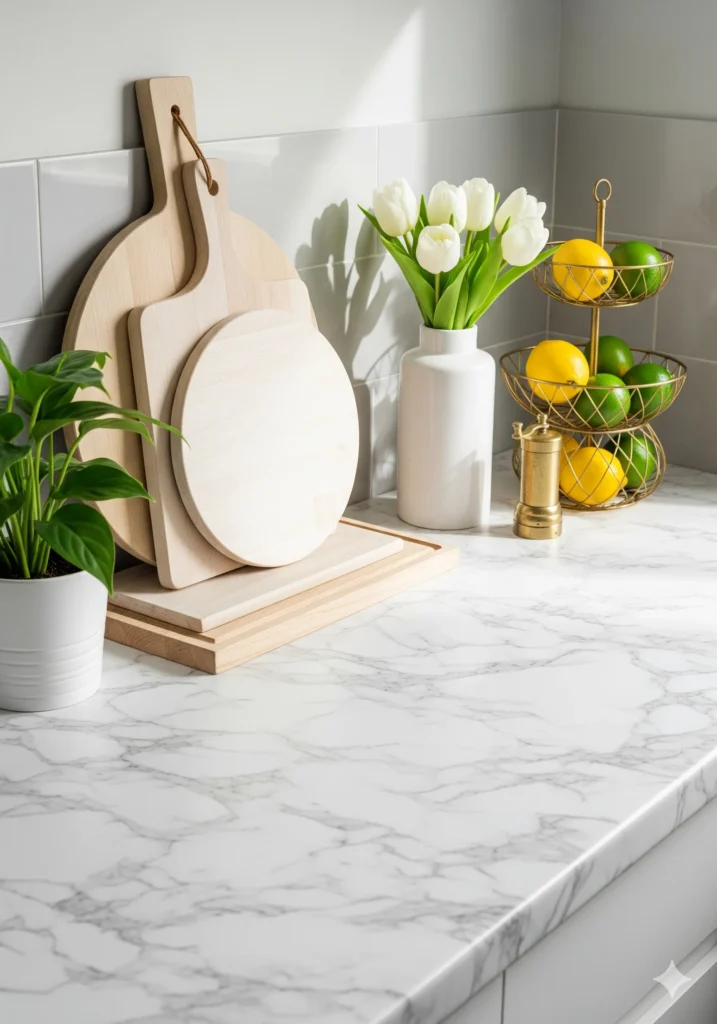
This is the ultimate renter’s secret weapon, but it’s just as good for tiny home owners who want a change without the commitment. Contact paper has come a long way. They now make realistic-looking faux-marble, concrete, or even butcher block designs that look surprisingly good.
Why it works: It offers a dramatic visual change for very little money. It allows you to transform a boring or ugly surface into something beautiful, and when you get tired of it, you just peel it off.
Cost estimate: A roll of high-quality contact paper is typically between $10 and $30.
DIY steps: Measure your surface. Cut the paper to size, leaving an extra inch or so on each side. Slowly peel the backing off and smooth it onto the surface with a credit card to get rid of any bubbles. Trim the excess with a utility knife.
Useful Hack: To avoid air bubbles, lightly mist the surface with a mixture of water and a few drops of dish soap before applying the paper. This allows you to reposition the paper before the water evaporates.
5. Crown Molding Accents to Add Architectural Elegance
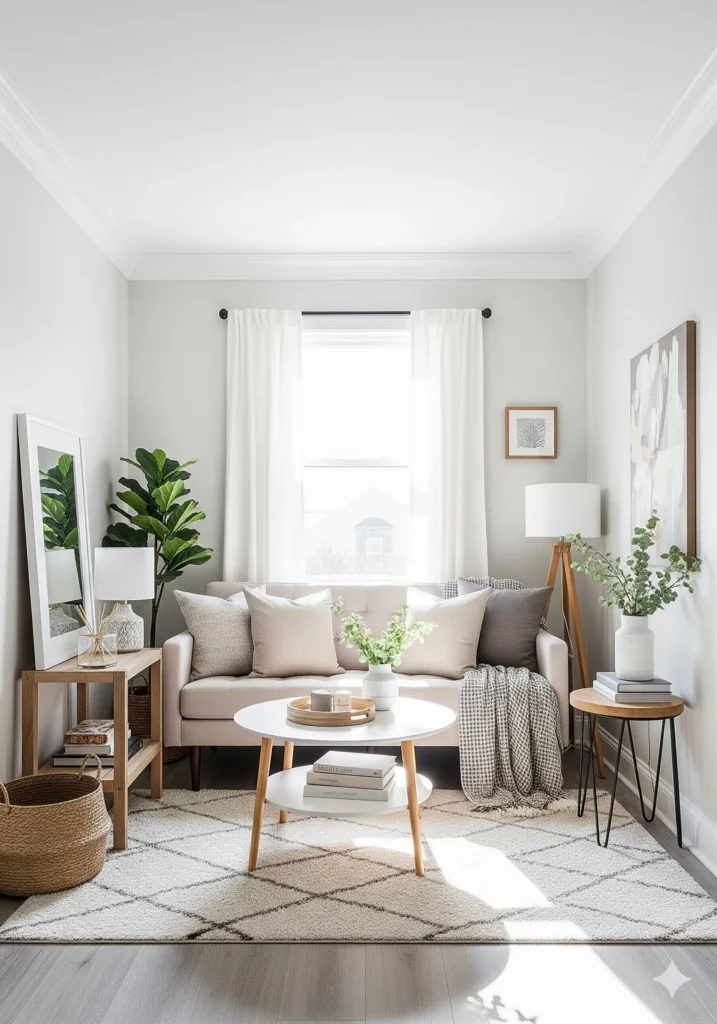
Okay, so this sounds like a huge, complicated project, right? Wrong. The trick is to use adhesive or foam crown molding. It’s incredibly lightweight and easy to cut and install. Adding a bit of molding to the top of your walls can make your ceilings feel taller and give your room that custom, finished look.
Why it works: Crown molding adds a sense of permanence and detail that makes a space feel more polished and intentional. It’s a classic architectural element that screams luxury.
Cost estimate: You can find adhesive foam crown molding for as little as $20–$50, depending on the length you need.
DIY steps: Measure your walls and cut the molding to size with a miter box and saw (or even a sharp utility knife). Apply a strong adhesive to the back and press it into place. Paint it the same color as your ceiling or a contrasting color for a bit of drama.
Useful Hack: Use painter’s tape to hold the molding in place while the adhesive dries. This ensures a tight, professional-looking seam.
6. Switch Plate & Outlet Cover Swaps—Tiny Touch, Big Luxe Feel
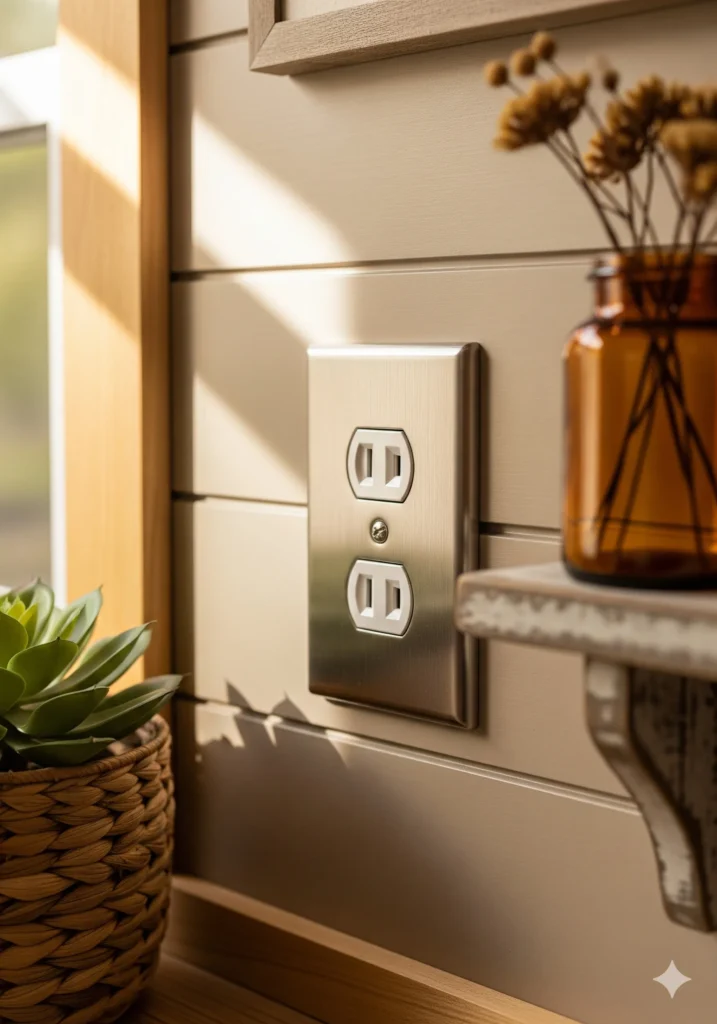
Who thinks about their switch plates? Almost no one. And that’s exactly why this is such a powerful upgrade. Swapping out those cheap, plastic white plates for something with a bit more style, like a decorative metal or brushed nickel cover, is an easy way to show you’ve thought about every single detail.
Why it works: It’s a subtle but significant way to elevate the aesthetic of your space. These small elements add a layer of sophistication and visual cohesion.
Cost estimate: You can find stylish switch plates for a few dollars each. Swapping out a handful in your main living area will cost you less than $25.
DIY steps: Turn off the power at the breaker box. Unscrew the old cover. Screw on the new one. So simple, it’s ridiculous.
Useful Hack: Look for “screwless” or “snap-on” covers. They have a sub-plate that you screw on, and then the decorative cover snaps on top, hiding the screws for a cleaner look.
7. Upgraded Shower Head: Everyday Luxury Under $50
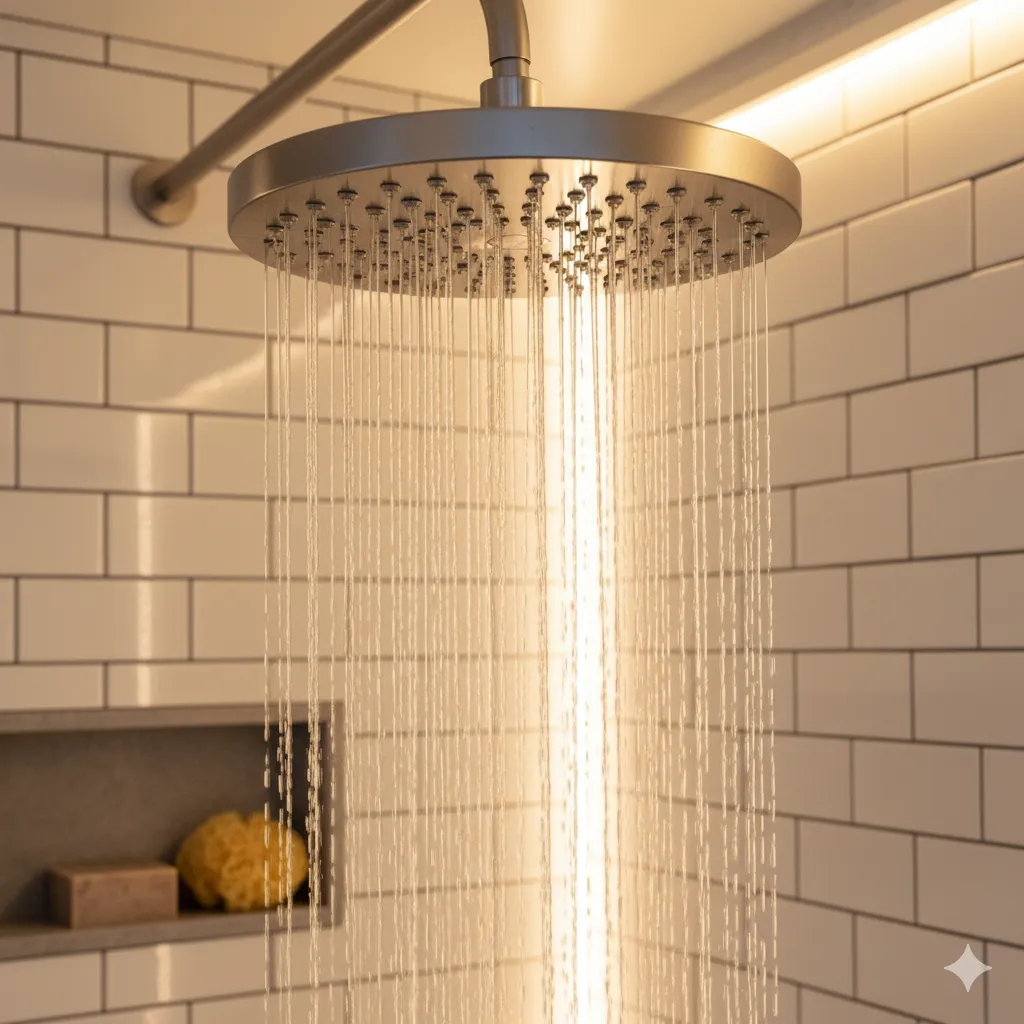
Your tiny home bathroom might be, well, tiny, but that doesn’t mean your shower experience has to be. Swapping out a standard shower head for a high-pressure or rainfall model is the fastest way to make your daily shower feel like a spa visit. It’s an inexpensive dose of everyday luxury.
Why it works: It’s a sensory upgrade. A more powerful or unique water flow just feels better. It’s an immediate, tangible improvement you’ll enjoy every single day.
Cost estimate: Many great shower heads are available for $20–$45.
DIY steps: You don’t need a plumber for this one. Unscrew your old shower head, clean the threads on the pipe, wrap them with a bit of Teflon tape, and screw on the new one. That’s it. No complicated tools required.
Useful Hack: To get the best water pressure, look for a shower head that allows you to easily remove the flow restrictor. This is a tiny plastic disc inside the head that can be a real party pooper.
8. Strategic Mirrors to Expand & Brighten Tiny Spaces
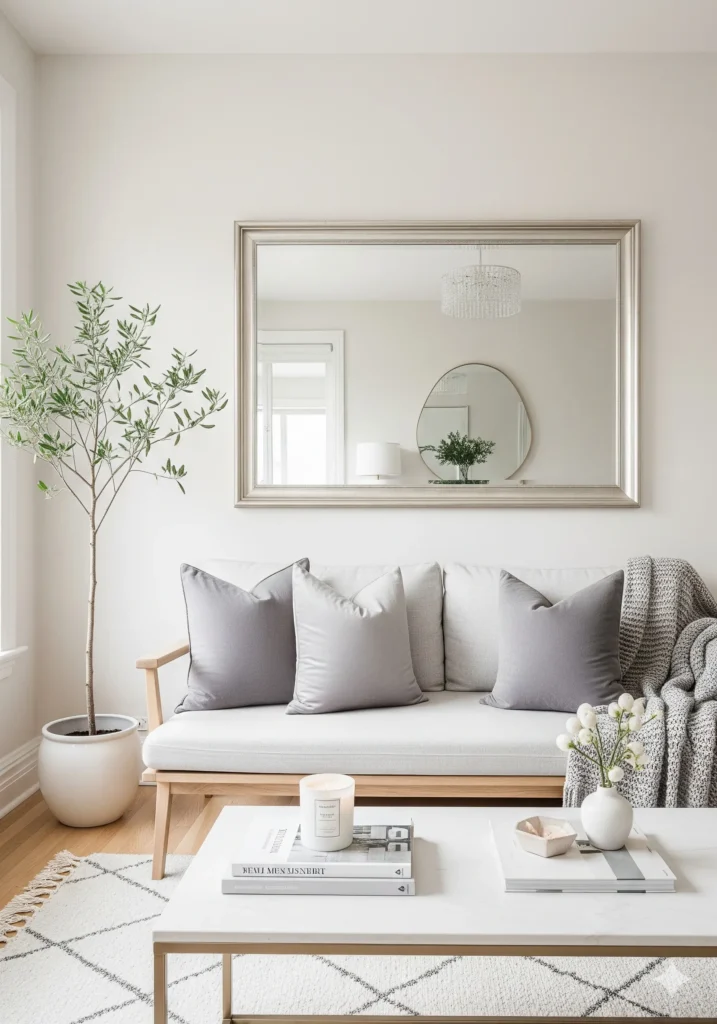
It’s a classic trick, and for good reason. A well-placed mirror can make a tiny room feel twice as big. By reflecting light and the view, a large mirror tricks the eye into believing the space extends far beyond its actual walls. But the key is to choose a beautiful, large mirror with a decorative frame.
Why it works: Mirrors bounce light around a room, making it feel brighter and airier. They also add a sense of depth and can serve as a stunning piece of art on their own.
Cost estimate: You can find beautiful framed mirrors at places like Target or HomeGoods for $25–$45. You don’t need a custom-made one.
DIY steps: Choose a mirror with a frame that complements your home’s style. Hang it on a wall that receives natural light or across from a window to maximize the effect.
Useful Hack: Don’t be afraid to go big. A large mirror is more effective at making a space look bigger than a collection of small ones.
9. Painted Interior Doors for Bold Contrast and Designer Theme
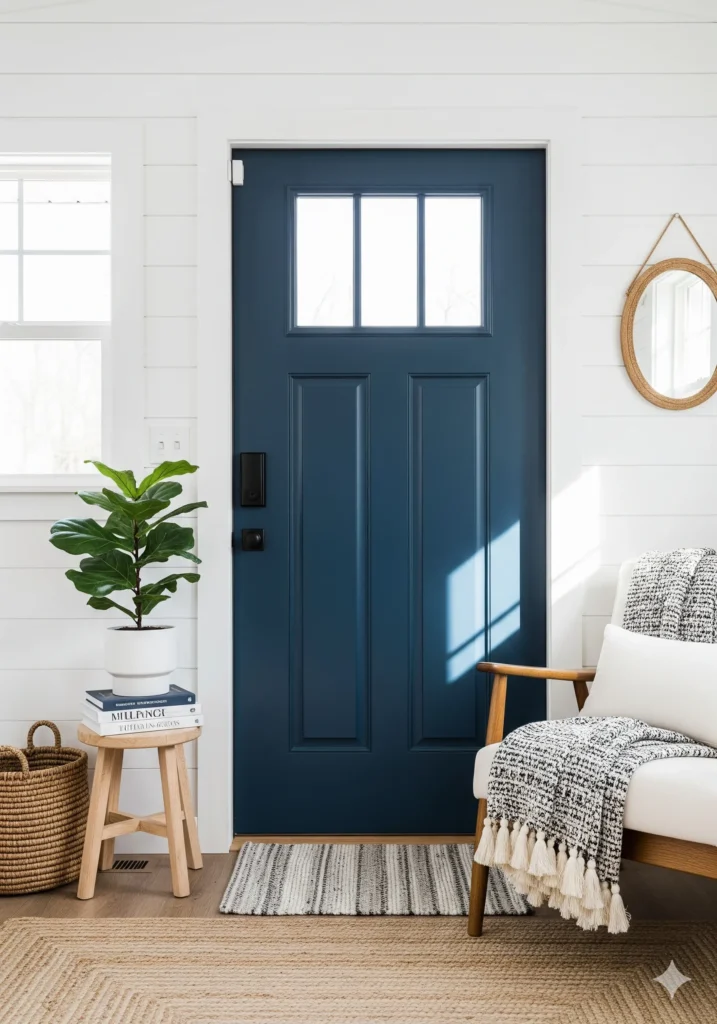
This is one of my favorite, high-impact DIYs. A plain white door is fine, but painting it a bold color—like black, navy, or even a deep forest green—adds a level of sophistication you just don’t get with white. It creates a stunning contrast and makes the entire space feel more intentional and designed.
Why it works: A painted door acts as an anchor in a room, drawing the eye and adding a pop of unexpected color. It’s an easy way to introduce a theme or a specific color palette.
Cost estimate: A quart of paint costs about $15–$25, which is more than enough to do a door or two.
DIY steps: Remove the door from its hinges, or if you don’t want to do that, tape off the hinges and hardware. Give it a light sanding, apply a coat of primer, and then two coats of your chosen color.
Useful Hack: Use a foam roller to apply the paint for a super smooth, brush-stroke-free finish.
10. New Threshold or Door Trim for Polished Transitions
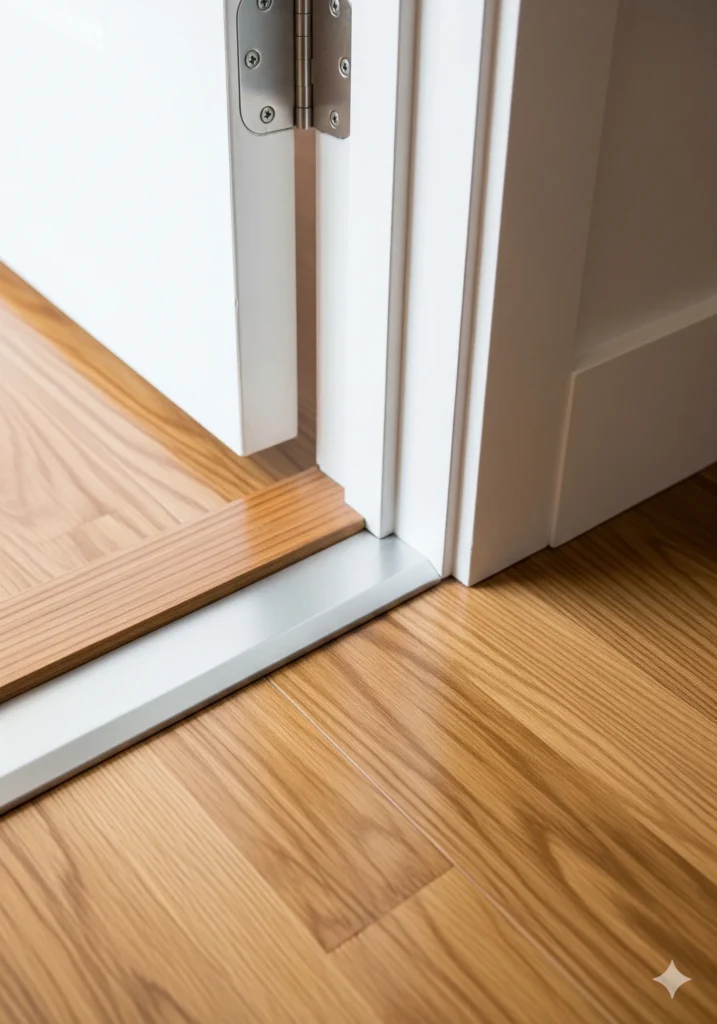
Have you ever noticed how a tiny home can feel like a collection of separate boxes? One way to create a sense of flow and polish is by updating the transitions between spaces. A new threshold or door trim can make a huge difference in how the floor looks, and it also helps with drafts.
Why it works: It’s all about finishing touches. A clean, well-installed threshold makes the transition between rooms look seamless and deliberate, not haphazard.
Cost estimate: A new piece of threshold trim can be as cheap as $10 to $20.
DIY steps: Measure the width of your doorway. Cut the new trim to size and attach it to the floor with small finishing nails or a strong adhesive. It’s a quick fix that pays off big time.
Useful Hack: If you have an uneven floor, use a small amount of wood shims under the new threshold to ensure a level, seamless transition.
11. Magnetic Decorative Garage or Cabinet Hardware for Visual Drama
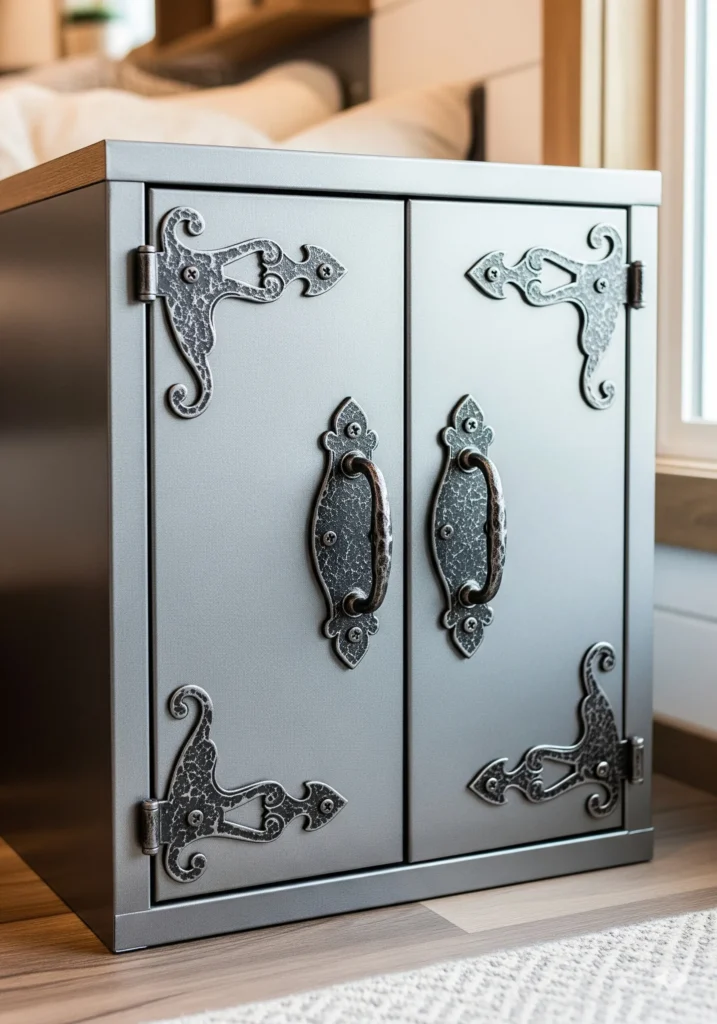
Okay, so this is a weird one, but trust me. It’s genius. Magnetic decorative hardware is typically made for garage doors to give them a carriage-house look without the expense. But guess what? It works on metal cabinets, doors, and even refrigerators. The faux hinges and handles give a look of permanence and custom design.
Why it works: It tricks the eye into thinking a plain surface has a decorative or structural element, adding visual interest and character with literally zero commitment.
Cost estimate: Sets are usually under $40, and you can reuse them if you ever move.
DIY steps: There are no tools needed here, which is why this is so great. Just stick them on! I mean, c’mon, does it get any easier?
Useful Hack: Use a level to make sure the “hinges” are perfectly straight before you firmly press them into place.
The Wrap-Up
So there you have it, my friend. Eleven small home upgrades that are so cheap it’s almost criminal. Living small doesn’t mean you have to sacrifice style or luxury. It just means you have to be smarter about where you put your time and money. With these DIYs, you can seriously amp up the style, function, and overall luxe factor of your home for under $50 a pop.
Don’t just take my word for it. Pick one—just one!—of these projects and go for it this weekend. Trust me, once you see the transformation, you’ll be hooked. And when you’re done, snap a before-and-after photo and share it with me on Pinterest. I can’t wait to see what you create.

