Let’s be real, who doesn’t love a good floating shelf? They’re like magic, adding instant style and storage without taking up precious floor space. But then you start thinking about drills, saws, and all those intimidating power tools, and suddenly your DIY dreams deflate faster than a forgotten party balloon. Been there, done that, bought the T-shirt that says “I tried to drill a hole and almost took out a wall.”
That’s exactly why I’m here, my fellow home improvement enthusiast. I’ve spent more weekends than I care to admit wrestling with projects, and I’ve learned a thing or two about getting big impact with minimal fuss. This isn’t just another guide; it’s your new best friend for creating gorgeous, renter-safe, and utterly beginner-friendly floating shelves. And the best part? We’re doing this with no power tools. Seriously. No drills, no saws, no stress. Just pure, unadulterated style on a budget. Ready to get your hands a little dirty (but not too dirty, because, you know, no power tools)? Let’s do this!
What You’ll Need for Your No-Tool Floating Shelves
Alright, first things first: let’s gather our arsenal. When we talk about DIY floating shelf materials, we’re aiming for simplicity and effectiveness. Forget those trips to the hardware store where you stare blankly at a wall of power tools. We’re going for the “grab and go” section.
You’d be surprised how little you need to achieve that sleek, minimalist look. The key here is working with what’s available and embracing the magic of modern adhesives. Trust me, these aren’t your grandma’s sticky notes.
Here’s a rundown of the no drill shelf supplies that will make this project a breeze:
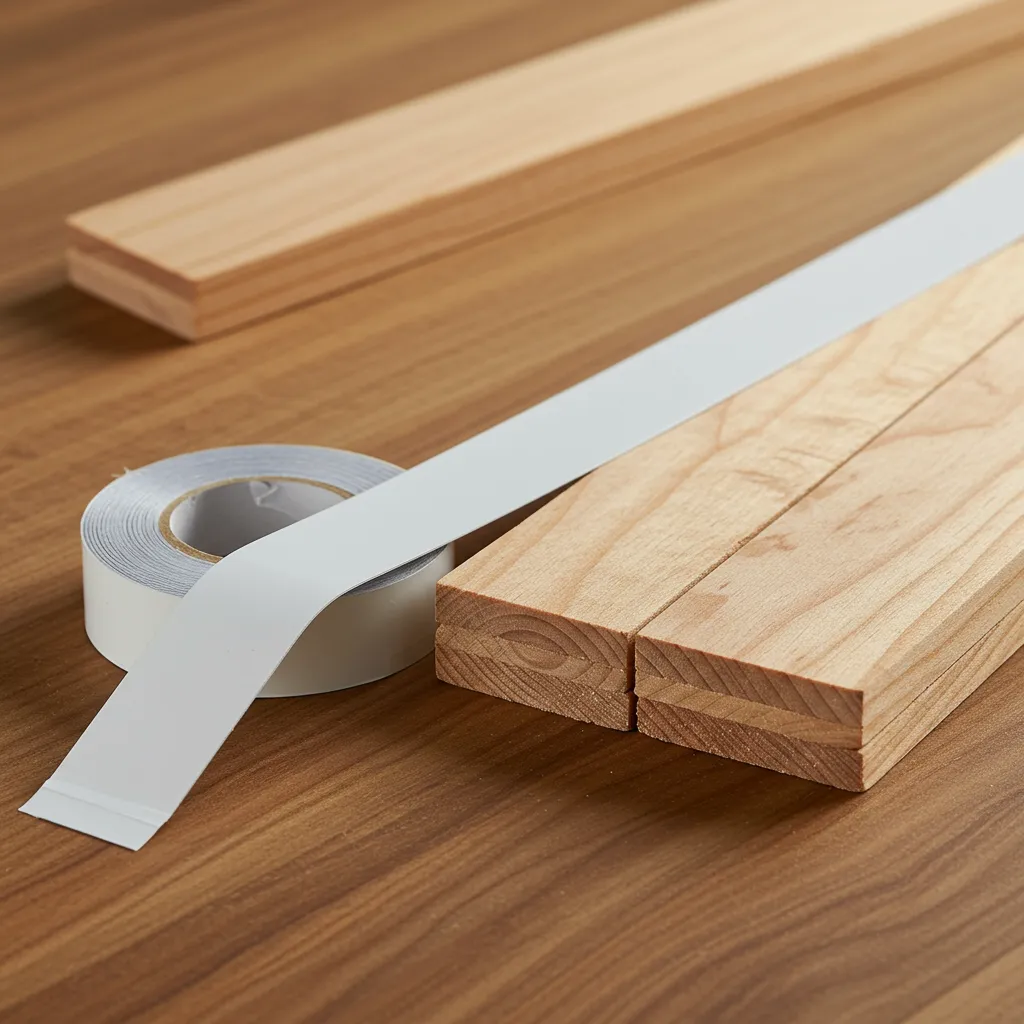
Pre-Cut Wood Boards: This is where the “no saw” part comes in. Head to your local hardware store (like Home Depot or Lowe’s) and check out their lumber section. They usually have a great selection of pre-cut boards in various lengths and widths. Look for something relatively lightweight but sturdy enough to hold your treasures. Pine is a good, affordable option. You can also get super creative and upcycle old cabinet doors, sturdy planks from discarded furniture, or even thick cutting boards if you’re feeling extra resourceful!
Command™ Picture Ledge Strips or Heavy-Duty Adhesive Strips: These are our secret weapons, the unsung heroes of renter-friendly shelves. Command™ strips are fantastic because they’re designed for damage-free removal, making them perfect for apartments. For heavier items, look for industrial-strength adhesive strips, often found in the same aisle. Just make sure they specify a high weight capacity.
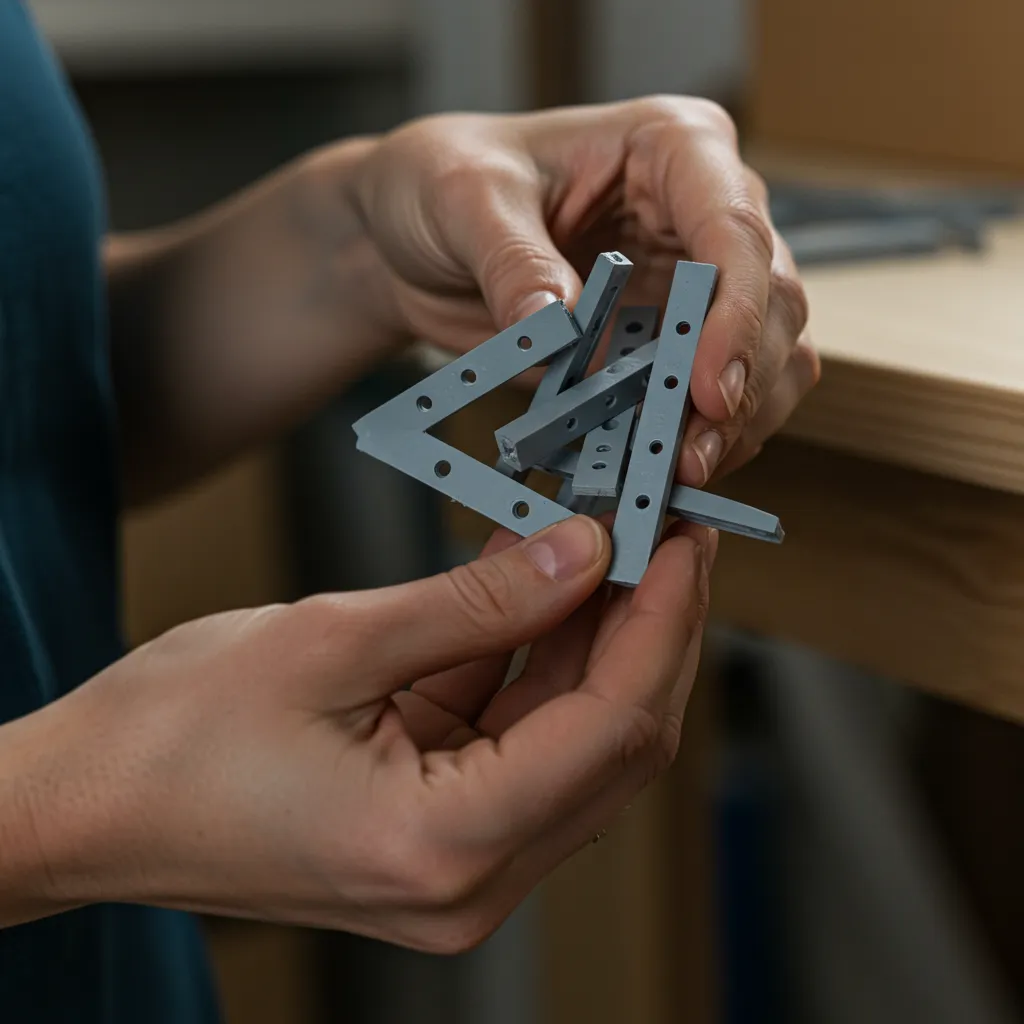
Brackets (Optional: Adhesive Mount Versions): If you want a bit more visual support or a slightly more traditional look, adhesive-mount L-brackets are your friend. They offer extra stability without requiring any drilling. You can find these at most hardware stores or online retailers. They’re usually pretty discreet, blending right into your wall or shelf.
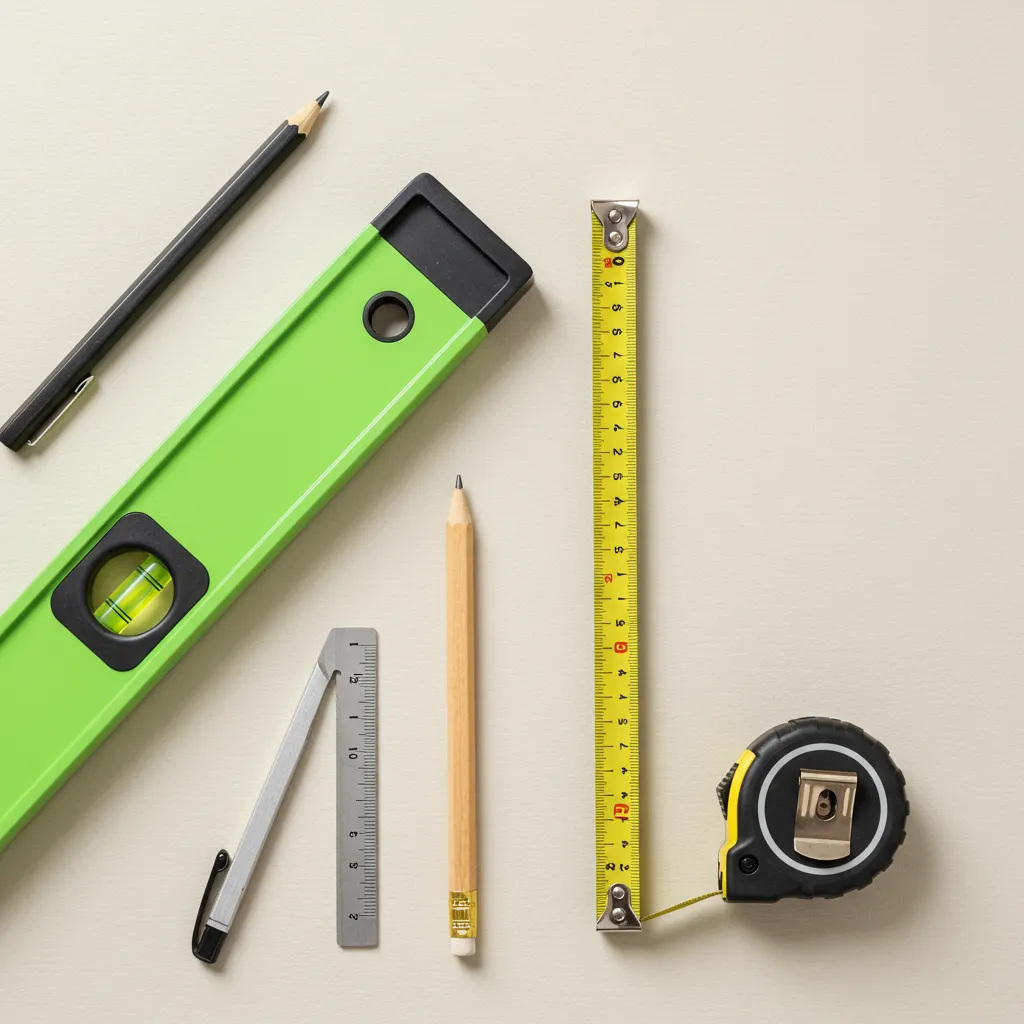
Level, Pencil, Measuring Tape: These are your trusty sidekicks for precision. A level ensures your shelves don’t look like they’re melting off the wall (a common DIY mishap, speaking from experience). A pencil helps you mark your spots, and a measuring tape is crucial for getting your spacing just right.
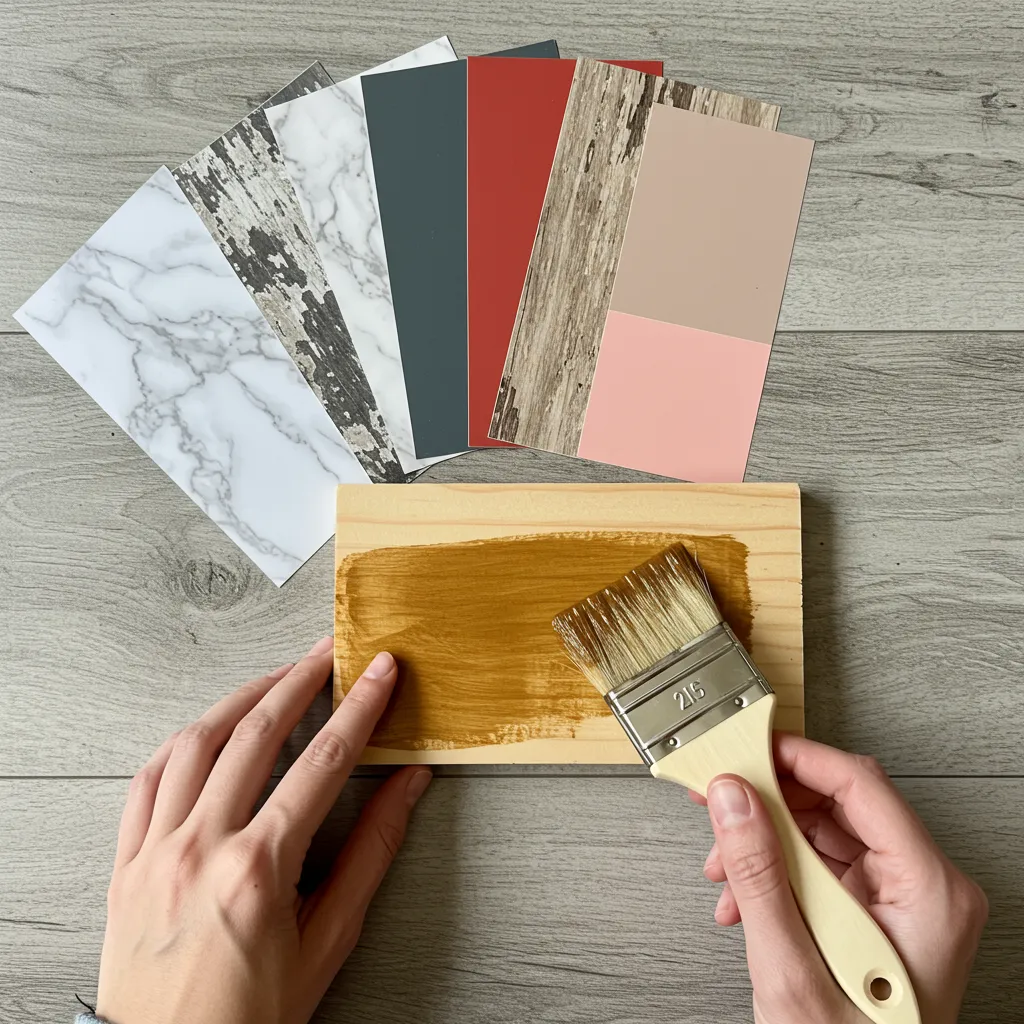
Optional: Wood Stain or Peel-and-Stick Veneer for Styling: This is where you get to unleash your inner interior designer! If your pre-cut board isn’t quite the right shade, a quick coat of wood stain can transform it. Or, for a super easy update, peel-and-stick veneer comes in a gazillion patterns and textures—think marble, distressed wood, or even a pop of color. It’s like magic wallpaper for your shelves.
💡 Tip: While I can’t link directly here, a quick search on Amazon, IKEA, or Home Depot for “Command picture ledge strips,” “pre-cut pine boards,” or “adhesive L-brackets” will yield plenty of affordable alternatives. You’ll be surprised by the variety!
Measure, Mark, and Prep the Wall
Now that you’ve got your materials, it’s time to get down to business. This section is all about precision, because nobody wants a crooked shelf, right? When you’re learning how to install floating shelves, the prep work is just as important as the actual mounting. Trust me, a little extra time here saves a lot of headaches later.
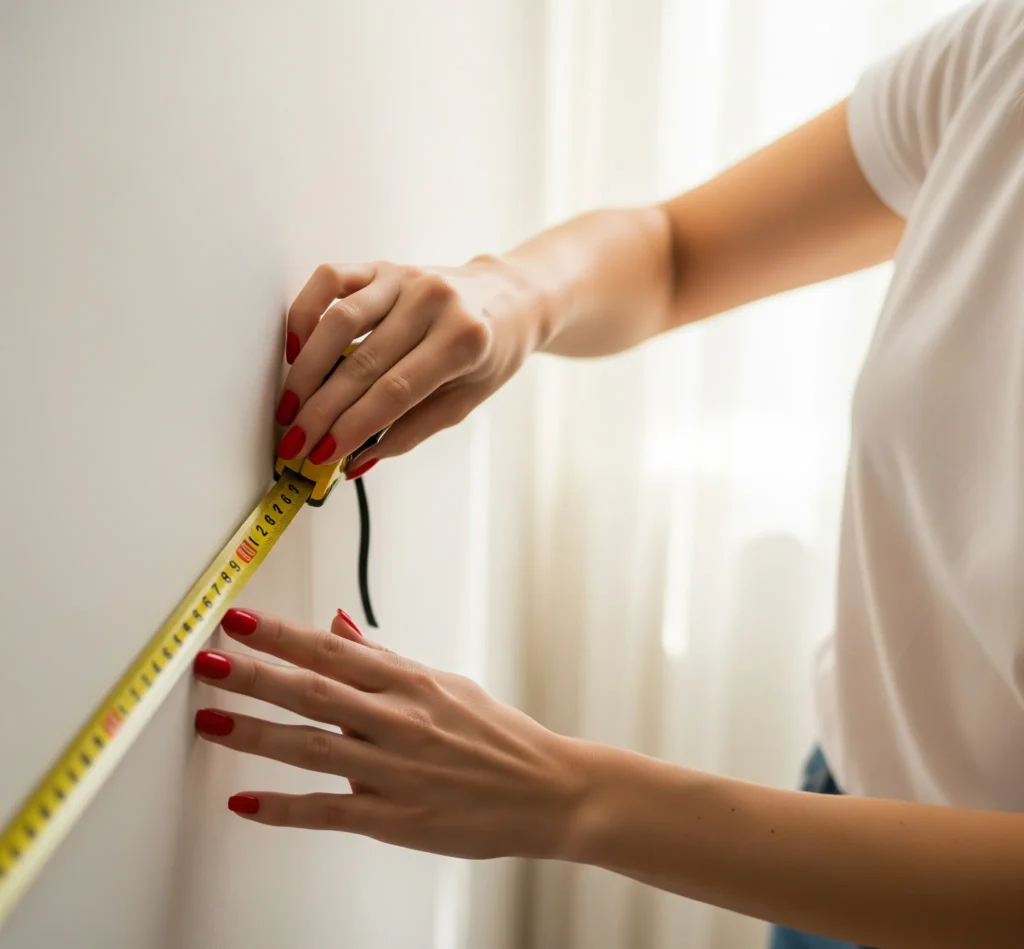
How to Choose the Right Height and Spacing
This might sound obvious, but the placement of your floating shelf is crucial. Think about what you’ll put on it. Are you displaying art? Books? Plants?
- Eye Level for Art: If it’s for decorative items, generally aim for eye level (around 55-65 inches from the floor) so you can appreciate your treasures without craning your neck.
- Functional for Books/Storage: For functional storage, like in a home office or kitchen, consider what you need to reach easily.
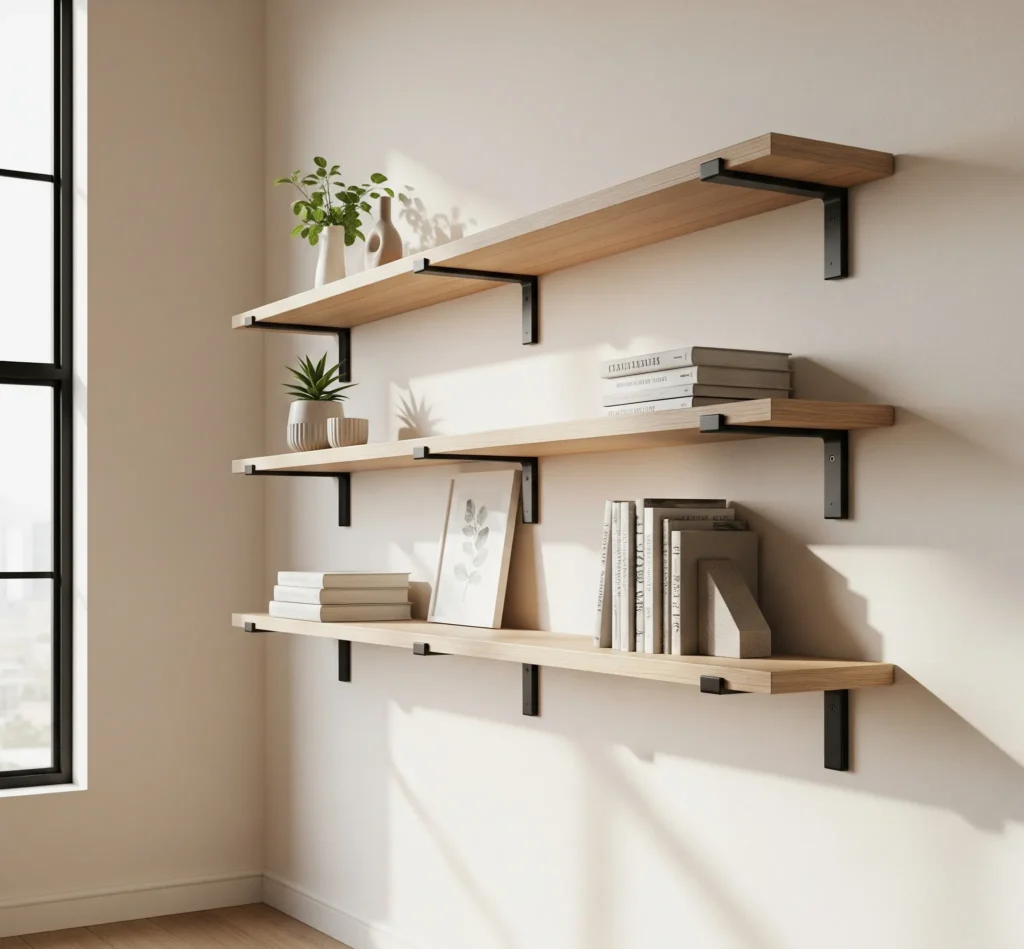
- Spacing Multiple Shelves: If you’re doing multiple shelves, leave enough vertical space between them for your tallest items, plus a few extra inches for breathing room. A good rule of thumb is 12-18 inches between shelves, but adjust based on your specific needs. Don’t be afraid to hold up your items to visualize the space.
Finding Wall Studs Without a Drill (Optional but Helpful)
Okay, so we’re not drilling, but knowing where your wall studs are can still be helpful, especially if you plan to put anything remotely heavy on your shelves. Why? Because studs are solid wood, and even adhesive strips will bond better to them than to just drywall.
- The Knock Test: Lightly knock on the wall. A hollow sound means drywall; a solid, muffled thud usually means a stud.
- Outlet Trick: Electrical outlets are almost always attached to a stud. You can often find a stud by measuring 16 inches to the left or right of an outlet.
- Magnet Method: A strong magnet can locate the metal screws or nails used to attach the drywall to the studs. Slide it slowly across the wall until it “sticks.”
Again, this is optional since we’re using adhesives, but it’s a good trick to have in your back pocket.
Use Painter’s Tape to Map Shelf Placement
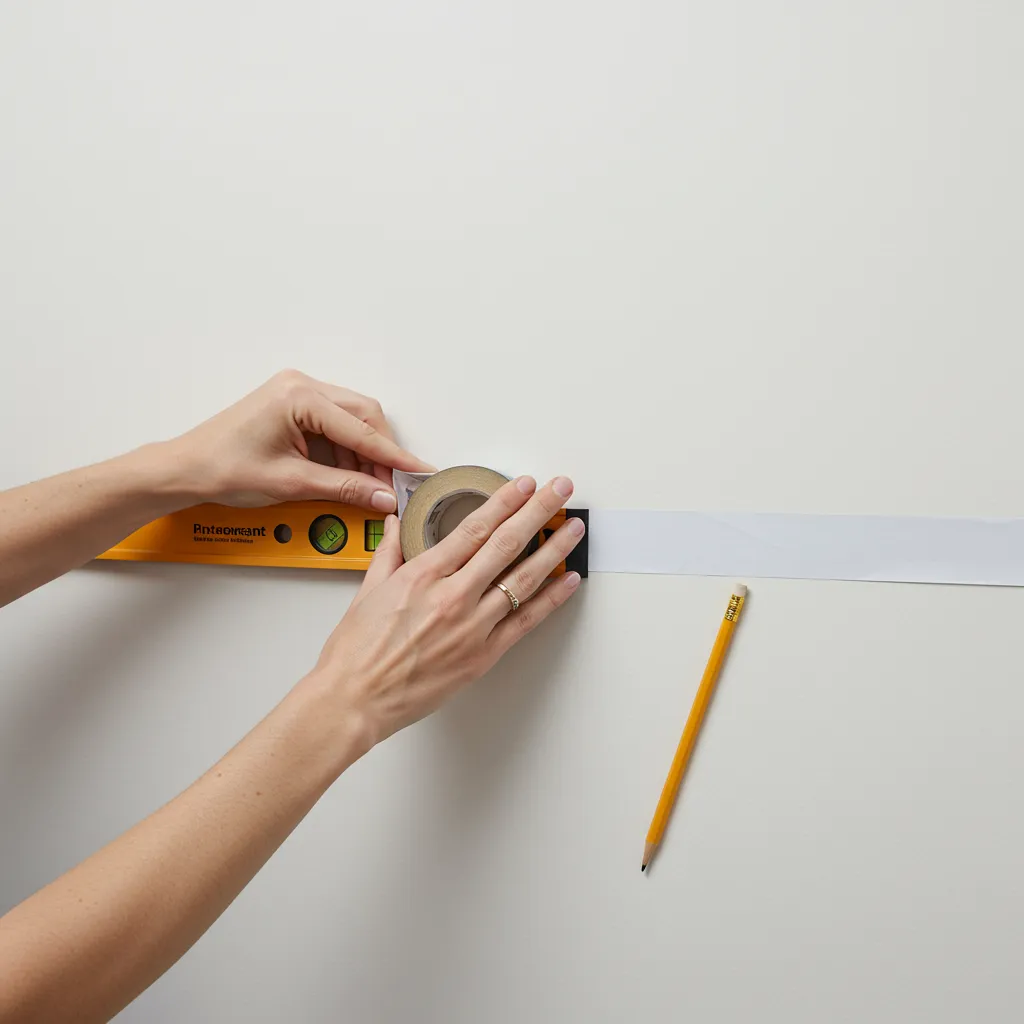
This is my absolute favorite trick for floating shelf placement. Before you commit to any marks, use painter’s tape to outline exactly where your shelf will go.
- Cut pieces of tape the length of your shelf.
- Stick them on the wall at your desired height and location.
- Use your level to make sure the tape is perfectly straight.
- Step back. Look at it from different angles. Does it feel right? Is it centered? This visual dry run saves you from those “oops, that’s not quite right” moments after the adhesive is on. It’s like a dress rehearsal for your wall.
Clean the Wall Surface for Proper Adhesion
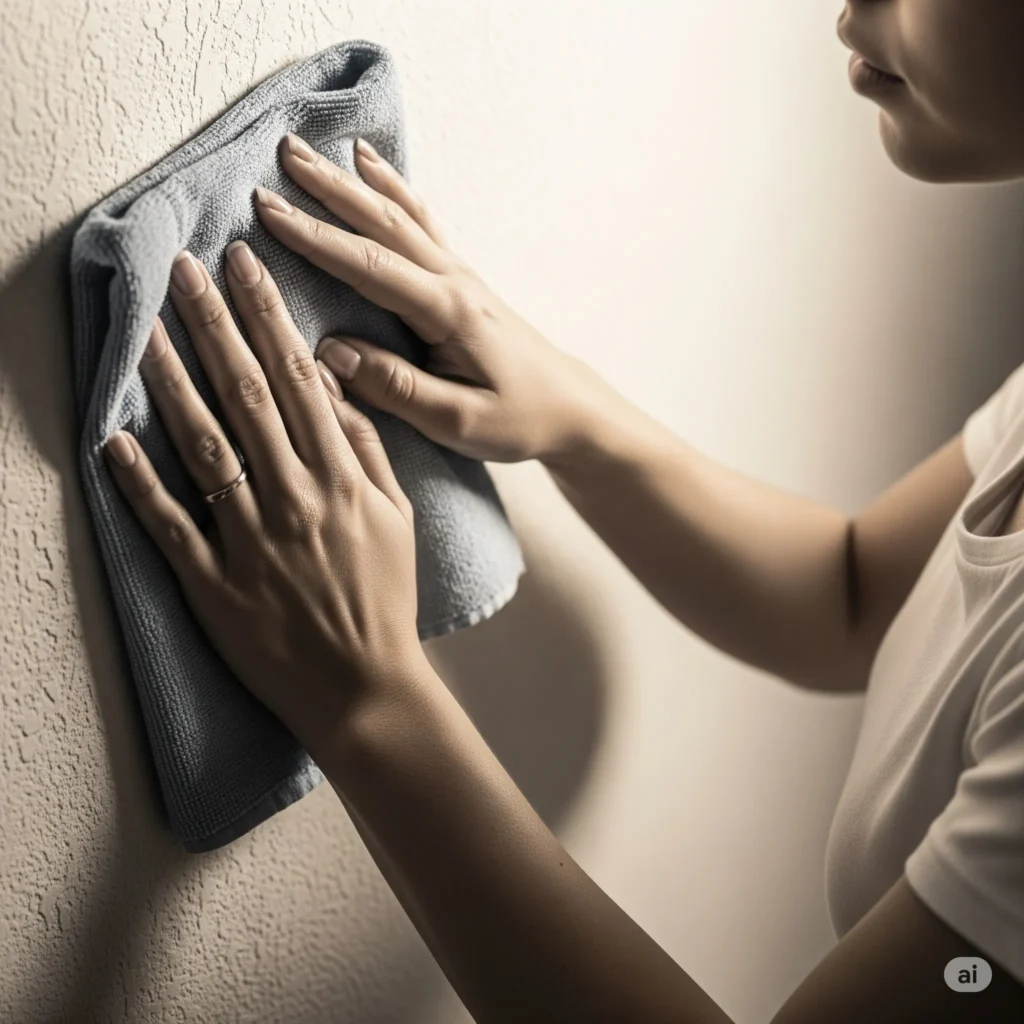
This step is non-negotiable for any adhesive-mounted project. Dust, grime, or even a little grease can seriously compromise the stickiness of your strips.
- Wipe down the area where your shelf will go with a clean cloth dampened with rubbing alcohol.
- Let it dry completely. This creates the optimal surface for your adhesive to bond. Don’t skip this, unless you enjoy watching your decor slowly slide down the wall – and who does that?
Pro Tip: For an extra layer of security, especially if you’re using longer boards, consider adding a small, discreet piece of double-sided foam tape in the very center of the board’s back edge, in addition to your main adhesive strips. This helps prevent any bowing over time, keeping your shelf looking perfectly straight.
Mounting Floating Shelves Without Power Tools
Alright, this is the moment of truth! We’ve measured, we’ve prepped, and now we’re actually putting those beautiful boards on the wall. The goal here is to achieve that seamless, floating look without drilling, which means we’re leaning heavily on the magic of modern adhesives. This section is all about floating shelves without drilling, making it truly renter-friendly shelves.
How to Attach Shelves Using Adhesive Mounting Strips
This is where the Command™ strips or heavy-duty adhesive strips really shine. They’re designed for strong hold and, crucially, damage-free removal.
- Read the Instructions (Seriously): Every brand of adhesive strip is a little different. Before you do anything, read the instructions on your specific package. They’ll tell you how many strips to use per pound of weight, how to apply them, and how long to press. Don’t try to be a hero and guess; the manufacturer knows best.
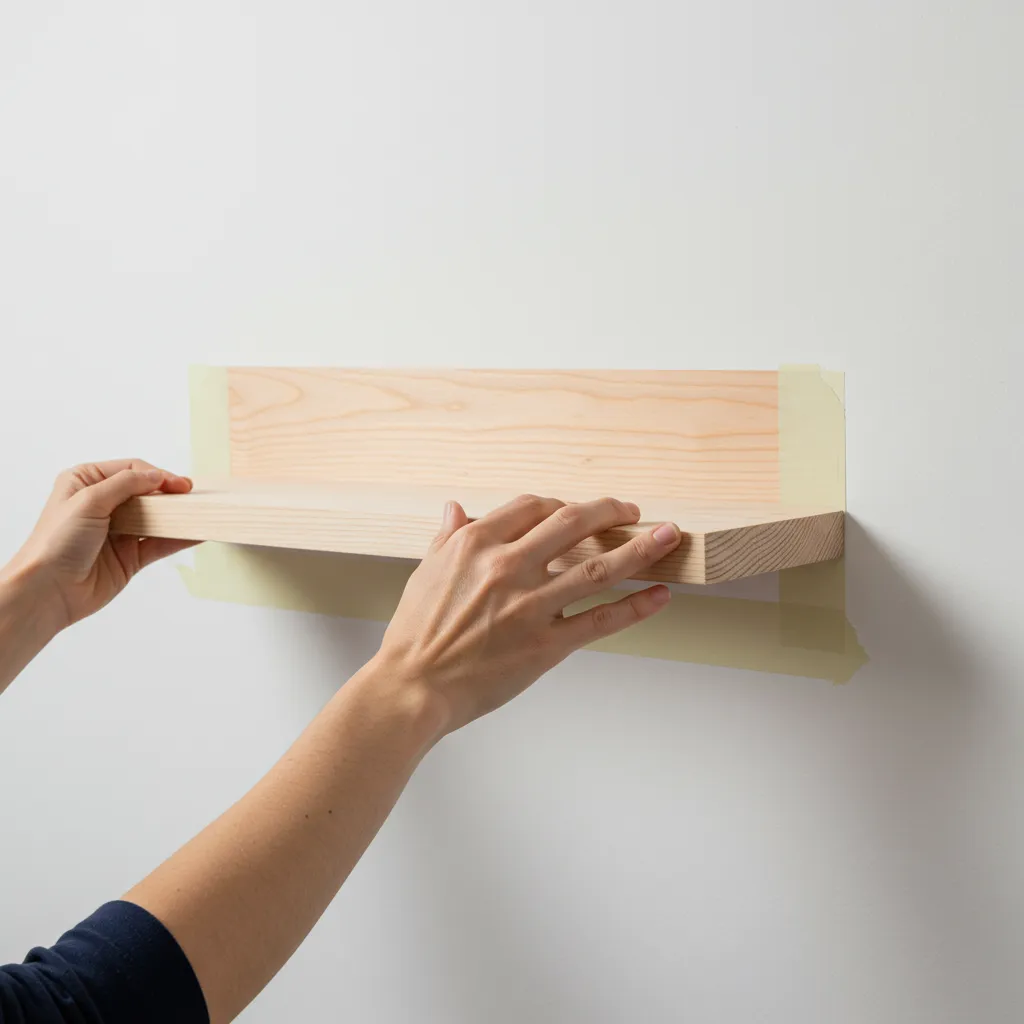
- Apply Strips to the Shelf: Peel one side of the adhesive strips and apply them to the back edge of your wood board. Space them evenly along the length of the board, especially where you marked your placement on the wall. For picture ledge strips, they often come as a set where one part goes on the wall and the other on the shelf.
- Position and Press: Carefully align your shelf with the painter’s tape marks you made earlier. Once it’s perfectly aligned, press the entire shelf firmly against the wall for at least 30 seconds (or as directed by your adhesive’s instructions). Apply pressure along the entire length where the strips are located.
- Remove and Re-Press (for Command™): If you’re using Command™ strips, you’ll often need to pull the shelf off the wall (leaving the wall-side strips attached) and then firmly press those wall-side strips for another 30 seconds. This activates the adhesive properly. Then, re-attach your shelf to the wall-side strips, ensuring the fasteners click into place. This two-step process is key for maximum hold.
Using L-Brackets with Adhesive or No-Screw Anchors
If you want extra support or just like the look of brackets, adhesive L-brackets are a fantastic alternative to drilling.
- Choose Your Brackets: Look for lightweight L-brackets that are specifically designed for adhesive mounting. Some come with pre-applied adhesive, while others require you to add your own heavy-duty adhesive strips.
- Mark Bracket Placement: Hold your shelf up to the wall (using your tape guides) and mark where the L-brackets will sit underneath. You’ll typically want one near each end of the shelf, and maybe one in the middle for longer boards.
- Apply Brackets: Clean the wall area where the brackets will go with rubbing alcohol. Apply the adhesive to the back of the L-brackets (if not pre-applied) and press them firmly onto the wall at your marked spots. Hold for the recommended time.
- Attach Shelf to Brackets: Once the brackets are securely adhered, you can rest your shelf on top of them. For added stability, you can use a small amount of construction adhesive (like Liquid Nails, but check if it’s removable for renters!) between the top of the bracket and the underside of the shelf. Just be aware that construction adhesive is generally not renter-friendly. For a truly no-damage solution, simply resting the shelf on the brackets with your main adhesive strips on the back of the shelf should suffice.
How Long to Wait Before Placing Weight on Them
This is probably the most important instruction in this whole guide, and it’s where most people mess up. Patience, my friend, is a virtue, especially in DIY.
- Wait, Wait, Wait: Adhesive strips need time to cure and form a strong bond. Most manufacturers recommend waiting at least 24 hours before placing any weight on your newly mounted shelves. Some heavy-duty adhesives might even recommend longer.
- Don’t Rush It: I know, it’s tempting to immediately load up your shelves with all your favorite trinkets. But resisting this urge is crucial. If you put weight on them too soon, the adhesive won’t have fully bonded, and your shelf (and everything on it) could come crashing down. That’s a mess you don’t want.
Weight Limits & What to Store Safely
Even with the strongest adhesives, there are limits. These aren’t industrial-strength shelving units, so be realistic about what you store.
- Check Adhesive Packaging: The weight limit is always clearly stated on the adhesive strip packaging. Pay attention to this! If a pack says “holds up to 16 lbs,” that means total weight for all strips used, not per strip.
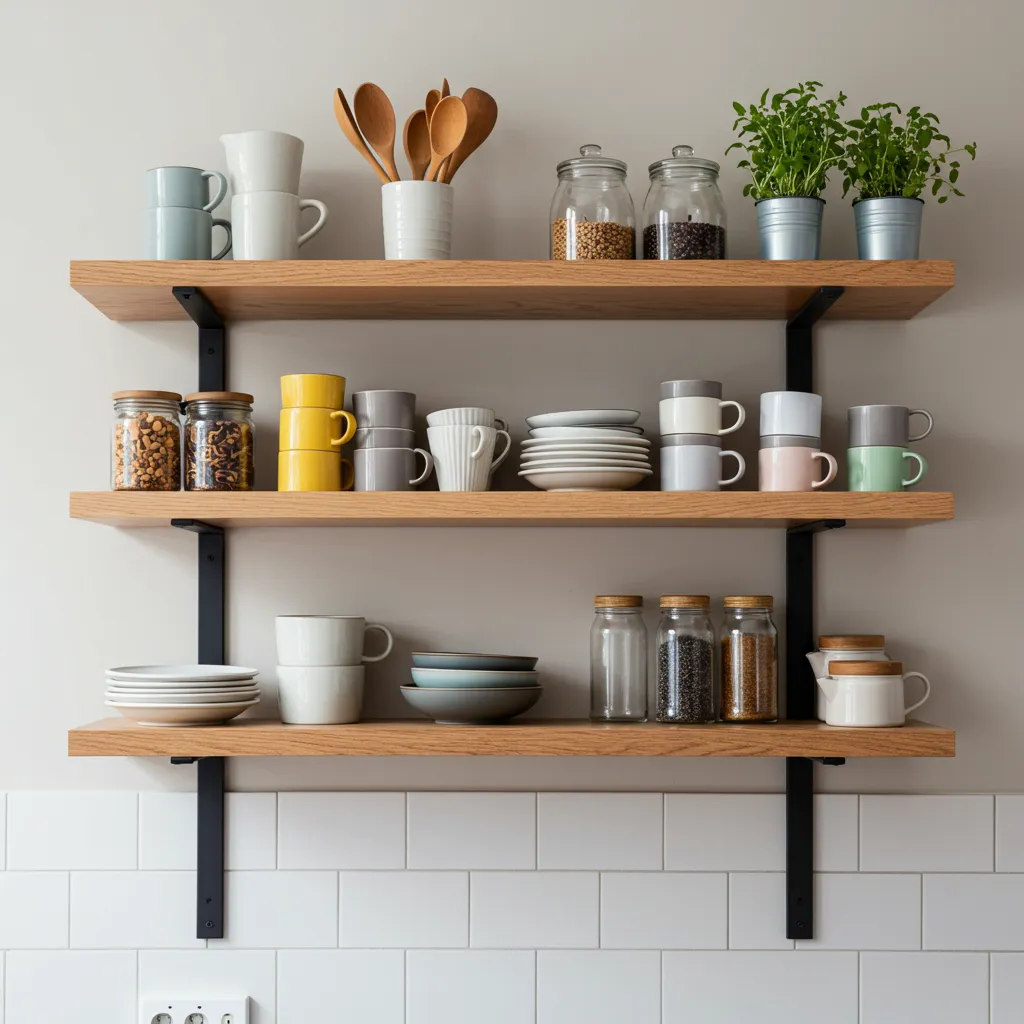
- Lightweight Decor is Key: These shelves are perfect for:
- Small books (paperbacks, not encyclopedias)
- Picture frames
- Small plants (succulents, air plants)
- Vases (empty or with lightweight faux flowers)
- Small decorative objects
- Candles
- Avoid Heavy Items: Steer clear of heavy textbooks, large ceramic pots, multiple heavy candles, or anything that could potentially exceed the weight limit. When in doubt, err on the side of caution. Better safe than sorry, right?
Pro Tip: If you’re really worried about weight, consider using multiple, shorter shelves instead of one long one. This distributes the weight more effectively across different wall points, reducing the strain on any single adhesive application.
Styling Your DIY Floating Shelves Like a Designer
You’ve built them, you’ve waited the agonizing 24 hours, and now it’s time for the fun part: making them look absolutely fabulous! Styling your DIY floating shelves is where your personality truly shines. Think of your shelves as mini stages for your favorite things.
Rule of Thirds for Shelf Styling
This is a classic design principle that works wonders for shelf decor ideas. Imagine dividing your shelf (or the items on it) into three equal parts, horizontally and vertically.
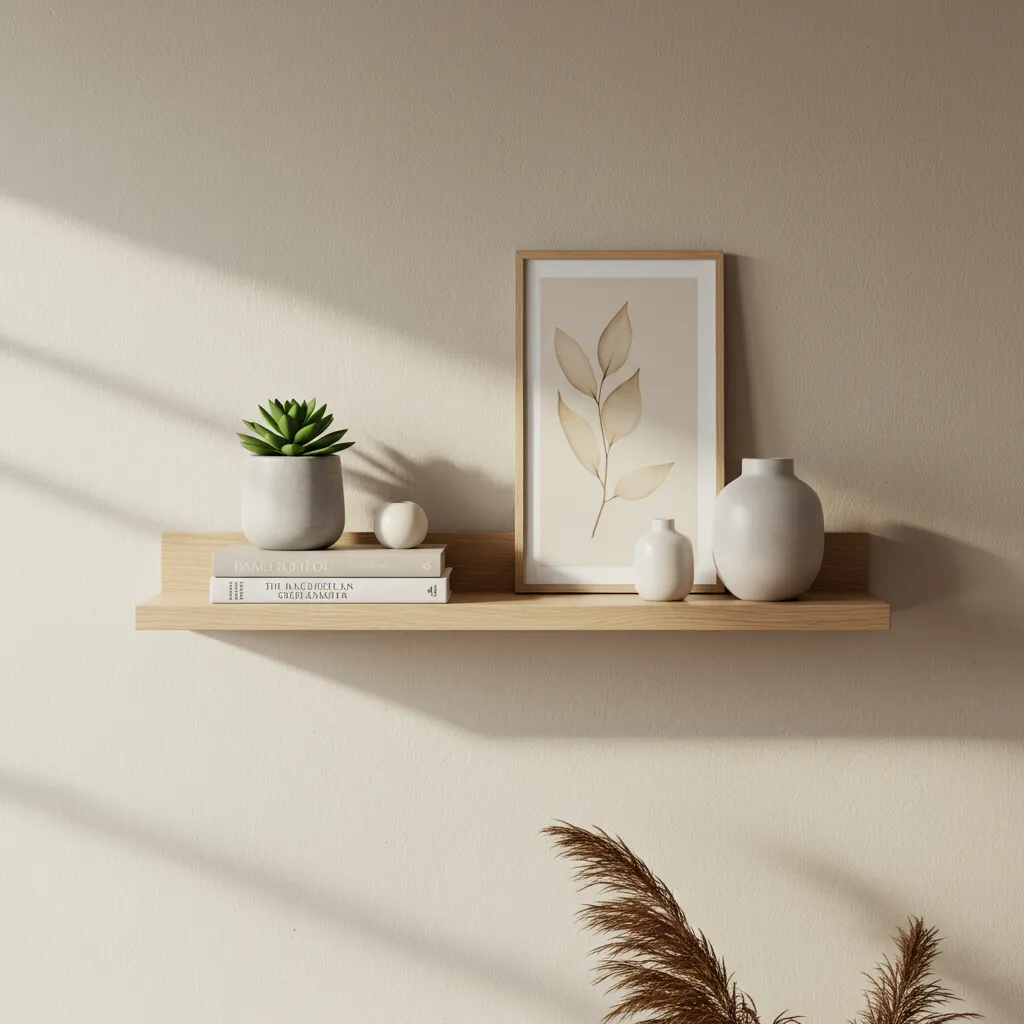
- Visual Balance: Instead of scattering items randomly, arrange them in groups of three. This creates visual balance and interest. For example, on a single shelf, you might have a tall vase on one end, a stack of books in the middle, and a small plant on the other end.
- Uneven Numbers: Odd numbers of items tend to be more visually appealing than even numbers. Think in groups of three or five. It just looks more dynamic, IMO.
Mixing Books, Plants, and Personal Items
The best shelves tell a story. Don’t just stick to one type of item.
- Books: Vary how you display them. Stack some horizontally, stand some vertically. Use bookends to add a decorative touch.
- Plants: Greenery instantly adds life and freshness. Small potted plants, trailing vines, or even faux plants (no judgment here!) work beautifully.
- Personal Items: This is where you make it yours. Think framed photos, souvenirs from trips, meaningful trinkets, or small pieces of art. These are the things that make your shelf unique.
Layering Objects for Depth
Flat shelves are boring shelves. Add depth by layering.
- Front to Back: Place taller, larger items at the back of the shelf and smaller, shorter items in front. This creates a sense of dimension and allows all your pieces to be seen.
- Lean and Stack: Lean a small framed picture against the wall behind a stack of books. Place a tiny decorative bowl in front of a larger vase. These subtle layers make a huge difference.
- Vary Heights: Don’t make everything the same height. Use small risers (even a stack of books can work!) to elevate some items and create visual interest.
Seasonal Swaps to Keep It Fresh
Your shelves don’t have to be static! One of the joys of having them is the ability to easily change things up.
- Holiday Cheer: Swap out everyday decor for festive items during holidays. Think mini pumpkins in fall, twinkling lights in winter, or pastel accents in spring.
- Seasonal Colors: Change out textiles or small accessories to reflect the season. A pop of sunny yellow for summer, deep reds for autumn.
- New Finds: As you discover new treasures, rotate them onto your shelves. It keeps things interesting and gives your space a fresh feel without a major overhaul.
Pro Tip: Don’t be afraid to leave some negative space! A cluttered shelf looks messy, not stylish. Sometimes, less is more. Let your favorite pieces breathe and stand out.
Maintenance and Removal Without Damage
You’ve installed your no-drill floating shelves, you’ve styled them to perfection, and now you’re living your best organized life. But what happens when you want to move them, or (gasp!) move out of your rental? No worries! This section covers renter-friendly shelf ideas and how to ensure your removable floating shelves leave no trace.
How to Remove Adhesive-Mounted Shelves Cleanly
This is where the beauty of those Command™ strips truly shines. They’re designed for damage-free removal, but you still need to follow the instructions.
- Empty the Shelf: First things first, take everything off the shelf. You don’t want anything crashing down.
- Locate the Pull Tab: Most adhesive strips, especially Command™ brand, have a little pull tab at the bottom. This is your magic key.
- Pull Slowly and Straight Down: This is the critical part. Do NOT pull the strip out from the wall. Instead, pull the tab slowly and straight down, parallel to the wall. As you pull, the adhesive strip will stretch and release from the wall without damaging the paint or drywall. If you pull it away from the wall, you’re asking for trouble (and likely a patch job).
- Repeat for All Strips: Continue this slow, downward pull for all the adhesive strips holding your shelf. The shelf should come off cleanly.
Patch Up Tips If You Ever Leave a Mark
While adhesive strips are designed to be damage-free, sometimes accidents happen. Maybe you pulled too fast, or the wall paint was already weak. Don’t panic! Patching up small marks is super easy.
- Small Scuffs/Residue: Sometimes, a tiny bit of adhesive residue or a faint scuff might remain. A little rubbing alcohol on a soft cloth can usually wipe this away.
- Minor Paint Tear: If a tiny piece of paint comes off, you’ll need a small amount of spackle or lightweight joint compound.
- Apply a tiny dab with your finger or a putty knife.
- Smooth it flat with the wall.
- Let it dry completely (usually 15-30 minutes).
- Lightly sand it smooth with fine-grit sandpaper.
- Touch up with a small amount of matching wall paint. For renters, it’s always a good idea to keep a small can of your wall color for touch-ups. IMO, it’s a lifesaver.
Reuse Your Shelf Boards in New Ways
Just because they’re no longer floating doesn’t mean your beautiful wood boards are useless! Give them a second life.
- Decorative Tray: Add some small handles to the ends, and you’ve got a chic decorative tray for your coffee table or ottoman. Perfect for corralling remotes or displaying candles.
- Plant Riser: Use them as risers for plants on the floor or on a larger shelf, adding varying heights to your plant display.
- Picture Ledge: If they’re narrow enough, they can become a simple picture ledge on a dresser or console table, perfect for leaning smaller art pieces.
- Under-Sink Organizer: Cut them down (if needed, with a hand saw, if you dare!) to fit inside cabinets for extra storage.
- DIY Coasters: For smaller scraps, cut them into squares and sand them smooth for rustic coasters.
Pro Tip: Before you even start this project, take a “before” picture of your wall. That way, if you ever need to patch or explain anything to a landlord, you have proof of the original condition. It’s like having an alibi for your wall.
You see? You absolutely do not need a garage full of power tools or a degree in carpentry to create beautiful, functional shelves that elevate your space. With a few simple materials and a little bit of patience, you can achieve that sought-after floating look without the stress (or the noise, FYI). These easy shelf projects no tools are perfect for anyone, from apartment dwellers to those just dipping their toes into the wonderful world of beginner DIY home projects.
So, what are you waiting for? Grab those boards, snag some adhesive strips, and get ready to transform your walls. Your future self, surrounded by perfectly styled shelves, will thank you. Pin this guide for your next weekend DIY adventure, or maybe even print out a free checklist (if I had one, I’d totally give it to you!) to keep you on track. Happy shelving!