Ever stand back after hanging curtains, squinting, and thinking, “Why do these still look…off?” Maybe they seem too short, too narrow, or just kinda sad? Trust me, I’ve been there. My first apartment curtains looked less like elegant drapes and more like ill-fitting bath towels tacked to the wall. It was a dark time, aesthetically speaking. But then I got hooked. I discovered that hanging curtains isn’t just about covering a window; it’s about mastering a few simple tricks that can make your room look taller, your windows appear wider, and your entire space instantly more polished.
I’ve learned from my own trial-and-error (and a few embarrassing early attempts, bless their hearts) that a perfectly hung curtain can transform a room like magic. So, if you’re ready to ditch the decorating dilemmas and achieve that professional, high-end look without needing to hire an interior designer, you’ve landed in the perfect spot. We’re about to unveil the secrets of how to hang curtains so your windows become a stunning focal point, not an afterthought.
Beyond the Rod: Why Curtain Placement is a Game Changer
You might think curtains are just functional — blocking light, providing privacy. And yes, they do that! But their decorative power is seriously underrated. The way you hang them can dramatically impact the perceived size and sophistication of your room. It’s about creating an optical illusion, making your space feel grander and more intentional.
Making Windows Look Larger: The Illusion of Grandeur
Have you ever seen a room with tiny windows that still somehow feels bright and expansive? Often, it’s the curtains doing the heavy lifting! By extending your curtain rod beyond the window frame, you create the illusion that the window itself is much wider than it actually is. This little trick alone can transform a cramped room into something far more open and inviting.
Making Ceilings Appear Taller: Reaching for the Sky

Similarly, where you place your curtain rod vertically can add serious height to a room. Hanging your curtains high, closer to the ceiling than to the top of the window frame, draws the eye upward. This simple act creates the visual impression of soaring ceilings, adding a sense of grandeur and airiness to your space. It’s one of my favorite tricks for a quick room glow-up!
Enhancing Room Decor: The Finishing Touch

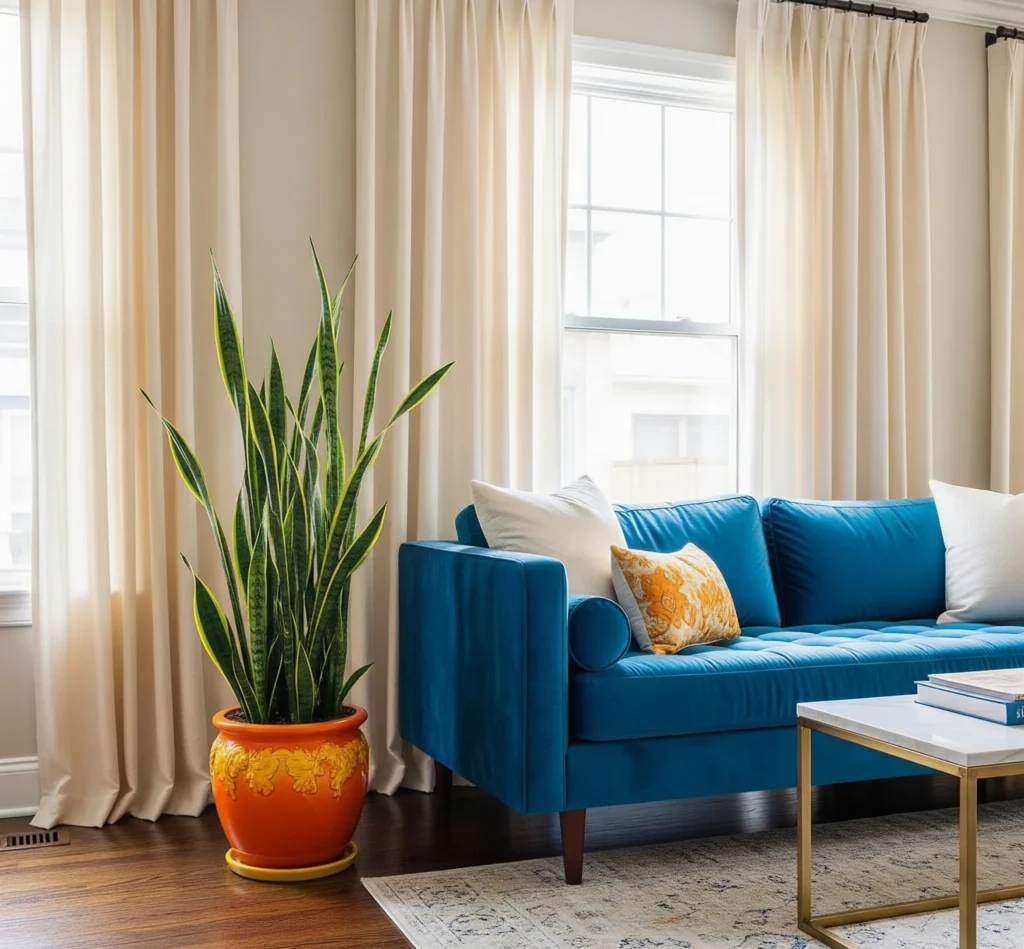
Think of curtains as the jewelry for your windows, or even the perfect pair of shoes for your outfit. They complete the look! Properly hung curtains add texture, color, and softness, tying together your room’s aesthetic. They frame your view, provide a sense of warmth, and transform a bare window into a beautifully dressed focal point. They truly make a room feel “finished.”
Pro Tip: Always choose curtains that are at least 1.5 to 2 times the width of your window (or rod length) to ensure they look full and luxurious, even when closed. Skimpy curtains look…skimpy!
The Essentials: Choosing Your Hardware and Drapes
Before we even touch a drill, let’s talk about the foundational elements. The right hardware and the perfect drapes are crucial for a successful hang.
Selecting Appropriate Hardware: Rods, Finials & Rings
Your curtain hardware isn’t just functional; it’s a decorative element in its own right. Choose wisely, because these pieces set the tone.
- Curtain Rods: These come in various materials (metal, wood), thicknesses, and finishes. Pick one that complements your room’s style and the weight of your curtains. A thin rod might sag with heavy drapes – not a good look! Make sure the rod extends beyond the window frame on both sides (more on that later!).
- Finials: These are the decorative caps at the ends of your rod. They come in endless styles, from sleek modern spheres to ornate crystal designs. Choose finials that match your room’s aesthetic.
- Rings/Clips/Hooks: These attach your curtains to the rod. Rings with clips are super popular because they glide smoothly and give a relaxed, elegant look. Some curtains have grommets or a rod pocket built-in, which means you might not need rings.
My Personal Takeaway: I once cheaped out on a flimsy curtain rod for some heavy velvet drapes. It bowed in the middle like a sad smile. Never again! Invest in a sturdy rod, especially for heavier fabrics.
Choosing the Right Curtain Style: Drapes, Sheers & Valances

The style of your curtains dictates their function and aesthetic impact. Often, layering different styles creates the best results.
- Drapes (or panels): These are your main curtains, usually made from heavier fabrics like linen, velvet, or cotton. They provide privacy, light control, and insulation. They come in various headings (pleated, grommet, rod pocket, pinch pleat), each offering a different look.
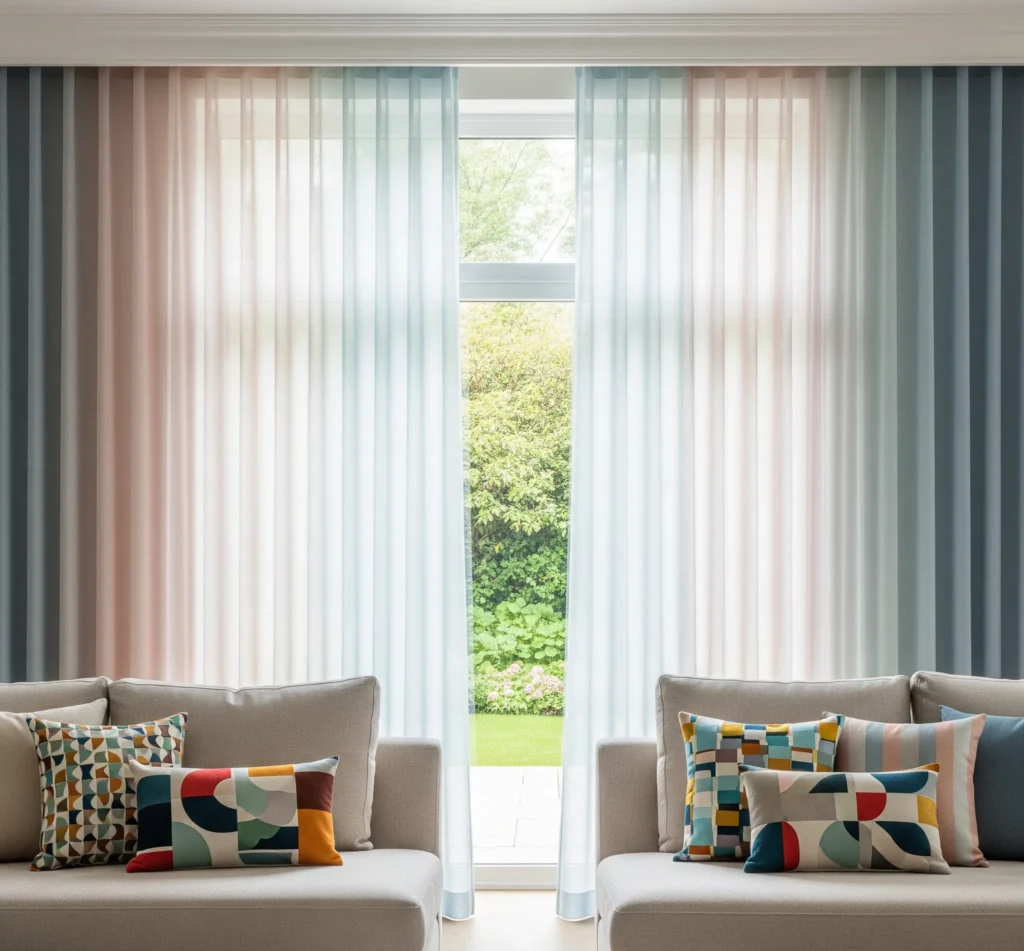
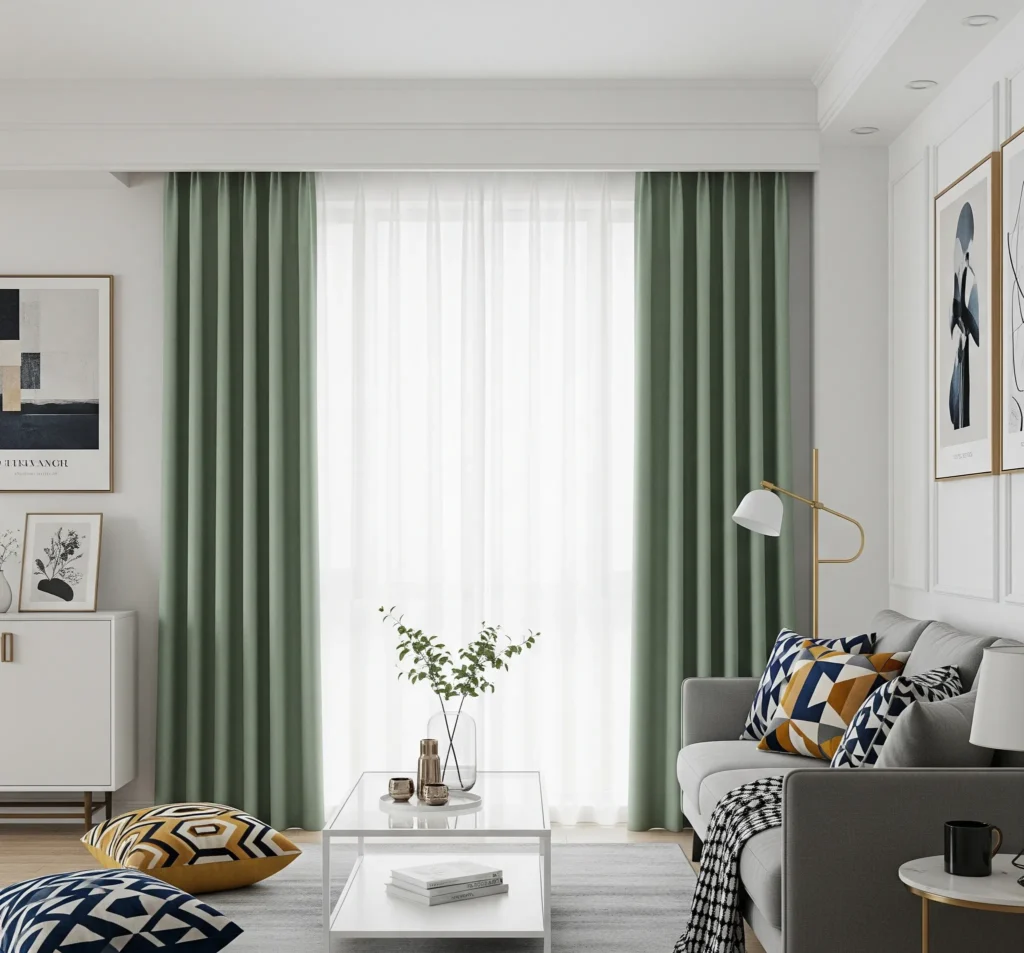
- Sheers: These are lightweight, translucent curtains that offer a whisper of privacy while allowing plenty of natural light to filter through. They add softness and can be layered under drapes for a multi-functional window treatment.
- Valances: These short fabric treatments cover only the top portion of a window, often used for decorative purposes or to hide hardware. They can add a touch of color or pattern but don’t offer much in terms of privacy or light control.
Pro Tip: For maximum versatility, especially in a living room or bedroom, consider layering sheers under drapes. This gives you options for light filtering, privacy, and full blackout when needed.
The Perfect Hang: Rod Placement & Length
This is where the magic truly happens! Proper curtain rod placement and length are the secrets to making your windows (and your room) look their absolute best.
Hanging Curtains High: Embrace the Ceiling
This is perhaps the golden rule of curtain hanging: hang curtains high! Don’t mount your rod directly above the window frame. Instead, extend it roughly 4-6 inches (or even up to 12 inches!) above the window frame, closer to the ceiling molding.
Why does this work so well? It tricks the eye into believing the window is taller than it is, drawing your gaze upward and making the entire room feel more expansive and grand. If you have crown molding, hang your rod just below it for a truly custom, built-in look.
- Rule of Thumb: Place the rod 4-6 inches above the window frame, or halfway between the top of the window and the ceiling molding.
- Why it works: Creates the illusion of taller ceilings, adds grandeur, and makes the room feel airier.
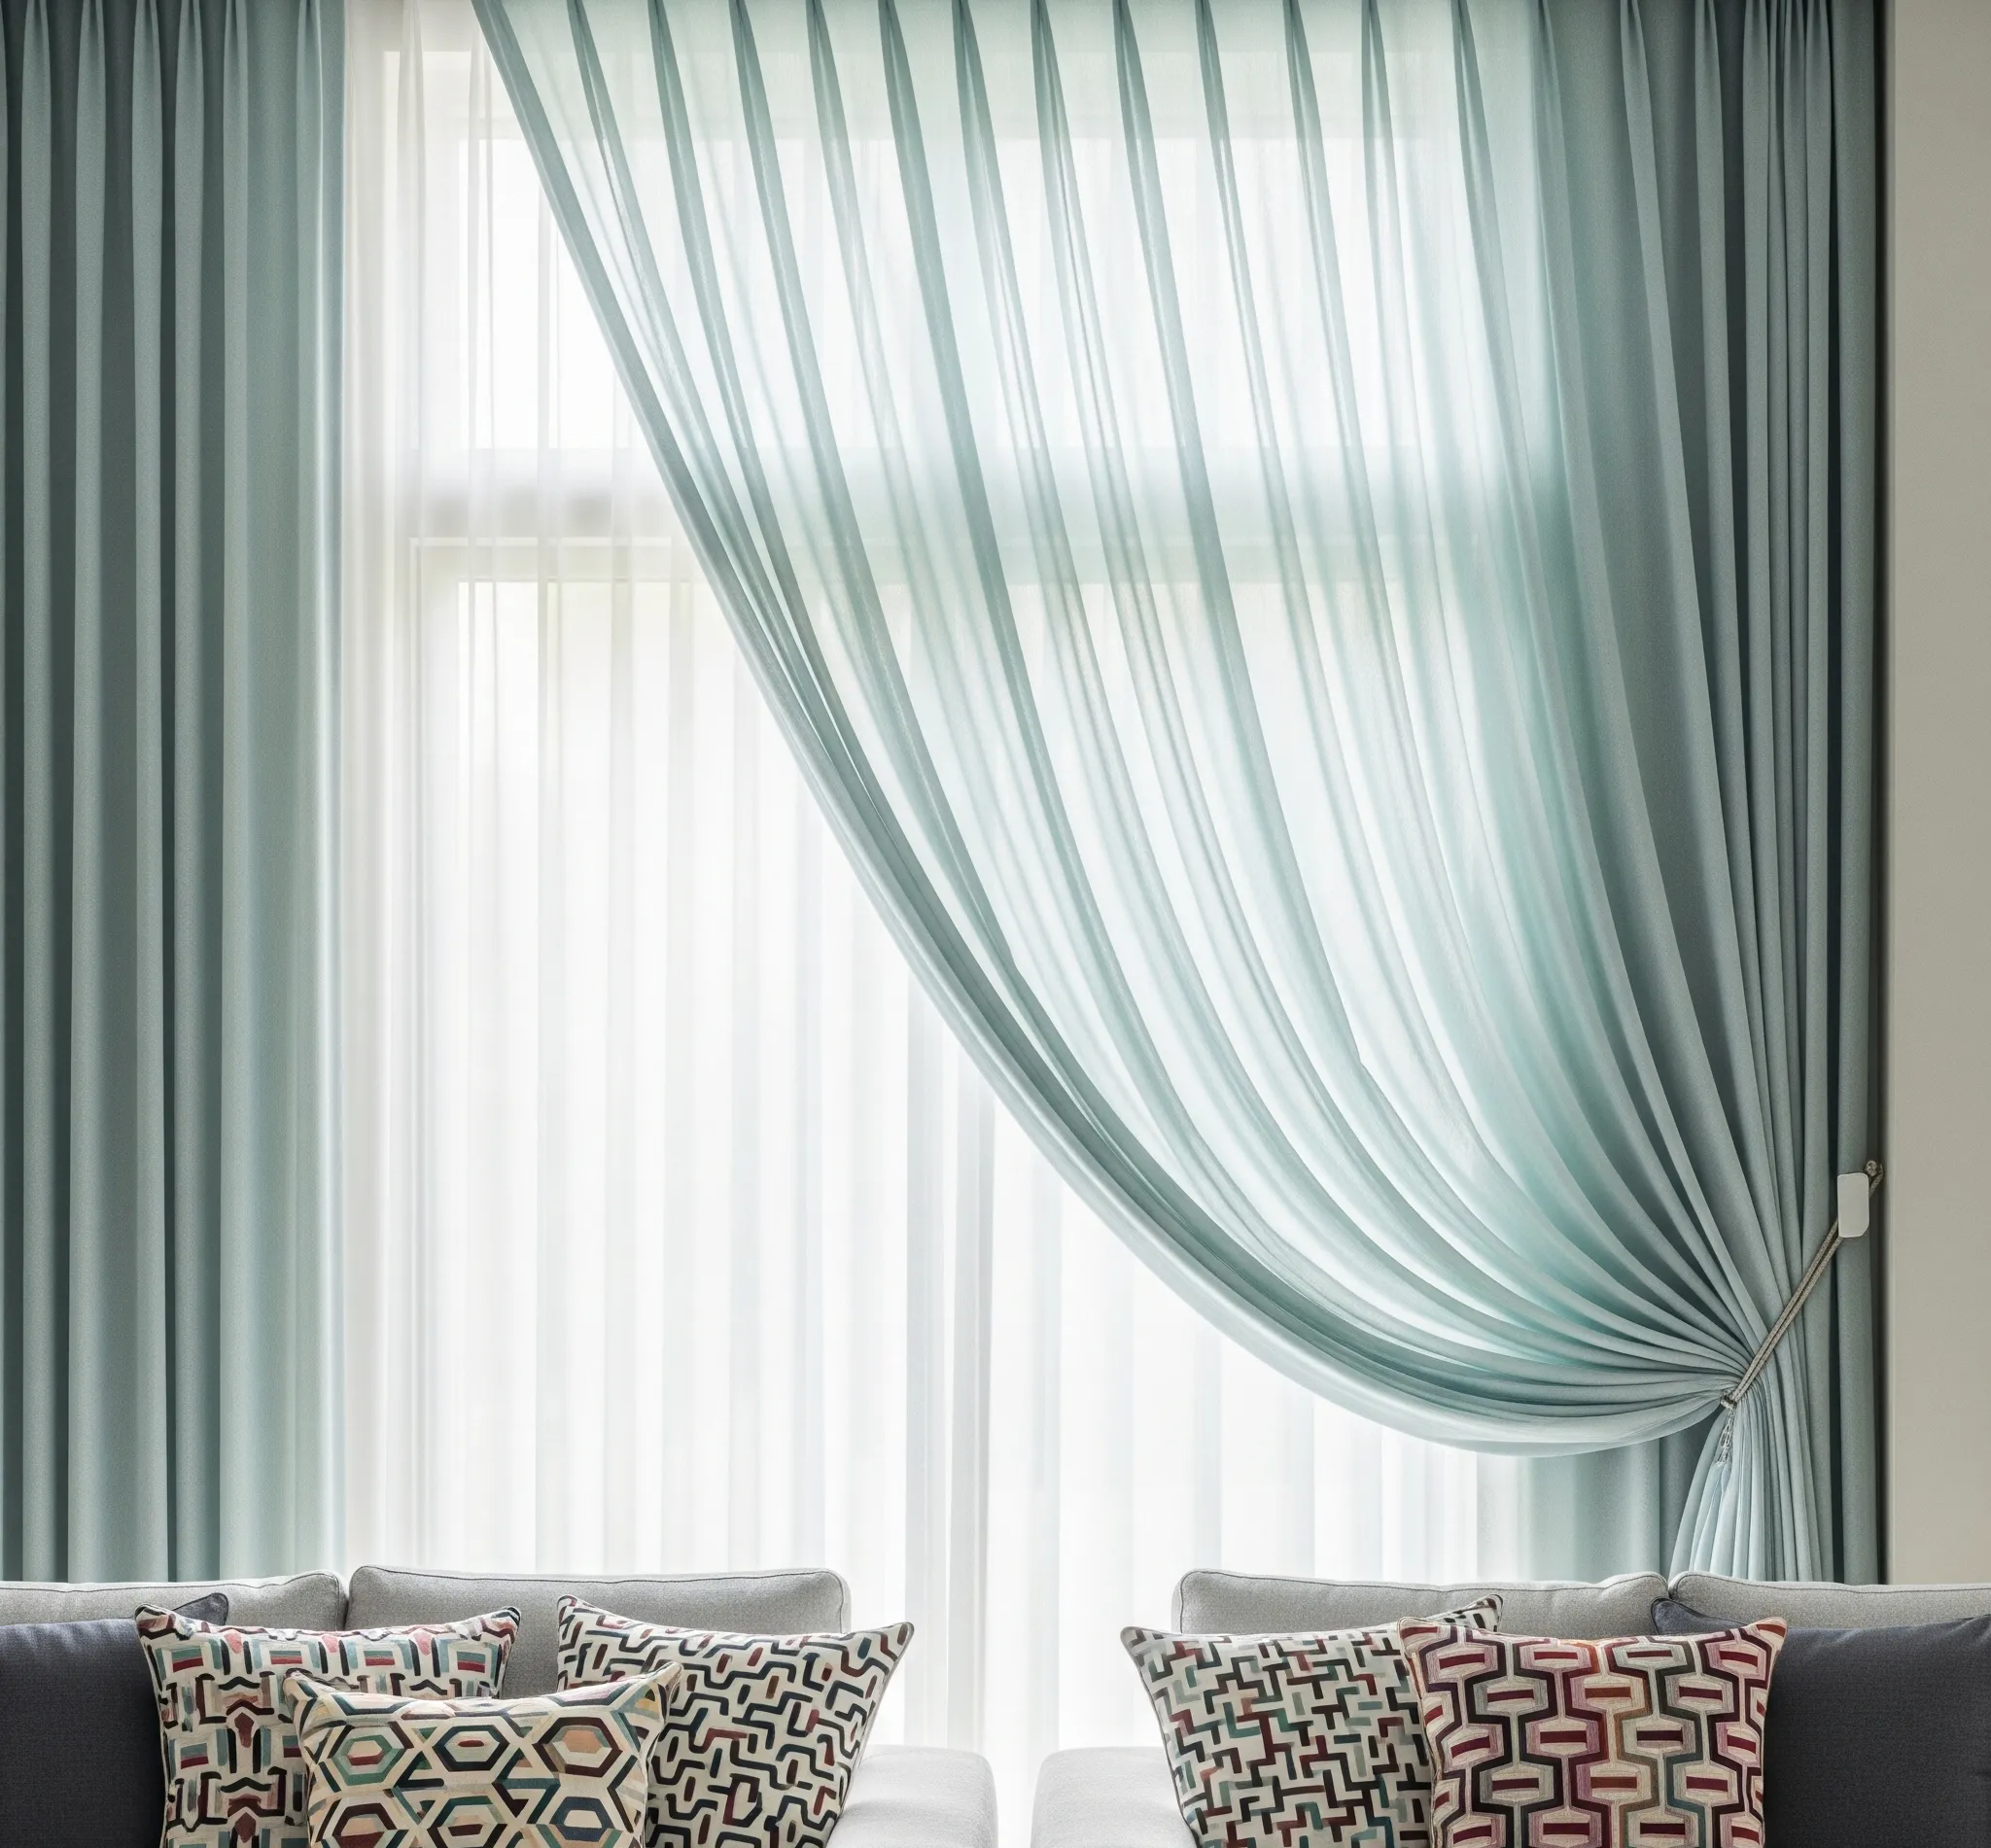
Hanging Curtains Wide: The Illusion of Width
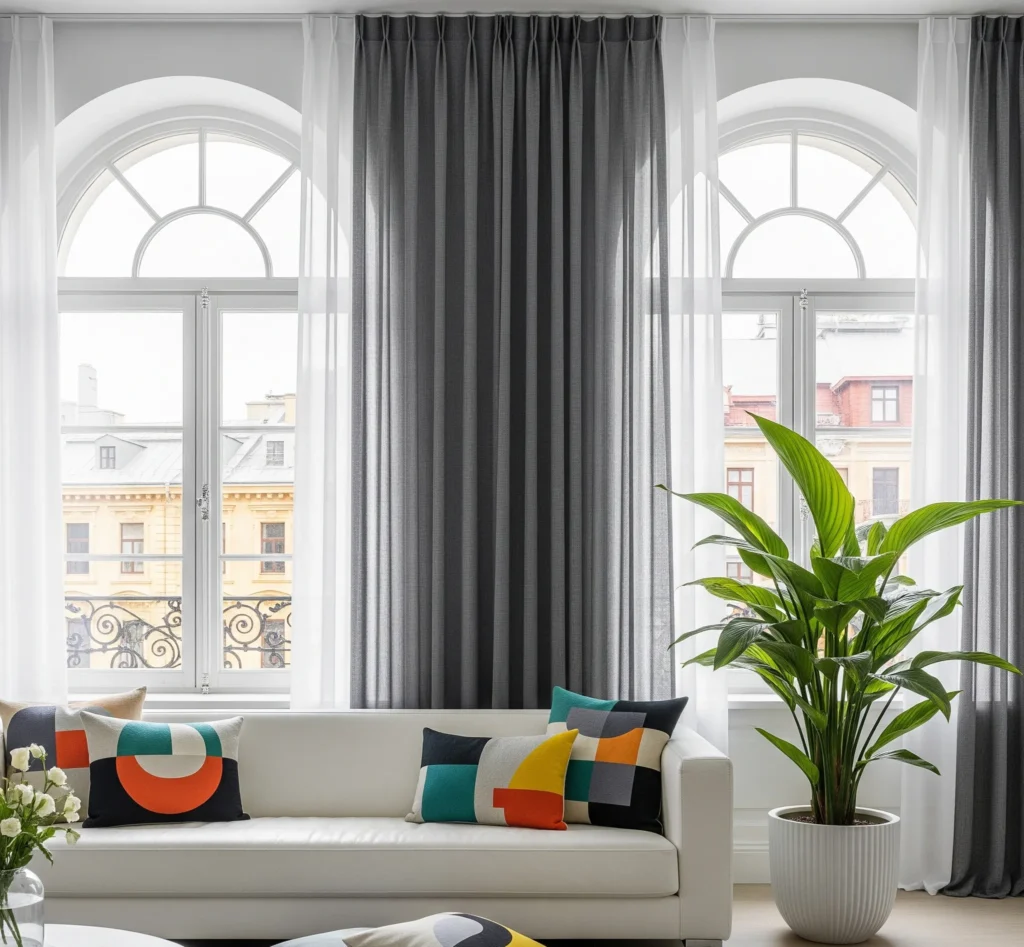
Just as important as hanging high is extending your rod horizontally. Hang curtains wide by extending the rod 6-12 inches beyond the window frame on each side.
When you pull your curtains open, they should stack neatly on the wall, completely clearing the window glass. This allows maximum natural light into the room and makes the window appear much wider than it actually is. It’s a simple trick that has a huge visual impact.
- Rule of Thumb: Extend the rod 6-12 inches beyond the window frame on each side.
- Why it works: Maximizes natural light, makes windows appear wider, and creates a more polished look when drapes are open.
My Personal Takeaway: I was skeptical about extending the rod so far beyond the window. It felt weird at first! But once the drapes were up, pulled back, and the window was fully exposed, the room felt so much brighter and the window seemed enormous. Game changer!
Choosing the Right Curtain Length: The Art of the Drape
This is where personal preference and room function come into play. Your curtain length significantly affects the overall aesthetic of your room.
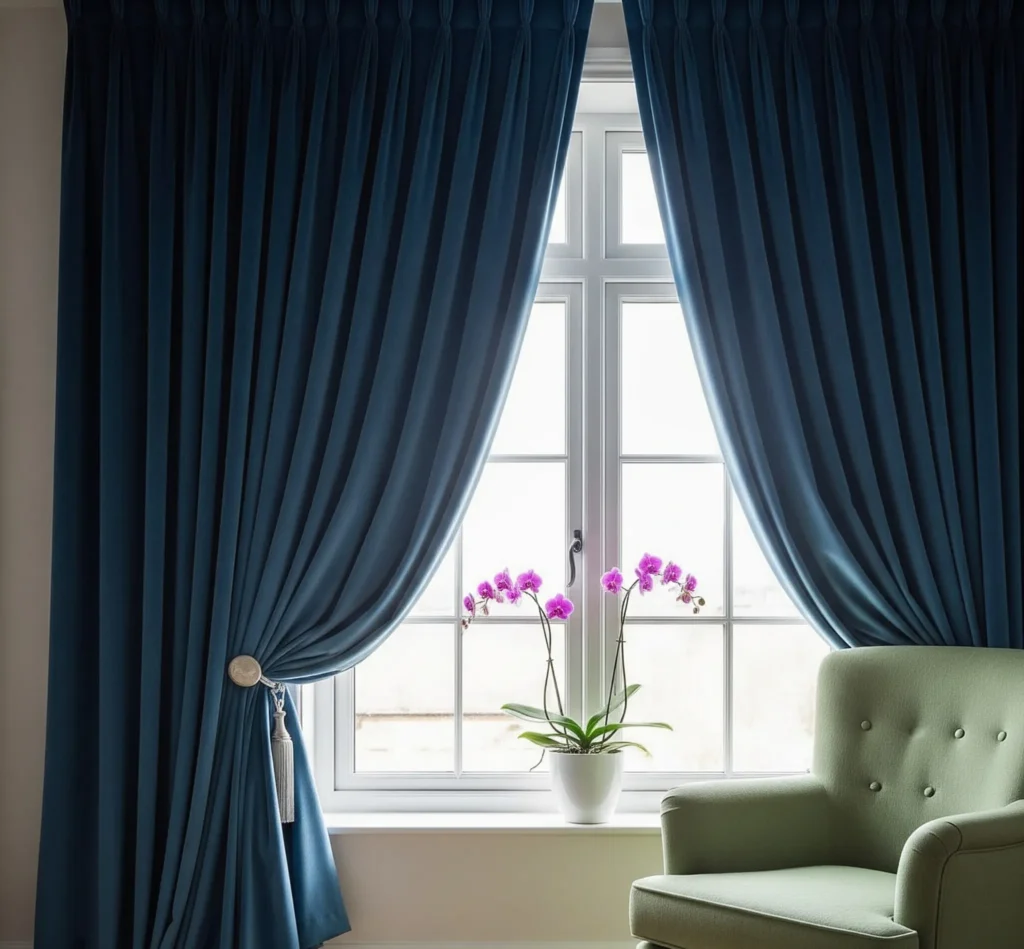
- “Kissing” the Floor: This is a popular, clean, and elegant look. The curtain just barely touches (or “kisses”) the floor. It looks tailored and neat, and it’s practical for rooms with high traffic or pets, as the fabric won’t drag.
- Measurement: Measure from the top of your curtain rod to the floor, then subtract about 1/2 inch.
- “Pooling” (or Puddling): This creates a romantic, luxurious, and slightly informal look. The curtain fabric pools gracefully on the floor. It works best with heavier fabrics like linen or velvet and in formal spaces where you won’t be opening and closing the curtains frequently.
- Measurement: Measure from the top of your curtain rod to the floor, then add 2-6 inches (more for a dramatic puddle).
- “Sill Length” / “Apron Length”: These are shorter curtains. Sill length curtains just touch the windowsill, while apron length extends about 4-6 inches below the sill. These are best for kitchens, bathrooms, or rooms where you have a radiator or furniture directly below the window. They offer a casual, functional look.
- Measurement: Measure from the top of the rod to the sill or 4-6 inches below it.
Pro Tip: If you can’t find curtains in the exact length you need, always go longer! You can hem them yourself, take them to a tailor, or embrace a slight puddle. Curtains that are too short instantly look awkward and cheap.
Step-by-Step Installation: Getting it Right
Now that you know the principles, let’s get down to business. Here’s a simplified step-by-step guide to hanging those perfect drapes.
- Measure Meticulously:
- Width: Measure your window frame from outside edge to outside edge. Add 12-24 inches (6-12 inches per side) for rod extension.
- Height: Measure from the floor up to your desired rod placement (4-12 inches above the window frame, or just below molding). This gives you the ideal length for your curtain panels.
- Mark Your Mount Points:
- Hold your curtain rod (with finials) up to the wall at your desired height and width. Use a pencil to lightly mark where the mounting brackets will go. Ensure it’s level! A laser level is your best friend here, but a traditional level works too.
- Install Brackets:
- Use a drill to create pilot holes at your marked points. If drilling into drywall (not a stud), use drywall anchors for extra stability. Screw the brackets securely into place.
- Assemble Rod and Curtains:
- Slide your curtains onto the rod. If using rings with clips, clip them evenly spaced along the top edge of the curtain panel, usually every 4-6 inches.
- Hang the Rod:
- Carefully place the assembled rod (with curtains) onto the installed brackets. Secure any set screws on the brackets to hold the rod in place.
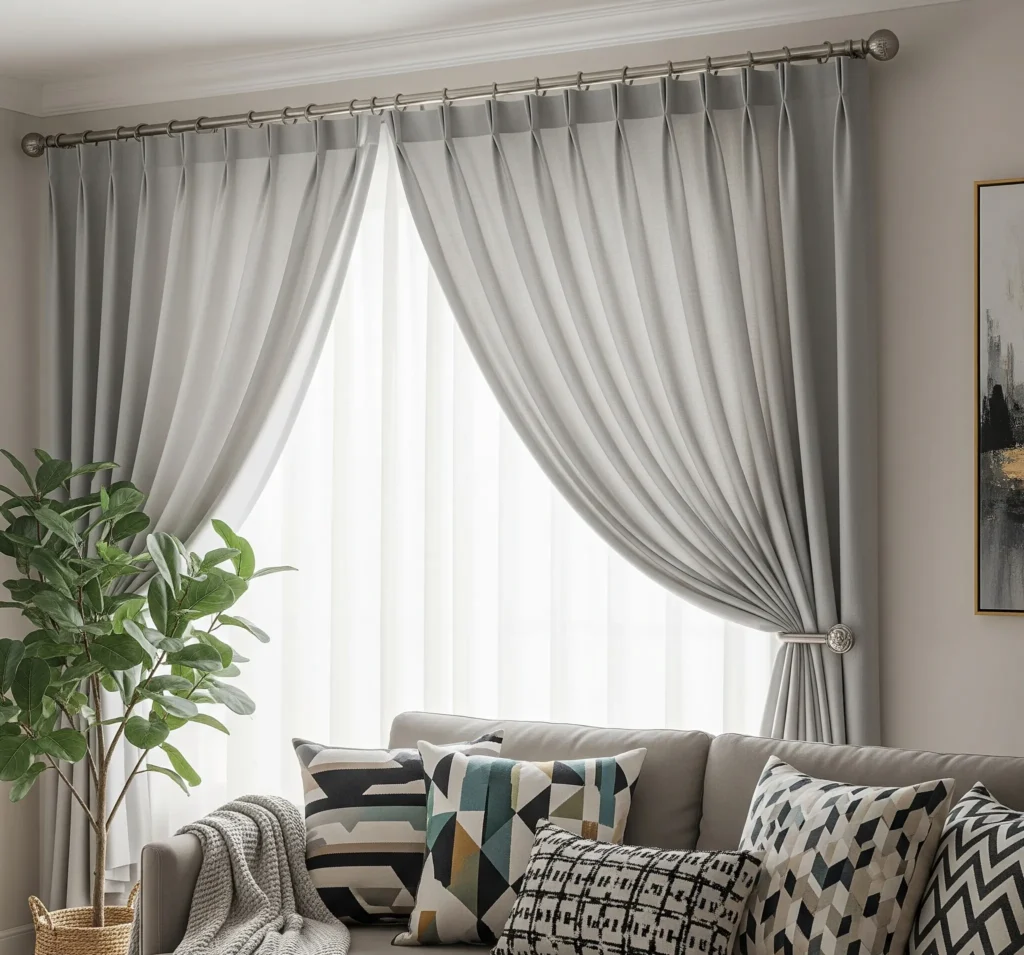
- Style Your Drapes:
- Evenly space your curtain pleats or rings for a tailored look. Use curtain holdbacks or tiebacks to pull the drapes back from the window when open, allowing maximum light.
My Personal Takeaway: That first time I used a level and actually measured, instead of just eyeballing it, felt like unlocking a superpower. My curtains finally looked straight! It’s a small detail, but it makes a huge difference.
Common Challenges & Stylish Solutions: Tricky Windows Made Easy
Not all windows are created equal! Some present unique challenges, but clever curtain hanging ideas can tackle them head-on.
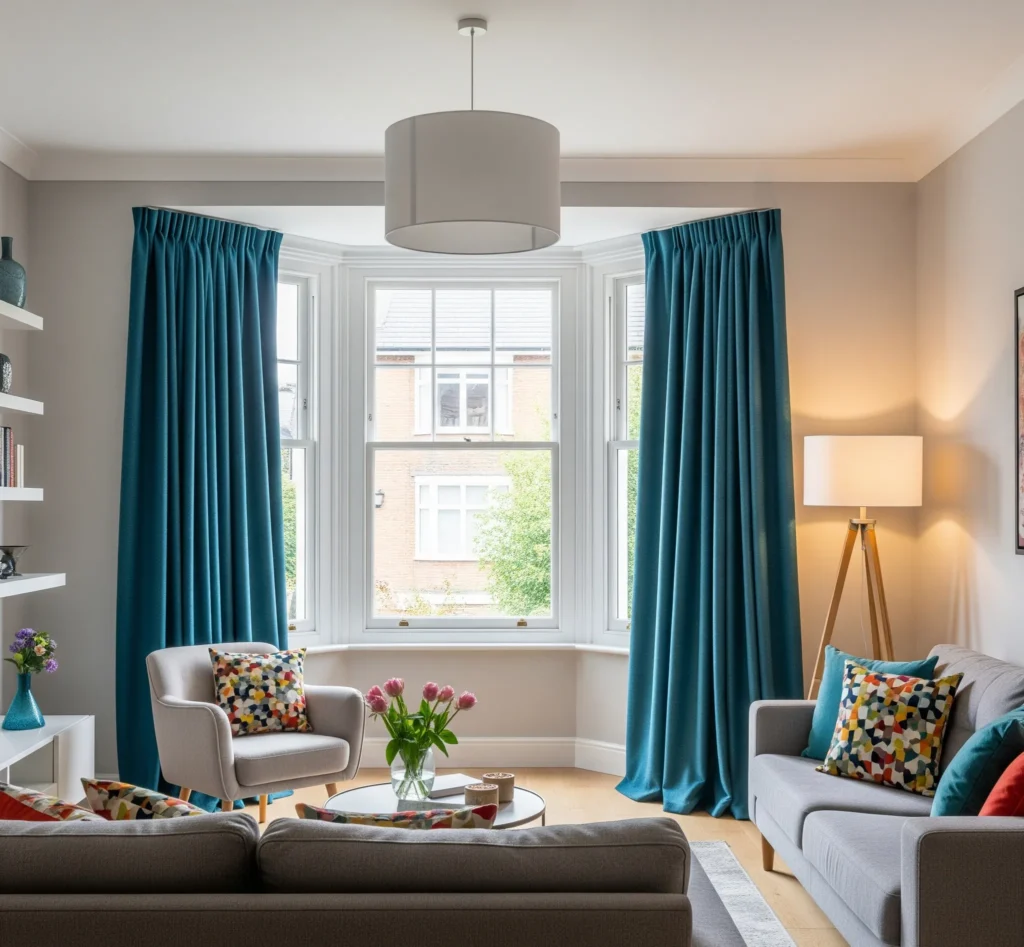
Bay Windows: Curving with Confidence
Bay windows are beautiful but can be tricky. You’ll need a specialized bay window curtain rod, which is jointed and flexible to follow the curve of your window. Alternatively, hang a separate rod on each section of the bay, making sure they overlap slightly at the corners for full coverage.
- Solution: Use a specialized flexible bay window rod, or multiple rods with overlap.
- Why it works: Provides smooth movement and full coverage around the bay’s angles.
Corner Windows: Seamless Transitions
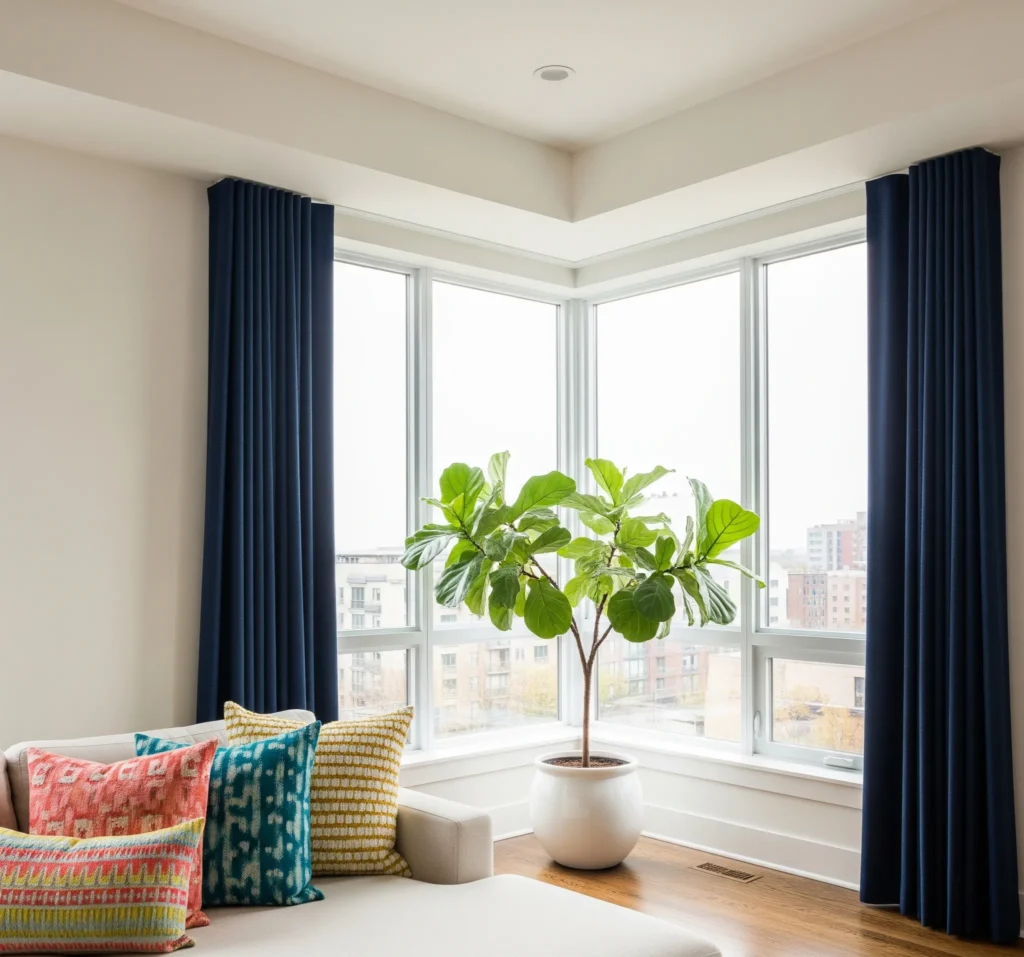
Corner windows (where two windows meet at a 90-degree angle) require a specific approach to avoid gaps. You can use a corner connector piece that joins two standard curtain rods, allowing the curtains to meet neatly in the corner. Alternatively, use a single long rod that extends around the corner with specialized corner brackets.
- Solution: Corner curtain rod connector or continuous corner rod system.
- Why it works: Creates a seamless, finished look without gaps at the corner.
Unusually Sized Windows: Custom Looks Without the Custom Price
Got a super wide, narrow, or oddly shaped window? Don’t despair! Unusually sized windows can still look fantastic. For wide windows, use multiple panels to ensure fullness, possibly joining them with curtain clips. For narrow windows, hang your rod extra wide (as discussed earlier!) to create the illusion of more width. For very tall windows, consider custom panels or embrace extra-long pooling for drama.
- Solution: Use multiple panels for width, hang rods extra wide for narrow windows, custom panels or pooling for height.
- Why it works: Adapts standard solutions to unique dimensions, creating a custom appearance.
Pro Tip: For a super wide window where you can’t find a single rod long enough, you can often join two rods with a hidden internal connector. Just ensure the center bracket supports the joint.
Your Windows, Transformed!
So, there you have it! A comprehensive guide to how to hang curtains, transforming your window treatments from an afterthought into stunning focal points. We’ve talked about everything from measuring precisely and choosing the right hardware to mastering the art of hanging high and wide for maximum impact. We’ve even tackled tricky window types and styling various lengths.
Remember, hanging curtains like a pro isn’t about being a seasoned interior designer; it’s about understanding a few key principles and applying them with confidence. These simple techniques can make your room feel taller, your windows appear wider, and your entire space instantly more polished and inviting. So, grab your measuring tape (and maybe a helpful friend!), embrace the process, and get ready to see your windows shine!