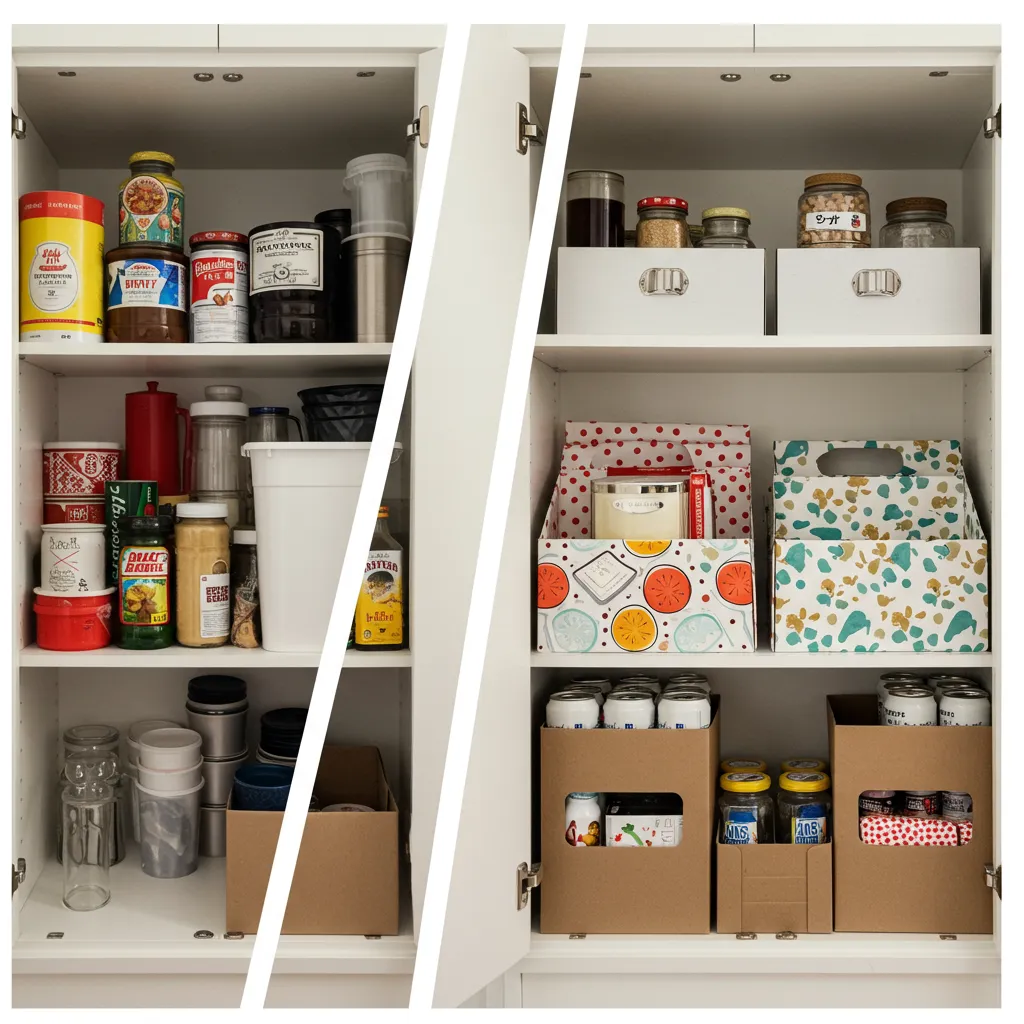
Hey there, fellow home organizers! Are you tired of rummaging through your kitchen cabinets, desperately searching for that one spice jar or the right lid for your pot? We’ve all been there! The good news is, you don’t need fancy tools or a carpentry degree to bring some order to that chaos. With a little creativity and a few things you probably already have lying around, you can create a super functional and surprisingly stylish cabinet organizer.
This guide is all about making it easy, affordable, and fun! Let’s transform those cluttered cabinets into spaces of calm and efficiency.
Step 1: What You’ll Need
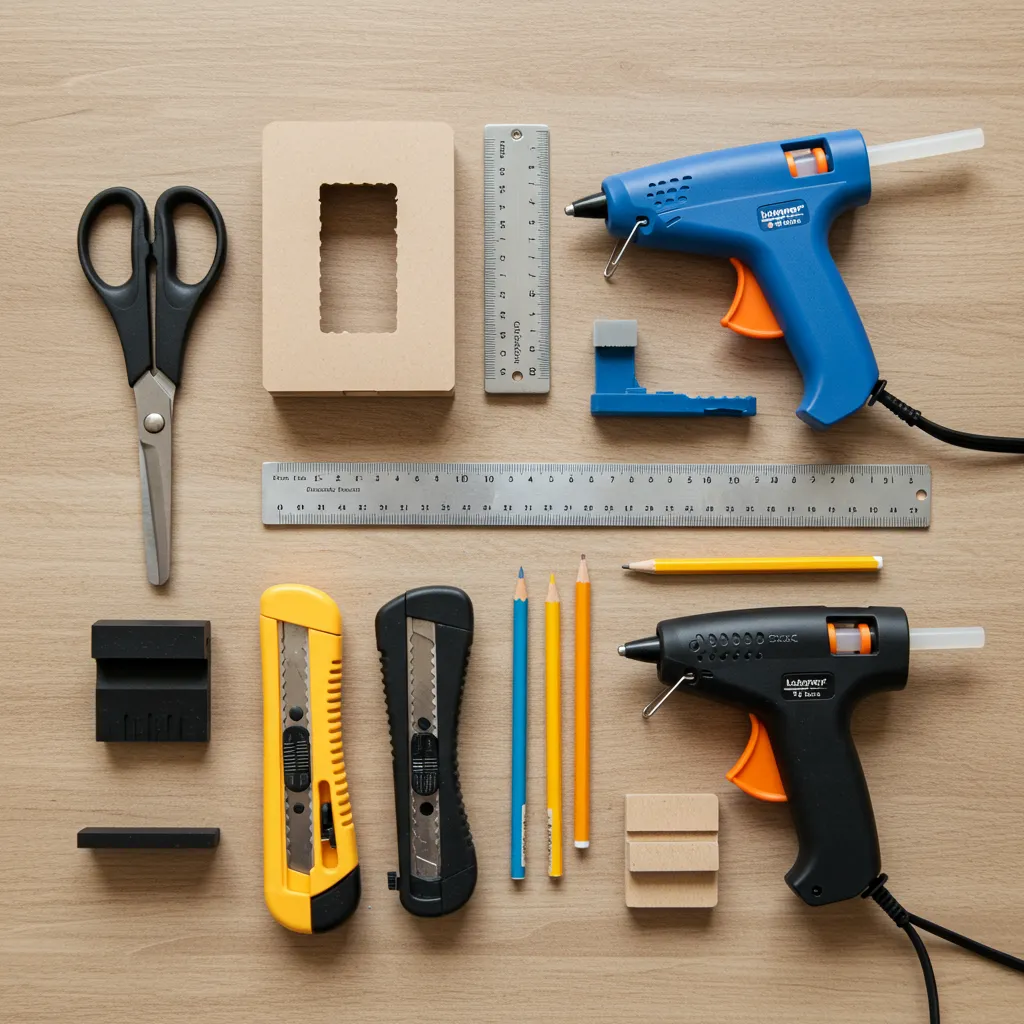
Before we dive in, let’s gather our “materials.” Remember, we’re keeping it simple and using what’s already available in your home. No special trips to the hardware store needed!
- Cardboard Boxes: Think cereal boxes, shoeboxes, Amazon delivery boxes – any sturdy cardboard will do! Different sizes can be great for different items.
- Scissors or a Box Cutter: Be careful with the box cutter! Always cut away from yourself and use a cutting mat or a piece of scrap cardboard underneath.
- Ruler or Measuring Tape: For getting those straight lines and accurate cuts.
- Pencil or Marker: To mark your cutting lines.
- Glue (Hot Glue Gun, Craft Glue, or Strong Tape): Hot glue works fastest, but strong craft glue or even packing tape can do the trick if you’re patient.
- Decorative Touches (Optional but Fun!):
- Old Fabric Scraps: An old t-shirt, a dish towel, or even a pretty pillowcase can be repurposed.
- Wrapping Paper or Wallpaper Scraps: Leftovers from holidays or home projects.
- Paint or Markers: If you want to color-code or draw designs.
- Newspaper or Magazine Pages: For a decoupage look.
Step 2: Plan Your Attack (and Your Cabinet!)
Before you start cutting, take a moment to assess your cabinet. What’s currently in there? What do you want to organize?
Empty it out: Yes, it’s messy, but it’s the best way to see what you’re working with.
Categorize: Group similar items together. All your spices? Baking supplies? Tupperware lids? This will help you decide what size compartments you need.
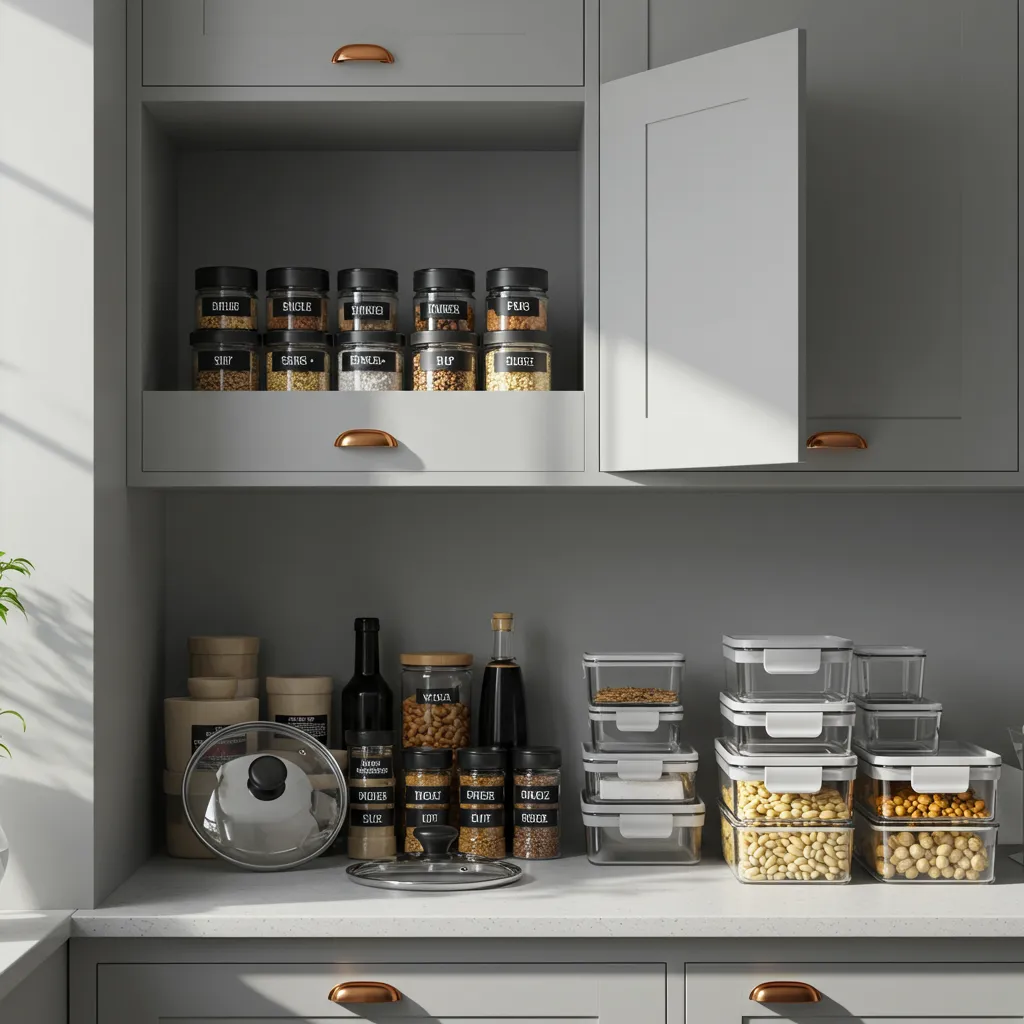
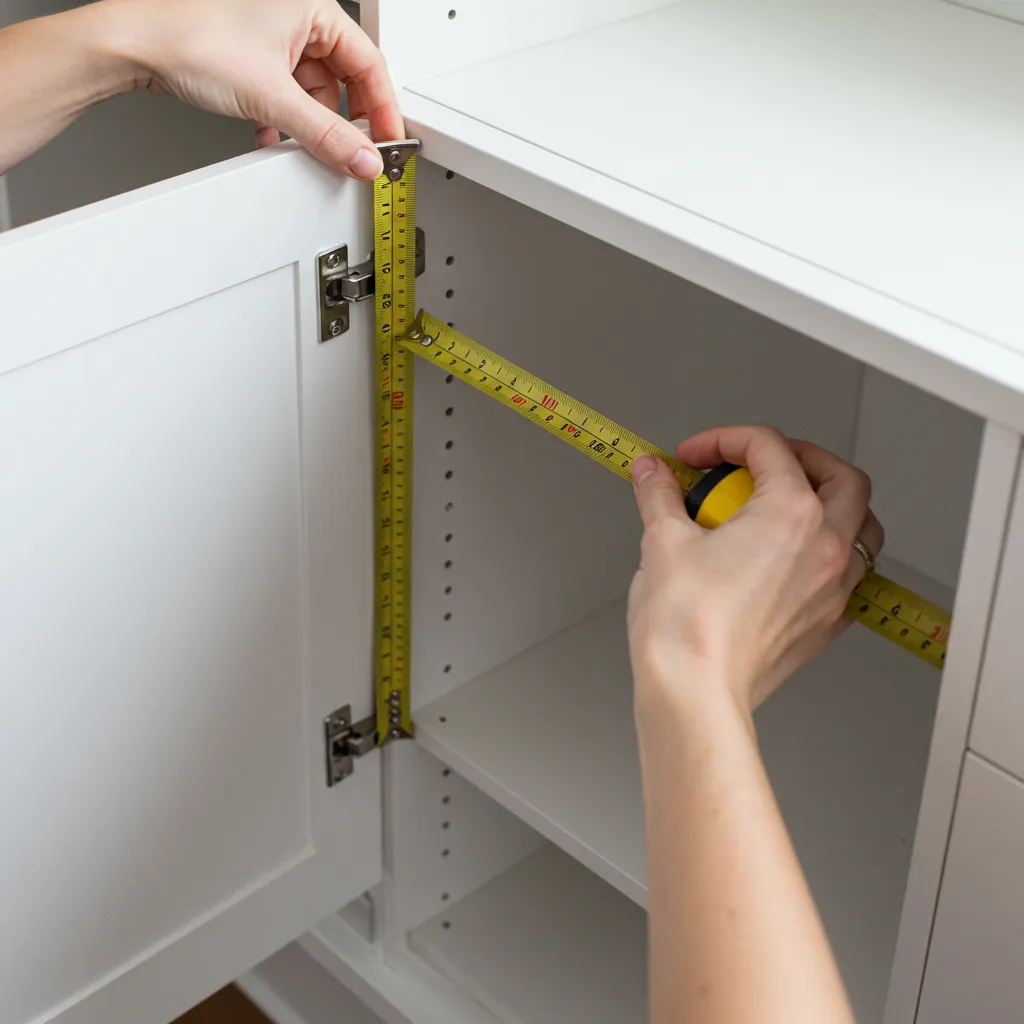
Measure: Use your ruler or measuring tape to get the dimensions of your cabinet’s interior (width, depth, and height). This is crucial so your new organizer fits perfectly! Also, measure the items you want to store.
Step 3: Design Your Organizer
Now for the creative part! Based on your measurements and categories, sketch out a simple design.
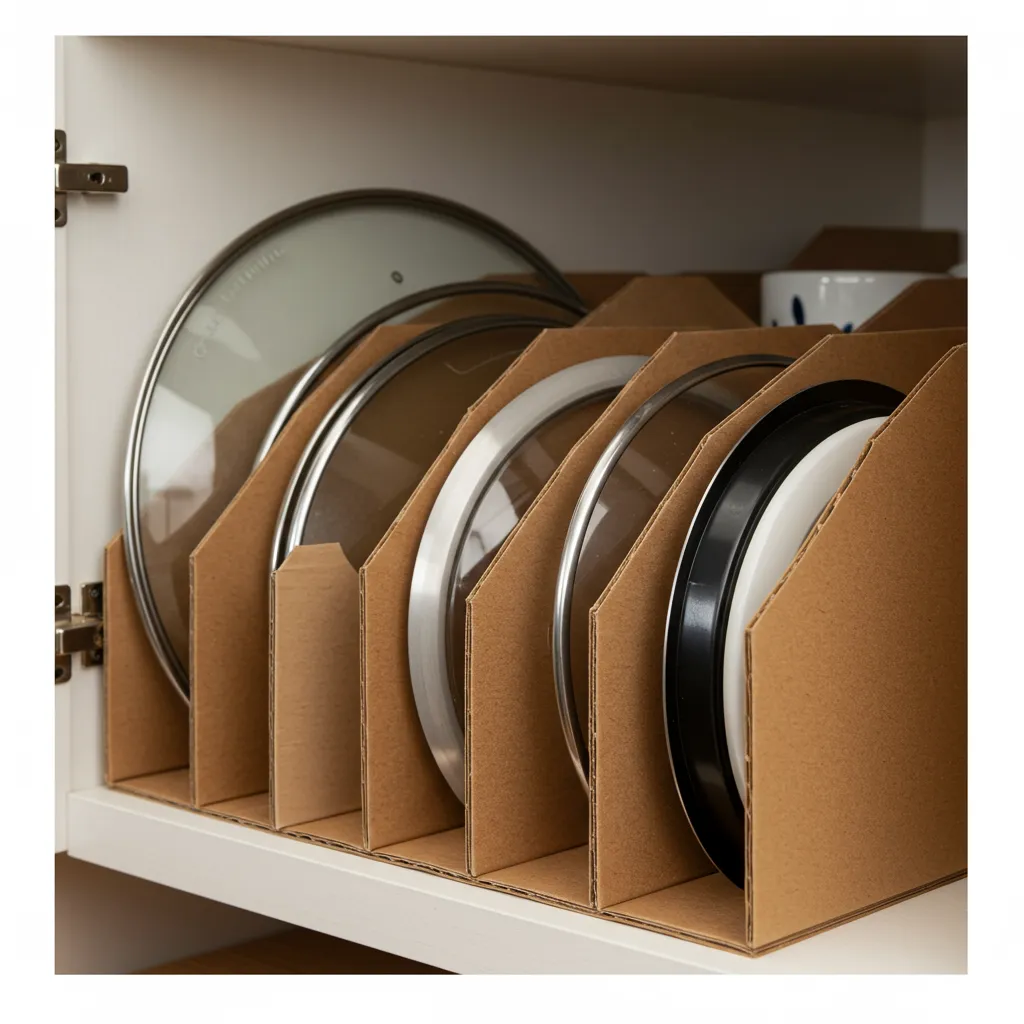
Dividers for Lids: For pot lids, you can create tall, narrow dividers.
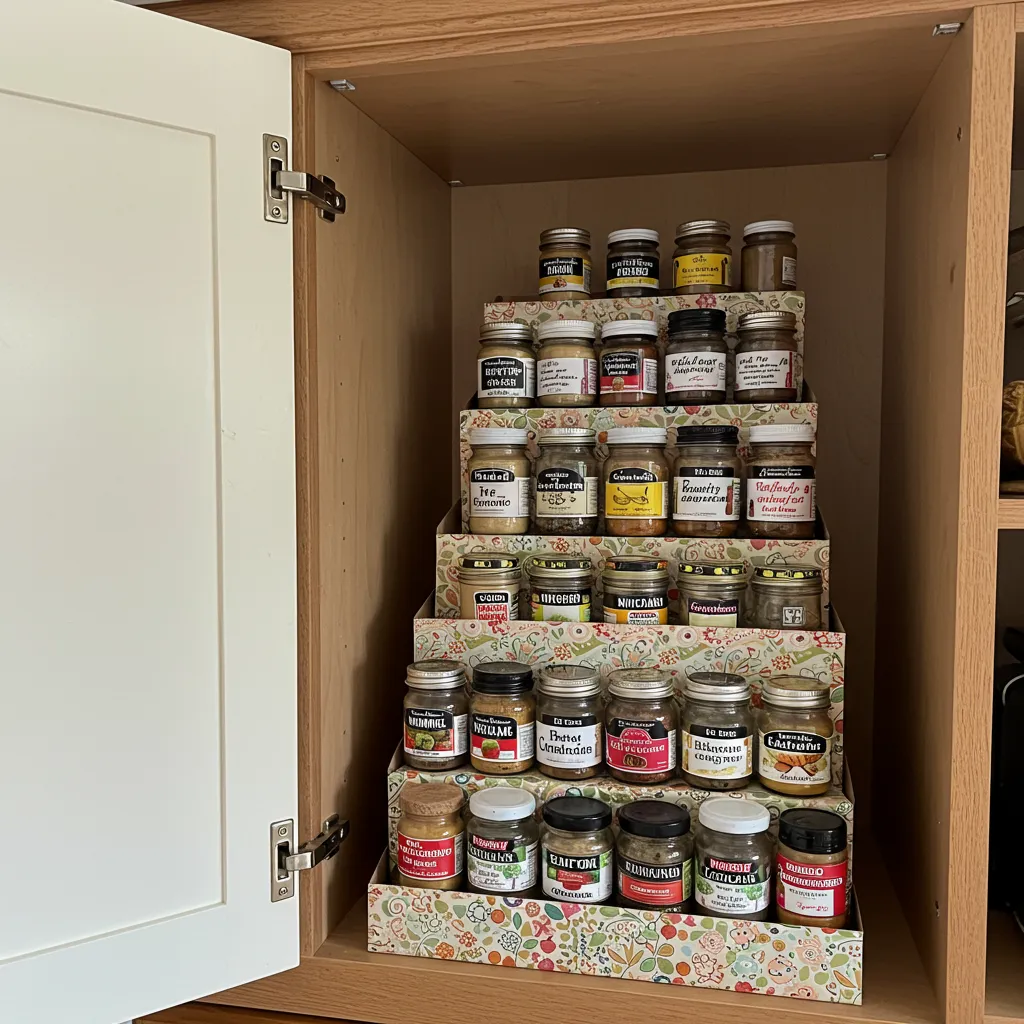
Tiered Shelves: For spices or smaller jars, you can make a mini-shelf or two to elevate items at the back.
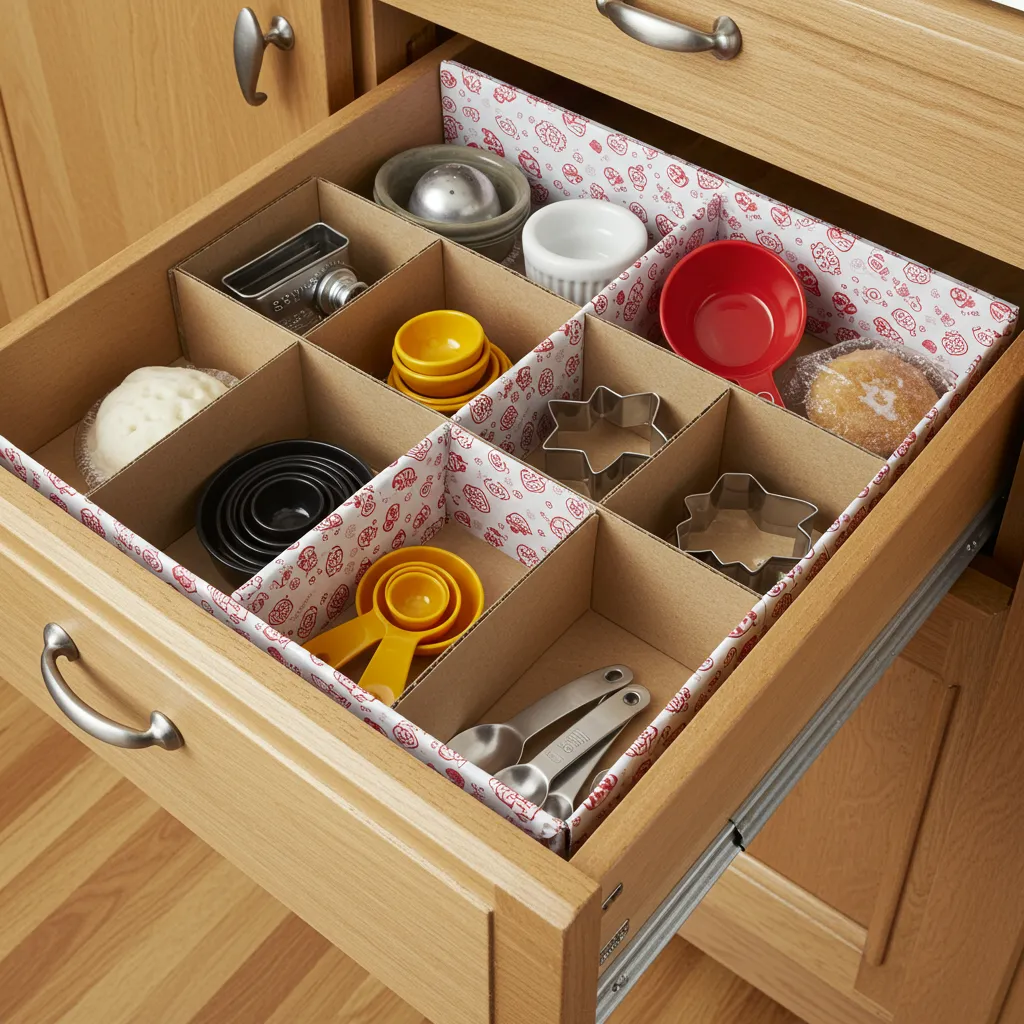
Compartments for Small Items: For things like measuring spoons or cookie cutters, small boxes can act as individual bins.
Pro Tip: Think vertically! Stacking and creating levels can maximize space in deep cabinets.
Step 4: Cut and Construct Your Cardboard Pieces
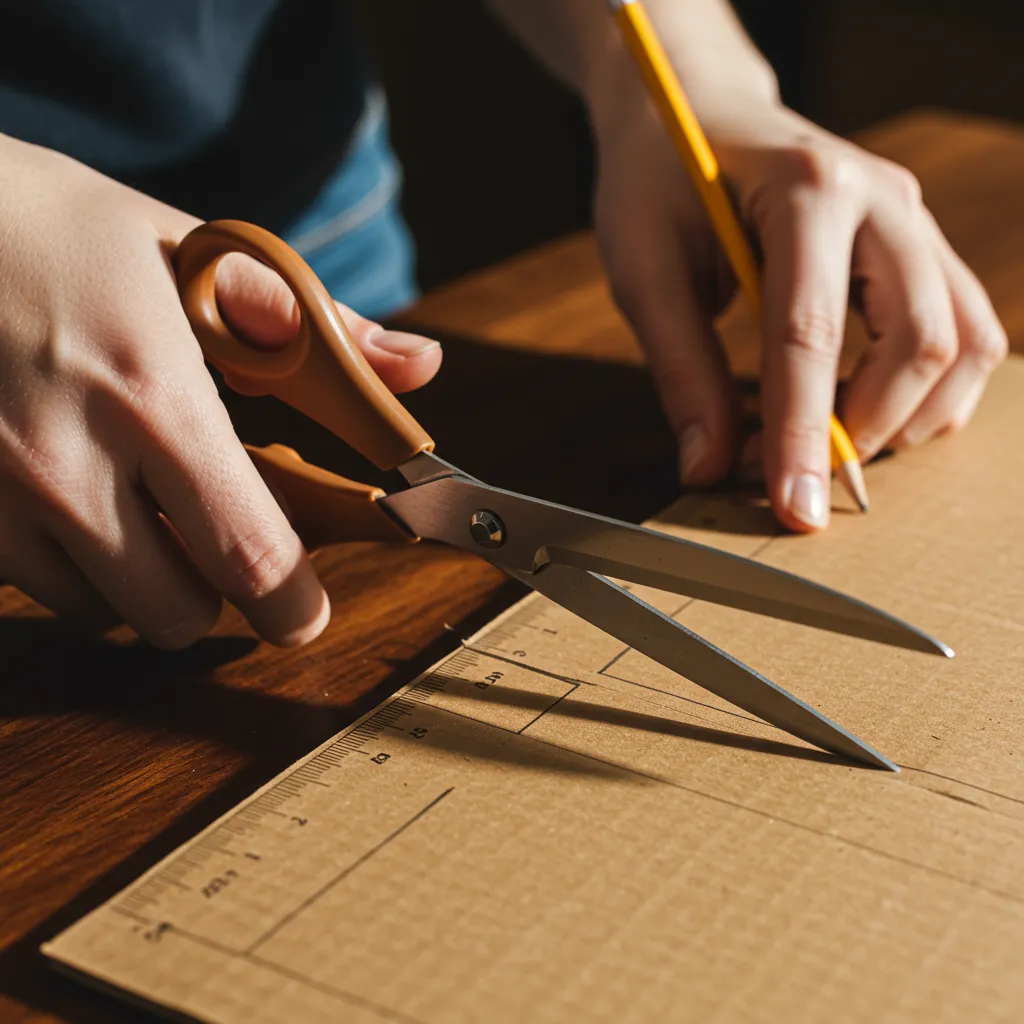
Measure and Mark: Using your ruler and pencil, mark the dimensions on your cardboard boxes according to your design. For example, if you’re making a divider, measure the height and width you need.
Cut Carefully: Use your scissors or box cutter to cut out the cardboard pieces. Take your time and make sure your cuts are as straight as possible.
Assemble:
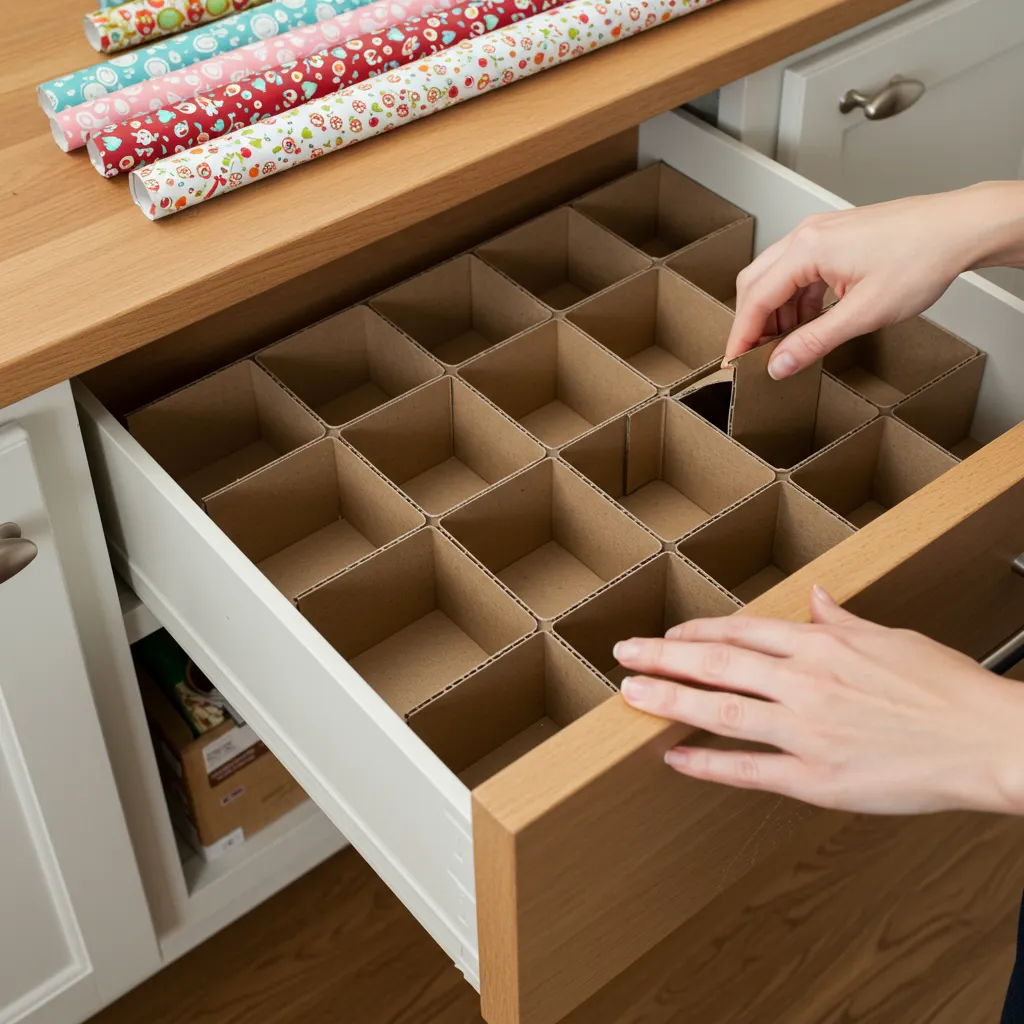
For Dividers: Cut rectangular pieces. You can either glue them directly to the bottom of a larger box (if you’re making an insert) or create slots in intersecting pieces to form a grid.
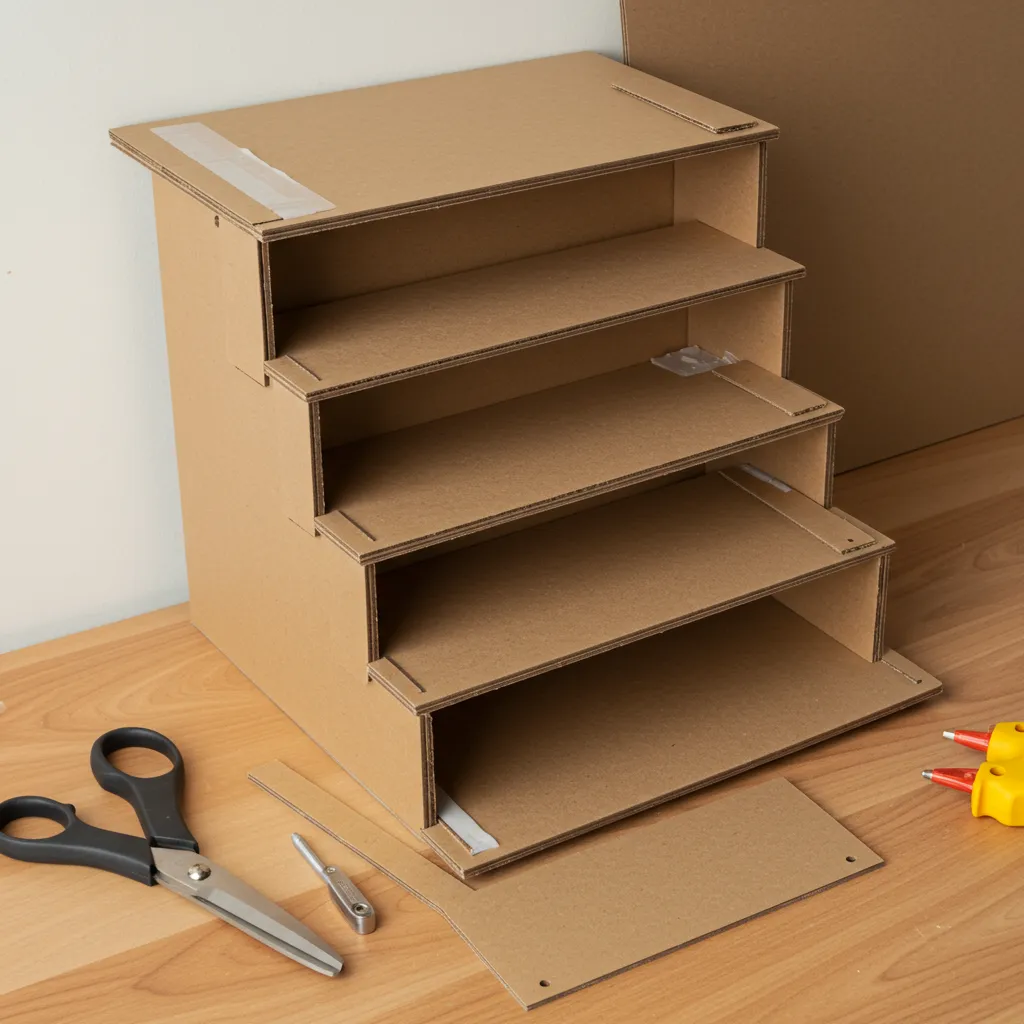
For Tiered Shelves: Cut a rectangular piece for the shelf top and two smaller rectangles for the “legs” or supports. Fold the legs into an “L” shape or simply glue them upright to the underside of the shelf.
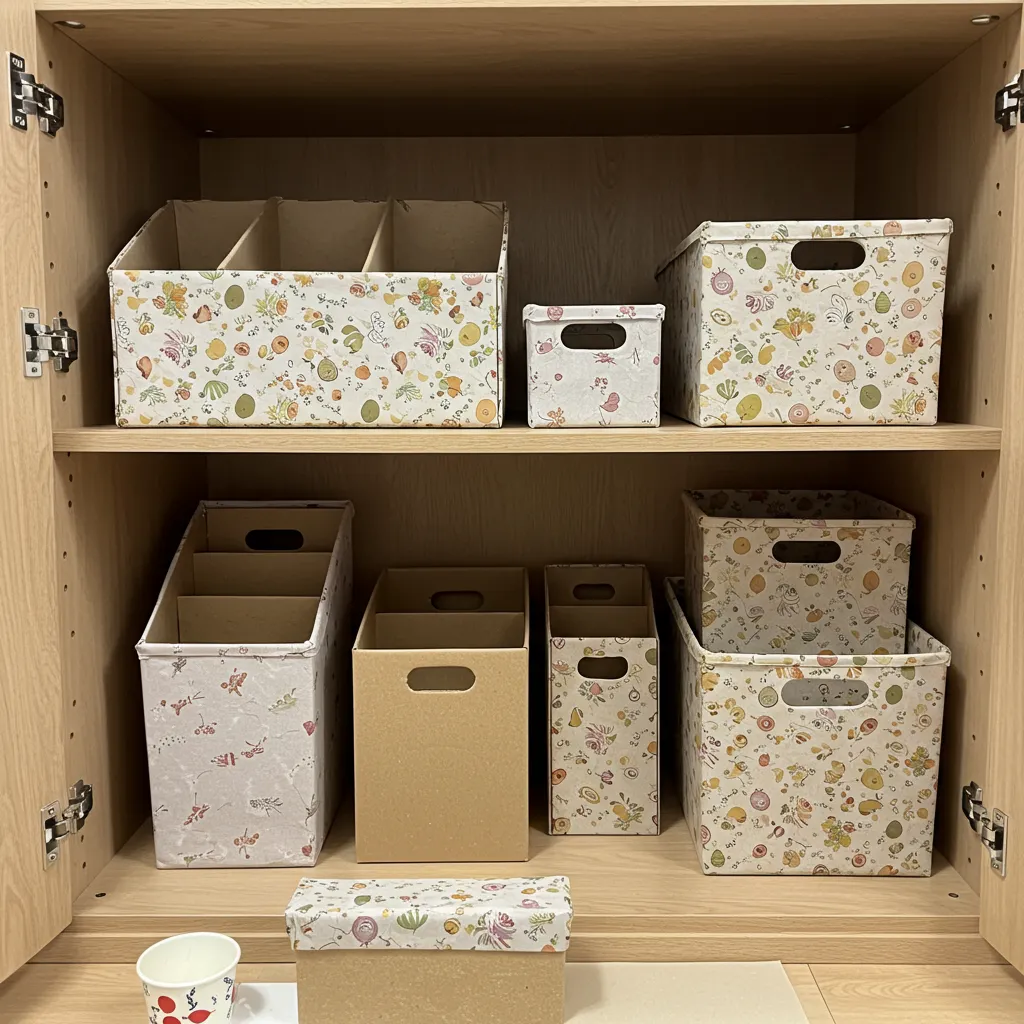
For Bins/Compartments: If using existing boxes, you might just need to cut down the height. If building from scratch, cut four side pieces and a bottom piece, then glue them together.
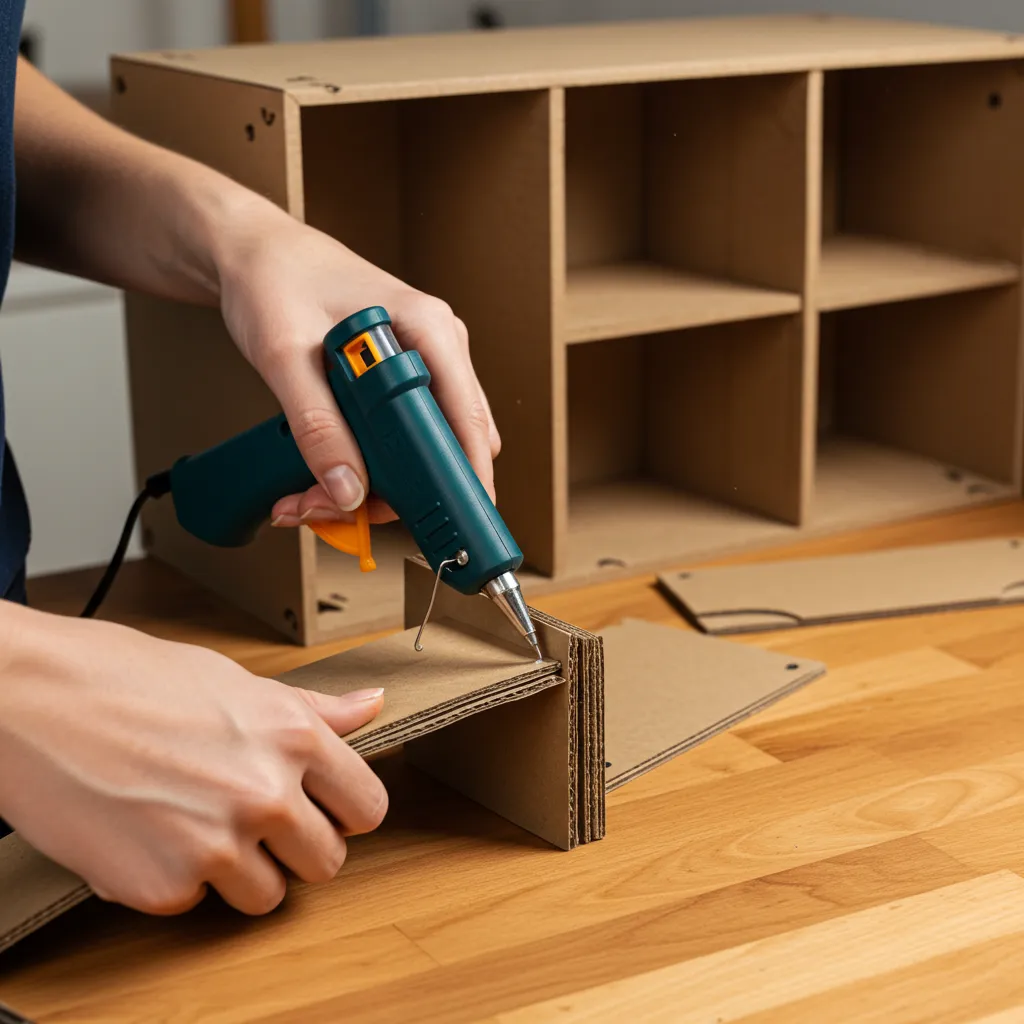
Secure with Glue/Tape: Apply a generous amount of glue or strong tape to all seams and joints. Hold the pieces together until the glue sets, or use tape to reinforce. The stronger the bond, the longer your organizer will last!
Time to bring your design to life!
Step 5: Decorate (Optional, but Recommended!)
This is where you can really make your organizer your own!
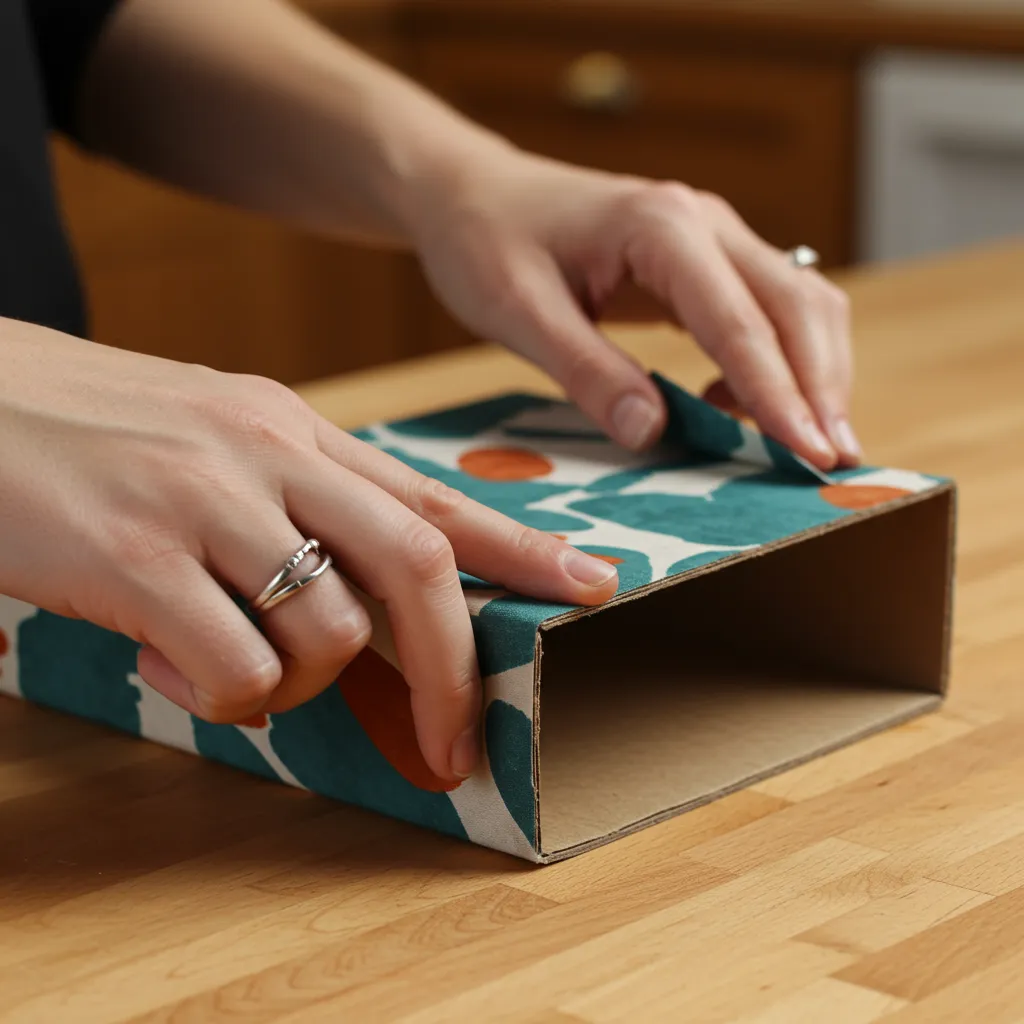
Wrap It Up: Use wrapping paper, wallpaper, or fabric scraps to cover the cardboard. Apply glue evenly to the cardboard, then carefully smooth the paper/fabric over it, trimming any excess. This hides the cardboard and makes it look much more polished.
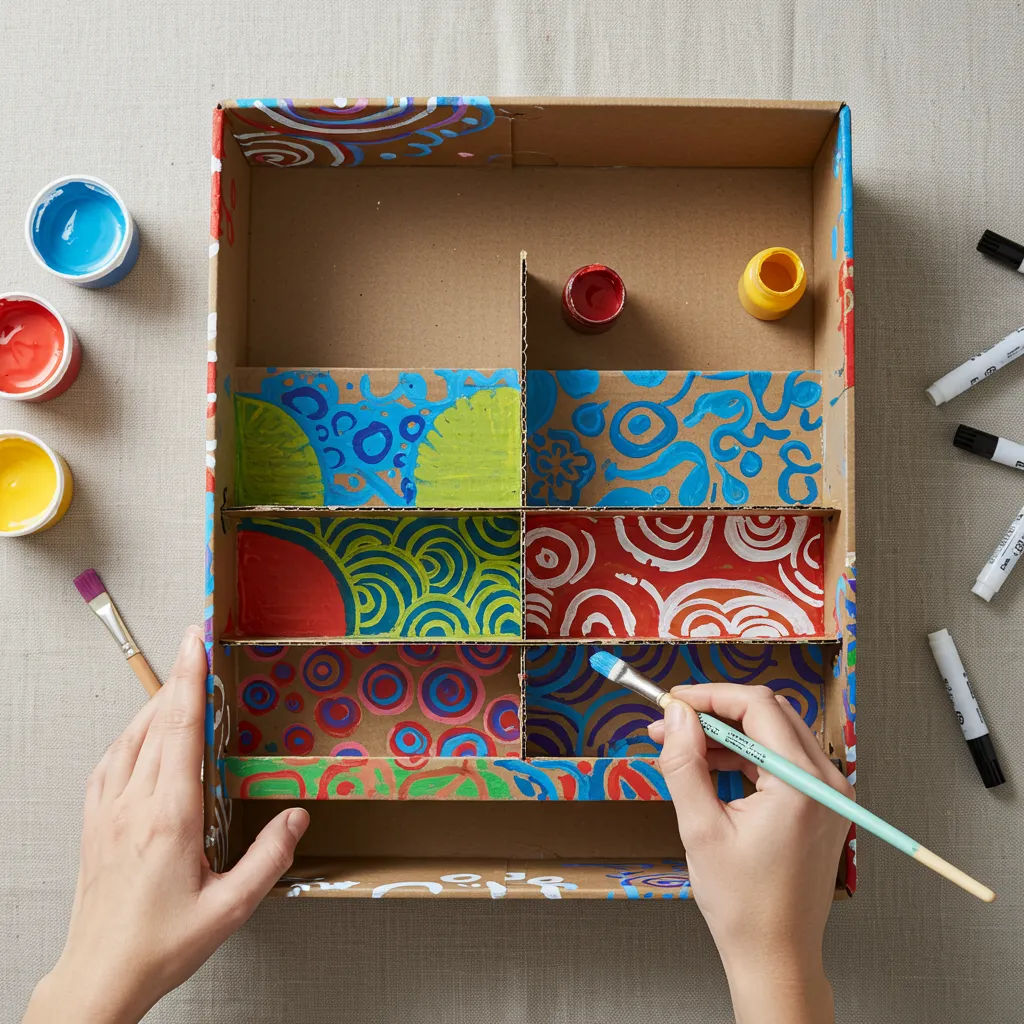
Paint or Draw: If you prefer, you can paint your cardboard pieces or use markers to draw patterns, labels, or fun designs.
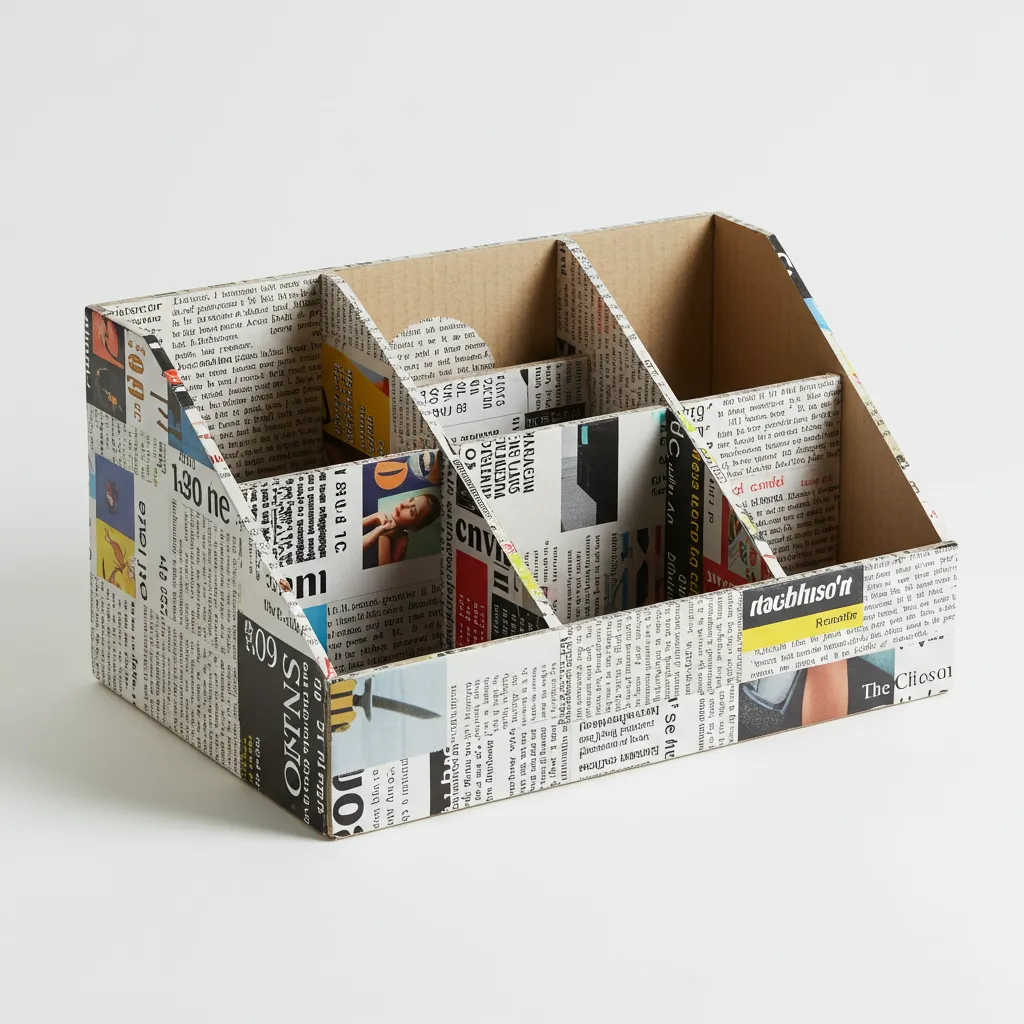
Decoupage: Tear up old newspaper or magazine pages and glue them onto the cardboard in overlapping layers for a unique, textured look.
Let your decorated pieces dry completely before moving them.
Step 6: Load and Organize!
Once everything is dry and sturdy, it’s time for the grand reveal!
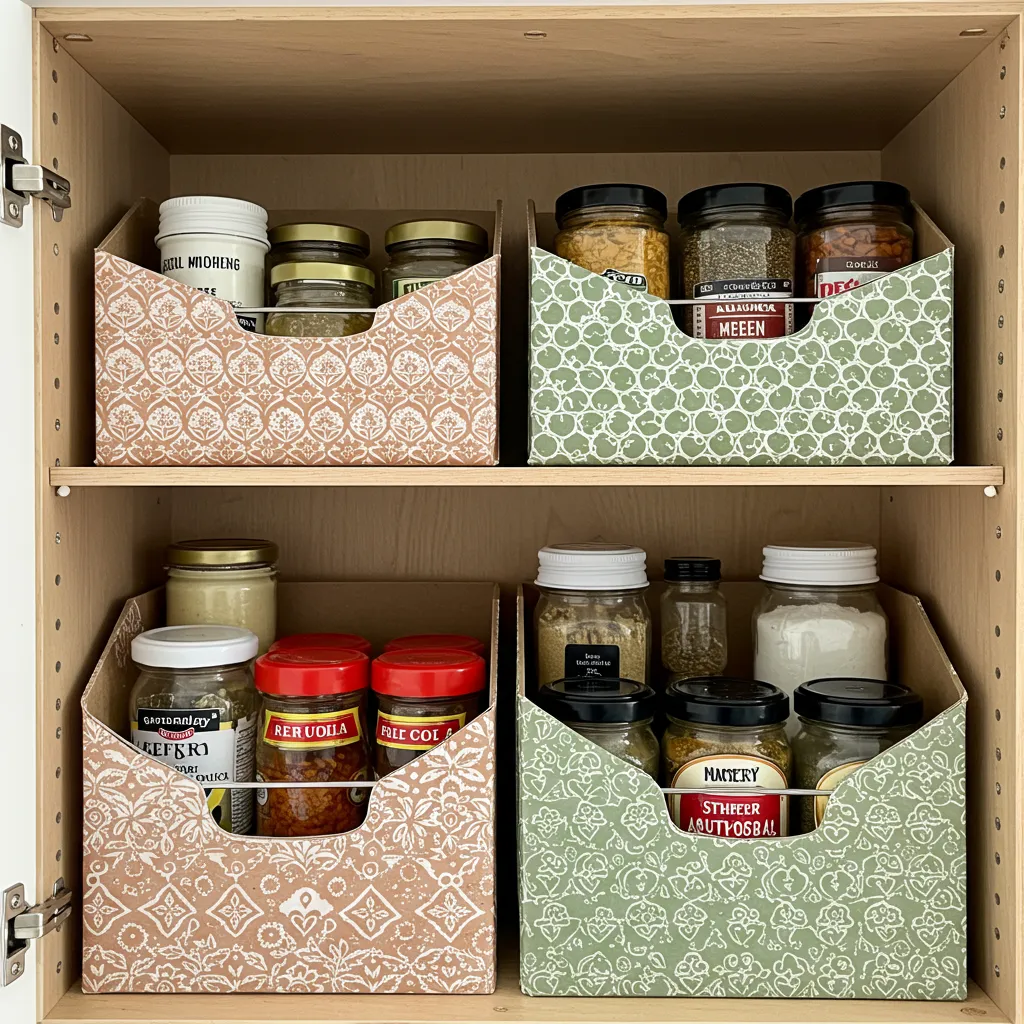
- Place Your Organizer: Carefully slide your newly made cardboard organizer into your kitchen cabinet.
- Fill It Up: Start placing your categorized items into their new, designated spots.
- Admire Your Work: Step back and take a moment to appreciate your handiwork! You’ve transformed a messy space into an organized haven, all by yourself, and without spending a fortune.
Maintaining your organized cabinet is the final step. Try to put things back in their place after each use, and do a quick tidy-up every now and then.
Enjoy your beautifully organized kitchen! You did it!
