I get it. That first cup of coffee is basically a non-negotiable step in the morning ritual, right? But what happens when that magical morning brew starts tasting less like a glorious wake-up call and more like…well, something vaguely metallic and disappointing? Yuck.
If your beloved Keurig is acting up—maybe it’s brewing super slow, smelling a little strange, or you’re seeing some weird white floaties—you’ve likely got a serious case of mineral buildup. That’s the pain point, my friend. It’s the silent killer of great coffee and the reason your machine is slowly grinding to a halt.
Why Cleaning Your Keurig Is the Real MVP Move
Seriously, cleaning a Keurig coffee maker isn’t just a chore; it’s an act of self-care for your caffeine habit. The difference between a clean machine and a gunked-up one is night and day.
First, there’s the taste. If your coffee tastes burnt or sour, it’s probably because old coffee oils and mineral deposits are hanging around, ruining the flavor profile of your expensive K-Cups. You deserve better! Second, cleaning actually protects your investment. Neglecting the inside of your Keurig is a guaranteed way to shorten its lifespan and invite a costly replacement. Third, let’s be real: hygiene. Do you really want to drink water that’s been sitting in a sludge-filled reservoir? I didn’t think so.
Now, about the cleaning method itself. You could buy a fancy, chemical commercial descaling solution, but as someone who’s been down that road, I’m a huge fan of the DIY approach. Why? Because vinegar is a favorite DIY method for a reason. It’s dirt cheap, totally natural, and incredibly effective at cutting through that nasty scale.
Ready to reclaim your perfect cup? In this post, you’ll learn the simple, yet powerful, step-by-step method for how to clean a Keurig with vinegar, plus a few essential pro tips, how often you should do it, and the classic mistakes you absolutely need to avoid. Let’s get that machine sparkling!
1. What Is “Descaling” and Why It’s Essential
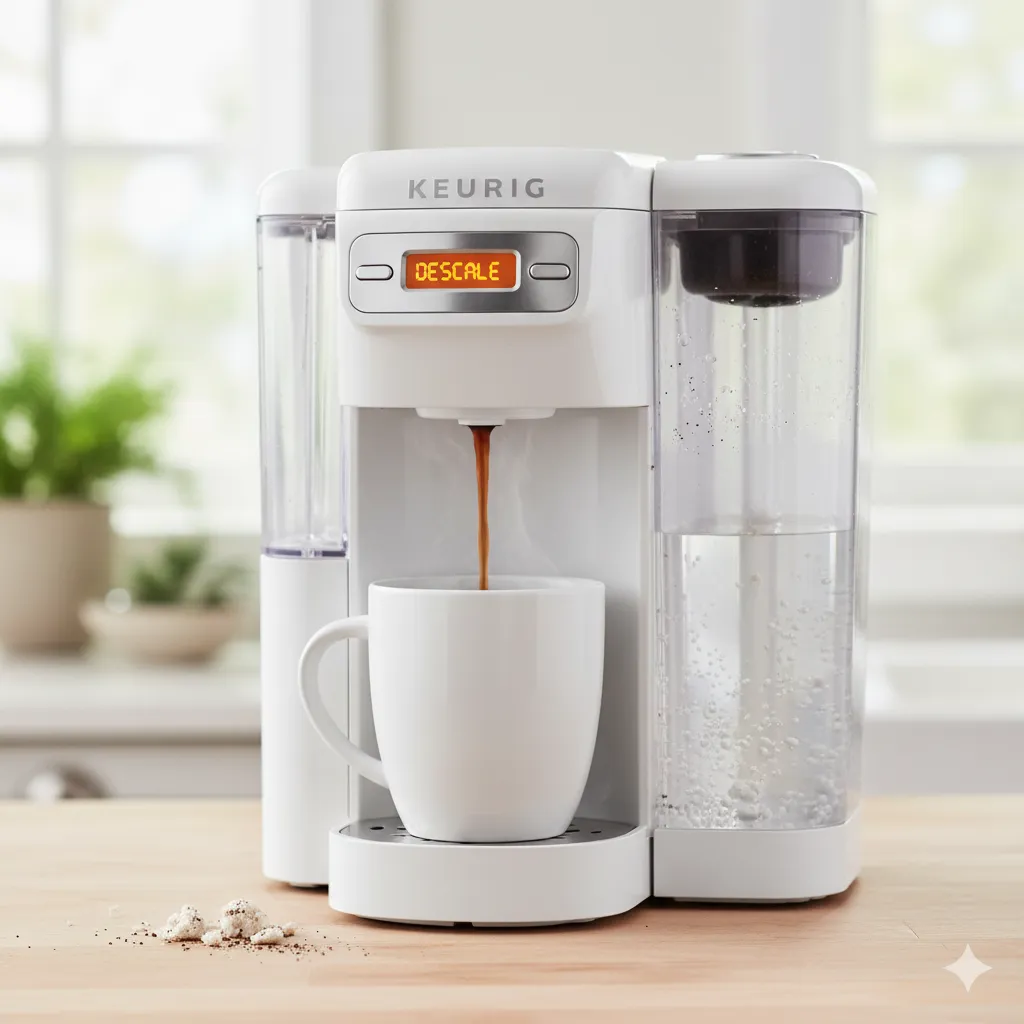
Have you ever looked inside your kettle or even on your showerhead and seen that crusty, off-white residue? That, my friend, is mineral scale, also known as limescale or calcium deposits. And it’s building up inside the heating elements and tiny water lines of your Keurig right now.
The Problem with Limescale
I know what you’re thinking: “But it’s just water!” True, but regular tap water contains dissolved minerals like calcium and magnesium. When your Keurig heats the water, these minerals separate and harden into rock-like formations. This process of removing that buildup is called descaling Keurig.
If you skip descaling, you’ll quickly notice some irritating effects. The most common is clogged lines, which leads to painfully slower brewing times. That two-minute cup of coffee suddenly takes five, and who has time for that pre-caffeine? Plus, as I mentioned, the altered flavor is the worst offender. Those scale deposits trap oils and bacteria, giving your morning brew a funky undertone.
So, how does this miracle cleaner, vinegar, work? Vinegar contains acetic acid, a mild but mighty acid. When you run the vinegar solution through the machine, the acetic acid goes to work, chemically dissolving those hard, stubborn mineral deposits. It’s science, baby!
2. When & How Often to Clean Your Keurig
One of the most frequent questions I get is, “how often to clean Keurig?” There isn’t a one-size-fits-all answer, but I can give you the blueprint.
Recommended Cleaning Schedule
The general rule of thumb, and what Keurig themselves recommend, is to descale your machine every 3 to 6 months. For me, personally, I try to do a full vinegar clean every quarter, but honestly, I pay more attention to the signals it’s time to clean.
The Keurig’s SOS Signals
Your machine will actually tell you when it needs a good scrub. You just have to listen!
- Taste Change: If your coffee starts tasting like an old coin or is just generally “off,” that’s a big flashing sign.
- Flow Issues: Is the water sputtering out slowly, or is the cup only half-full? You’ve got a mineral blockage restricting the water flow.
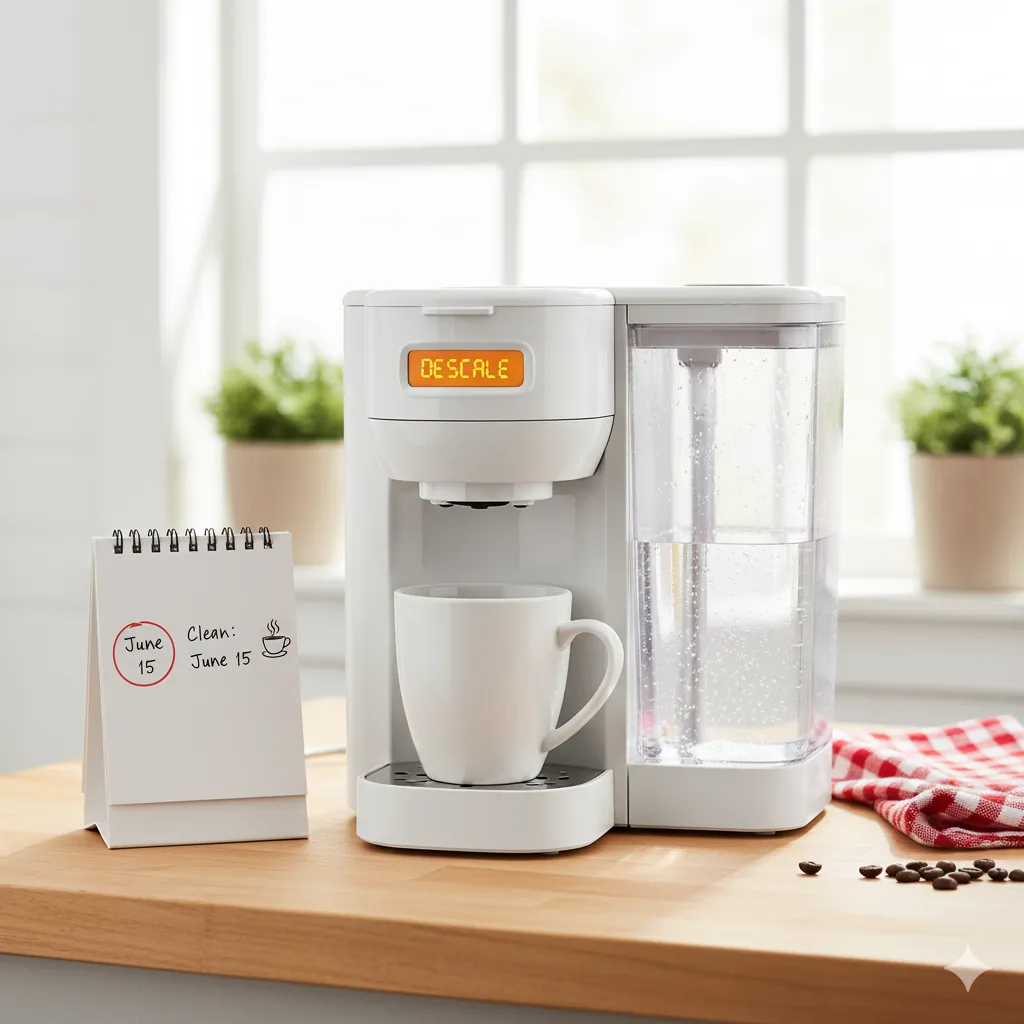
- The Descale Light: This is the most obvious signal! If your model has an indicator, pay attention when it comes on. Don’t be like me and ignore it for two weeks. :/
Keep in mind that some factors will absolutely speed up scaling. If you live in an area with hard water (which has a high mineral content), you’ll need to clean more frequently, maybe every 1–2 months. Likewise, if you use your Keurig constantly—we’re talking five cups a day—you’ll also need to be more diligent.
3. Supplies You’ll Need (Vinegar & More)
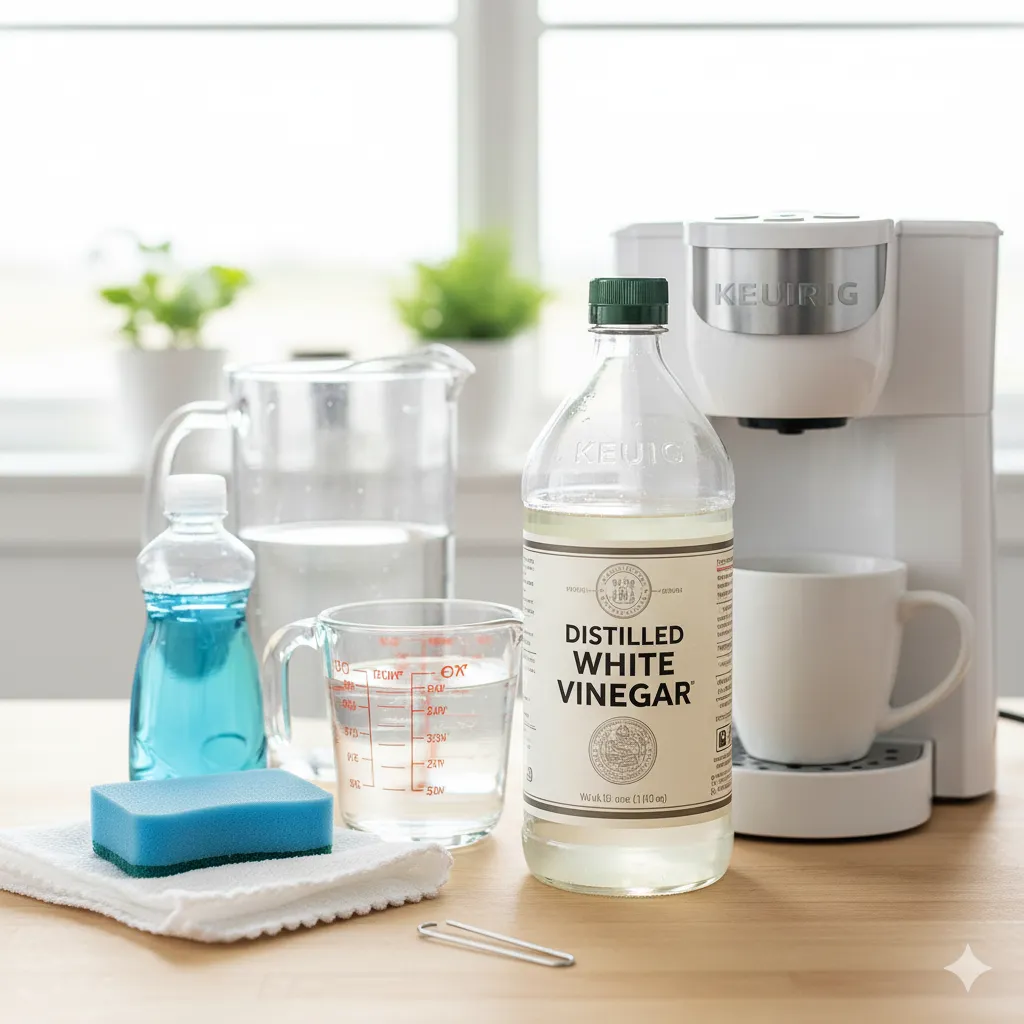
Good news: you probably already have everything you need lying around your kitchen! This is truly a low-cost operation.
- Distilled White Vinegar: This is non-negotiable. Don’t use apple cider vinegar or red wine vinegar. They’ll just stain your machine and make your coffee smell like salad dressing. Distilled white vinegar is the hero here because it’s cheap and colorless.
- Water: Use either filtered water or clean tap water to dilute the vinegar and for flushing the system afterward.
- Dish Soap, Soft Cloth, or Sponge: These are for cleaning the external and removable parts.
- Something to Catch Drips / Small Container: You’ll need this to place under the spout during the cleaning cycles. I just use a large ceramic mug.
- Optional: Paperclip or Needle: Sometimes the exit needles get clogged with grounds and can be gently poked clear with a straightened paperclip. FYI, this is a lifesaver for stubborn clogs!
4. Step-by-Step: How to Clean a Keurig With Vinegar
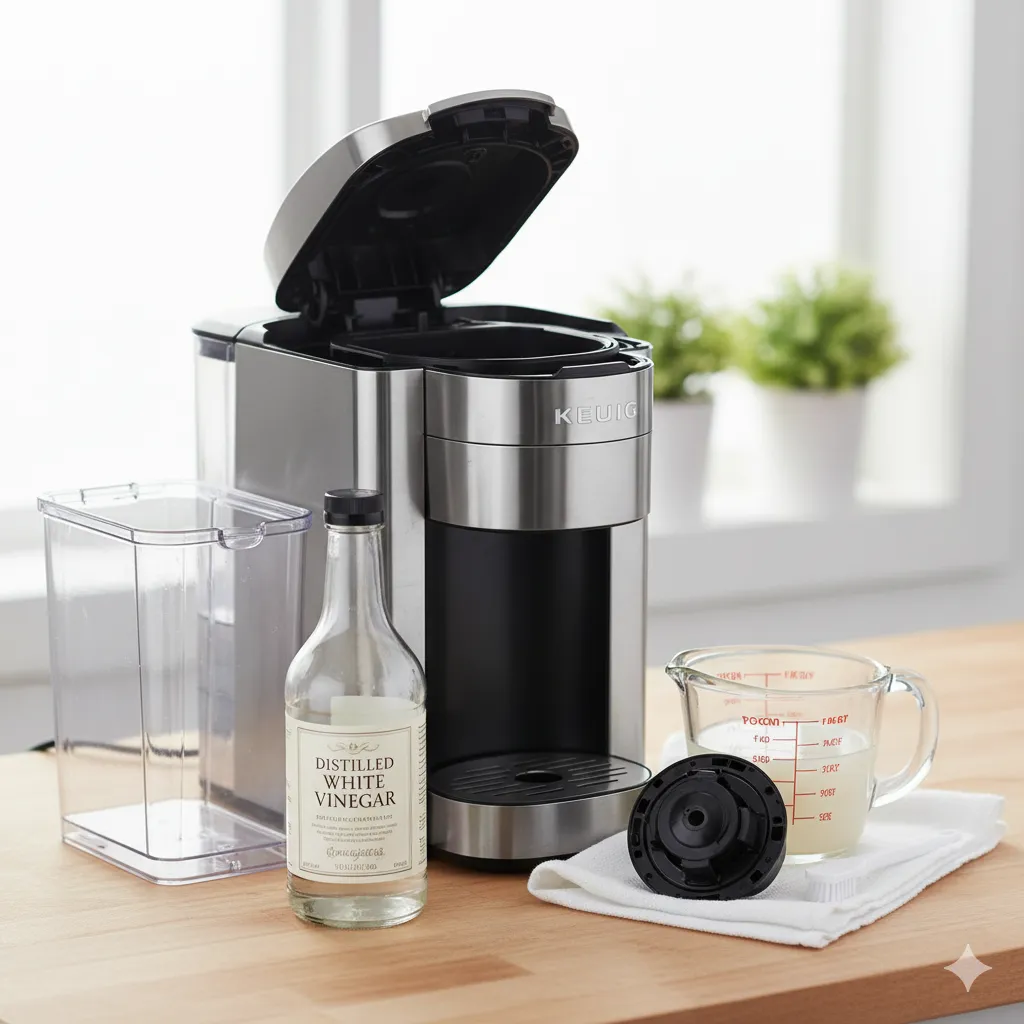
This is the “meat and potatoes” of the operation—the full rundown on how to clean a Keurig with vinegar. Follow these steps precisely, and you’ll have a sparkling-clean machine in under an hour.
Step 1: Power Off, Unplug, and Remove Parts
Safety first! Power off, unplug the machine, and let it cool down if you just brewed a cup. You need to remove all the easily detachable parts. Take out the K-Cup holder (the pod-piercing assembly), the drip tray, and the water reservoir.
Step 2: Empty Reservoir, Rinse Parts, Fill with Vinegar + Water
Dump any remaining water from the reservoir. Give the removed parts a quick rinse, then set them aside. Now for the vinegar solution. You want to fill the reservoir about halfway with distilled white vinegar and then fill the rest of the way with water. This is a simple 50/50 vinegar and water dilution. Trust me, you do not want to use 100% straight vinegar right off the bat—it’s too strong, and we’ll cover that in the mistakes section.
Step 3: Run Brew Cycles Until Solution Is Used Up
Place a large mug or container on the drip tray to catch the hot liquid. Make sure there is no K-cup in the holder. Power the machine back on, then select the largest cup size and hit the “brew” button. Run the cycle. Once the mug is full, dump the gross, murky vinegar water into the sink. Repeat this brewing and emptying process until the entire vinegar solution in the reservoir is gone.
Step 4: Let the Machine Sit for 15–30 Minutes
Once the reservoir is empty, turn the machine off and let it sit for 15–30 minutes. This is a crucial step! The residual vinegar inside the machine’s tubes and heating element needs time to soak and do its job of dissolving those stubborn mineral deposits. Don’t rush this step—it’s what makes the difference between a good clean and a great clean.
Step 5: Flush the Machine With Plain Water
Now it’s time to banish the smell! This is the most important part of the entire process, IMO. Rinse the reservoir thoroughly to make sure no vinegar is left in it, then fill it to the maximum line with fresh, clean water. Place your mug back on the tray. Run continuous water-only brew cycles, dumping the water after each one. You need to repeat this step until you can no longer smell or taste any vinegar. Depending on your Keurig model, this could take anywhere from 8 to 12 full cycles. Trust me, the extra cycles are worth it to avoid vinegar-flavored coffee tomorrow.
Step 6: Clean Removable Parts and Exterior
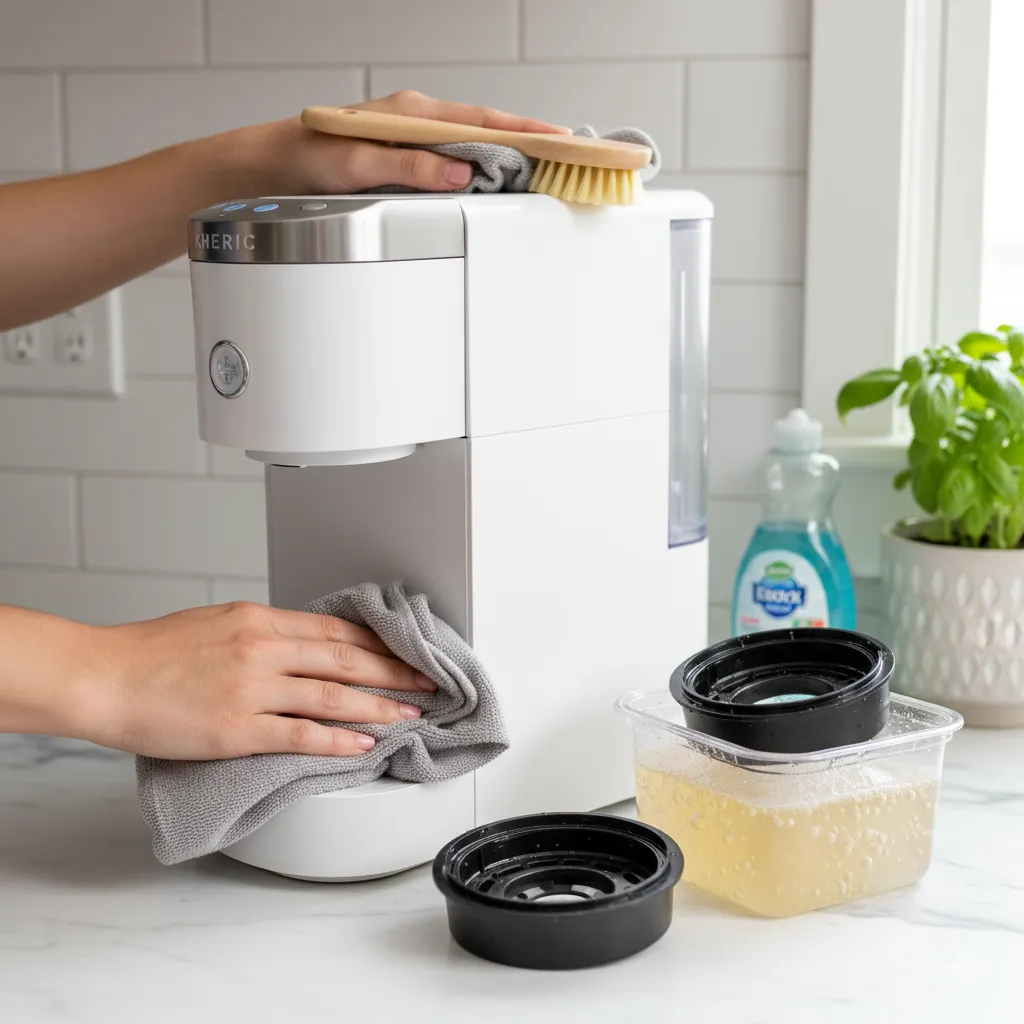
While the machine is running its final flush cycles, you can tackle the exterior and the parts you removed earlier. Soak the drip tray in some warm, soapy water. Use a soft cloth and a little dish soap to wipe down the exterior surfaces of the machine. Don’t forget to wipe under where the reservoir sits. Give all the parts a final rinse and let them air dry before putting them back.
Step 7: Optional: Clean Needles / Ports
If you’ve been noticing coffee grounds in your cup, or if the flow issue is very severe, you might have a blocked needle. Take a straightened paperclip (or the little tool Keurig sometimes includes) and gently poke it into the small holes of the needle assembly both on the top (where it pierces the K-cup) and underneath (where the water comes out). Go slow and easy—you don’t want to damage anything. Then run another water cycle to flush out any loosened grounds.
5. Common Mistakes & Troubleshooting
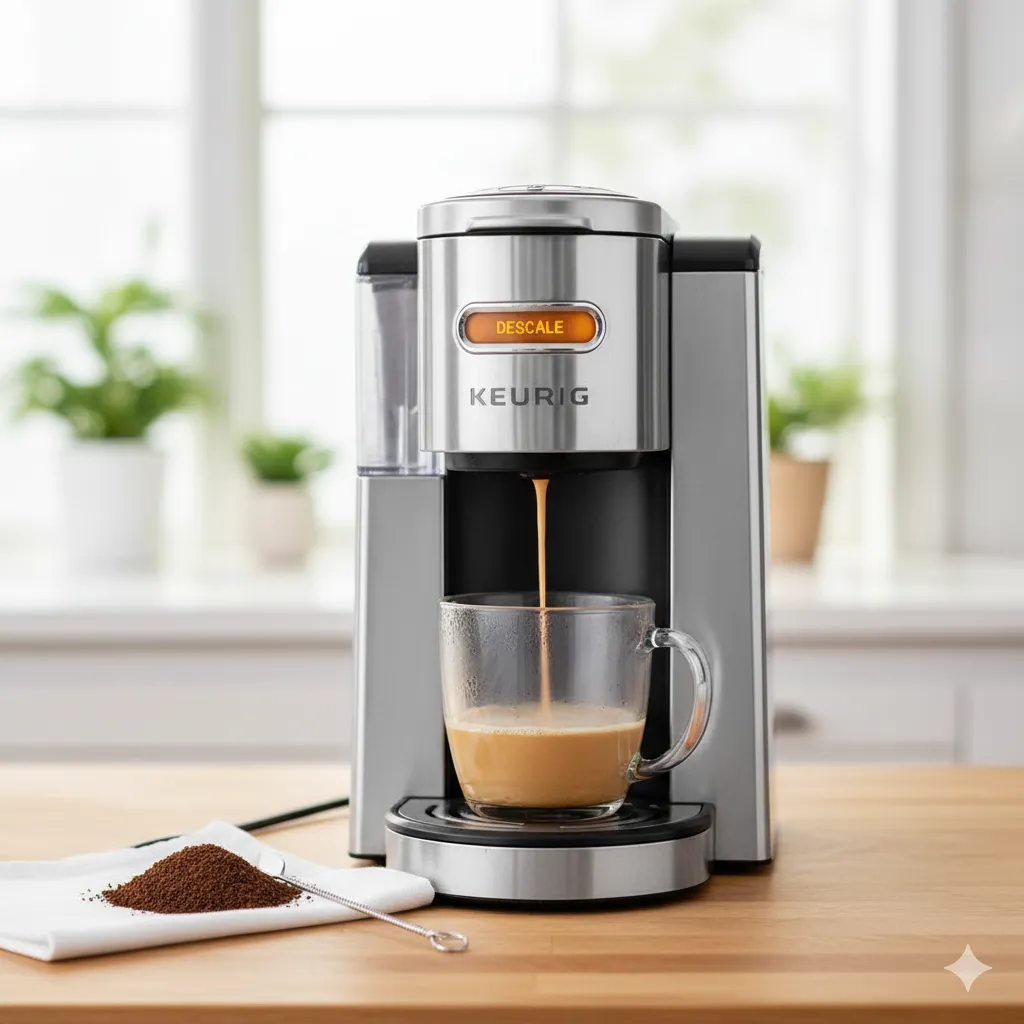
As simple as cleaning Keurig with vinegar is, there are a few places where people usually stumble. Let’s make sure you don’t. This is your guide to common mistakes cleaning Keurig.
1. Using Too-Strong Vinegar
This is the big one. If you use 100% undiluted vinegar, you risk damaging the machine’s internal components because the acid is too concentrated. Stick to that 50/50 ratio for a perfect balance of cleaning power and safety. Plus, pure vinegar is an absolute nightmare to flush out.
2. Not Flushing Enough
I cannot stress this enough: you must keep flushing! Nothing ruins the morning more than expecting a hot cup of smooth coffee and getting a sharp blast of vinegar instead. Run those plain water cycles until you can’t smell a thing. If you think you’ve flushed enough, run two more cycles just to be safe.
3. Skipping Needle/Clog Cleaning
Ignoring a potentially blocked needle is like trying to fix a flat tire by inflating the other three. Sometimes the main culprit isn’t limescale, but simply old coffee grounds plugging the line. Don’t skip needle/clog cleaning if you notice grounds or severely restricted flow.
4. Overlooking the External Cleaning
I know, the internal cleaning is the main event, but please take the 30 seconds to wipe down the outside. It looks much nicer, and it keeps dust and spills from building up around the reservoir.
5. What to Do If the Descale Light Doesn’t Turn Off
You’ve done the full vinegar clean and the machine is brewing beautifully, but that annoying orange descale light is still staring at you. Ugh. This is usually a simple programming reset. On most models, you have to initiate a specific sequence to tell the machine the cleaning is done. You’ll need to check your Keurig model’s specific manual, but it often involves turning the machine off and then holding down a specific set of buttons simultaneously for a few seconds.
6. Alternative Methods When Vinegar Isn’t Right
Look, I get it. Not everyone loves the smell of vinegar. If the thought of all that flushing makes you want to run for the hills, or if you have a Keurig that’s been severely neglected, you have other options.
Commercial Descaling Solutions
You can buy a commercial descaling solution made specifically for Keurig machines. They are often citric acid-based and come in little packets you mix with water.
Pros: They are usually odorless, formulated specifically for the machine, and can sometimes be more effective on severe buildup. Cons: They are more expensive than vinegar, and, let’s be honest, you are putting more chemicals into a machine you use for food/drink.
Citric Acid or Lemon Juice Method
If you want a natural, gentler option, you can use citric acid powder (the food-grade kind, not the industrial stuff!) or even lemon juice.
You’d mix about a tablespoon of citric acid powder with a full reservoir of water. If you’re using lemon juice, use about a cup of lemon juice and the rest water.
Pros: Lemon juice smells way better than vinegar, and citric acid is super effective and natural. Cons: Lemon juice often has sugars that can leave a sticky residue if not flushed properly. Citric acid powder needs to be purchased separately.
When should you choose a commercial descaling solution vs vinegar? If you have hard water, have never cleaned your Keurig, and the descaling light is flashing its brains out, a commercial solution might have the extra punch you need. Otherwise, stick with the classic, affordable vinegar method.
7. Pro Tips & Maintenance Habits
Let’s talk maintenance. A little bit of effort every day or week means you won’t have to do the heavy-duty descale Keurig chore as often!
- Use Filtered Water to Slow Scaling: If you can, use Brita-filtered or bottled water instead of straight-up tap water. This dramatically slows scaling because you’ve already removed a good portion of the minerals.
- Rinse Reservoir Daily: Don’t just top it off. Take the reservoir out and give it a quick rinse with cold water every day or two. This prevents any standing water from getting funky.
- Do a Mini Rinse Weekly: Once a week, run a cycle with just water and no K-cup. This is a quick and easy way to flush out any loose debris.
- Keep Drip Tray and K-Cup Holder Dry: Clean these parts regularly, especially the K-cup holder, which can trap grounds. Keeping them dry after a wash prevents mold and mildew.
- Mark a “Next Clean” Calendar Reminder: Set a reminder on your phone for three months from today. Trust me, future you will be grateful!
Conclusion
So there you have it: the full, no-holds-barred guide on how to clean a Keurig with vinegar and keep that machine running like a champ. We covered everything from the science of why you need to descale Keurig to the exact step-by-step instructions.
The biggest takeaway here is this: better taste, longer machine life, and avoiding breakdowns are all within your control. The vinegar method is easy, inexpensive, and genuinely the most effective natural way to maintain your machine. You already have the tools, so why not give it a shot this weekend? Seriously, do it now. Don’t wait until that descale light starts flashing at you like an alarm in the middle of the night.
If you found this guide helpful, snap a picture of your gloriously clean Keurig and share it on Pinterest! It’s time to go make that perfect, mineral-free cup of coffee. Speaking of coffee gear, are you keeping that grinder and travel mug as clean as you should be? Maybe that’s the next chore!
