Have you ever pulled a freshly “washed” load of laundry out of the machine only to discover that it smells… well, kind of musty? Ugh. It’s the worst, right? You just wasted an hour and a ton of detergent on a load that needs to be re-washed. Seriously, the irony is thick enough to cut with a knife.
Don’t panic! It’s not a secret laundry curse; it’s a flashing neon sign that your washing machine—the thing responsible for cleaning everything else in your home—needs a cleaning itself. It’s time to show that faithful appliance some love and banish that funk for good.
I’m a self-proclaimed cleaning geek who has battled the dreaded washer mold and won, and trust me, I’ve got all the battle-tested tips and tricks you need. In this guide, we’re going to treat this like a friendly, informal chat. We’ll walk through the distinct methods for both front-load and top-load washers, and I’ll even share my favorite natural, DIY cleaning solutions. Get ready to transform your smelly appliance into a pristine, odor-fighting champion.
Signs Your Washing Machine Needs Cleaning
When I first started doing laundry, I just assumed the washer was self-cleaning. It uses soap and water, so obviously it’s fine, right? Wrong! Like any machine, it builds up gunk, soap residue (I’m looking at you, fabric softener!), and, yes, even mold. Gross, I know. But knowing the signs is the first step to a fresher laundry routine.
Signs You Need to Clean Your Washing Machine / When to Deep Clean Washer

Your machine is basically sending you smoke signals when it’s unhappy. You just have to know how to read them. Here are the common warning signs I look out for.
- Foul, Musty Odor: This is the most obvious and irritating sign. If your laundry comes out smelling less than fresh, and the smell seems to be coming from the machine itself, you’ve got a problem. This is usually mildew lurking in the dark, damp crevices.
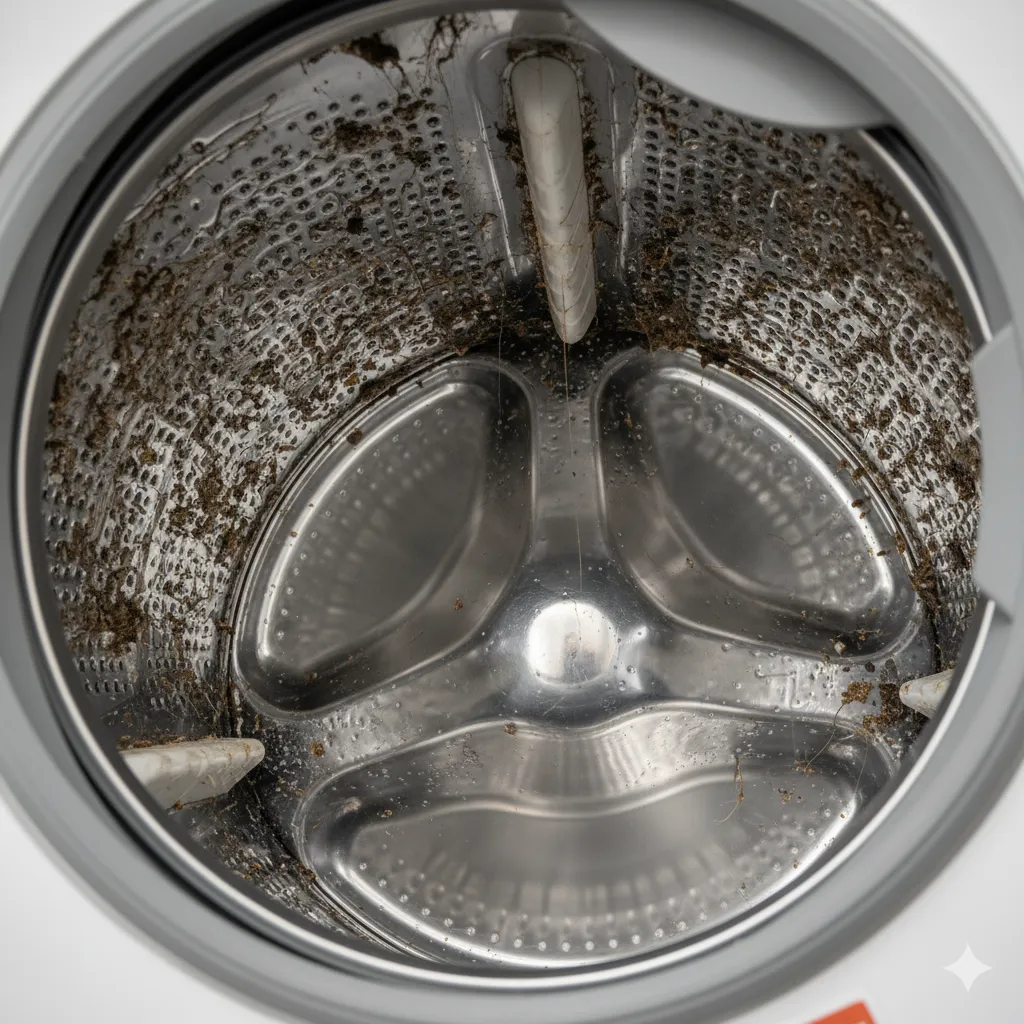
- Visible Residue in the Drum: Open the door and look inside. Do you see a grayish or brownish film, especially near the top of the drum or on the plastic parts? That’s leftover detergent, minerals, and body soils mixing together. Appetizing, no?
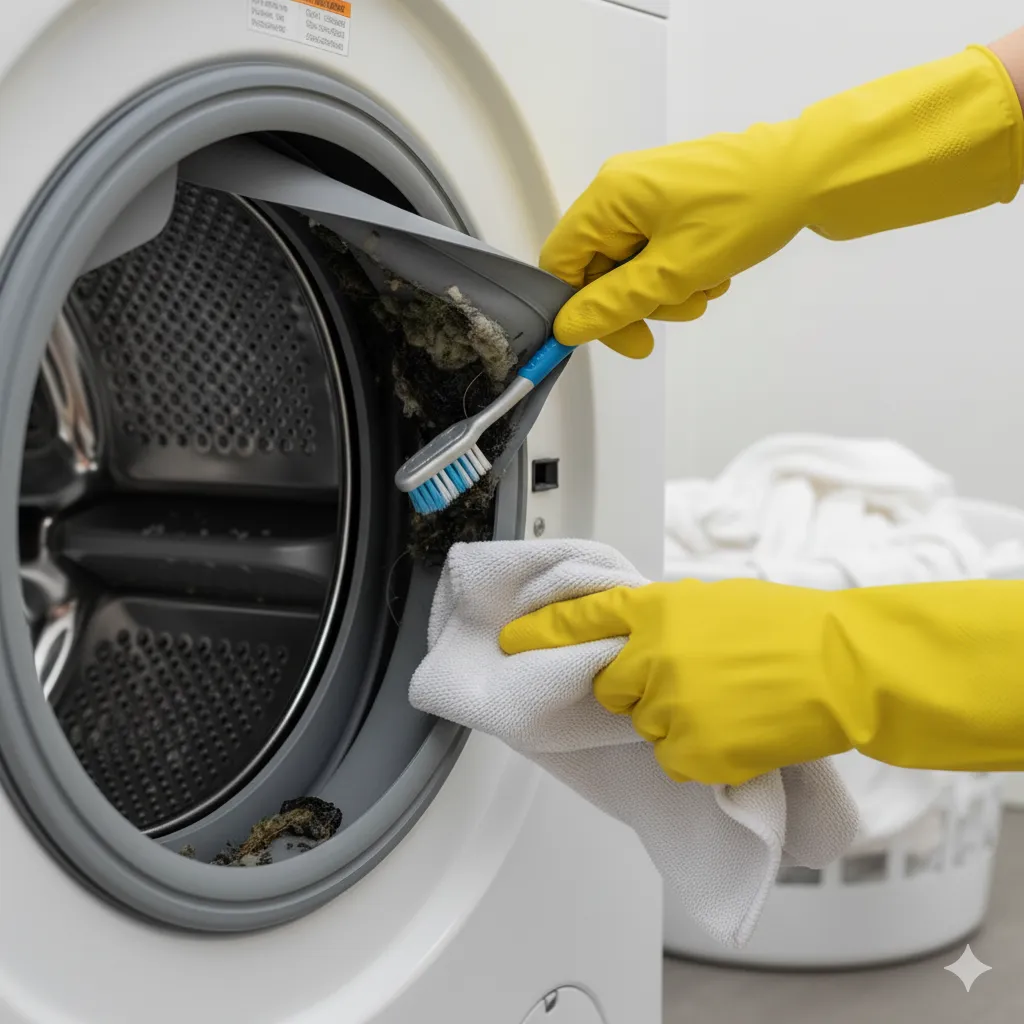
- Mold or Mildew in the Gasket/Seal: This one is a front-loader special. Pull back the rubber seal around the door. If you find black, slimy spots, you’ve found the mold party. This is a crucial area to check.
- Slow Drainage or Water Pooling: If your cycle seems to take forever to drain, or you see water sitting in the drum after the cycle finishes, your filter or drain pump might be clogged with hair, lint, and other debris.
- Specks on Your Clean Clothes: Are you finding mysterious white or black flakes on your dark shirts? That’s detergent buildup or mold chunks breaking off and clinging to your clothes. Talk about frustrating!
How Often to Schedule a Cleaning

I’m a big fan of maintenance cleaning, which is why I recommend scheduling a full deep clean quarterly—that’s four times a year. However, if you do a ton of laundry, live in a humid climate, or use a lot of liquid fabric softener, you might need to run a quick maintenance cycle monthly. Think of it like changing the oil in your car. It just has to be done!
Pro Tip: The best time to check your rubber door seal for mold is immediately after you finish a load. The heat and moisture make any existing mildew smell stronger, giving you an immediate, albeit unpleasant, heads-up!
Preparation: Empty Drum, Remove Deposits, Safety First

Before we start the deep-cleaning dance, we need to do some prep work. It’s like setting the stage for a spectacular performance. A little effort now makes the main event way easier.
1. Run an Empty Hot Cycle (The Pre-Rinse)
Before adding any heavy-duty cleaners, run a quick, empty cycle on the hottest setting your machine offers. Why? This helps loosen up some of the initial residue and deposits, giving your actual cleaning agents a better chance to work their magic. Plus, it’s a good way to assess how truly gross the water is.
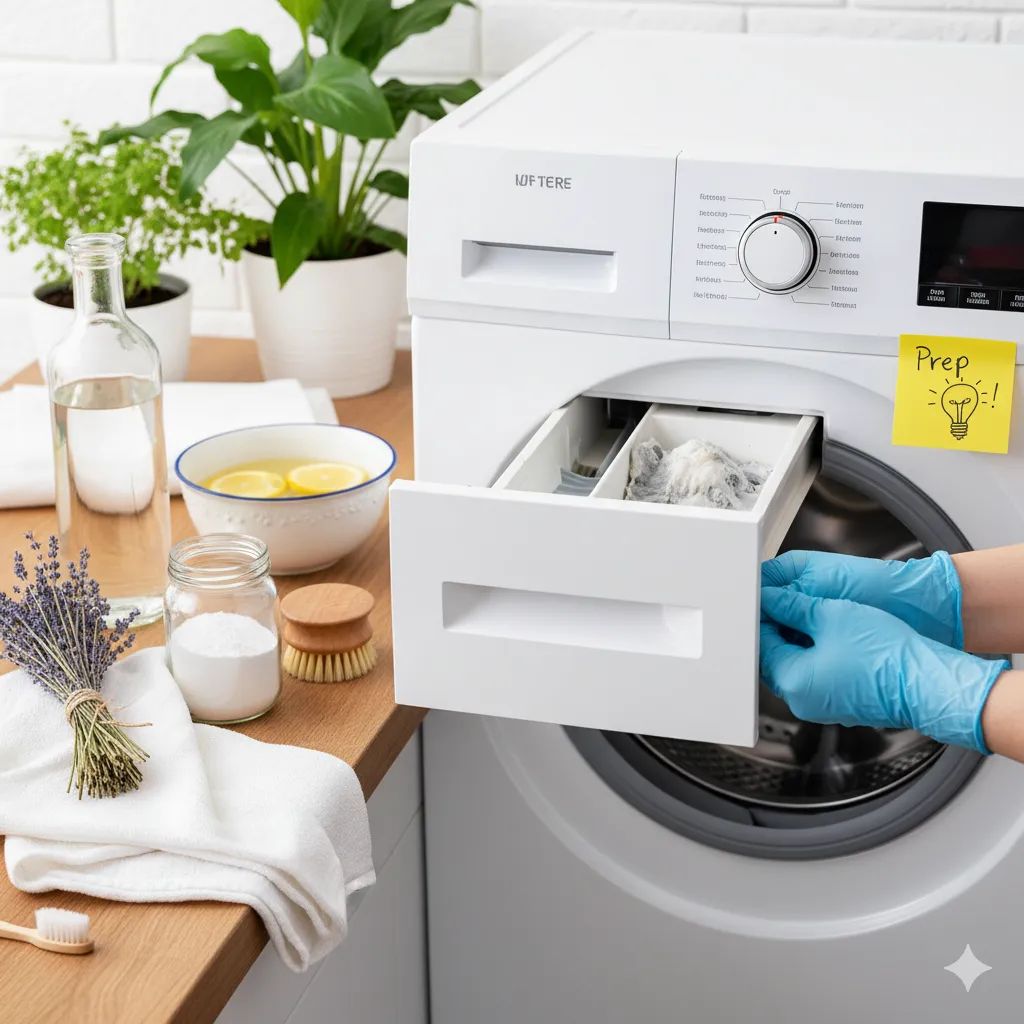
2. Remove and Soak the Detergent Drawer
Seriously, this part is almost always the worst. Pull out the detergent and fabric softener dispenser drawer—most models have a little tab you push to release it. Set it aside for now. If it’s really nasty (and it probably is!), I like to give it a quick scrub with an old toothbrush and soak it in a basin of hot water and a splash of white vinegar while the main machine is running its cycle.
3. Wipe Down Accessible Parts
Grab a damp microfiber cloth and wipe down the exterior, the top of the drum, and any visible seals before you start. The goal here is just to get rid of any loose gunk, dust, or spilled detergent. This simple step is surprisingly satisfying.
Recommended Supplies (AKA Your Arsenal)
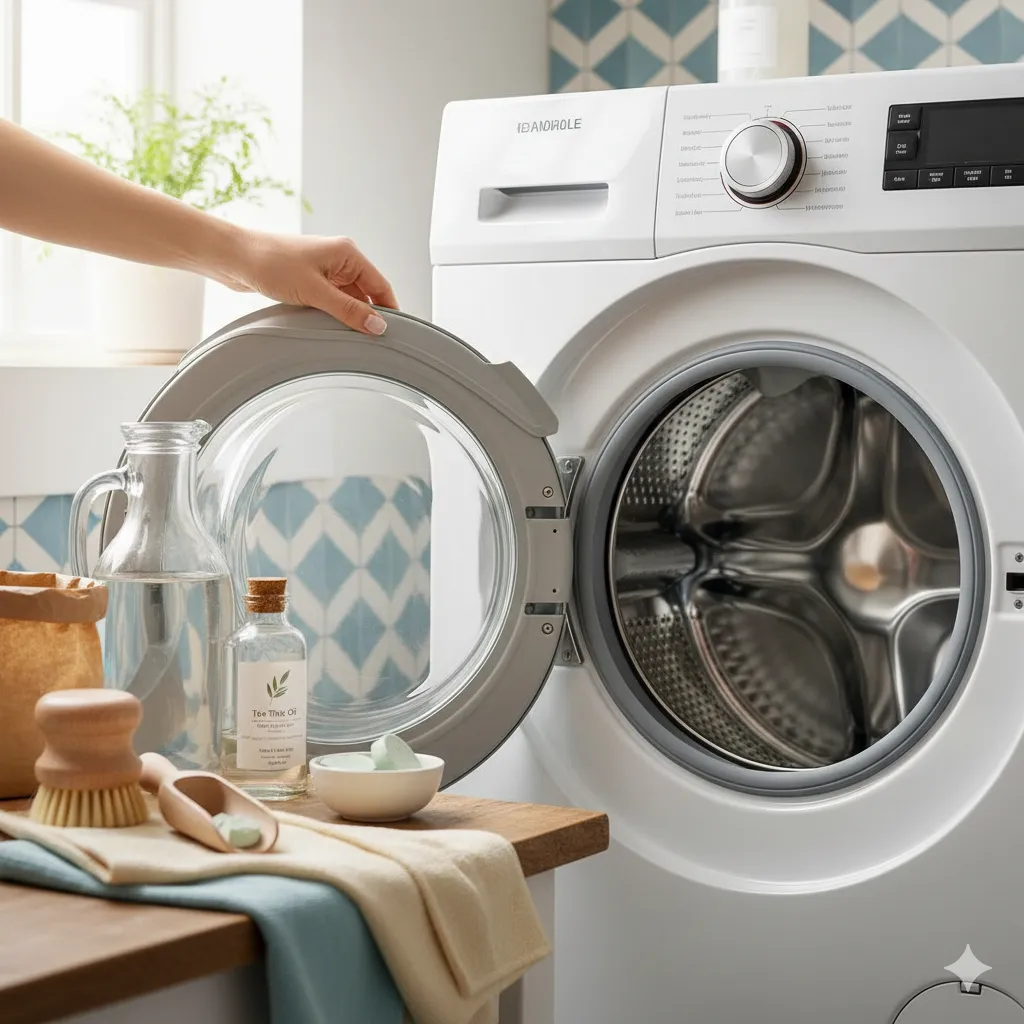
You don’t need a crazy chemical lab to do this. Your best tools are probably sitting in your pantry right now!
- White Vinegar: The king of natural cleaning. It’s cheap, kills bacteria, and tackles mineral buildup like a champ. Get the big jug, you’ll use it.
- Baking Soda: A natural abrasive and deodorizer. It works beautifully with vinegar (just not at the exact same time; more on that later).
- Bleach (if safe for your machine): An absolute mold killer. Check your user manual first! Some manufacturers strictly advise against using bleach, especially if you have stainless steel parts. Never, ever mix bleach and vinegar. That combination creates toxic chlorine gas. You do not want that.
- Microfiber Cloths and Soft Brush: Essential for scrubbing those tight spots without scratching the finish.
- Old Toothbrush or Grout Brush: Perfect for digging into the crevices of the detergent drawer and rubber seals.
Pro Tip: Before you start scrubbing the inside of the detergent drawer, stick it in the freezer for about 10 minutes. The residue inside will often harden, making it easier to flake off with a soft brush before you even get it wet.
Method for Front-Loading Machines

Front-loaders are brilliant—they use less water, and they look sleek—but man, they are so prone to mold and mildew. This is because that thick rubber gasket around the door seals in all the moisture. If you own a front-loader, pay attention; this method is non-negotiable!
How to Clean a Front Loading Washing Machine (Step-by-Step)
Front-loaders have specific trouble spots that need your focused attention. Let’s tackle them one by one.
1. Clean the Gasket / Rubber Seal (The Mold Minefield)
- Pull Back the Seal: Gently pull back the folds of the rubber gasket. You’ll likely find pockets of standing water, lint, hair, and that dreaded black mold. I know, it’s a horror movie in there.
- Wipe and Scrub: Soak a cloth in a mix of hot water and a generous splash of white vinegar. If you’re dealing with serious mold, and your manual allows it, use a very diluted bleach solution instead.
- Dig into Crevices: Use a toothbrush dipped in your cleaning solution to scrub deep into the grooves of the gasket. Don’t be shy; you need to lift the grime.
2. Clean the Detergent Drawer / Dispenser
Since you’ve already been soaking this bad boy, just give it a final scrub to remove any lingering residue. Make sure to clean out the housing where the drawer sits, too! Gunk collects in the tiny nozzles and corners there. Rinse the drawer thoroughly and put it back in.
3. Run a Hot “Drum Clean” Cycle
This is the deep-tissue massage for your machine. It requires a high-heat, long cycle, often labeled “Tub Clean,” “Sanitize,” or “Drum Clean.”
- Vinegar Method: Pour two cups of white vinegar directly into the detergent dispenser or the main drum. Run the longest, hottest cycle possible.
- Baking Soda Method: If you’re going the baking soda route, sprinkle half a cup of baking soda into the empty drum, then run the cycle. (Again, don’t mix them in the same cycle!)
- Specialized Tablet: If you have commercial washer cleaner tablets, follow the package instructions (usually toss one right into the empty drum).
4. Clean the Filters / Drain Pump (The Lint Trap of Doom)
WARNING: Be sure to have a shallow tray and a few old towels ready because water will come out.
Most front-loaders have a small panel near the bottom that hides the drain pump filter. This filter catches coins, hair, lint, and all sorts of surprises. Open the panel, unscrew the small hose plug to drain the remaining water, and then carefully unscrew the main filter cap. Clean the filter thoroughly under running water, removing any debris. Then, screw it all back in securely. Skipping this step is asking for drainage issues.
Pro Tip: After scrubbing the gasket, pour about a quarter cup of mouthwash (the non-alcohol kind works fine!) into the gasket groove and let it sit for 30 minutes before wiping it away. The antiseptic properties are fantastic for killing mildew spores and leaving a minty fresh scent.
Method for Top-Loading Machines

Top-loaders are often easier to clean because they don’t have that notorious gasket. Plus, you can fill them up and let the cleaning agents soak for a while. It’s a very satisfying clean, IMO.
How to Clean a Top Loading Washing Machine (Easy Steps)
This method relies on a good, long soak to let the cleaning power penetrate all the hidden corners and pipes.
1. Fill with Hot Water + Cleaning Agent
Set your washer to the hottest temperature and the largest load size setting. Let the drum fill up completely with water. Once it’s full, add your cleaner of choice.
- Vinegar Method: Pour four cups of white vinegar directly into the water.
- Bleach Method (if safe): Pour one cup of liquid chlorine bleach into the water. Remember, never use vinegar and bleach together.
2. Agitate (Dance with Your Machine!)
Let the machine run on its wash cycle for about one minute. This allows the water and the cleaning solution to mix thoroughly and spray up into the rim and other hard-to-reach areas. After one minute, pause the cycle and let the solution soak for at least one hour—or even two if you have the time!
3. Scrub the Drum, Under Rim, and Agitator
While it’s soaking, grab your soft brush and cleaning cloth.
- Scrub the Rim: Dip your brush into the soaking water and scrub the area around the top of the drum, especially under the rim and the lid. This is where soap scum and dust love to cling.
- Scrub the Agitator: If your machine has a center agitator, make sure to scrub around the base and the top of it, where deposits collect.
4. Drain and Rinse
After the soak time is up, resume the cycle and let the machine complete the wash and drain. Then, run a quick, empty rinse cycle on a shorter setting, just to flush out any remaining cleaning solution or loosened gunk.
Pro Tip: While the machine is draining, take a piece of plastic wrap, spray it with your vinegar solution, and wrap it around the fabric softener dispenser (if it’s fixed in the middle) like a tiny cling-wrapped mummy. Let it sit there for the duration of the rinse cycle; the prolonged contact time helps break down sticky residue, making it easier to wipe away afterward.
DIY Washing Machine Cleaner: Baking Soda, Vinegar & More
I love a good specialized cleaner, but honestly, your kitchen probably holds the best and most cost-effective solutions. We’re talking about simple, natural ingredients that get the job done without harsh fumes or chemicals.
Recipes & Ratios for a Natural Clean
- The Power Couple (Separately): For the strongest DIY clean, use both baking soda and white vinegar, but in two separate cycles. First, pour one cup of baking soda into the drum and run a hot cycle. This acts as a deodorizer and a mild abrasive. Once that’s done, run a second hot cycle with two cups of white vinegar added to the dispenser. The vinegar is your disinfectant and mineral deposit fighter.
- The Bleach Bomb: When you have a serious mold issue and you know your machine is safe for it, pour one cup of bleach directly into the drum (or dispenser) and run the hottest, largest cycle possible. Follow this up with at least two rinse cycles to make sure all the bleach is gone. This option is for emergencies only, IMO, because of the fumes.
- Non-Chlorine Alternatives: If you need something stronger than vinegar but want to avoid chlorine bleach, consider using oxygen bleach (like OxiClean). Just follow the package directions and run it on a hot cycle. It’s great for sanitizing and brightening the interior.
Safety Precautions (Seriously, Read This)
This is the most important part of the DIY section: Never mix bleach and vinegar directly. When combined, these two household staples create chlorine gas, which is highly toxic and dangerous to breathe. If you use bleach, you must run a full rinse cycle before even thinking about adding vinegar, and vice versa. Safety first, my friends!
Pro Tip: Make your own DIY cleaning tablets! Mix a paste of two parts baking soda to one part water, press it into ice cube trays, and let them dry completely. Then, when you do a maintenance clean, toss in 2-3 of these DIY pods instead of plain baking soda. You can even add a few drops of an essential oil like tea tree (a natural antifungal) to the water for an extra boost!
Preventive Maintenance & Tips

Cleaning the washer is great, but preventing the grossness from taking root in the first place is even better. It’s all about managing moisture and residue.
Prevent Mold and Odors: Regular Maintenance Tips
I’ve learned the hard way that a few seconds of habit change can save you hours of scrubbing later.
- Leave the Door / Lid Open After Use: This is the single most important tip for a front-loader! Keeping the door (and the dispenser drawer) slightly ajar allows the air to circulate, drying out the drum and, most importantly, the gasket. A dry machine is a mold-free machine.
- Remove Wet Clothes Promptly: Don’t let a finished load sit in the machine for hours. That is literally creating a perfect breeding ground for mildew. Get those clothes out and into the dryer or on the line ASAP.
- Wipe Seals and Rubber Parts Monthly: After your last load of the week, quickly wipe down the rubber seal and door glass with a dry cloth. This takes about 30 seconds and drastically reduces buildup.
- Use the Correct Detergent and Amount: If you have a High-Efficiency (HE) machine, you must use HE detergent. Standard detergent creates too many suds, leaving behind a gummy residue that turns into mold food. Also, you probably need less detergent than you think! Check the dosing cup; often, the “max” line is overkill.
- Run a Monthly “Maintenance Clean”: Schedule a quick, hot, empty cycle once a month, adding just a splash of vinegar or a specialized cleaning tablet. This keeps the pipes flushed and the machine fresh between deep cleans.
- Keep the Area Around the Washer Ventilated: If your laundry room is super stuffy, consider running a fan or a dehumidifier. Less ambient moisture means less moisture settling inside your washer.
Pro Tip: Tape a silly, colorful note to the top of your washer that says, “Open the Door, Genius!” It sounds goofy, but that visual cue will help you form the habit of leaving the door ajar after every single load.
Troubleshooting: Lingering Odors, Sediment, Residue
Sometimes, even after a deep clean, your machine still has an attitude problem. Don’t throw in the towel—we just have to dig a little deeper.
What to Do If the Smell Persists
If the musty smell returns almost immediately, the problem is likely deep in the drain pump or hose. The smell originates from the sludge stuck there. Try running a heavy-duty soak and agitate cycle using a stronger cleaner like one cup of enzyme cleaner (found in pet supply or plumbing sections) instead of vinegar. Enzyme cleaners actually “eat” the organic matter causing the smell.
What to Do About Hard Water Scale
If you live in a hard water area (hello, white, chalky residue!), you need a stronger acid to dissolve that mineral scale. The regular vinegar clean should help, but for serious scale, consider running a cycle with a commercial descaler or a product containing citric acid. Citric acid powder, found at many home brew or bulk food stores, is safe and highly effective. Use about a quarter cup in the drum.
When to Call a Technician
Knowing when to call a pro saves you headaches (and potentially a flooded laundry room). Here are a few times a service call is justified:
- You can’t clear the drain pump filter, or the machine still won’t drain. This could mean a clog deep in the internal hose or a faulty drain pump.
- The gasket is severely damaged or cracked. If the rubber seal is ripping, you’ll need a technician to replace it. Mold that has deeply stained the rubber may never come out, so replacement is the only way to banish the smell.
- The machine is making loud, grinding noises or shaking excessively. This could be a bearing issue, and that is definitely not a DIY fix.
Pro Tip: If you have a lingering, faint odor after cleaning, fill a sock with dry rice and a few drops of your favorite essential oil (lemon or tea tree are great). Tie it off and toss it into the empty drum, leaving the door ajar. The rice absorbs residual moisture, and the oil adds a subtle, fresh scent. Just remember to take it out before your next load!
Conclusion
I’m thrilled you made it this far! See? Cleaning your washing machine isn’t some complicated, terrifying chore reserved for certified professionals. It’s just a crucial piece of routine maintenance that saves you money, extends the life of your machine, and ensures your clothes are actually clean. And, frankly, who doesn’t want laundry that smells amazing?
Regular cleaning is the secret sauce. By adopting these simple, quarterly habits, you’re not just cleaning a machine; you’re investing in fresher-smelling clothes, better hygiene, and avoiding that dreadful moment when you realize your washer is secretly covered in mold. Seriously, your nose—and your bank account—will thank you.
Now, don’t just bookmark this article for later, OK? Go ahead and schedule your first washing machine deep clean right now. Mark it on your calendar, grab your vinegar, and get it done! Trust me, the difference will be astounding.
Did you find your secret mold spot? Was it the gasket or the detergent drawer? Tell me all about it in the comments below! And hey, if you found these Pro Tips helpful, pin this post to your cleaning board and subscribe for more fuss-free home cleaning tips. Cheers to fresh laundry!
Printable Recipe Card
Want just the essential recipe details without scrolling through the article? Get our printable recipe card with just the ingredients and instructions.


