Grout looks innocent until it turns into that dull gray grid that makes your whole bathroom look tired. You don’t need a hazmat suit and a bottle of fumes to fix it. With a few pantry staples and the right technique, you can lift stains, nix mildew, and restore that crisp tile-and-grout contrast.
Ready to retire the toothbrush-scrubbing misery? Let’s make this easy.
Why Grout Gets Gross (And What You’re Up Against)

Grout is porous, so it soaks up spills, soap scum, and body oils like a sponge. Dirt clings to the texture, and moisture invites mildew to the party.
Fun times. Know your enemy:
- Soap scum: sticky film that traps dirt and dulls grout.
- Mildew: thrives in damp, low-airflow spots (hello, shower corners).
- Hard water deposits: mineral buildup that discolors grout.
If you match your cleaning method to the mess, you’ll win faster with less elbow grease. IMO, this is the most overlooked step.
The No-Chem Clean Kit (Stuff You Already Own)
You don’t need bleach.
You just need the good basics:
- Baking soda: mild abrasive that lifts grime without scratching.
- White vinegar: dissolves mineral deposits and breaks down film.
- Hydrogen peroxide (3%): gentle brightener and mildew fighter.
- Castile soap or mild dish soap: cuts oils and soap scum.
- Grout brush or stiff toothbrush: gets into the lines without shredding grout.
- Spray bottle + microfiber cloths: for control and clean wipe-downs.
Optional but clutch:
- Old credit card or plastic scraper: lifts crusty buildup safely.
- Steam cleaner: if you want the spa treatment for your tiles.

The Best All-Around Method (Simple, Safe, Effective)
This is the base routine that works on most dirty grout without harsh chemicals. It’s fast, cheap, and satisfying.
- Vacuum or dry-wipe first. Remove dust and hair so you don’t make grout soup.
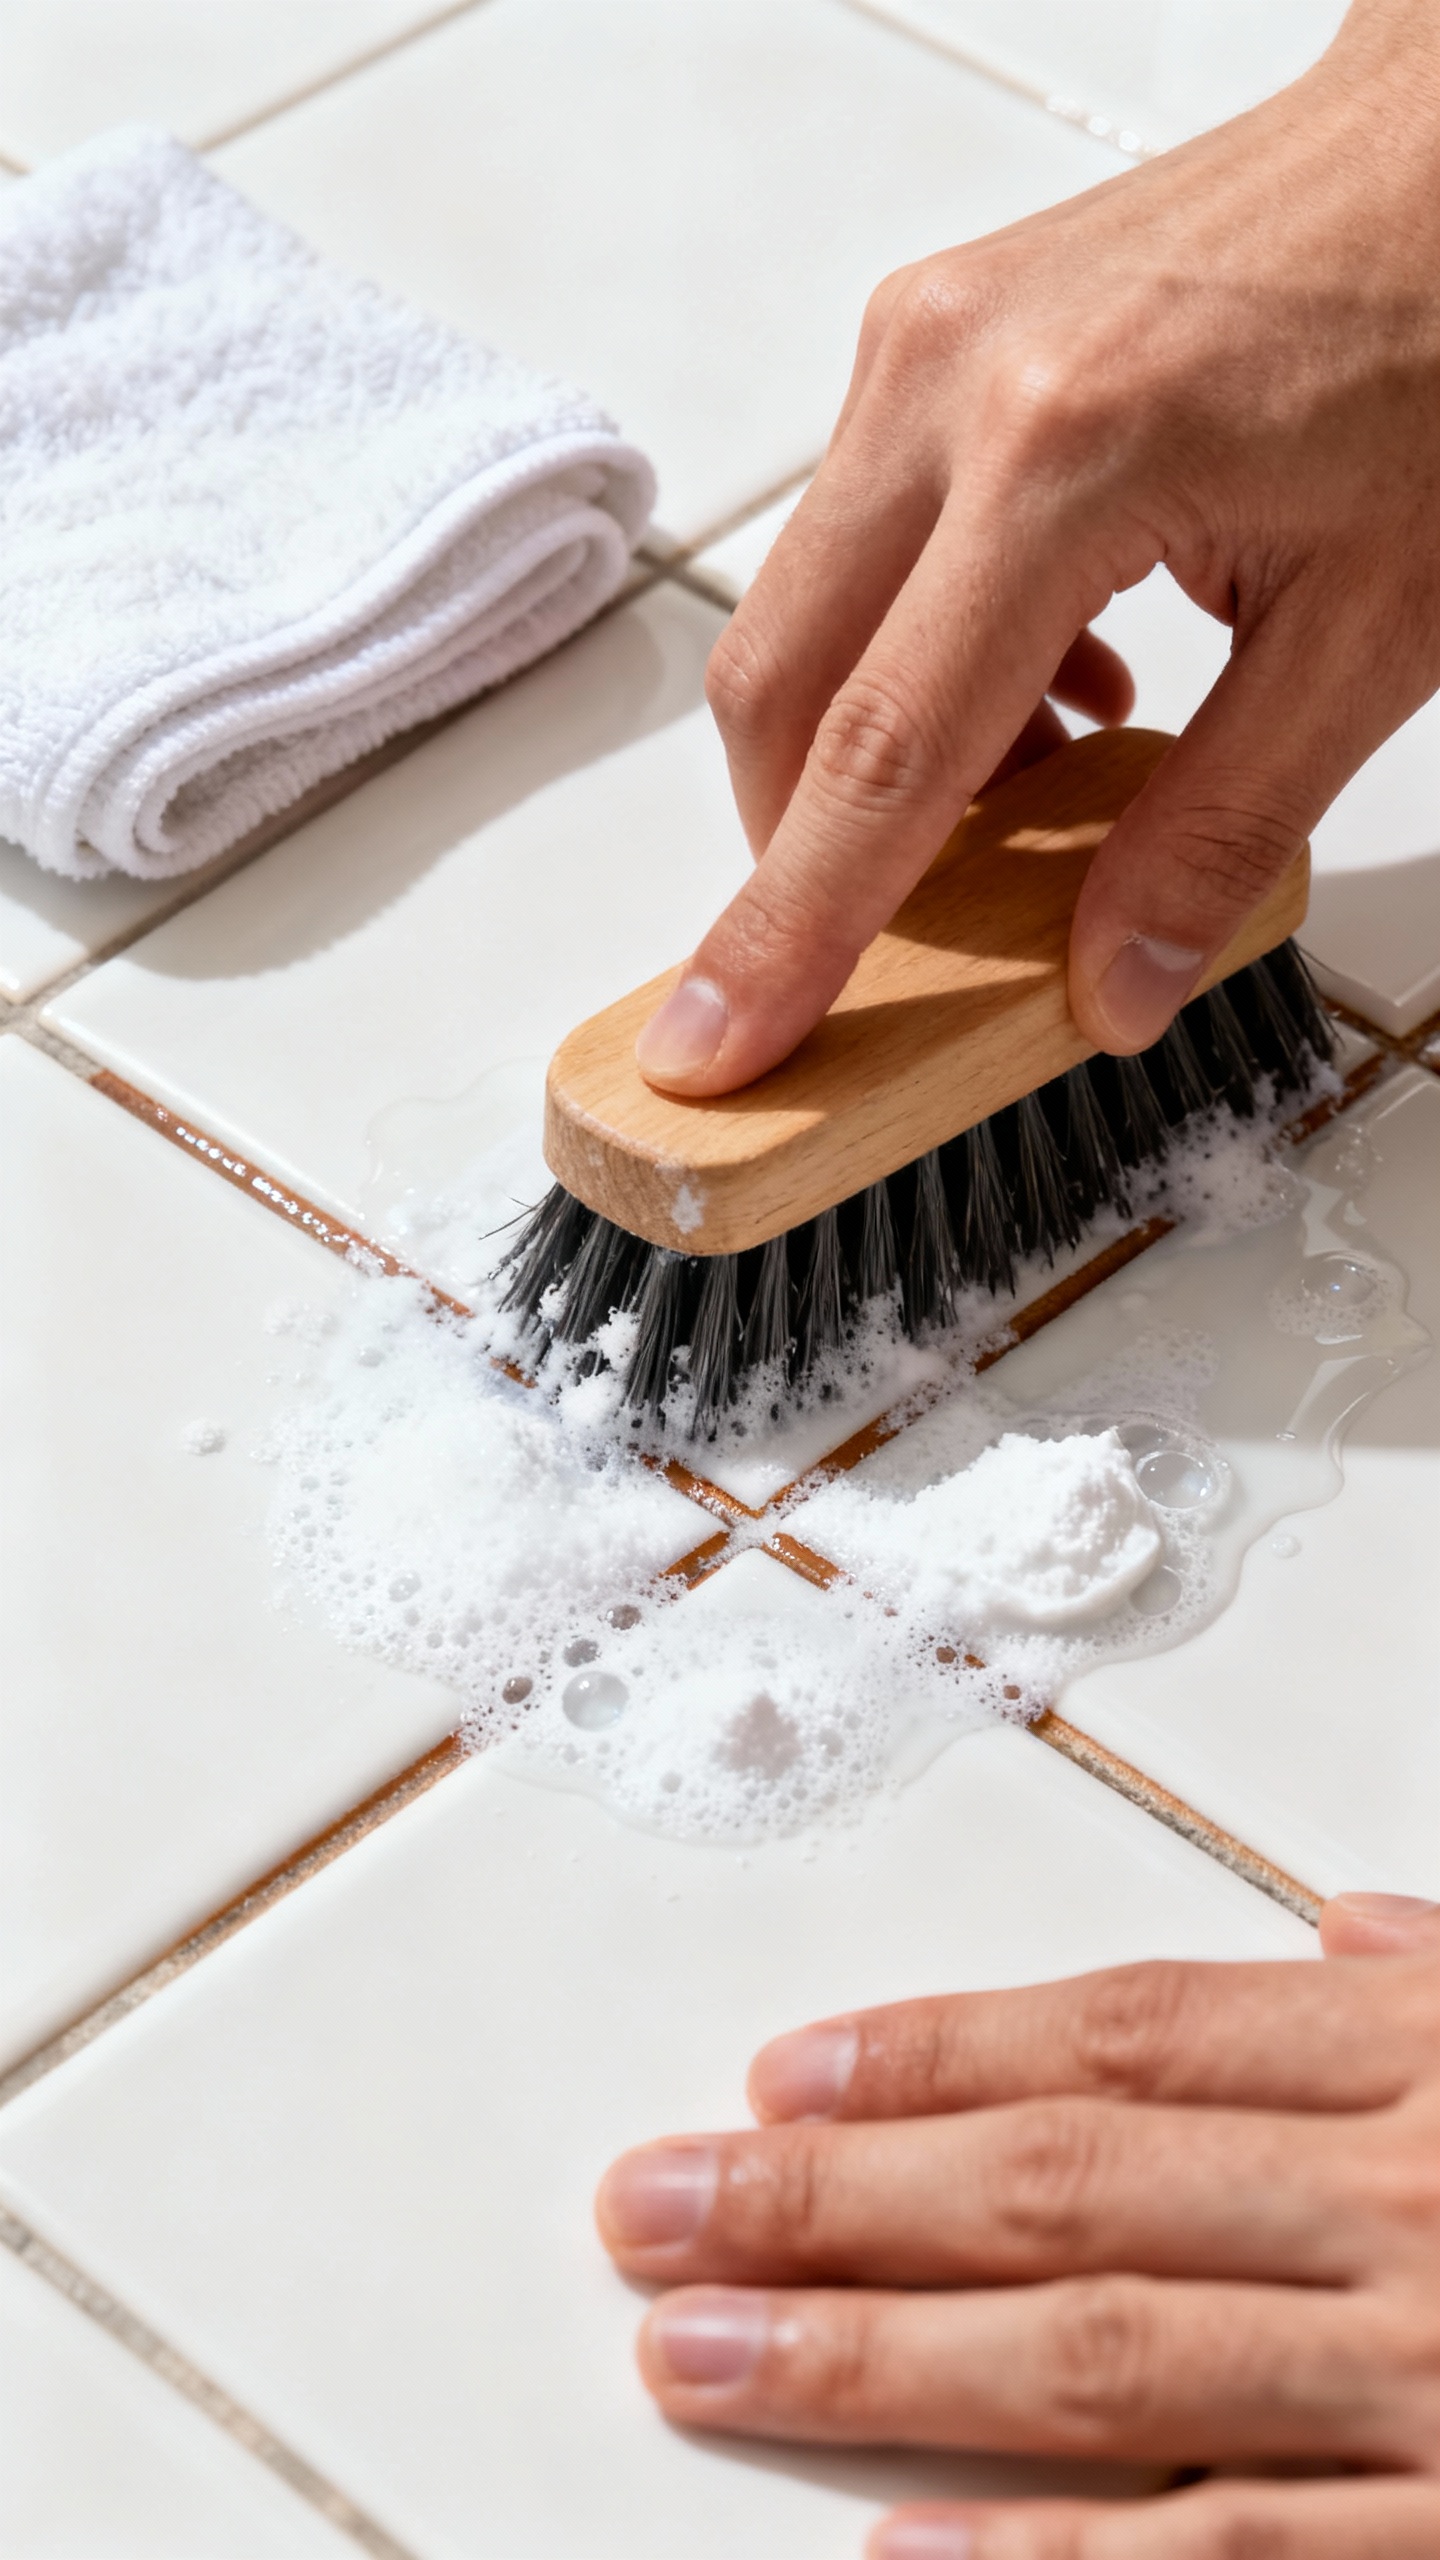
- Make a paste: 3 parts baking soda + 1 part water.
Spread along grout lines.
- Spritz with vinegar. Lightly mist the paste. It will fizz like a tiny science fair.
Let it sit 5–10 minutes.
- Scrub. Use a grout brush with short, firm strokes. Work in small sections so the paste doesn’t dry out.
- Rinse and wipe.
Use warm water and a microfiber cloth to remove residue.
- Dry the area. Mildew loves leftover moisture. Don’t give it that.
When To Upgrade The Paste
If your grout looks dingy after the first round, swap water for hydrogen peroxide in the paste.
Peroxide adds a gentle whitening boost without bleaching your soul (or your tiles).
Targeted Fixes For Specific Grout Problems
For Heavy Soap Scum
Soap scum laughs at water. Knock it down first.
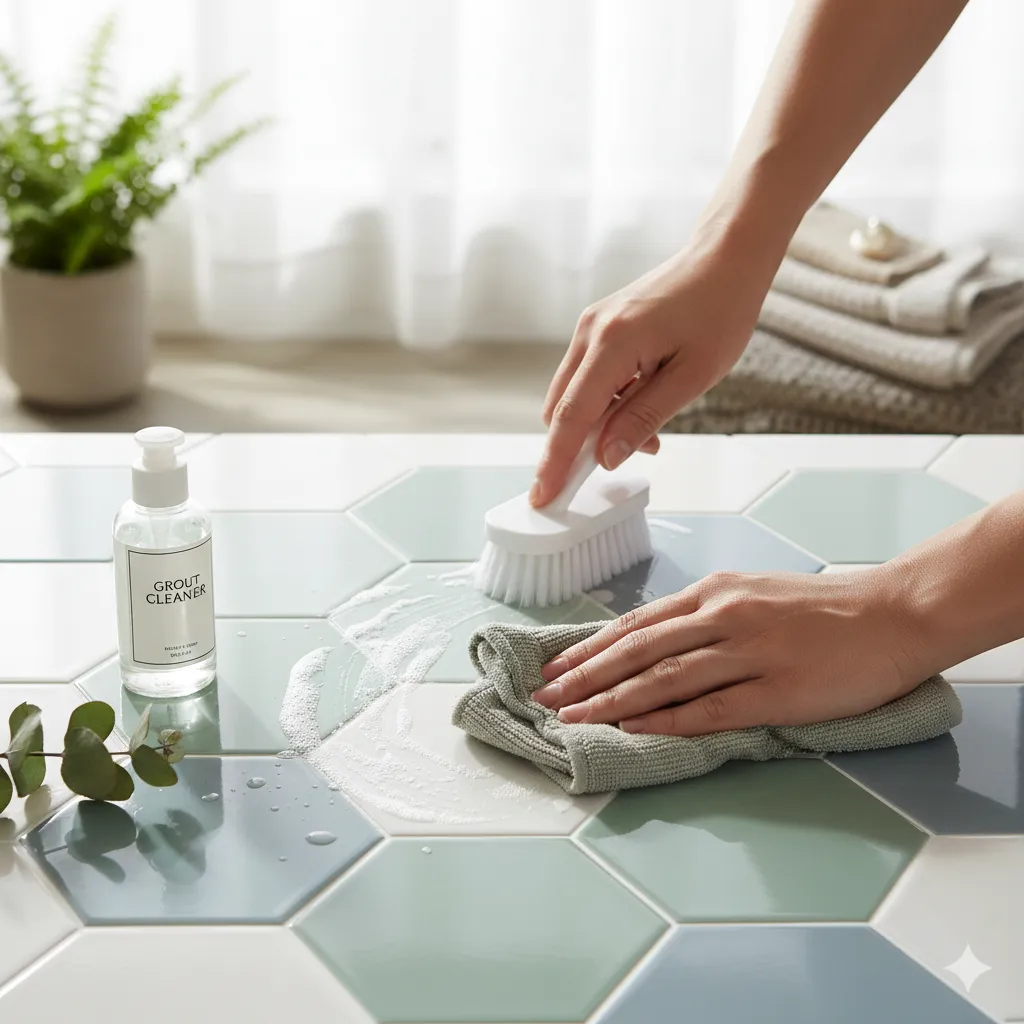
- Mix 1 cup warm water + 1 tablespoon castile or dish soap in a spray bottle.
- Spray grout and tiles, wait 5 minutes, then scrub.
- Rinse well, then move to the baking soda paste if needed.
FYI: Soap + vinegar can cancel each other out. Use soap first, rinse, then vinegar later if you need it.
For Mildew Stains
Mildew needs a little extra love.
- Make a paste with baking soda + hydrogen peroxide.
- Apply, let sit 10–15 minutes, then scrub.
- Rinse, then dry thoroughly.
Still splotchy?
Spot-treat stubborn areas by dabbing peroxide directly with a cotton swab. Give it 5 minutes and wipe.
For Hard Water and Mineral Buildup
Vinegar is your hero here.
- Spray undiluted white vinegar on the grout and let sit 10 minutes.
- Scrub lightly; avoid metal brushes.
- Rinse well to remove acidity and prevent residue.
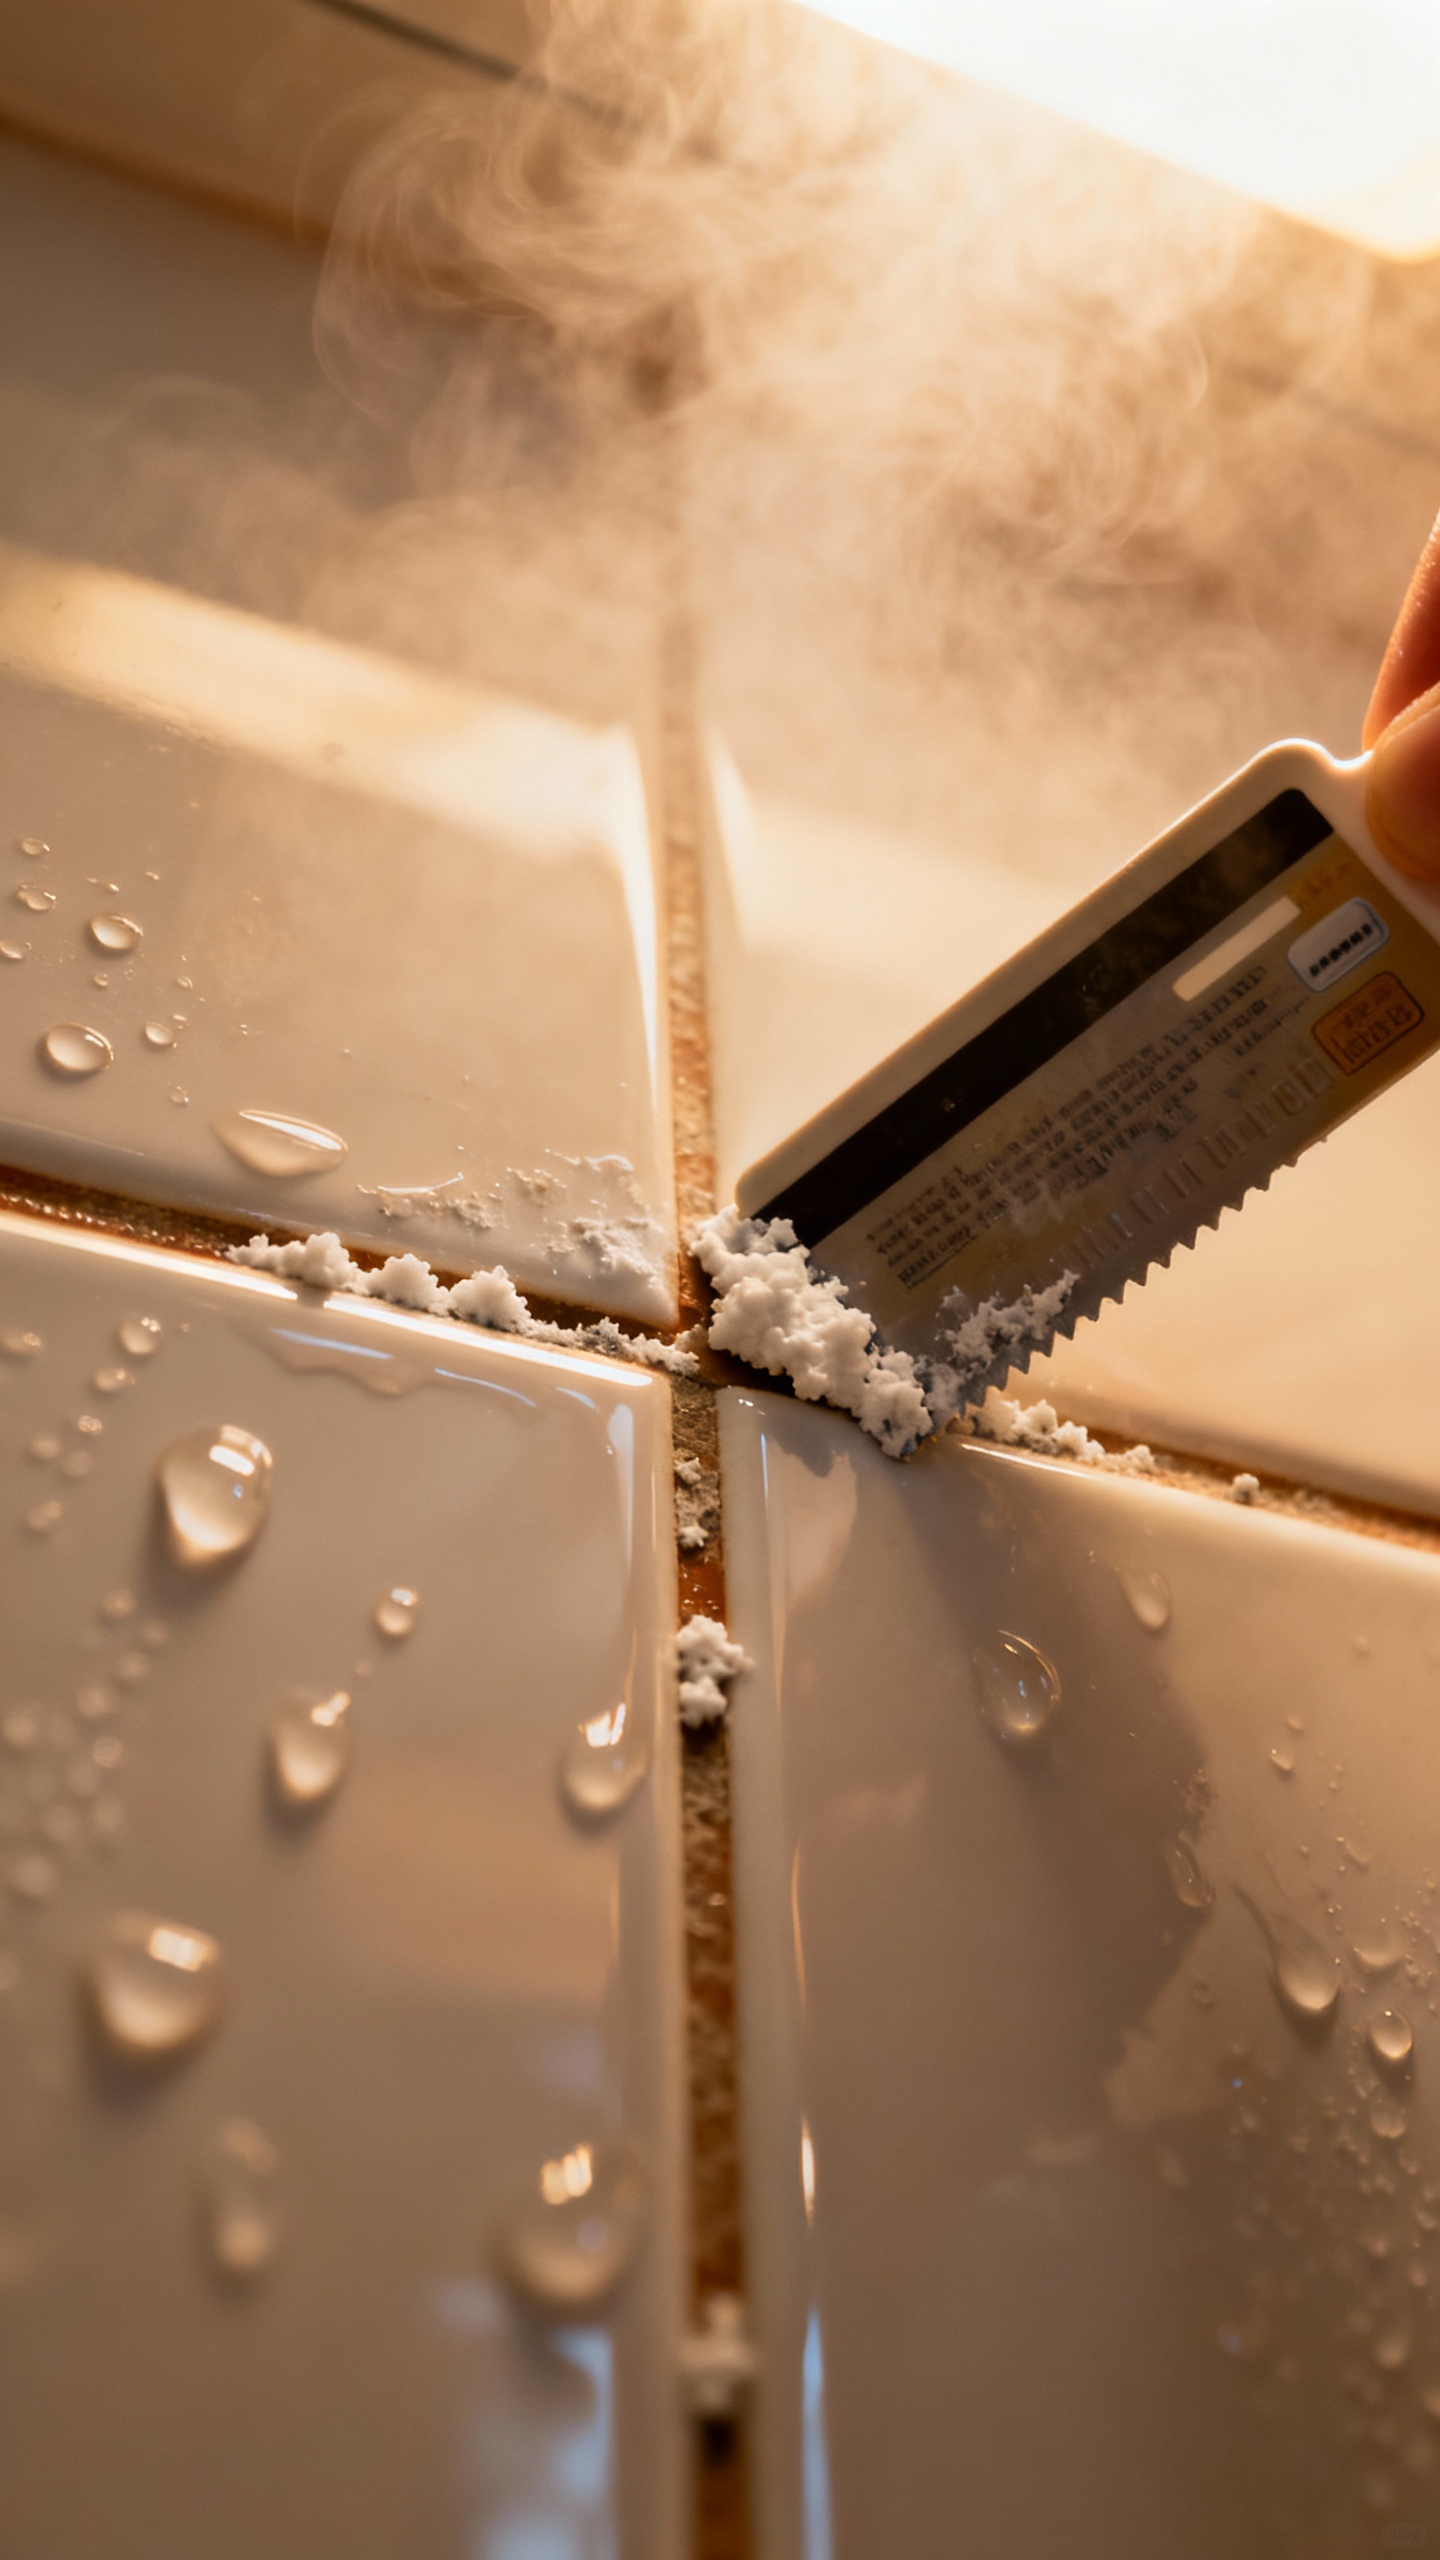
If you see crusty white deposits, scrape gently with a plastic card before scrubbing. It’s weirdly satisfying.
Steam Cleaning: The Zero-Product Power Move
If you own a steam cleaner with a grout attachment, use it.
High heat loosens grime, melts soap scum, and kills mildew without chemicals.
- Work slowly so the steam can do its thing.
- Wipe immediately after each pass to lift dissolved dirt.
- Dry the area to keep mildew away.
Steam won’t fix crumbling grout, but it will make good grout look brand new. IMO, it’s the best upgrade if you clean often.
A Few Don’ts You’ll Thank Me For
- Don’t use bleach on colored grout. You’ll fade it and regret it.
- Don’t attack with wire brushes.
You’ll shred grout and create crevices for more dirt.
- Don’t mix vinegar with peroxide or ammonia. Keep it simple and safe.
- Don’t skip the rinse. Residue attracts more grime.
Make Clean Grout Last Longer
Clean grout is a lifestyle, not a one-time event.
Fortunately, it’s not a hard lifestyle.
Quick Daily Habits
- Squeegee your shower after use. Ten seconds, huge payoff.
- Run the fan or crack a window for 20 minutes post-shower.
- Wipe high-traffic grout weekly with warm water and a drop of soap.
Monthly and Seasonal Care
- Monthly: Do a quick baking-soda-and-vinegar refresh on shower grout.
- Every 6–12 months: Seal your grout if it’s cement-based. Sealer keeps stains out and makes cleaning 10x easier.
When Grout Won’t Bounce Back
Sometimes the stains run deep, or the grout has worn down.
If you see cracks, chunks missing, or permanent discoloration despite cleaning:
- Regrout small areas with a premixed grout repair product. It’s DIY-friendly.
- Consider grout colorant/sealer to refresh the tone and protect in one step.
- Call a pro if tiles wiggle or water leaks. That’s beyond “Sunday project” territory.
FAQ
Can I use vinegar on all grout?
Use vinegar on sealed or cement-based grout for routine cleaning, but avoid it on natural stone like marble or travertine, since acid can etch stone.
If you have stone tiles, stick to a stone-safe cleaner with a neutral pH and use the baking soda/peroxide paste for grout stains.
How often should I clean shower grout?
Do a light clean weekly and a deeper scrub once a month. Showers collect constant moisture and soap, so steady maintenance beats marathon scrubs. Two minutes with a squeegee daily saves you an hour of scrubbing later—no joke.
Will hydrogen peroxide bleach my grout?
At 3% strength, hydrogen peroxide gently brightens without bleaching or damaging most grout.
Test in a small spot first, especially with dark or colored grout. It’s a safer alternative to chlorine bleach when you want a whitening boost.
What brush works best for grout?
A stiff nylon grout brush hits the sweet spot: firm enough to lift grime, soft enough to protect grout lines. A retired toothbrush works in a pinch, but it takes longer.
Skip wire brushes entirely to avoid damage.
Is steam cleaning safe for all grout?
Steam is generally safe for ceramic and porcelain tile with intact grout. Avoid it on loose tiles, crumbling grout, or unsealed natural stone. As always, test a small area first and keep the nozzle moving.
Do I really need to seal grout?
If your grout is cement-based, sealing helps tremendously.
It repels stains and makes your next clean-up ridiculously easier. Epoxy grout doesn’t need sealing, so check what you have.
Conclusion
You don’t need harsh chemicals to rescue sad grout. With baking soda, vinegar or peroxide, a solid brush, and smart habits, you can restore those lines and keep them clean with minimal effort.
Start with the simple paste method, level up as needed, and seal the deal for longer-lasting results. Clean grout, happy tiles, and zero eye-watering fumes—win, win, win.


