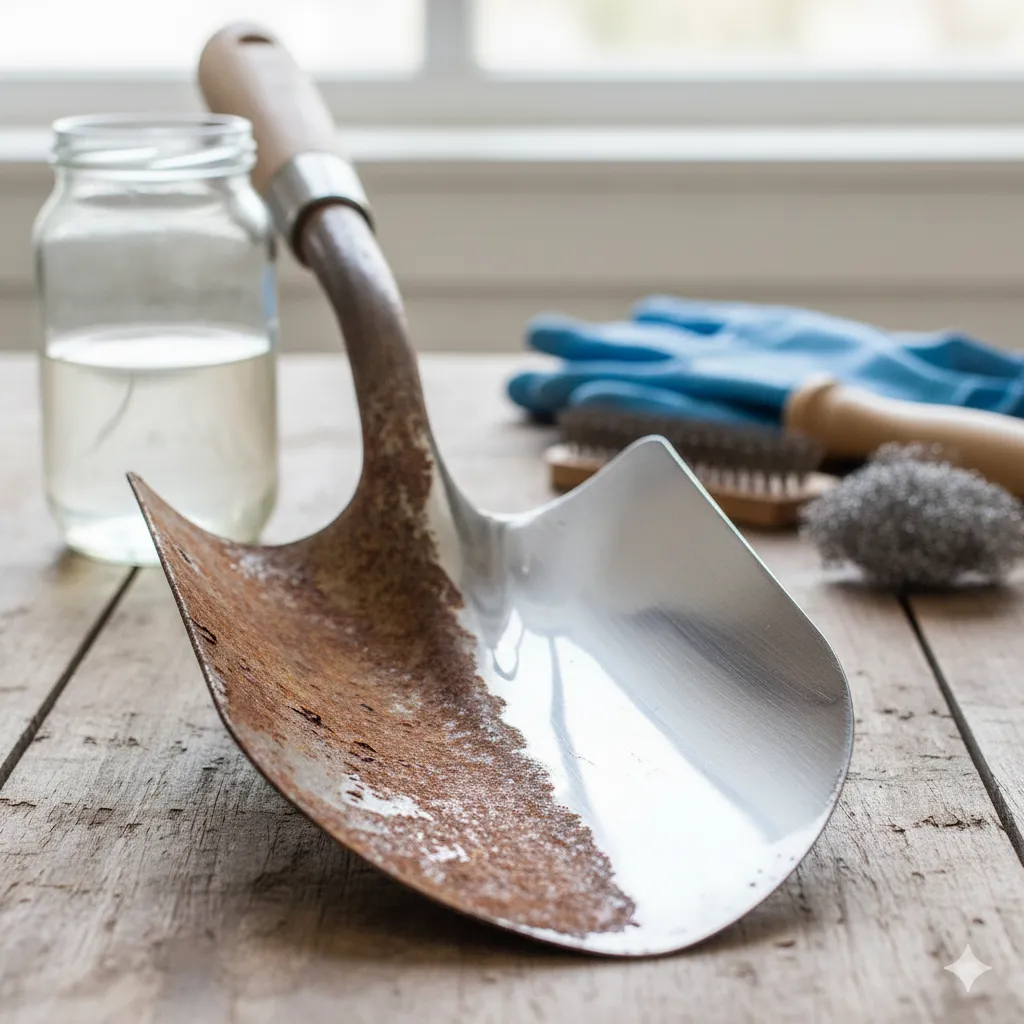
Is there anything more soul-crushing than reaching for your favorite wrench, only to find it’s developed a nasty case of the orange plague? We’ve all been there. Rust—that pesky, corrosive layer of iron oxide—is the silent killer of outdoor furniture, beloved tools, and pretty much anything metal that dares to face a little moisture. It doesn’t just look awful, it actually damages the metal, weakening it, seizing up moving parts, and turning a perfectly good item into junk.
Before we dive in, a quick safety heads-up
We’ll be discussing acids and abrasives. Don’t be a hero. Wear gloves and eye protection, and make sure you have good ventilation, especially when using commercial chemical products. You want to save your metal, not damage your lungs or skin!
What Is Rust & Why It’s Obsessed with Your Stuff
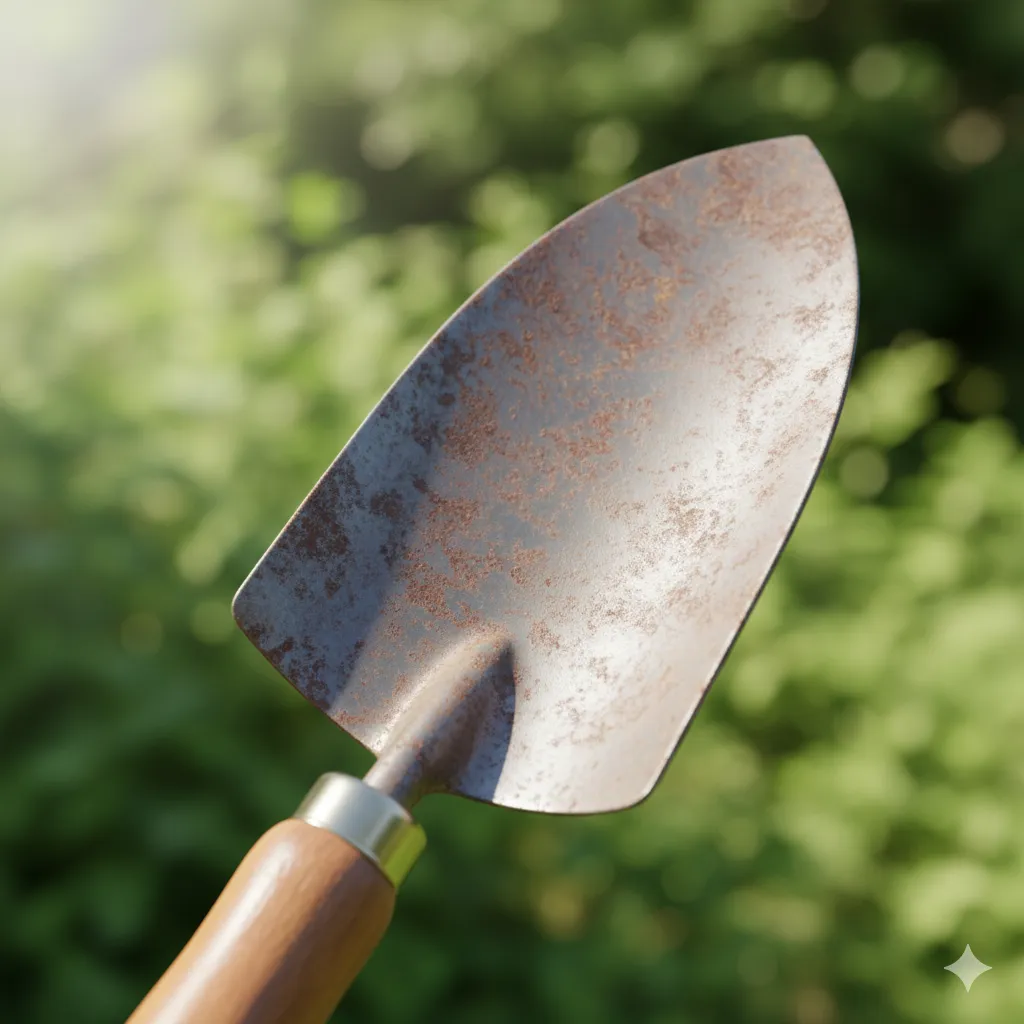
Let’s get this out of the way: Rust isn’t some mystical curse; it’s just oxidation. Specifically, it’s a form of corrosion that happens when iron or an alloy containing iron (like steel) is exposed to oxygen and water simultaneously. The chemical reaction creates hydrated iron(III) oxide, which is that reddish-brown flakey stuff we all hate.
The Accelerants: Bad Habits and Bad Weather
So, what makes it worse? The big players are:
- Moisture and Humidity: The more water around, the faster the reaction. Ever notice how tools rust faster in a damp garage?
- Salt: Salt water is an electrolyte, which really speeds up the whole corrosion process. That’s why coastal items or car underbodies rust so quickly.
- Neglect: Leaving tools outside, not drying something properly, or ignoring a tiny spot until it becomes a big one. It’s the classic “out of sight, out of mind” problem, and rust loves it.
Not All Rust Is Created Equal
When you look at a rusty object, you need to assess the damage. This helps you choose the right method:
- Surface Rust (Light Flaking): This is the easiest. It’s just a light layer on the surface, maybe a bit of discoloration. A gentle scrub or soak can handle this.
- Pitting Rust (Moderate): The rust has started to eat into the metal, creating small dips and craters. You’ll need more aggressive scrubbing or a longer chemical soak to get into those depressions.
- Deep Rust / Scaling (Severe): At this point, the rust is thick, flaking heavily, and has significantly weakened the metal. You might need power tools or a heavy-duty chemical rust converter. Sometimes, depending on the item, this is the “call a professional or just replace it” level.
Pre-Cleaning Steps: Preparation Is Key
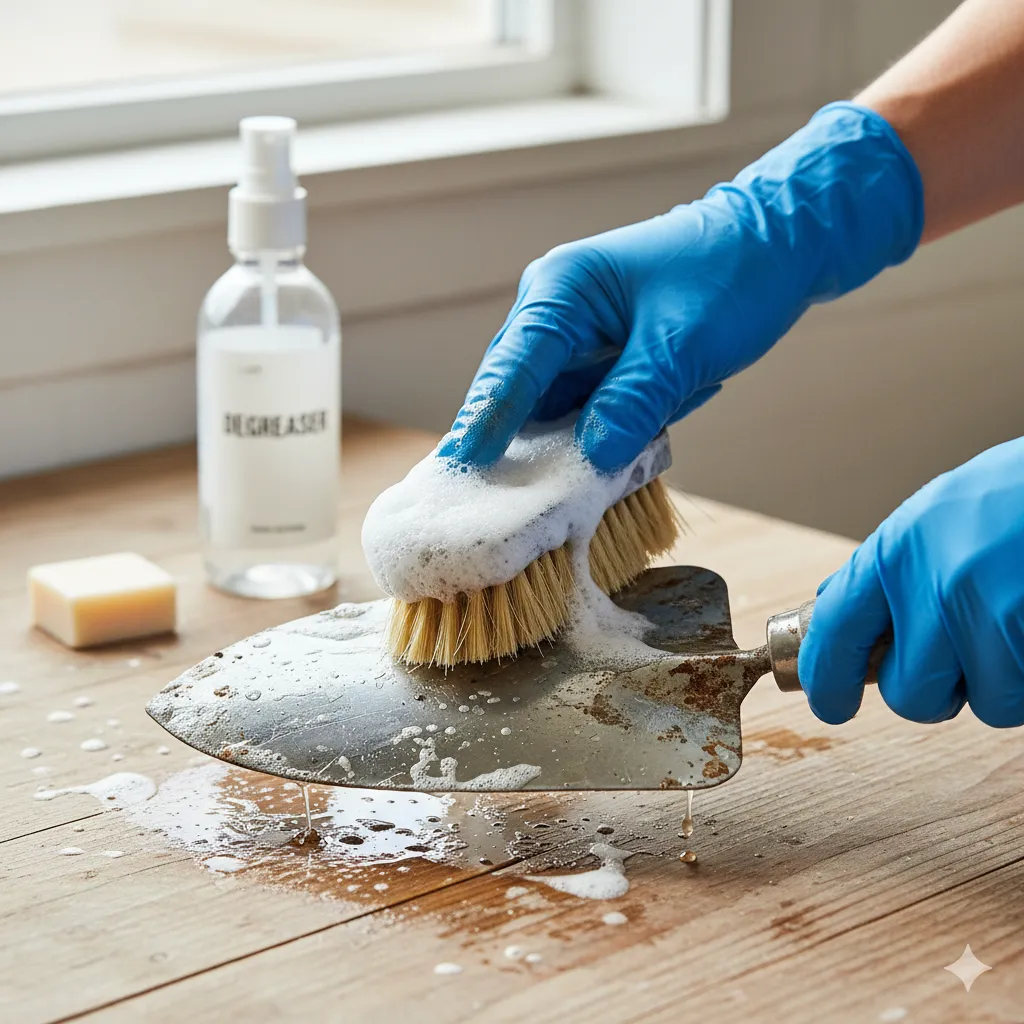
Jumping straight in with a wire brush is an amateur move. A little prep work saves a ton of elbow grease later, IMO.
1. Clean the Surface First
Before you can tackle the rust, you need to get rid of everything else. Use a degreaser or simple soap and water to remove dirt, oil, and grease. Why? Because commercial or DIY rust removers work better when they can directly attack the iron oxide, not a layer of grime.
2. Know Your Metal
This is crucial, folks! What works on a rusty steel hammer might destroy a delicate piece of stainless steel kitchen equipment.
- Steel/Iron: You can go aggressive—vinegar, heavy scrubbing, strong chemicals.
- Stainless Steel: Be gentle! It’s durable, but it scratches easily and harsh chemicals can damage the protective chromium oxide layer. Use milder acids (like citric acid) and non-abrasive scrubbing pads.
- Cast Iron: It’s tough, but you must re-season it (coat it with oil and bake it) immediately after de-rusting to prevent flash rusting.
3. Gear Up!
Don’t skip the safety part! It’s not cool to get acid in your eyes.
- Gloves: Chemical-resistant for strong stuff; regular gloves for scrubbing.
- Eye Protection: Goggles or safety glasses—a must when using power tools or chemicals.
- Ventilation: If you’re using spray-on or strong commercial products, do it outside or in a well-ventilated area.
Mechanical Methods to Remove Rust: The Muscle Approach
Sometimes, you just have to manually scrape that orange gunk off. These methods are best for surface rust and for prepping deeply rusted areas for a chemical treatment.
Old-Fashioned Elbow Grease
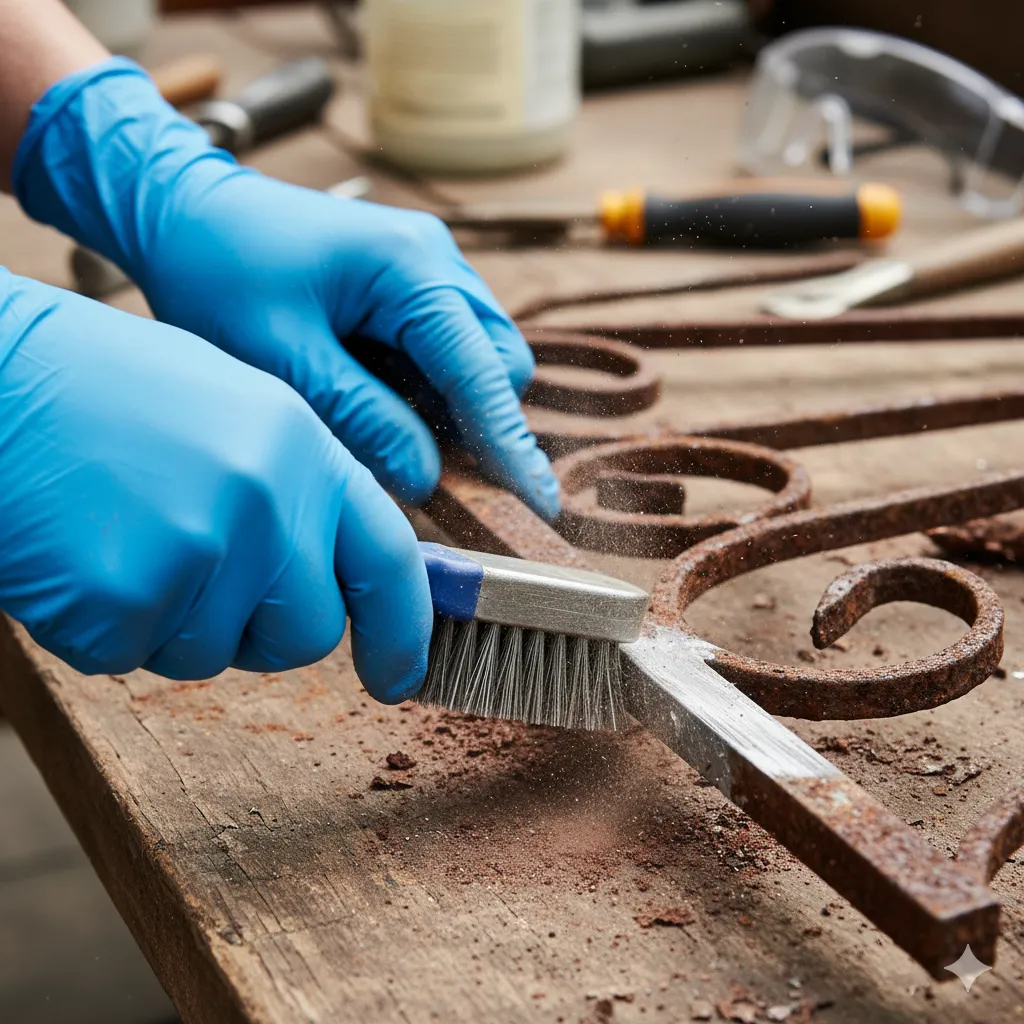
The classics are classics for a reason:
Wire Brushes (Steel or Brass): Great for getting into tight spots or covering larger, stubborn areas. A steel brush is more aggressive than brass.
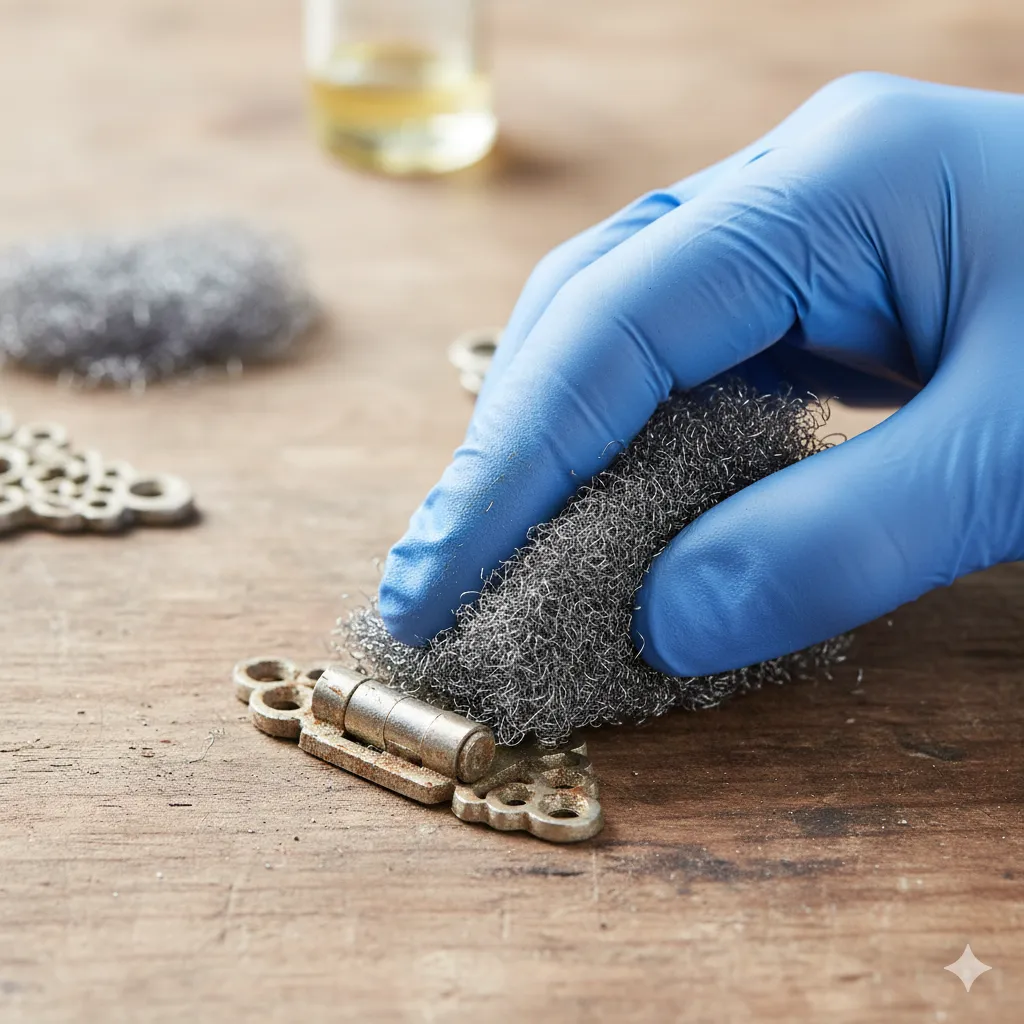
Steel Wool / Abrasive Pads: Use these in varying coarseness levels. Steel wool grades (e.g., #0000 is super fine, #3 is coarse) let you tailor the scrub to the item.
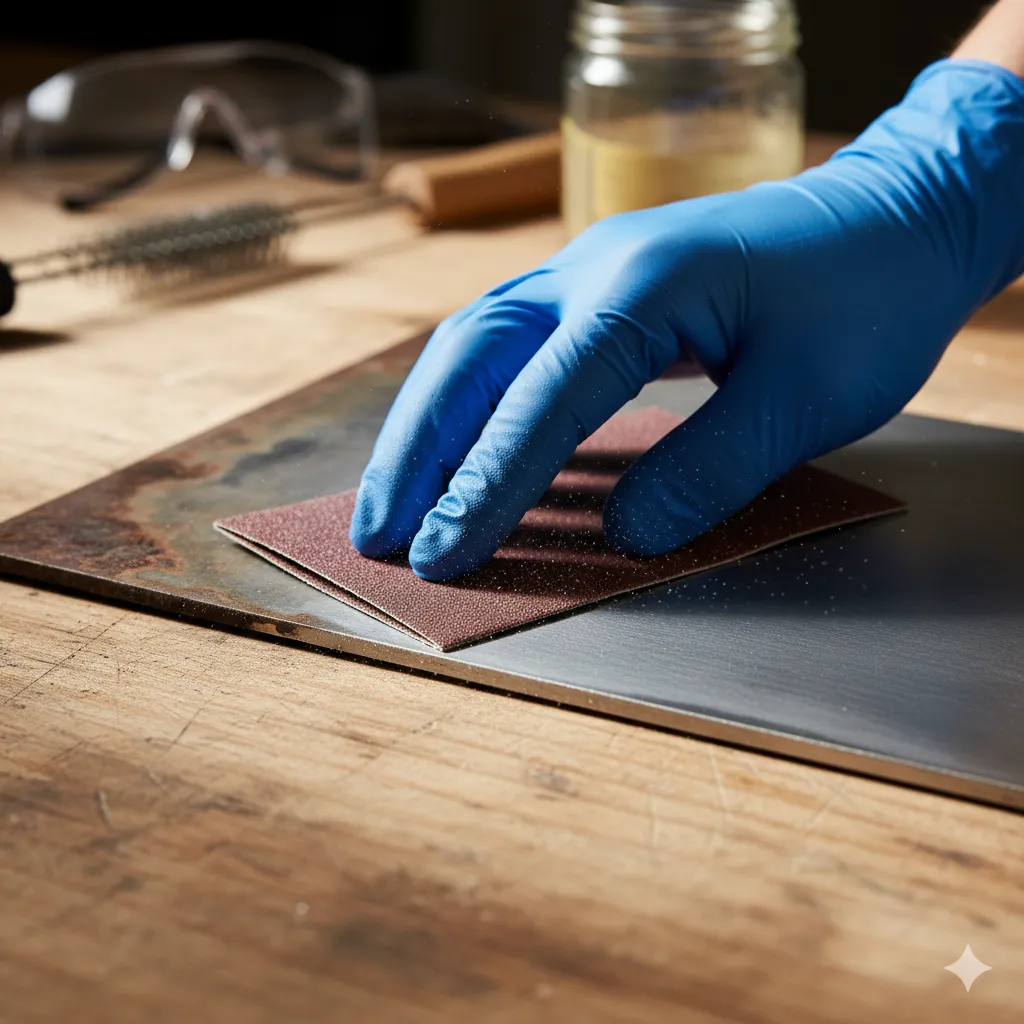
Sandpaper: Start with a coarser grit (like 80-100) for heavy rust and finish with a finer grit (220+) for smoothing and polishing the bare metal.
Bring in the Power Tools
If you’re dealing with a large piece of furniture or seriously neglected tools, save your arms and grab an electric tool.
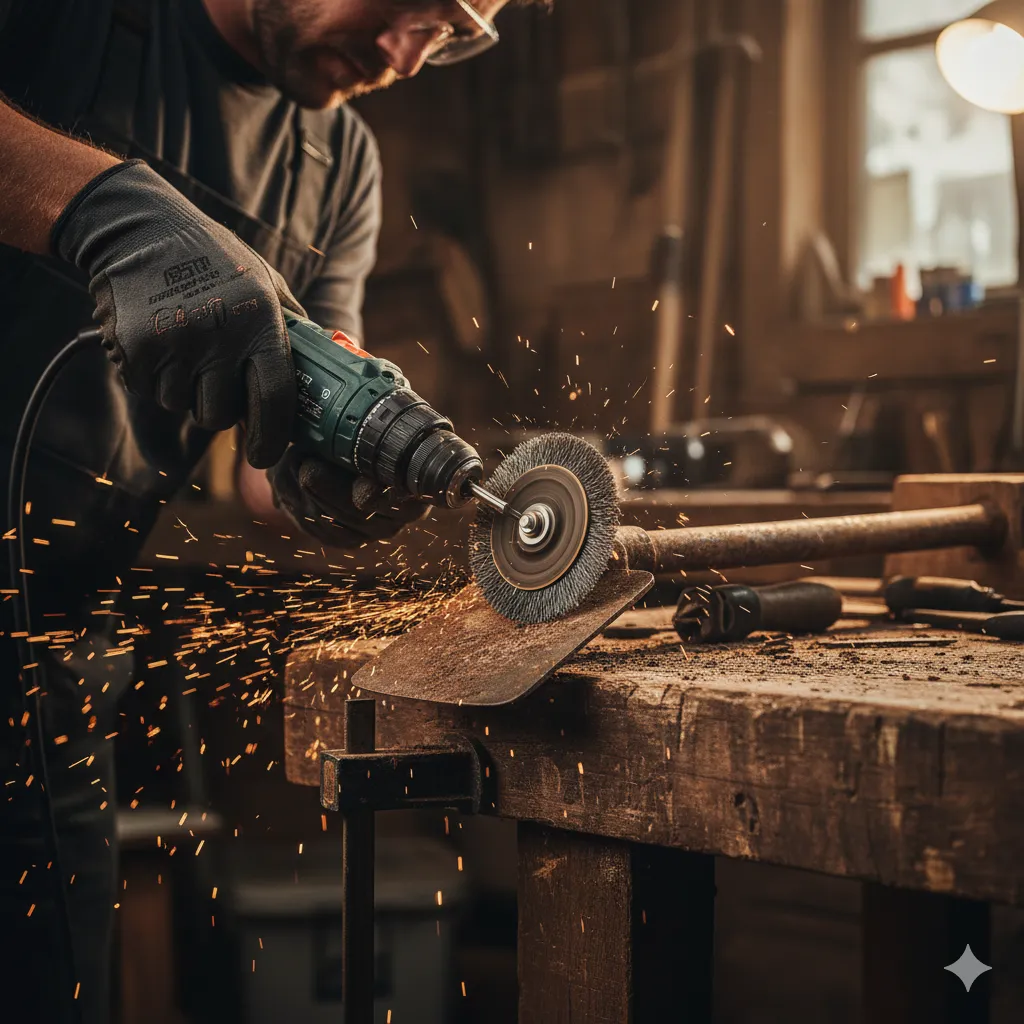
Drill with a Wire-Wheel Attachment: This is my go-to for tools. It makes quick work of large, flat surfaces and stubborn pitting. Be sure to hold the piece steady!
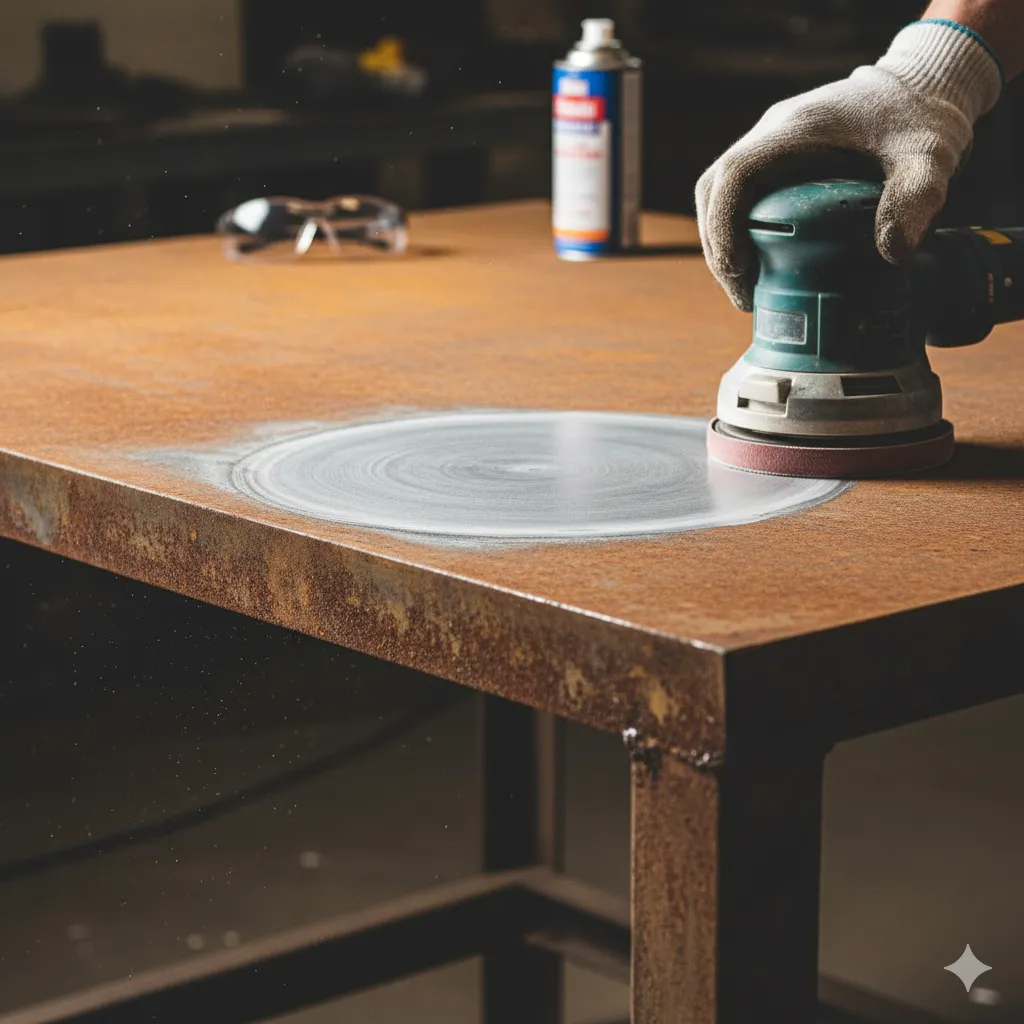
Orbital Sander: Excellent for large, flat surfaces like metal tables or workbenches. Use coarse sandpaper discs, then progressively finer ones.
The Nuclear Option: Abrasive Blasting
This is essentially “sandblasting.” It shoots fine particles (sand, glass beads, walnut shells) at high pressure to strip everything off the metal.
- When to Use: Only for large, very heavily rusted items, especially car parts, where structural integrity isn’t a huge concern, or when you need a perfectly bare surface for painting.
- When to Avoid: Small, delicate items, anything with moving parts (bearings, hinges), or anything thin that could warp from the pressure. This is usually best left to a professional shop, FYI.
| Method | Best For | Pros | Cons |
| Manual Scrubbing | Light surface rust, small items | Cheap, easy, precise control | Lots of effort, slow for big jobs |
| Power Tools | Heavy rust, large flat items | Fast, powerful | Can damage metal if not careful, messy |
| Abrasive Blasting | Extreme rust, industrial parts | Complete removal | Expensive, requires special gear, very aggressive |
Chemical & DIY Solutions: Let Chemistry Do the Work
Sometimes, you want to melt the rust away, not scrape it off. This is where chemical rust removers—both commercial and pantry-staple—come into play. I’m a huge fan of letting chemistry take the strain!
Household / Pantry Rust Busters
You probably have a rust remover in your kitchen right now. Who knew cleaning could be so cheap?
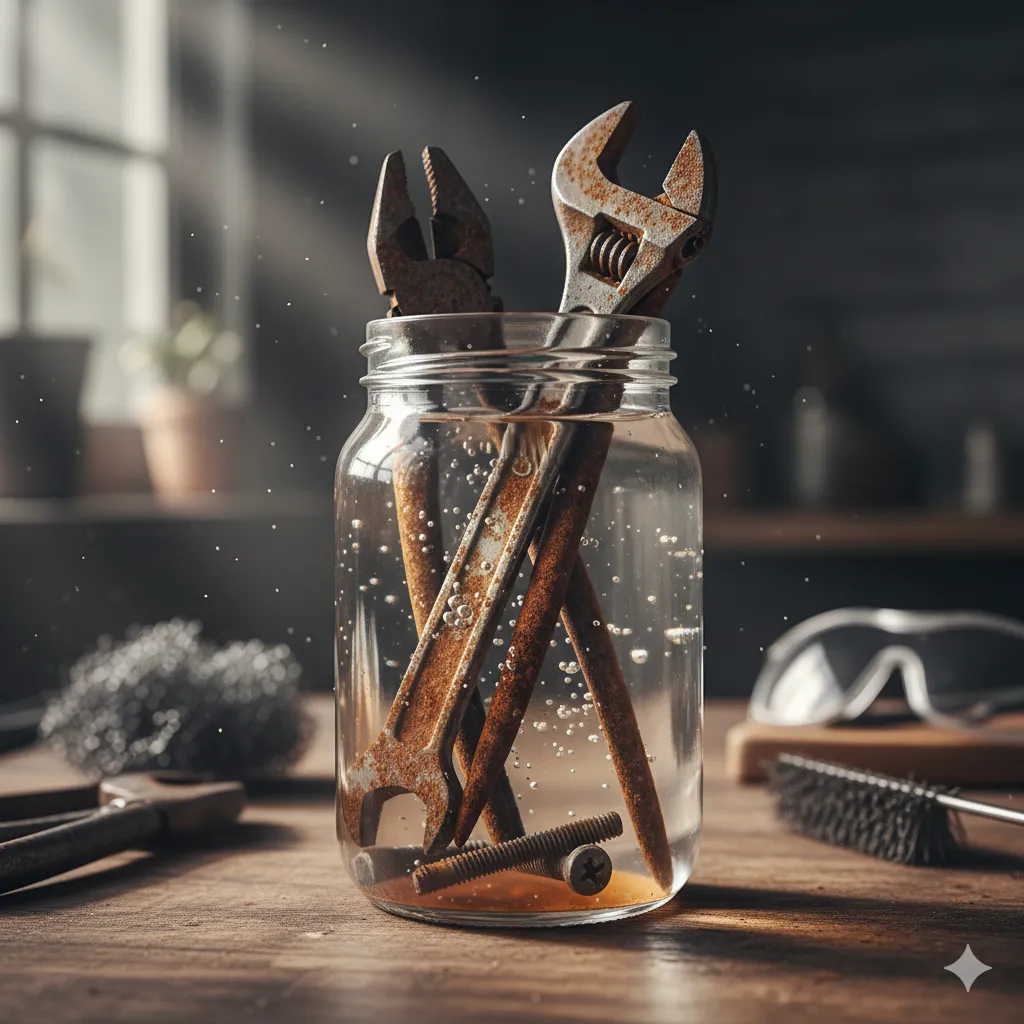
White Vinegar Soak (The Champion): Acetic acid is surprisingly effective. Submerge your rusty tools or hardware in a bath of plain white vinegar overnight. For larger items, soak rags in vinegar and wrap them around the rust. Scrub the softened rust with a wire brush or steel wool afterward.
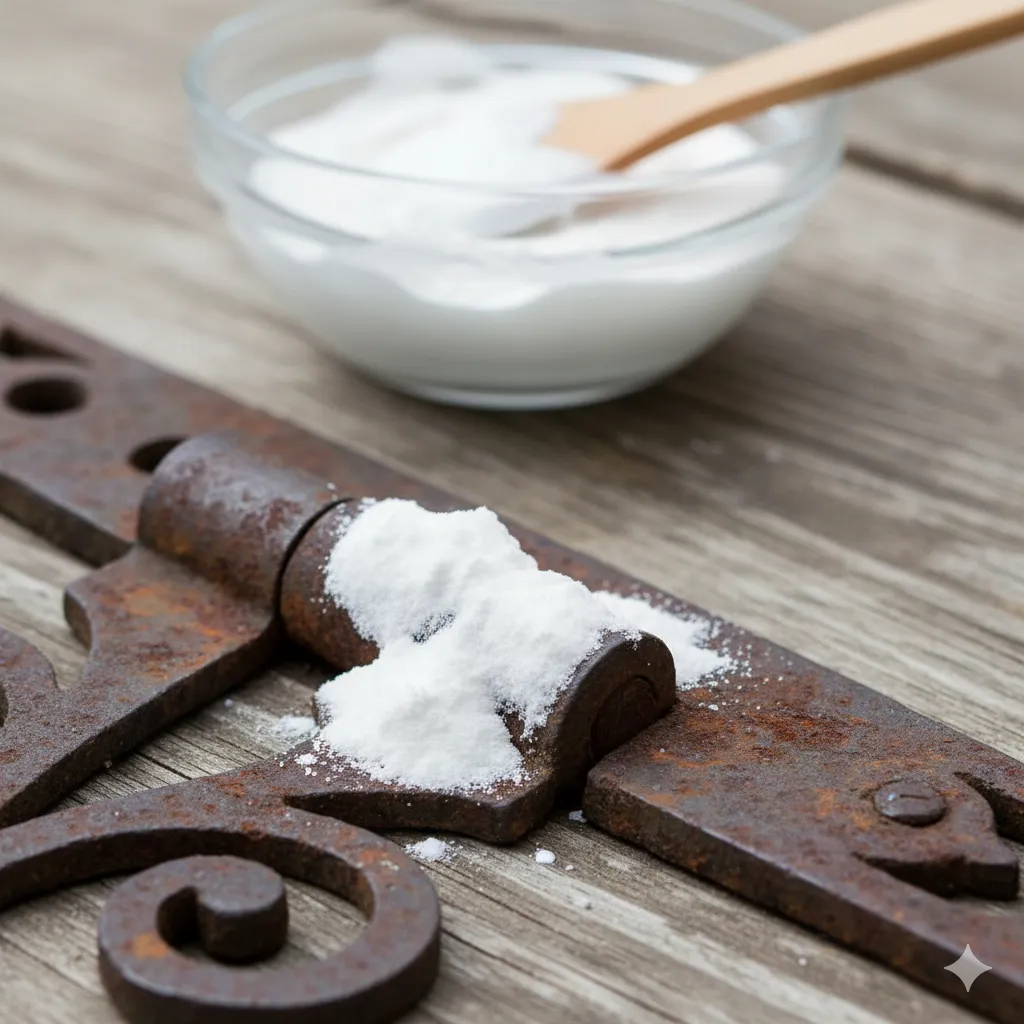
Baking Soda Paste: Good for lighter rust or on surfaces where soaking isn’t possible (like a vertical surface). Mix baking soda with water until it forms a thick paste, slather it on, let it sit for a few hours, and then scrub. It’s a mild abrasive and a gentle cleaner.
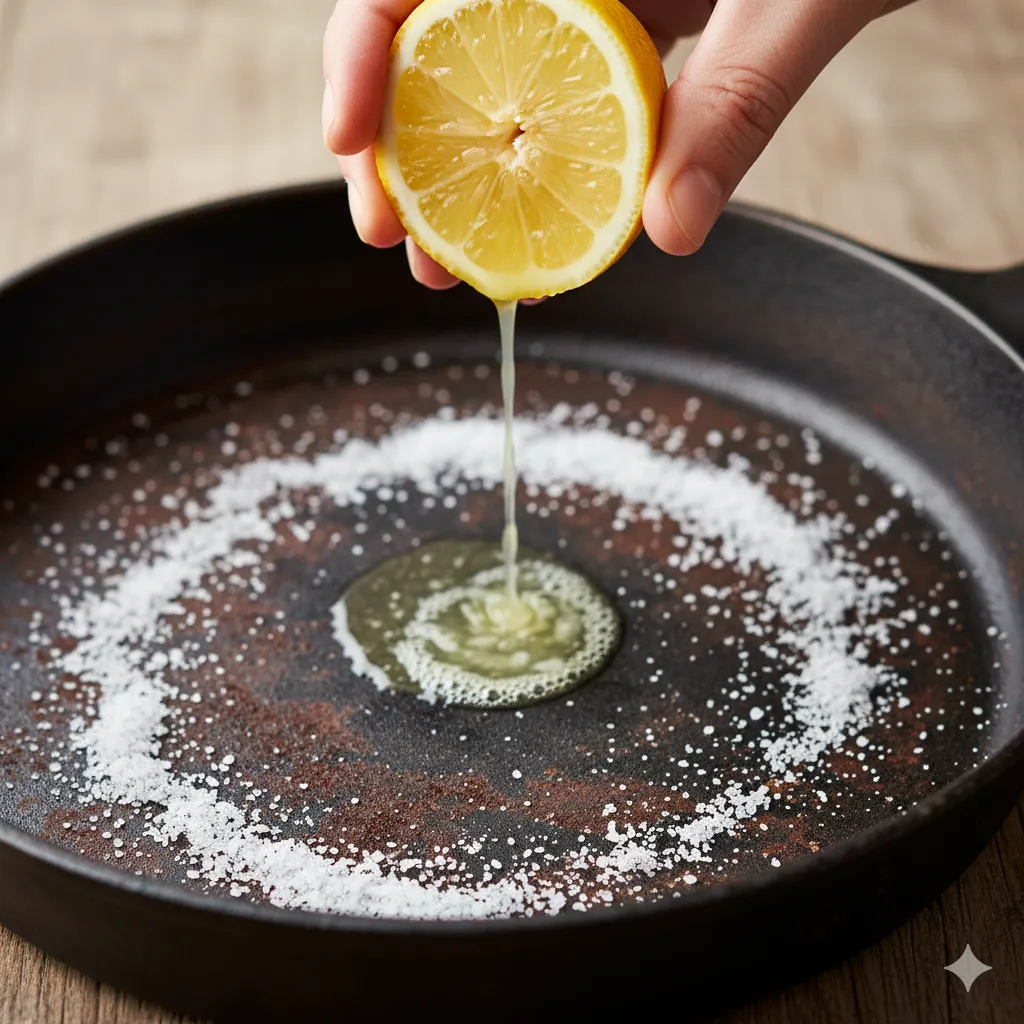
Lemon Juice and Salt: Mix a generous amount of salt on the rusted area, then squeeze lemon juice over the salt. The citric acid in the lemon juice and the abrasive salt make a powerful team. Let it sit for a couple of hours.
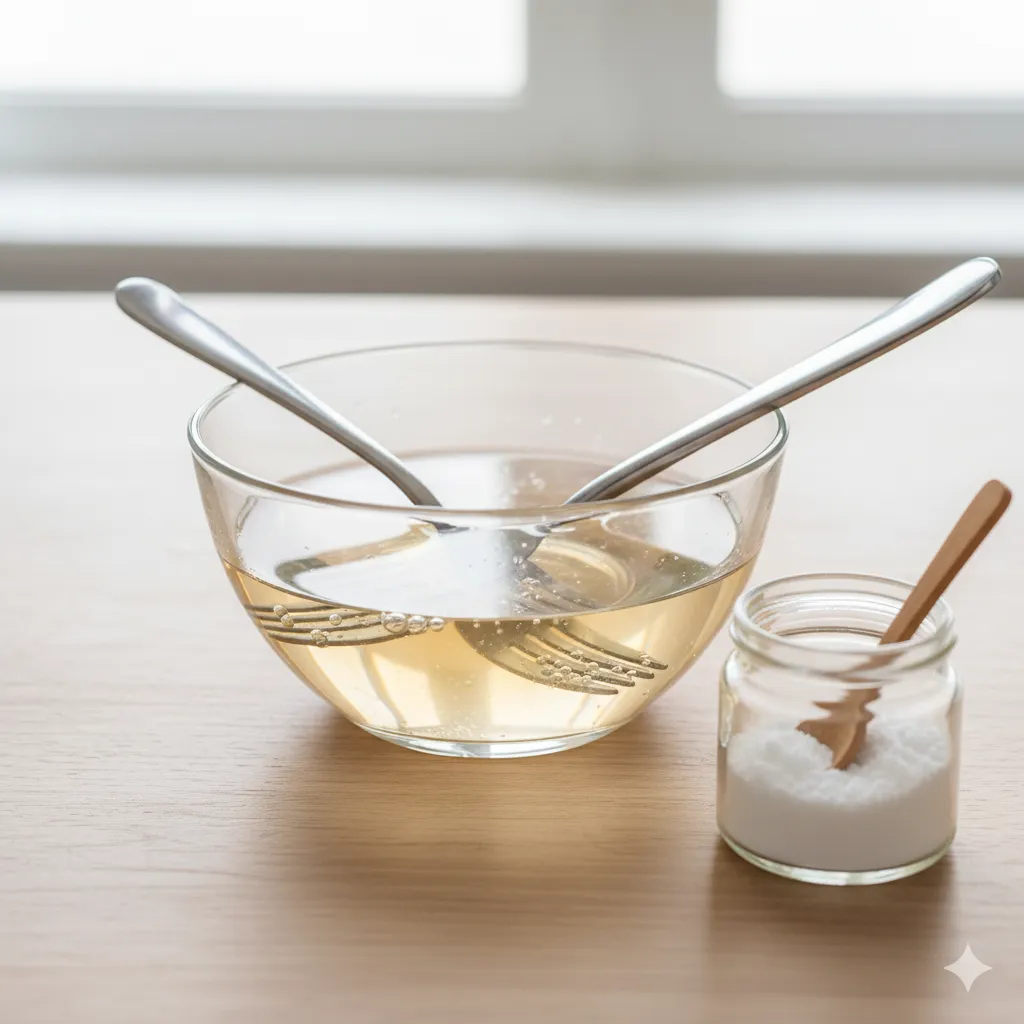
Citric Acid Bath (Especially for Stainless Steel): You can buy citric acid powder online or in brewing stores. Mix a tablespoon or two with hot water. This is an excellent option for stainless steel as it’s potent but less harsh than vinegar, minimizing the risk of damage to the finish.
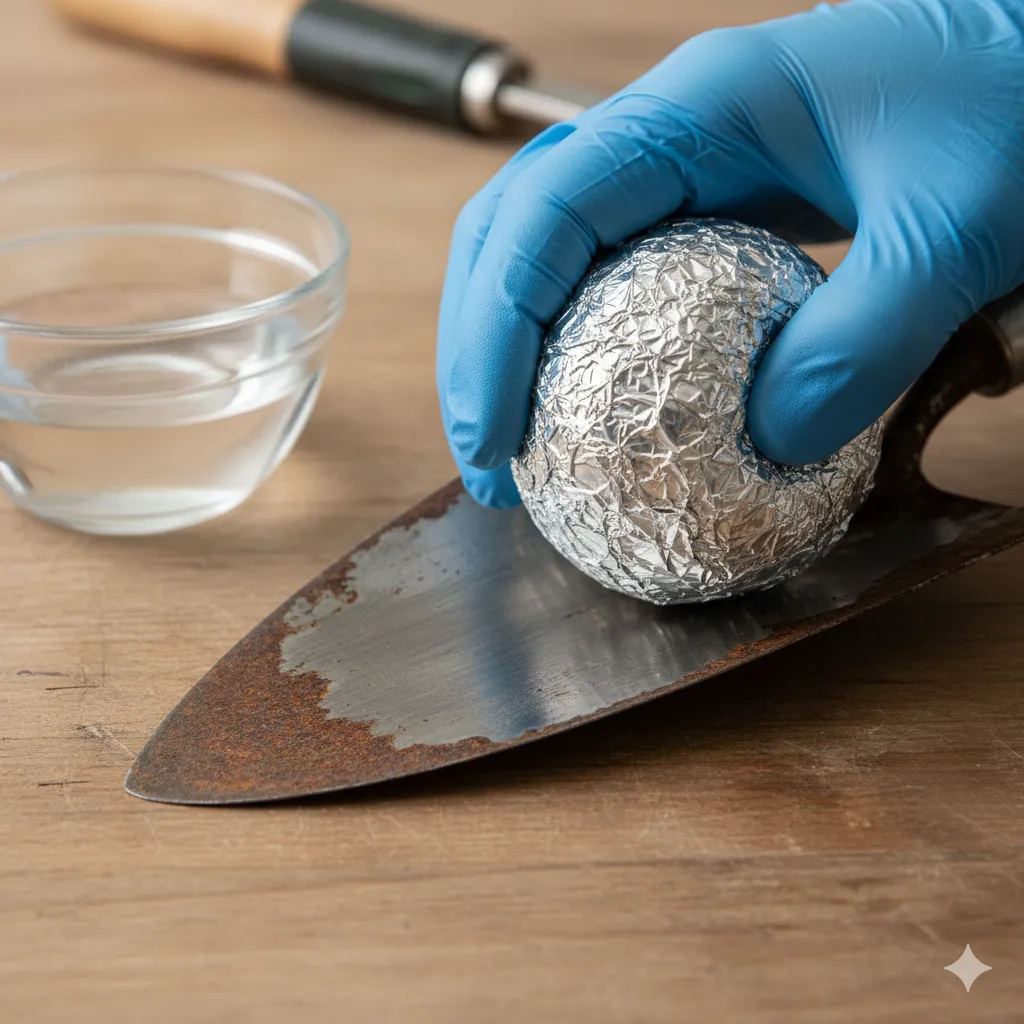
The Aluminum Foil and Water Trick: This always sounds like a hack, but it totally works. Crumple up a piece of aluminum foil, dip it in water, and rub the rusty spot. The aluminum is softer than the steel, and the chemical reaction that occurs helps lift the rust without scratching the underlying metal too badly.
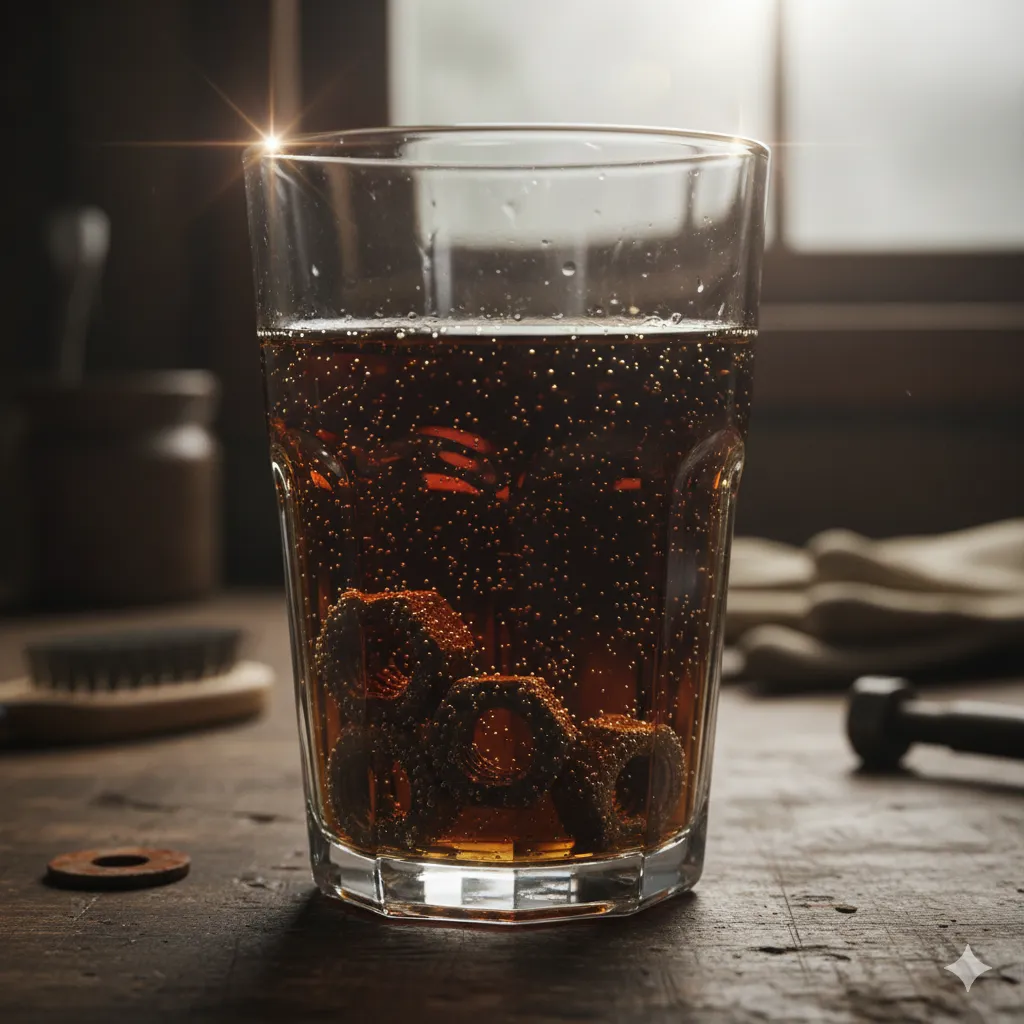
Cola / Phosphoric Acid–Based Drinks: Believe it or not, many sodas contain phosphoric acid, which is the active ingredient in many commercial rust removers. Soak small items in a container of cola overnight. It’s sticky and a little messy, but pretty effective for small, lightly rusted pieces.
Commercial Rust Removers and Converters
When the DIY stuff isn’t cutting it, you need the big guns. These products often contain stronger acids like phosphoric acid or oxalic acid.
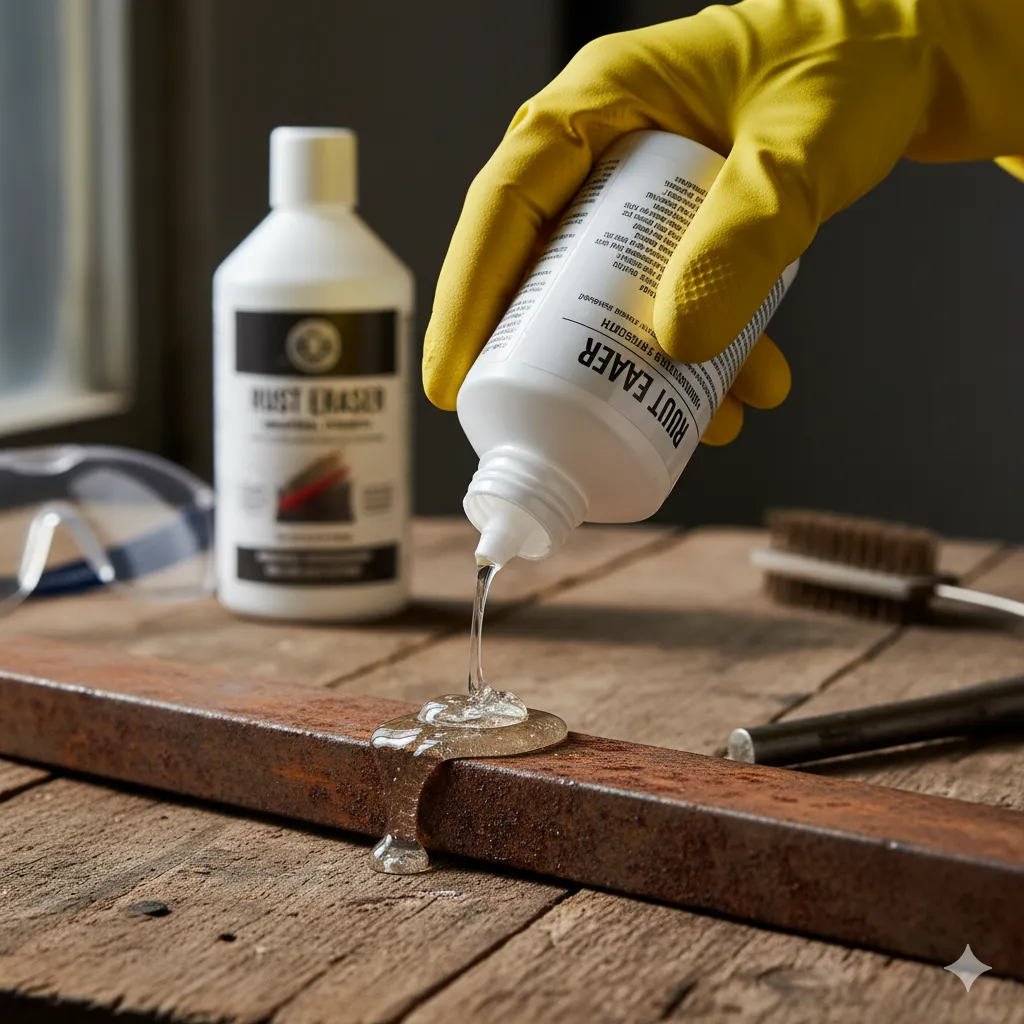
Rust Removers (Liquids/Gels): These are meant to dissolve the iron oxide. You apply them, wait a specified time, and rinse them off. They’re strong, so wear all your PPE and follow the instructions exactly.
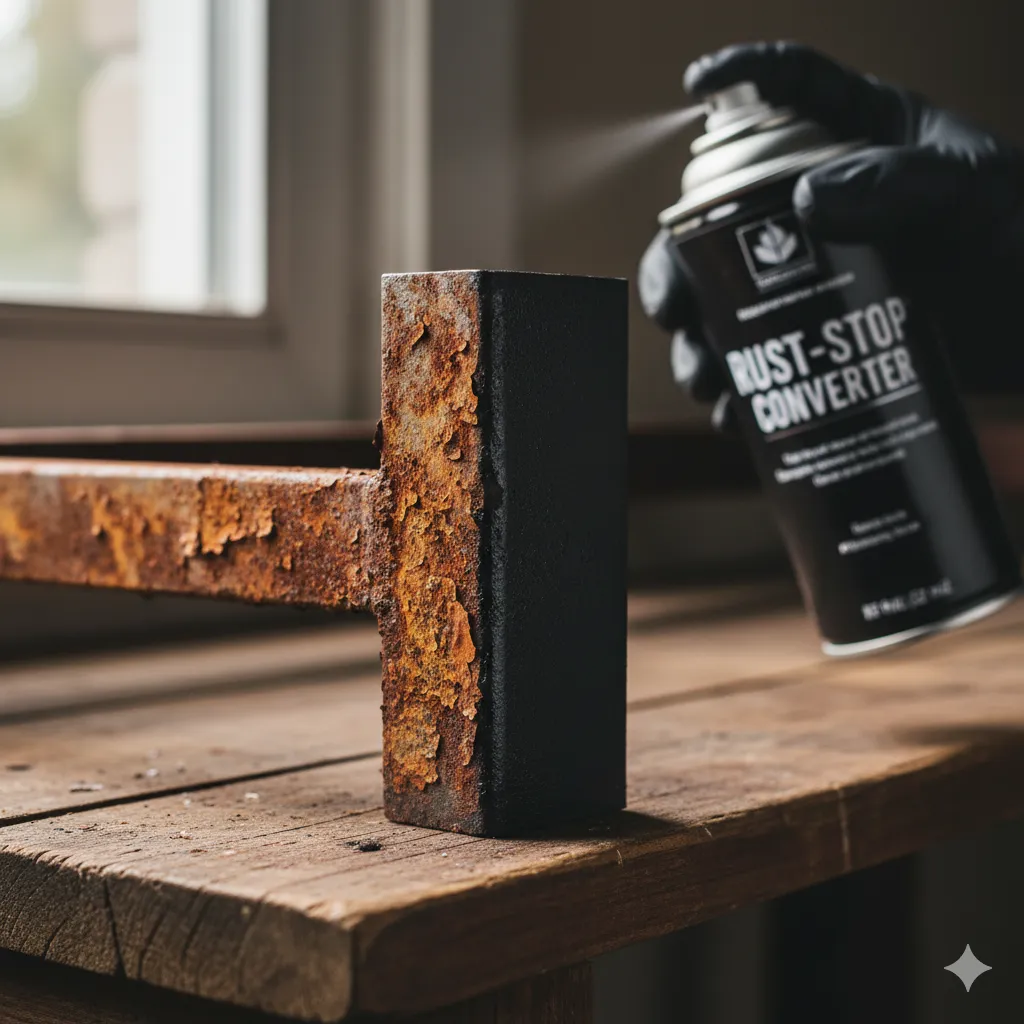
Rust Converters: These are super cool! They chemically react with the rust to transform the iron oxide into a stable, black, paintable substance (like iron phosphate). You usually leave this on—it acts as a primer for painting. This is fantastic for larger outdoor items or car frames where complete removal isn’t practical.
Step-by-Step: A Worked Example of Rust Removal
So, let’s put it all together. You’ve got a slightly rusty garden shovel with some pitting rust.
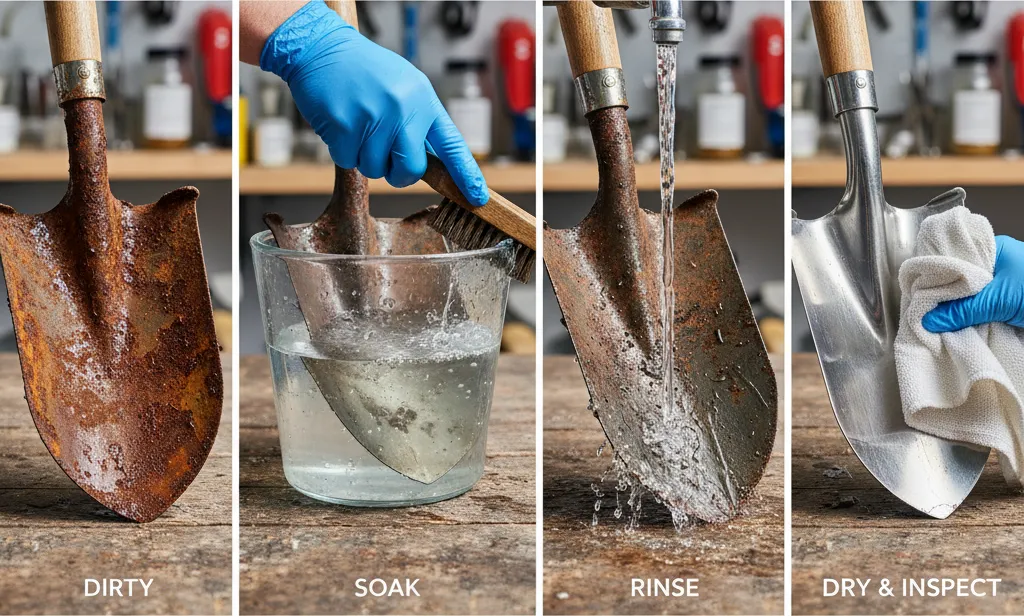
1. Select the Method
For pitting rust on a tough steel shovel, I’d start with a vinegar soak followed by a wire brush. It’s aggressive enough to get into the pits but cheap and easy.
2. Apply / Soak / Wait
First, wash off the dirt. Then, place the rusted head of the shovel into a bucket or trough filled with white vinegar. Let it soak for 8–12 hours. The acid starts breaking down the iron oxide.
3. Scrub / Agitate
Pull the shovel out (wear gloves!) and use a stiff wire brush or coarse steel wool to scrub the softened rust. The rust should come off in a brownish-black slurry.
4. Rinse, Dry, Inspect & Repeat
Rinse the shovel thoroughly with plain water to stop the acidic reaction. Dry it immediately with a towel. Why? Bare metal will start flash rusting (rusting almost instantly) if you leave it wet! Inspect the shovel. If you still see deep pits of orange, repeat the soak-and-scrub process.
5. Final Smoothing / Polishing
Once the rust is gone, you can use a fine-grit sandpaper (like 220) to smooth out the bare metal and give it a nice, clean finish.
Special Cases & Metal Types
Different materials need different methods. A cast iron skillet is a completely different beast than a brass hinge.
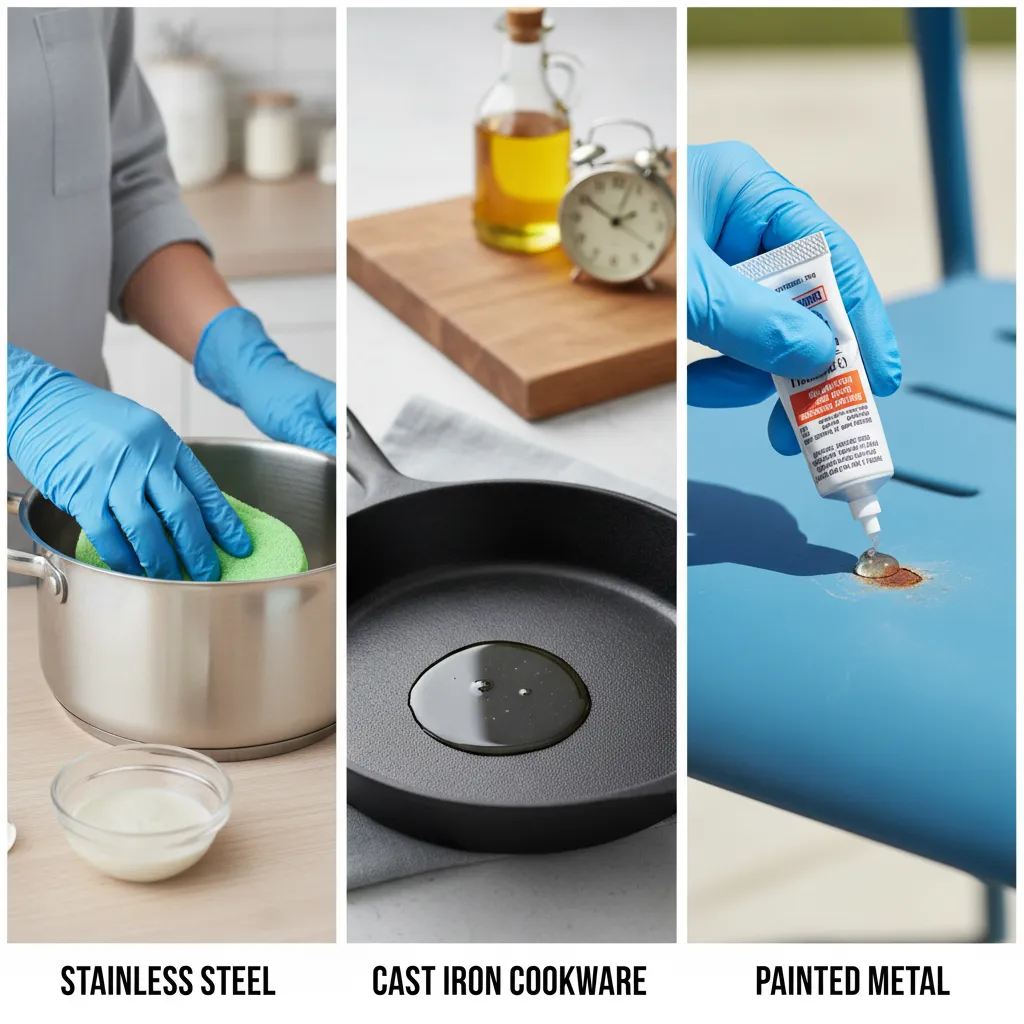
Stainless Steel
Think of your nice stainless steel cookware. It has a protective chromium layer. Avoid steel wool and coarse abrasive pads like the plague! You will scratch the finish and make it more susceptible to corrosion later. Use citric acid and a non-abrasive scrubber (like a Scotch-Brite green pad or a nylon brush).
Cast Iron Cookware
This requires a unique process. You can soak a cast iron skillet in vinegar, but do not soak it for too long (no more than an hour or two), or the acid will etch the metal. Once it’s de-rusted and rinsed, it must be dried immediately and re-seasoned (oiled and baked) right away to build that crucial protective, non-stick layer back up.
Painted or Coated Metal
If you’re restoring old furniture and want to keep the underlying paint, you’re looking for a non-abrasive method. Chemical gels that you can localize to the rusty spots are your best bet. If you plan to repaint the whole item, use a wire wheel or sandblasting to take the rust and the old paint down to bare metal, then use a rust converter or primer before you paint.
Aftercare & Rust Prevention: The Endgame
Look, you put in the hard work to remove rust from metal; don’t let it all be for nothing! Rust prevention is just as important as the removal process.
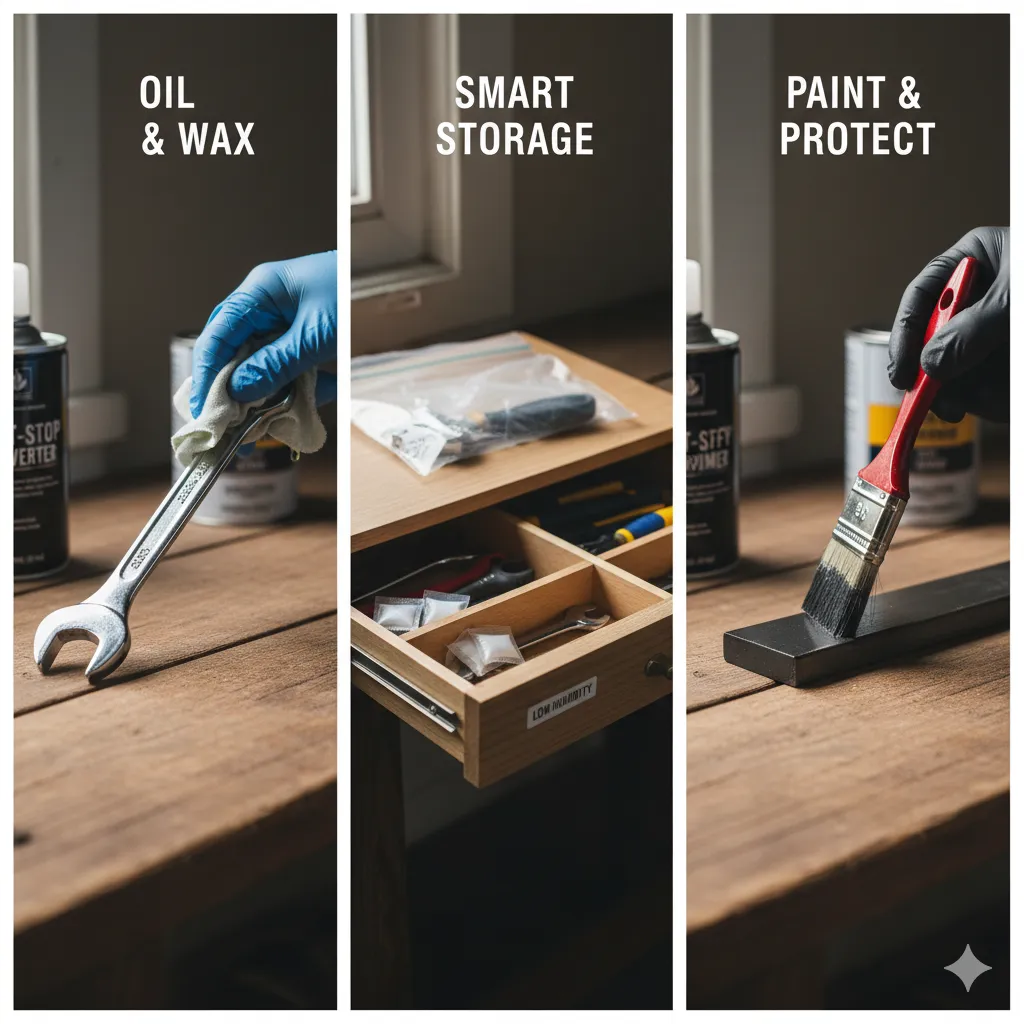
The Protective Barrier
Once the metal is clean and totally dry, you need to seal it off from the enemy (oxygen and moisture).
- Oil: For tools, hinges, and hardware, a quick wipe with a rag lightly coated in mineral oil or WD-40 is perfect.
- Wax: For things like outdoor furniture or larger metal surfaces, a coat of car wax or a specialty metal wax can provide a longer-lasting, water-repellent barrier.
- Paint / Rust-Inhibitor Sprays: For long-term protection on outdoor items, applying a rust-inhibiting primer (like one that contains zinc) followed by a topcoat of paint is the ultimate defense.
Smart Storage & Best Practices
A little bit of discipline goes a long way.
- Low Humidity is Your Friend: Store your tools, especially those you don’t use often, in a low-humidity area. Consider throwing a few silica gel packets into your toolbox.
- Wipe After Use: If your garden tools get wet or you wash your outdoor gear, wipe it dry before putting it away. Seriously, this one is the biggest secret to keeping tools rust-free.
- Periodic Check-ups: Every couple of months, do a quick inspection of your tools and equipment. Spot a little speck of surface rust? Clean it immediately with steel wool and a bit of oil.
Troubleshooting & Tips
What if the Rust Won’t Go Away?
If the rust is extremely deep and you’ve tried soaking and scrubbing, you have two options:
- Switch to a stronger commercial rust remover/gel. These are formulated to eat through stubborn corrosion.
- Use a power tool (carefully). A wire wheel is aggressive, but it’ll get into those deep pits.
Avoiding Scratches
This is usually a concern for stainless steel or polished chrome. Always test your method on an inconspicuous area first. Start with the least aggressive option (baking soda paste, then maybe citric acid) and the softest abrasive (aluminum foil, then fine steel wool). Don’t jump straight to the wire brush!
When to Call for Backup
If you have a structural component (like on a car or a major outdoor support), an antique that could be devalued by an aggressive cleaning, or a piece of heavy equipment that requires specialized tools, don’t risk it! Seek professional help from an auto body shop or a metal restoration specialist.
Closing Thoughts
So there you have it, fellow metal enthusiast! Rust might seem like an inevitable menace, but it’s totally beatable. The three biggest takeaways are:
- Catch it early! Surface rust is a 5-minute fix.
- Choose the right method for the type of metal and the severity of the rust (DIY pantry magic for light stuff, power tools or strong chemicals for the serious gunk). And
- Protect, protect, protect that freshly cleaned metal with oil, wax, or paint!
Now that you know how to clean rust off metal, go grab that rusty old tool you’ve been avoiding. Give it the love it deserves, and share your before-and-after photos in the comments! Happy restoring!
