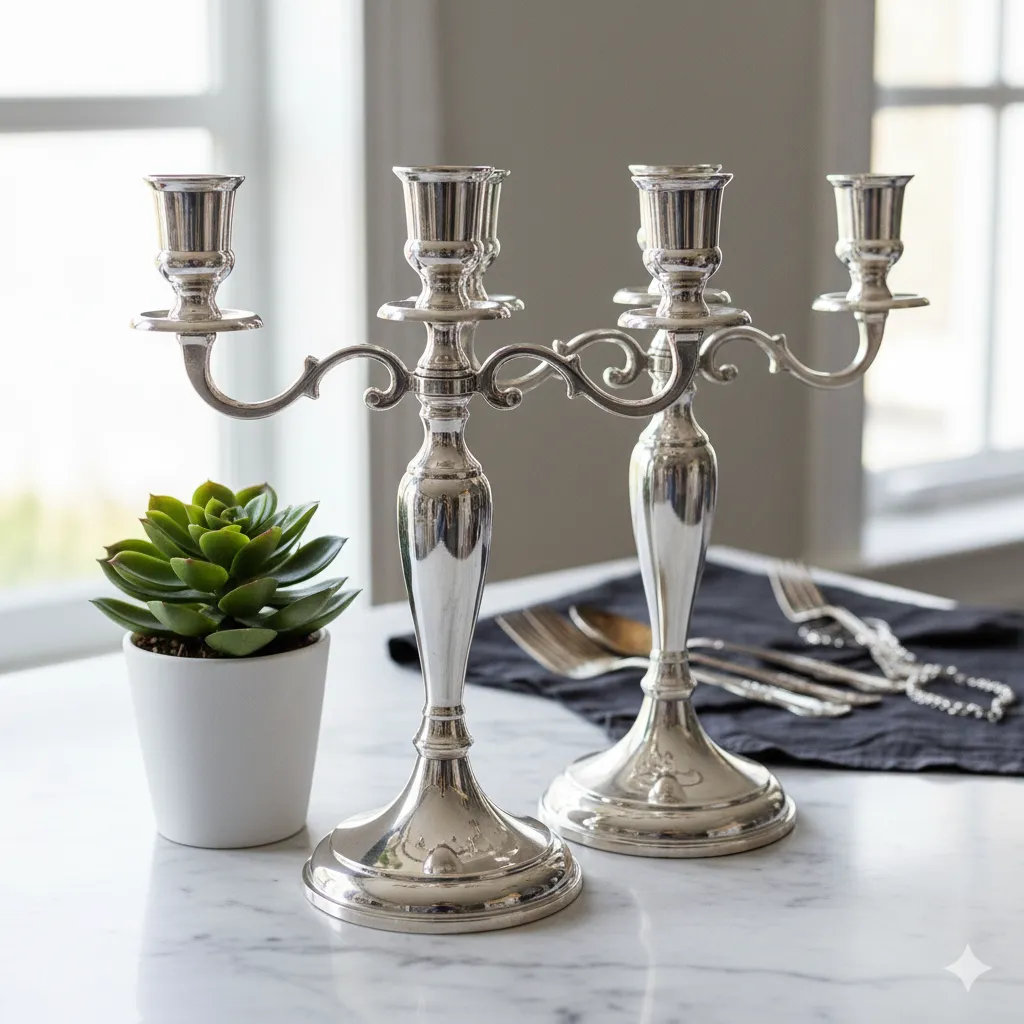
Ugh. That sinking feeling, right? You pull out your favorite sterling silver necklace or your grandmother’s stunning flatware set, and what do you see? That dull, yellowish-brown, sometimes nearly black film. Tarnish. It’s the sworn enemy of everyone who owns beautiful silver, and it can turn a cherished heirloom into something that looks like it belongs in a pawn shop window. It’s infuriating!
I’ve been there—staring at a tray full of tarnished spoons, thinking, “Do I really have to spend the next hour scrubbing these things?” But here’s the good news: I’ve collected, tested, and perfected the easiest, safest, and most effective ways to clean silver and bring back that stunning mirror shine. You don’t need harsh chemicals or elbow grease that leaves you needing a nap.
I’m not going to leave you hanging. By the end of this chat, you’ll have several proven methods, including some amazing DIY silver cleaning method options and a killer natural silver cleaner trick, that will make your silver sparkle. We’ll cover everything from your everyday sterling silver jewelry to those precious pieces of silverware you only pull out for Thanksgiving. We’ll talk about how to remove tarnish from silver without damaging those fragile family treasures. Preserving heirlooms and avoiding costly damage is the whole point, after all!
Why Silver Tarnishes (And What to Check Before You Start)
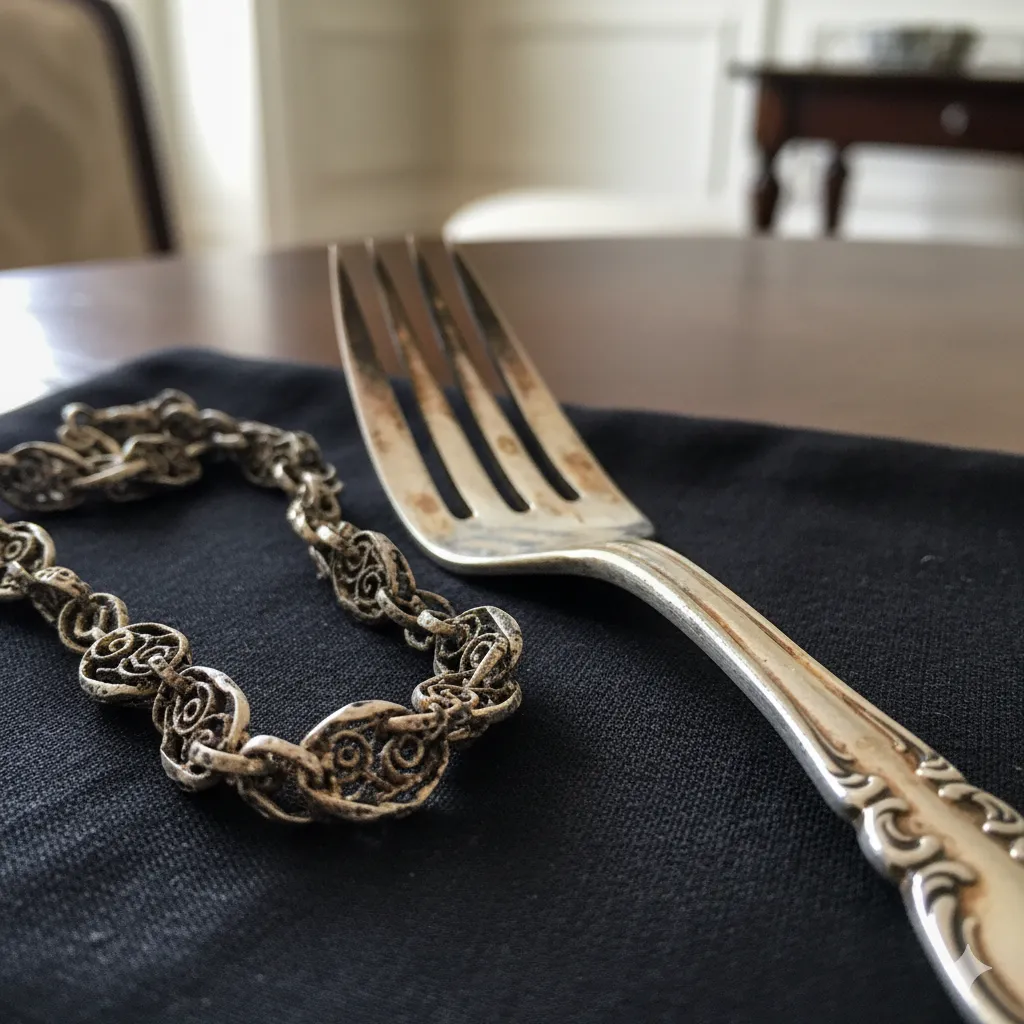
Before we jump into the fun stuff, let’s talk science, but don’t worry, it’ll be quick. Have you ever wondered why this happens? It’s not actually “rust” or classic oxidation like you see with iron.
The Real Tarnish Culprit: Sulfides
Tarnish is caused by sulfides, specifically hydrogen sulfide in the air. This gas reacts with the silver, creating silver sulfide, which is that yucky, dark film we hate. Essentially, your silver is reacting to pollution, humidity, and everyday stuff in your environment. Ever notice how silver tarnishes faster when it’s just sitting out? That’s why!
A few surprising environmental culprits include:
- Wool, felt, and rubber: Yep, your lovely wool storage cloth could be hurting your silver if it isn’t specifically anti-tarnish treated.
- Certain foods: Eggs, mustard, and even some salad dressings contain sulfur compounds. Don’t let your silver spoons hang out in the leftovers, folks.
- Even your own body: Lotions, perfumes, and even your natural skin oils can accelerate the process. This is why the underside of a favorite silver ring often gets dark so fast.
Is It Solid, Plate, or Patina? Check First!
I cannot stress this enough: before you try to clean silver, you must know what you’re working with. Using the wrong method can permanently ruin a valuable piece.
- Sterling Silver (.925): This is the most common and most durable. It’s 92.5 percent silver and the rest is copper, which is why it’s so susceptible to tarnish (the copper speeds up the reaction). You can generally use any of the methods we’re about to cover.
- Silver-Plate: This is a thin layer of pure silver over a base metal (like copper or nickel). The layer is extremely thin. Aggressive scrubbing or abrasive pastes will rub the silver right off, exposing the base metal underneath. This is an irreversible disaster, so be gentle!
- Antique Finishes/Patina: This is important! On many old or decorative pieces, the dark areas in the recesses of the design were intentional. This dark contrast (the patina) makes the design stand out. If you scrub that dark area to make it shiny, you’ve just stripped the detail and destroyed the piece’s artistic value. When in doubt, always go gentle.
The Best Way to Clean Silver Safely
I’ve grouped these into categories based on the level of tarnish. You don’t need to attack a lightly tarnished ring with a deep polish! Start mild, then level up if needed.
1. The Aluminum Foil + Baking Soda Soak: The “Mad Scientist” Method
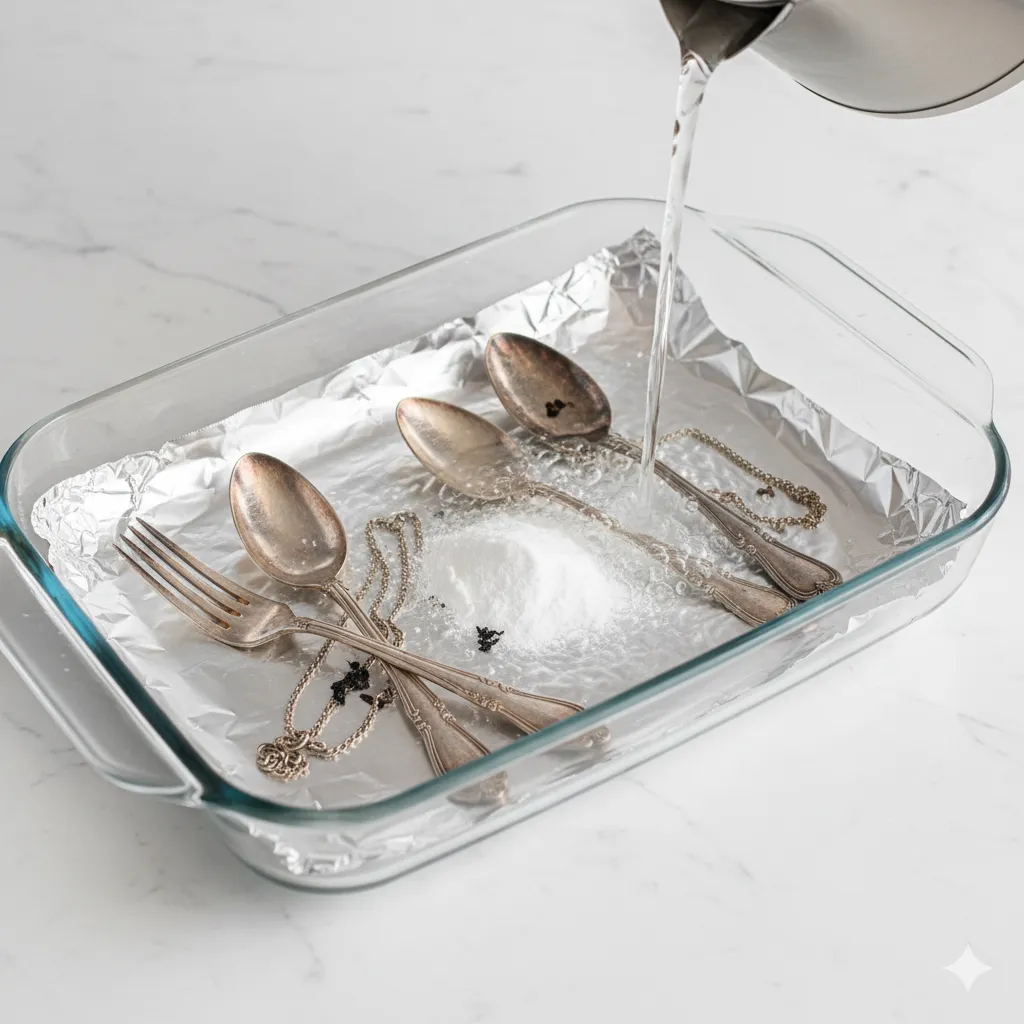
This is, IMO, the coolest and most effective DIY silver cleaning method for moderately to heavily tarnished pieces, especially silverware and chains. It’s a chemical reaction that literally pulls the tarnish off. No scrubbing required!
Step-by-Step Instructions
- Prep the Tub: Line a glass or ceramic dish (not aluminum, obviously) with aluminum foil, shiny side up.
- Add Ingredients: Place your silver pieces on the foil. Sprinkle about 1/4 cup of baking soda and 1 teaspoon of salt over the silver.
- The Magic: Pour enough boiling water over everything to completely cover the silver. You will immediately see a fizzing reaction, a sulfur smell (sorry!), and the tarnish magically transferring to the foil.
- Soak & Rinse: Let it soak for 5–10 minutes (more if heavily blackened). Remove the silver with tongs, rinse it under cool water, and buff dry with a soft cloth.
Why It Works (FYI)
The hot water, baking soda, and salt create an electrolyte solution. The aluminum acts as a cathode. A process called ion exchange happens: the silver sulfide tarnish transfers from the silver to the aluminum foil. The aluminum “sacrifices” itself, leaving your silver clean. It’s brilliant!
Cautions
This method works wonders for plain silverware and jewelry without gemstones. DO NOT use this on silver that has patina (it will clean out the intentional dark spots) or on silver with glued pieces or certain soft/porous gemstones like pearls, turquoise, or opals. The heat and chemicals can damage them.
2. Gentle Soapy Water & Soft Cloth: Daily Maintenance
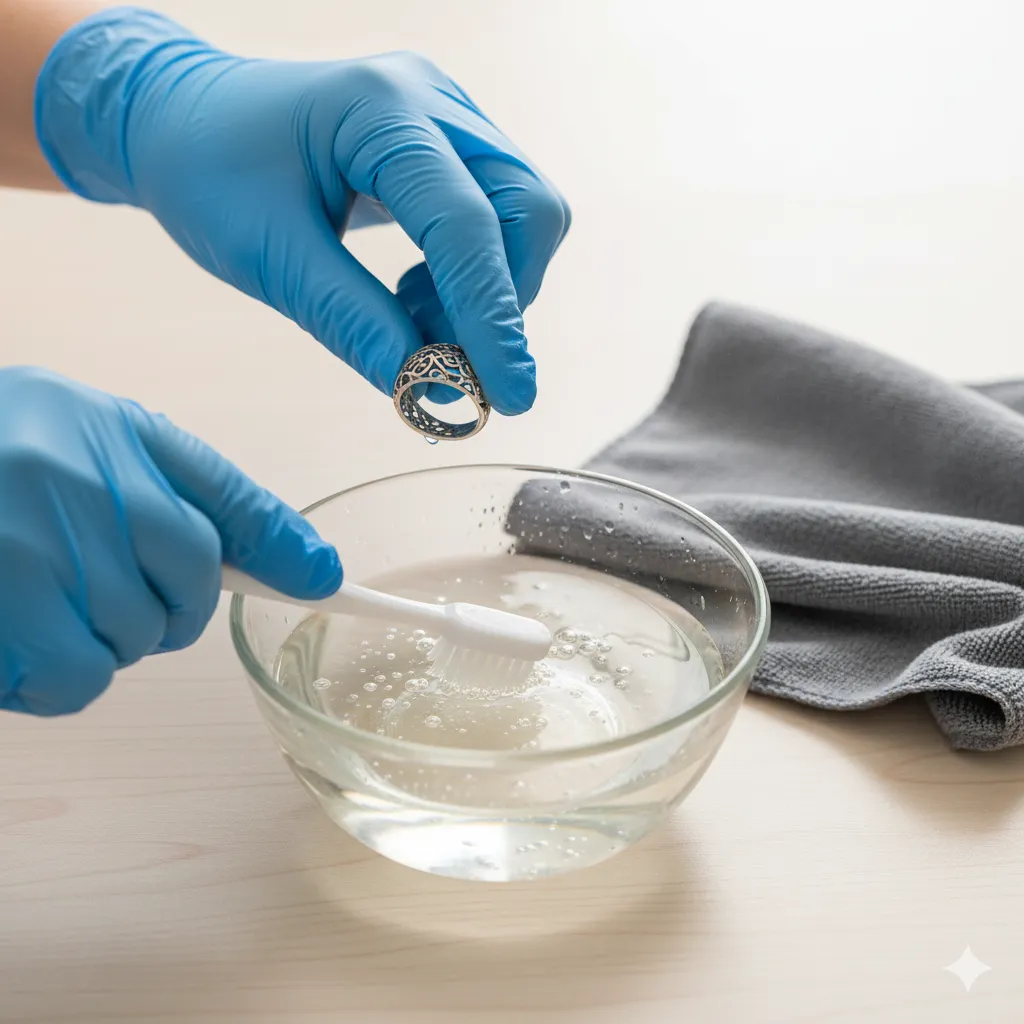
Think of this as washing your face. It’s for light tarnish, pieces you wear often, or just regular maintenance. If your silver has only a slight haze, this is all you need.
How to Prepare
Fill a bowl with warm water and a few drops of very mild dish soap (make sure it’s non-lemon and phosphate-free).
Technique
- Soak: Let the silver soak for 10 minutes to loosen any grime.
- Clean: Use a soft toothbrush or a cotton swab to gently brush the piece. Pay special attention to crevices.
- Rinse: Rinse the item thoroughly under running water. Any soap residue left behind can actually encourage future tarnish.
- Dry: Dry completely! Use a soft, lint-free cloth (microfiber is great). Moisture is the enemy, so don’t skip this step.
This is the ideal method for the frequent maintenance of pieces you use or wear all the time.
3. Commercial Silver Polish / Creams: Deep Tarnish SOS
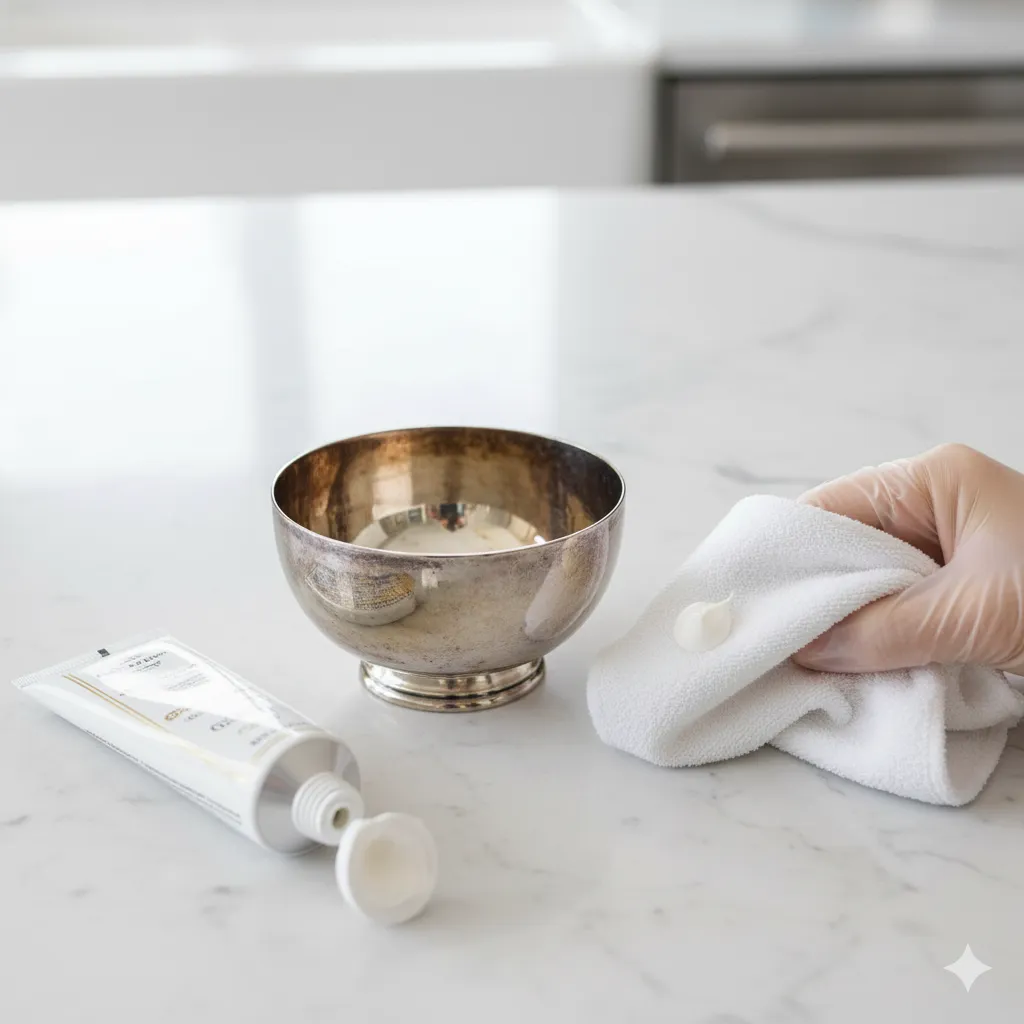
Sometimes, tarnish gets stubborn, especially if a piece has been stored for decades. This is when you pull out the heavy artillery: commercial silver polishing tips and creams.
Choosing a Quality Polish
Look for a polish from a reputable brand (like Hagerty or Goddard’s). I personally prefer creams or liquids over pastes, as they tend to be less abrasive. Avoid products that contain harsh abrasives that can scratch the surface.
How to Apply Safely
- Tools: Apply a small amount of polish to a clean, soft cloth (cotton or microfiber).
- Buffing: Using long, back-and-forth strokes (not circles!), gently rub the polish into the silver. Use a clean section of the cloth frequently.
- Rinsing: Rinse the piece thoroughly under warm water to remove all traces of the polish.
- Finish: Buff it dry with a clean, soft cloth.
Wear gloves when using commercial polish. Your hands will thank you, and it prevents your skin oils from getting on the piece during cleaning.
4. Natural/Household Alternatives: The Kitchen Arsenal
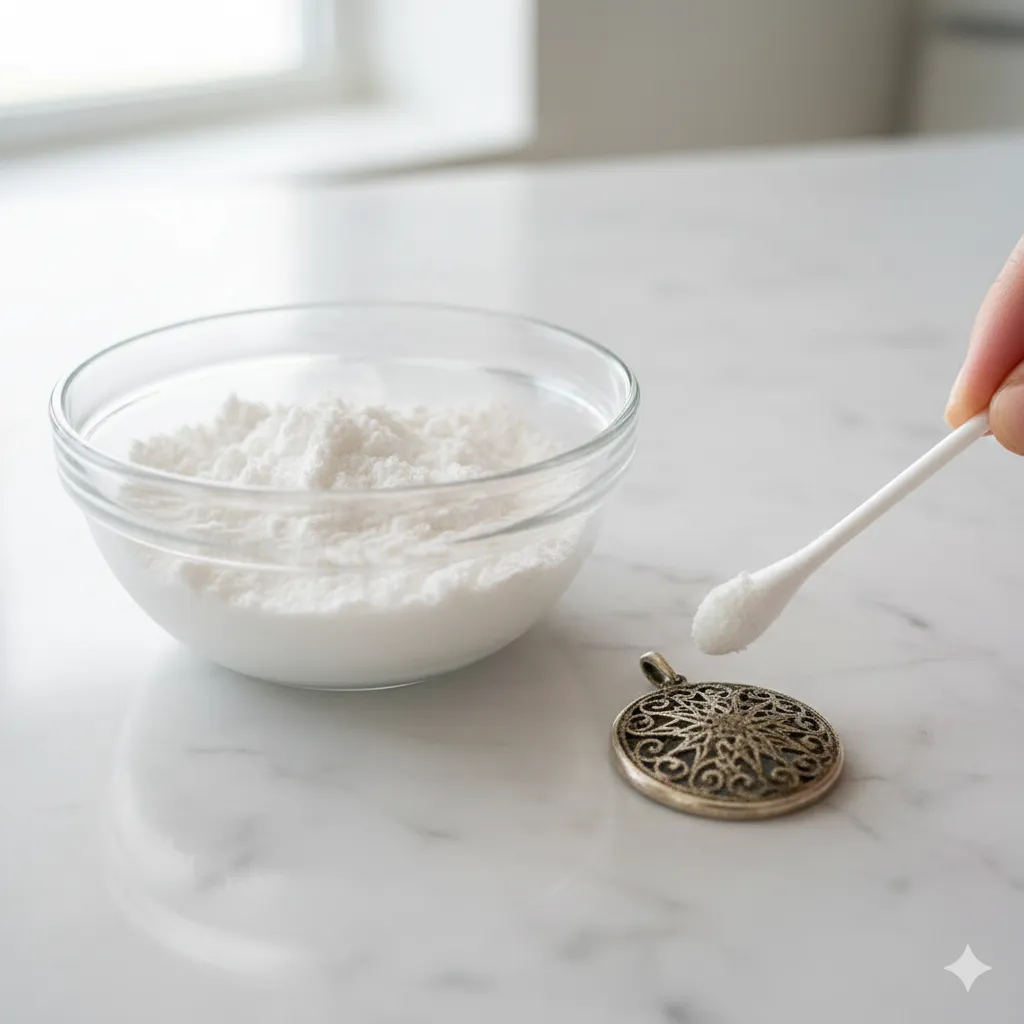
These are fun silver cleaning hacks! They’re safe, gentle, and you probably have everything you need in your pantry.
- Non-Gel Toothpaste: Seriously. Put a pea-sized amount of a plain, non-gel, non-abrasive white toothpaste on a soft cloth. Rub gently onto the tarnished areas. Rinse very well and buff dry. This is best for a quick fix on a small area.
- Baking Soda Paste: Mix 3 parts baking soda to 1 part water. Rub the paste onto the silver with a clean cloth. Let it dry completely, then rinse and buff dry. This paste has a very mild abrasive quality, making it excellent for moderately tarnished items.
- Lemon Juice and Salt: Mix 1 tablespoon of salt with 1 cup of hot water. Add 1 tablespoon of lemon juice. Soak light-tarnish pieces for about 15 minutes, then rinse and dry. This combo is great for clean silver jewelry.
- Cornstarch Paste: For a truly gentle approach, mix cornstarch and water into a paste. Apply it to the silver, let it dry, and rub off with a gentle cloth.
Risk vs. Reward
The toothpaste and baking soda pastes involve a tiny bit of abrasion, so use them very carefully on silver-plate. The lemon juice/salt soak is usually safer for detailed jewelry but should still be rinsed quickly. Always test a small, inconspicuous area first!
Special Cases & Delicate Items: Going Pro or Going Slow
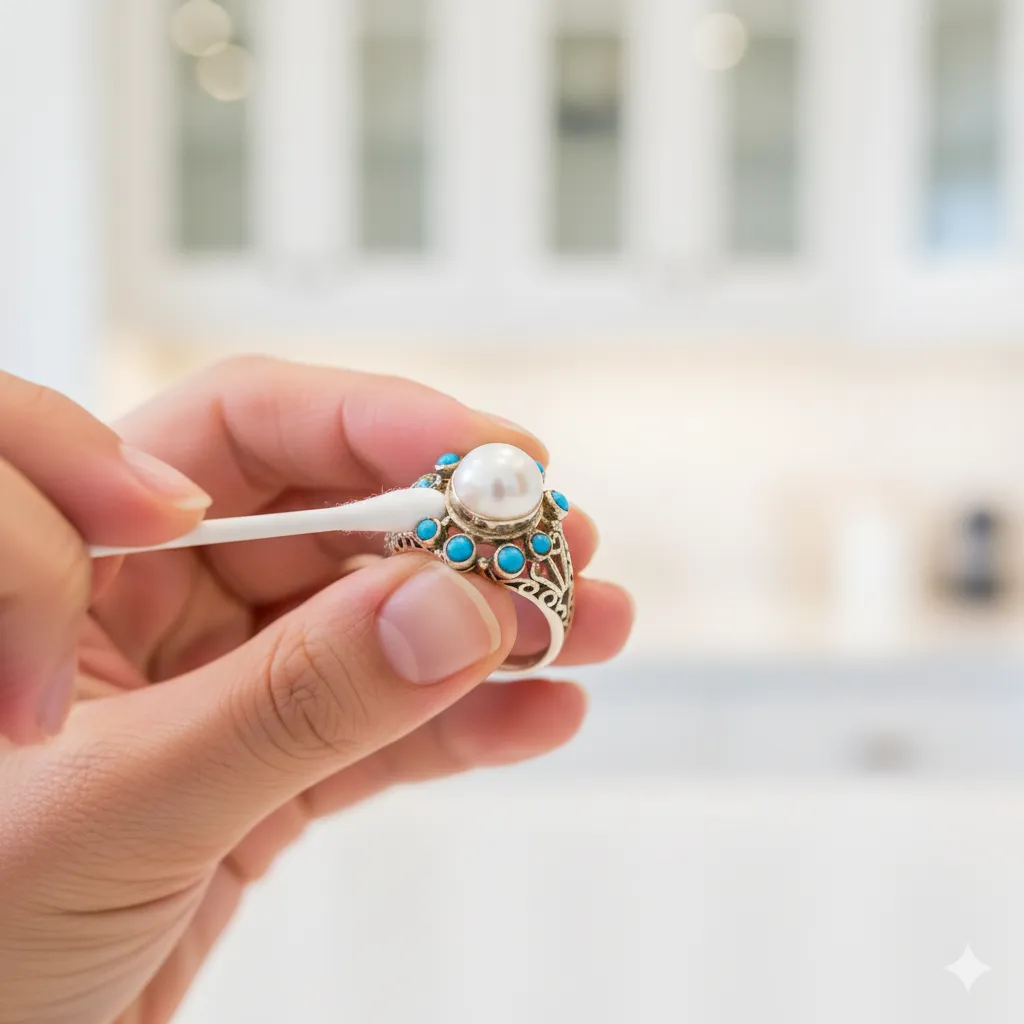
Some silver pieces are just too delicate or complex to trust to an aggressive polish. This is where you slow down and get meticulous.
Cleaning Sterling Silver Jewelry and Gemstones
- For soft, porous stones (pearls, opals, turquoise): NEVER use the baking soda/foil method, harsh chemicals, or anything abrasive. Simply wipe the silver with a gentle, damp cloth around the stone, and then dry it immediately.
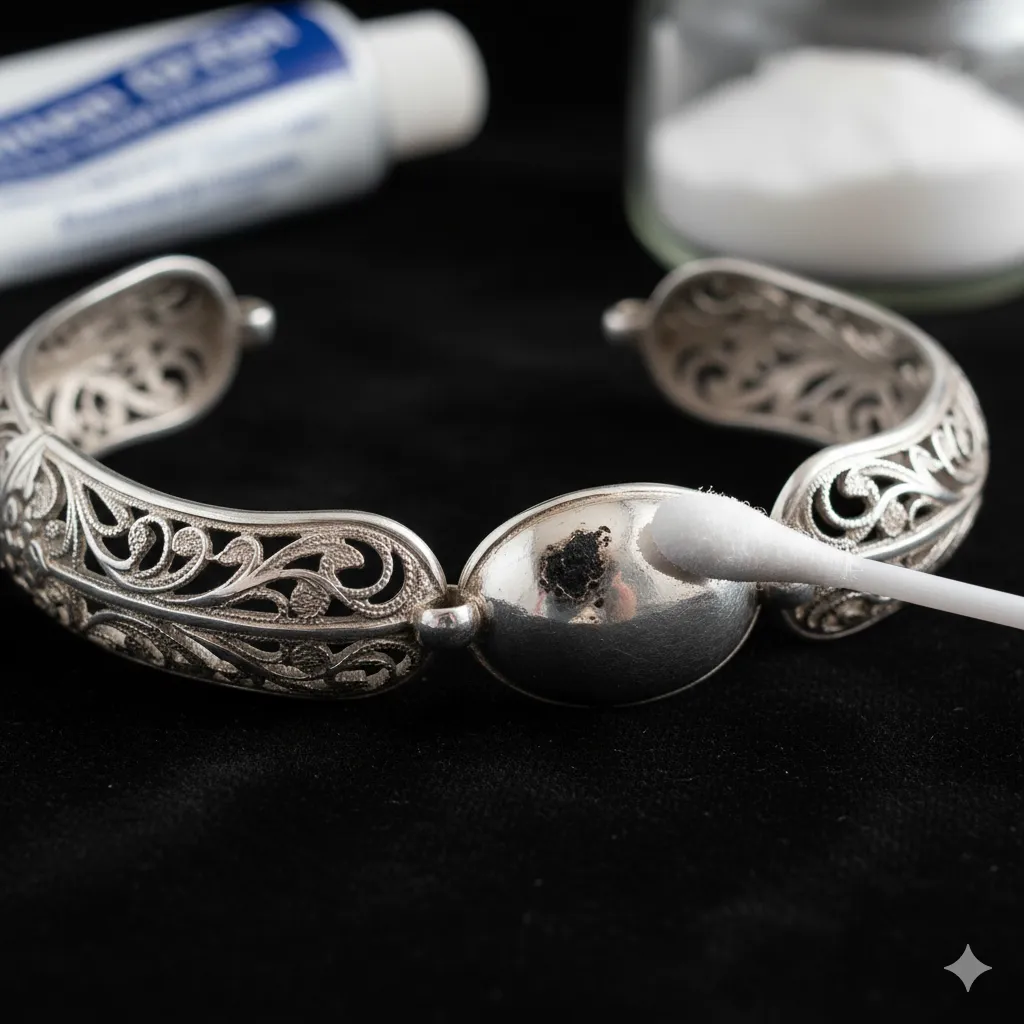
- Filigree and Engravings: The detail in filigree or engraved silverware with engravings can trap tarnish. Use a very soft-bristled toothbrush or a cotton swab dipped in the gentle soapy water mix (3.2 above) to get into the crevices.
The Dip Solution Dilemma
Dipped cleaning solutions (usually liquid that you immerse the silver in for seconds) are fast and effective at removing tarnish from silver jewelry. However, they work by chemically dissolving the tarnish—which can also dissolve your intentional patina. They are also highly corrosive and must be used in a well-ventilated area. I use them only as a last resort on plain chains or non-valuable items. Never use them on antique or patinated silver.
When to Get Professional Cleaning
If you have a piece of hollowware (like a tea set) that’s badly tarnished, or a piece you suspect is very old or fragile, take it to a professional silversmith. They can assess if the silver-plate is too thin or if the piece needs specialty handling. It’s better to pay a small fee than accidentally ruin an irreplaceable heirloom.
Aftercare: How to Prevent Tarnish and Maintain Shine
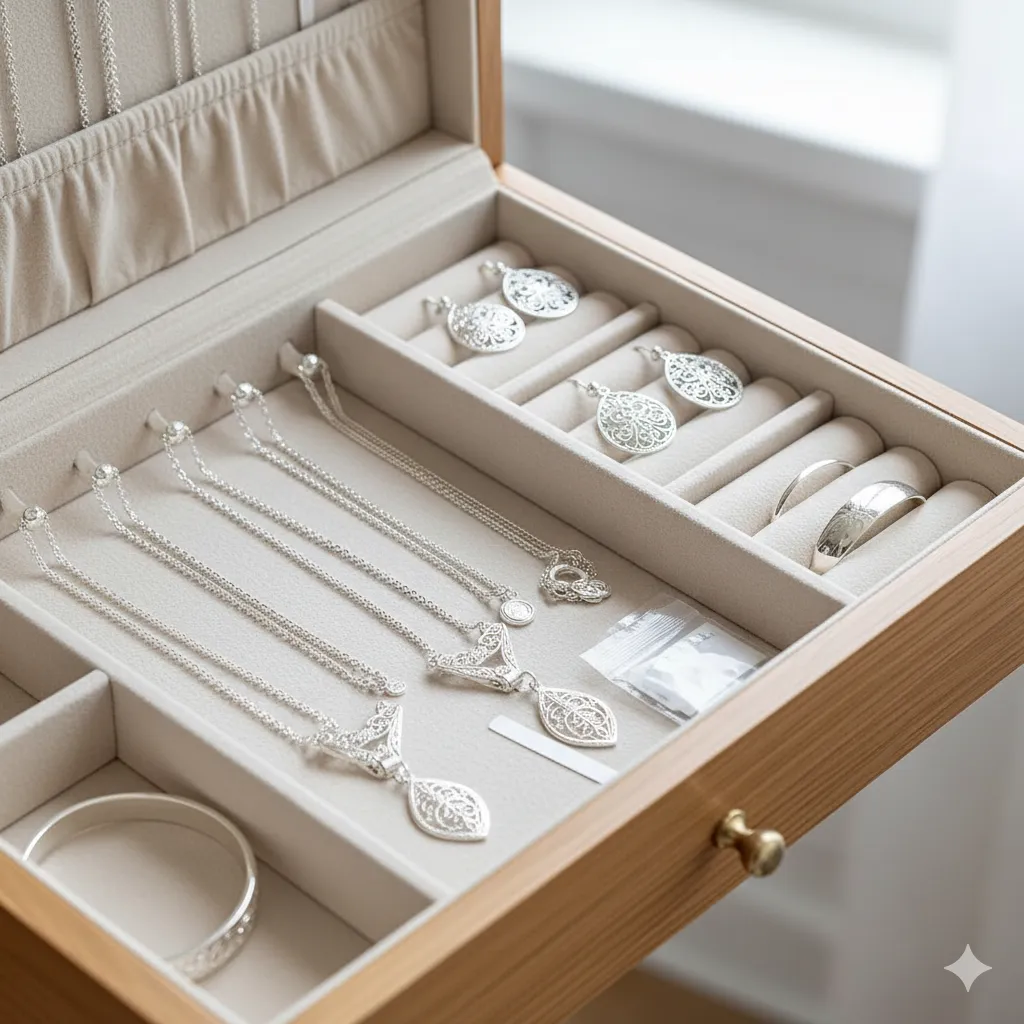
You’ve done the hard work, so let’s make sure that beautiful shine lasts! Prevention is truly the best way to clean silver safely—because you don’t have to clean it as often!
Proper Storage is Key
- Anti-Tarnish Cloth: Invest in good anti-tarnish bags or cloth that contain activated carbon. I store all my flatware in special rolls, and it has made a huge difference.
- Individual Bags: Store individual jewelry pieces in small, airtight plastic bags (like Ziplocs). Squeeze all the air out. This cuts off the oxygen supply needed for tarnish to form.
- Silica Packets: Those little packets that come with new shoes? Throw a few in your silver storage area. They absorb humidity, another tarnish catalyst.
Regular Gentle Cleaning Schedule
I recommend a regular gentle cleaning schedule. If you wear a piece of jewelry often, give it a quick 3.2 soapy wash and dry every few months. For silverware, wash and dry it immediately after use—don’t let it air dry in the dish rack.
Avoid Sulfur Exposure
Remember our culprit, sulfur? Keep your silver away from:
- Rubber: Don’t wrap silver in rubber bands or store it on rubber mats.
- Newspaper: The ink can cause tarnish.
- Eggs and Wool: See above!
Polishing Frequency & Caution
You absolutely should not overpolish your silver. Every time you polish, you remove a tiny, tiny amount of the silver itself. If you’re using a quality polish or the gentle cleaning method, once or twice a year should be plenty for items you don’t use often. The whole goal of good storage is to reduce the need for polishing!
Troubleshooting & FAQs: When Things Get Tricky
Sometimes, things don’t go perfectly the first time. It happens! Here are some common problems I hear about.
What if my silver is extremely black?
If the tarnish is almost black and thick, you’ll need a two-step approach:
- Start with the Aluminum Foil + Baking Soda Soak (3.1) to remove the bulk of the silver sulfide. You might need to refresh the water and repeat the soak once or twice.
- Follow up with a light application of a commercial silver polish (3.3) to buff out any remaining spots and restore the mirror shine.
I still see spots after cleaning. Help!
If you still see isolated black spots, you might be dealing with pitting or deep etching, which can be hard to remove at home. If the spot is just stubborn tarnish, try a targeted application of the baking soda paste (3.4) on just the spot, using a cotton swab. Scrub lightly, rinse, and check. If it doesn’t budge, it might be permanent damage.
Can I mix the methods?
Yes, but proceed with caution! For instance, you could use the Foil Soak to remove the heavy tarnish, then use the gentle soapy wash to rinse and the commercial polish to finish. Just make sure you thoroughly rinse and dry between steps to avoid mixing chemicals.
When cleaning fails: When to Outsource
If you’ve tried the soak, the paste, and a quality polish, and the piece is still dull, or if you start to see base metal showing through on silver-plate, it’s time to call in a professional. They can check if the piece needs replating or if the tarnish is deeper than you can handle. A reputable silversmith is a lifesaver.
Quick Safety Tips
- Ventilation: If you use commercial dips or polishes, always work in a well-ventilated area.
- Gloves: Use gloves to protect your skin and prevent skin oils from immediately tarnishing your newly cleaned silver.
- Avoid Abrasives: Never use steel wool, rough sponges, or abrasive cleaners. You will scratch the silver.
Time to Shine!
We covered a lot of ground, from the brilliant chemical reaction of the foil soak to the simple elegance of a baking soda paste. The takeaway here is to always start mild. Assess the tarnish level, check if your silver is plate or sterling, and choose your method accordingly.
If you have a special piece or family heirloom, take a deep breath. Start with the gentle soapy water, then maybe move to the cornstarch or baking soda paste. Only pull out the foil trick or commercial polish if the tarnish is heavy.
Your stunning silver deserves to sparkle! Go grab a piece—maybe that ring you haven’t worn in a year—and give one of these a try. I know you’re going to be thrilled with the results.
Now that you know the best way to clean silver safely, what’s the first piece you’re going to tackle? Let me know your results, and seriously, pin this guide for all your friends who need some great silver cleaning hacks!
Printable Recipe Card
Want just the essential recipe details without scrolling through the article? Get our printable recipe card with just the ingredients and instructions.
