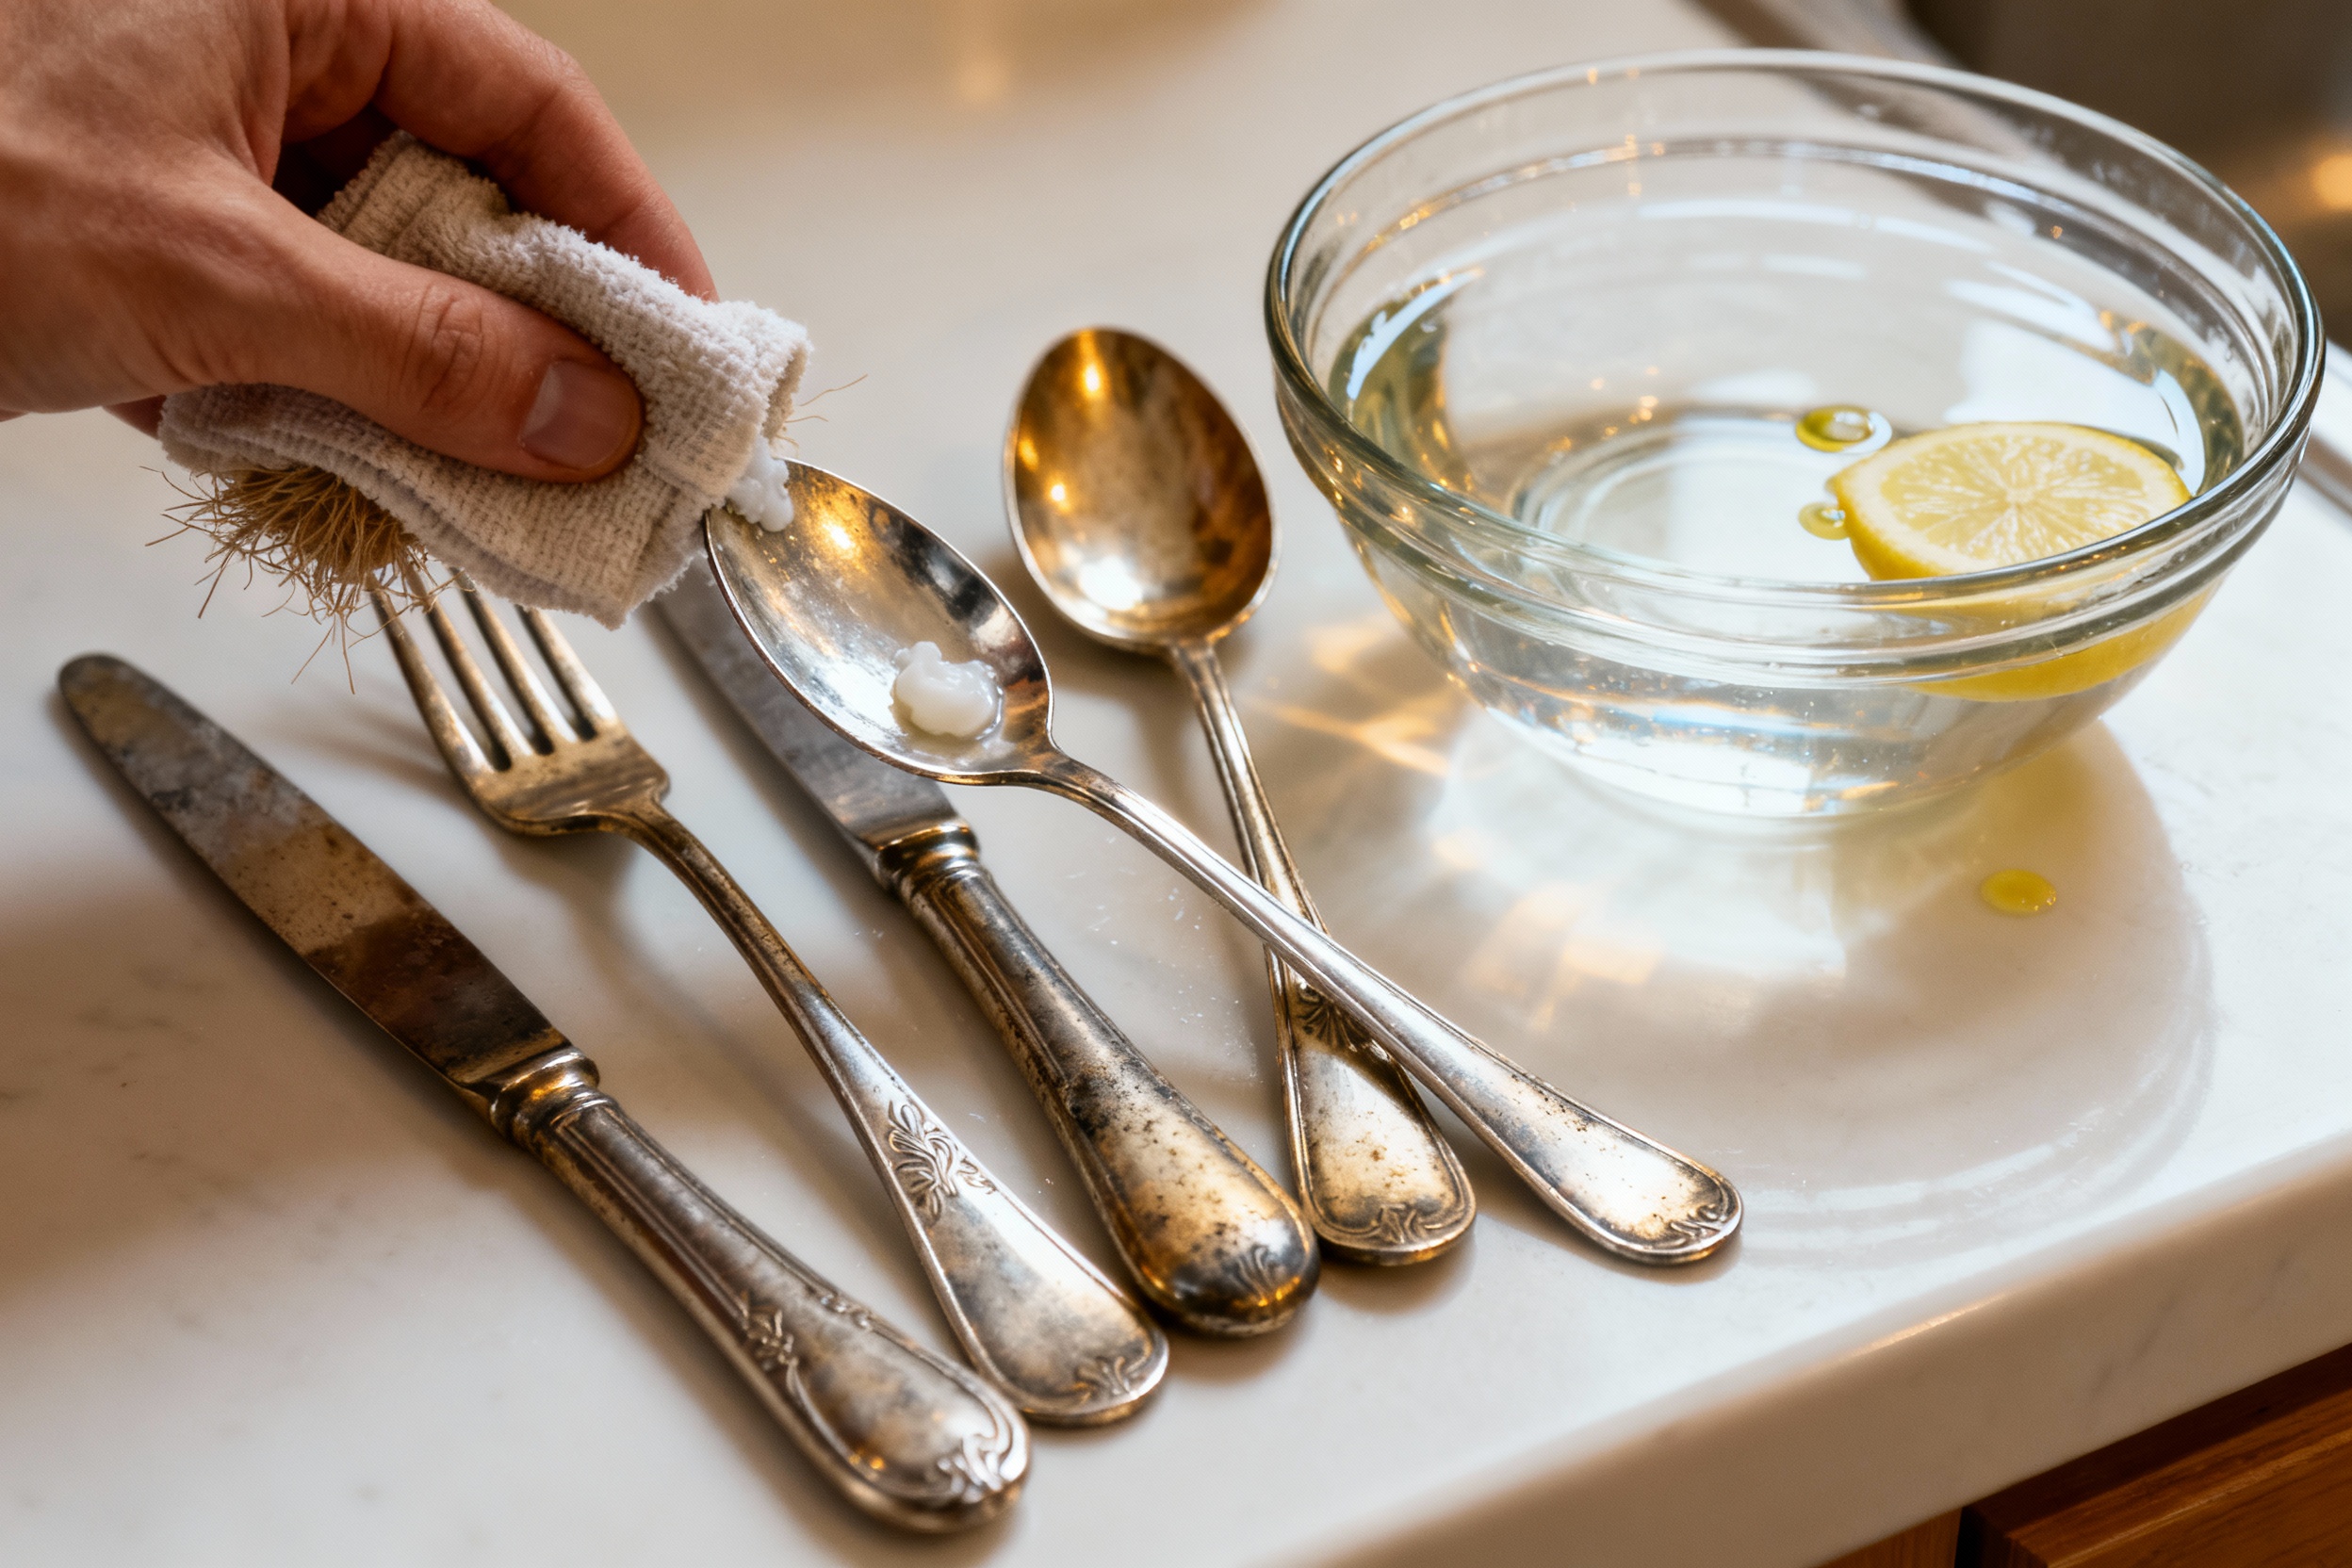
You pull out the “nice” silverware for a special dinner, and… yikes. Tarnish city. Don’t panic.
Silver’s dramatic like that, but it also forgives easily. With a few simple tricks (and some kitchen staples), you can turn dull forks and blotchy spoons into pieces that actually look heirloom-worthy again.
Why Silver Tarnishes (And Why That’s Actually Good News)

Silver darkens because sulfur compounds in the air react with the metal and create silver sulfide. It looks scary, but it sits on the surface, which means you can remove it without much fuss.
The trick? Choose the right method for your item and for your patience level.
Quick-Start: Choose Your Cleaning Strategy
- Light tarnish, everyday pieces: Soap and water or a gentle polish cloth.
- Moderate tarnish: Baking soda paste or a specialized silver polish.
- Heavy tarnish, lots of pieces: Aluminum foil + baking soda bath (the “science experiment” method).
- Antique or detailed pieces: Go slow with polish and a soft brush. Avoid aggressive methods.
FYI: If your silver has intentional oxidized details (that dark shading in patterns), you want to clean carefully so you don’t erase the design’s depth.

Method 1: Simple Soap Bath
When in doubt, start here.
You’ll remove grime without scratching anything.
- Fill a basin with warm water and a few drops of mild dish soap.
- Soak silverware for 5–10 minutes.
- Use a soft sponge or cloth to wipe each piece, especially where fingers touch.
- Rinse with warm water and dry immediately with a microfiber towel.
Why it works: You clear oils and residue that make tarnish look worse. Sometimes that alone brings back the shine.
Method 2: Baking Soda Paste (For Moderate Tarnish)
Got that cloudy, yellowish haze? The paste method handles it without harsh chemicals.
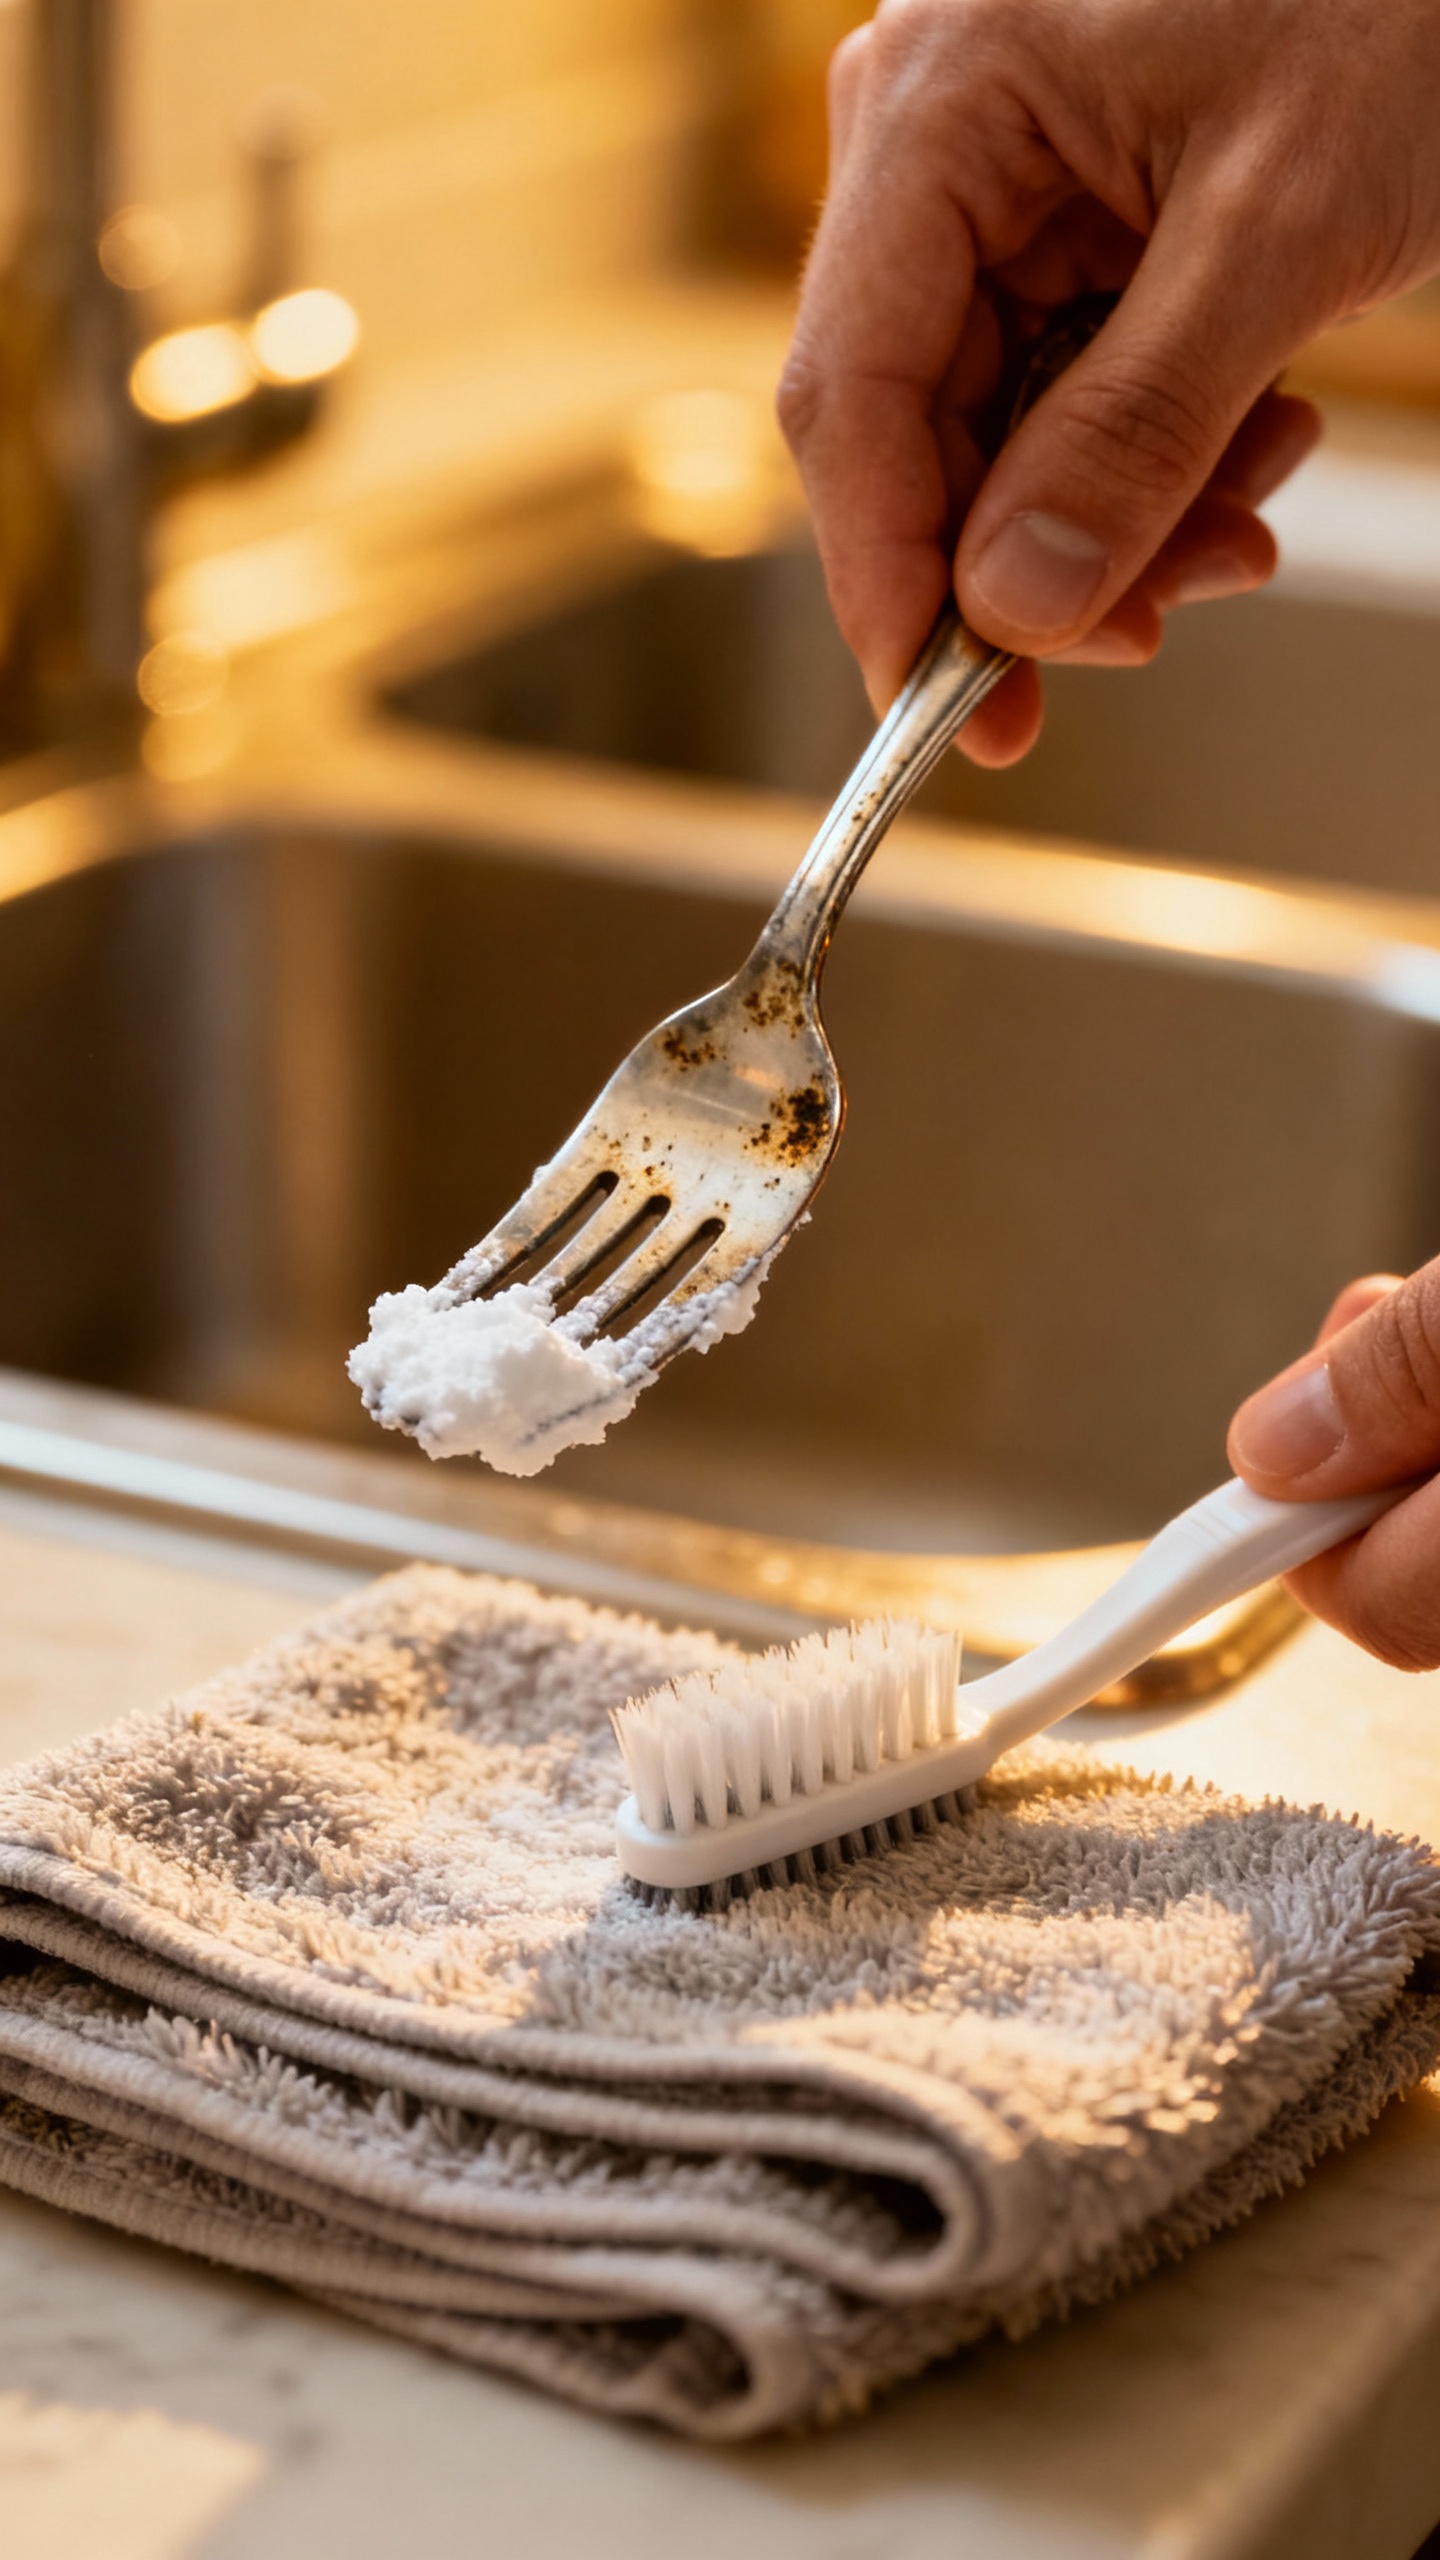
- Mix 3 parts baking soda with 1 part water to form a thick paste.
- Apply with a soft cloth or your fingers.
Rub gently along the grain, not in circles.
- Use a soft-bristle toothbrush for crevices. Light pressure, please.
- Rinse well and dry immediately.
Pro tip: Add a pinch of salt if you need a tiny bit more bite. Not much—this isn’t a sanding session.
Method 3: Aluminum Foil + Baking Soda Bath (The Crowd Favorite)
This one feels like a magic trick because it basically is.
You reverse the tarnish through a tiny electrochemical reaction. Science! But fun.
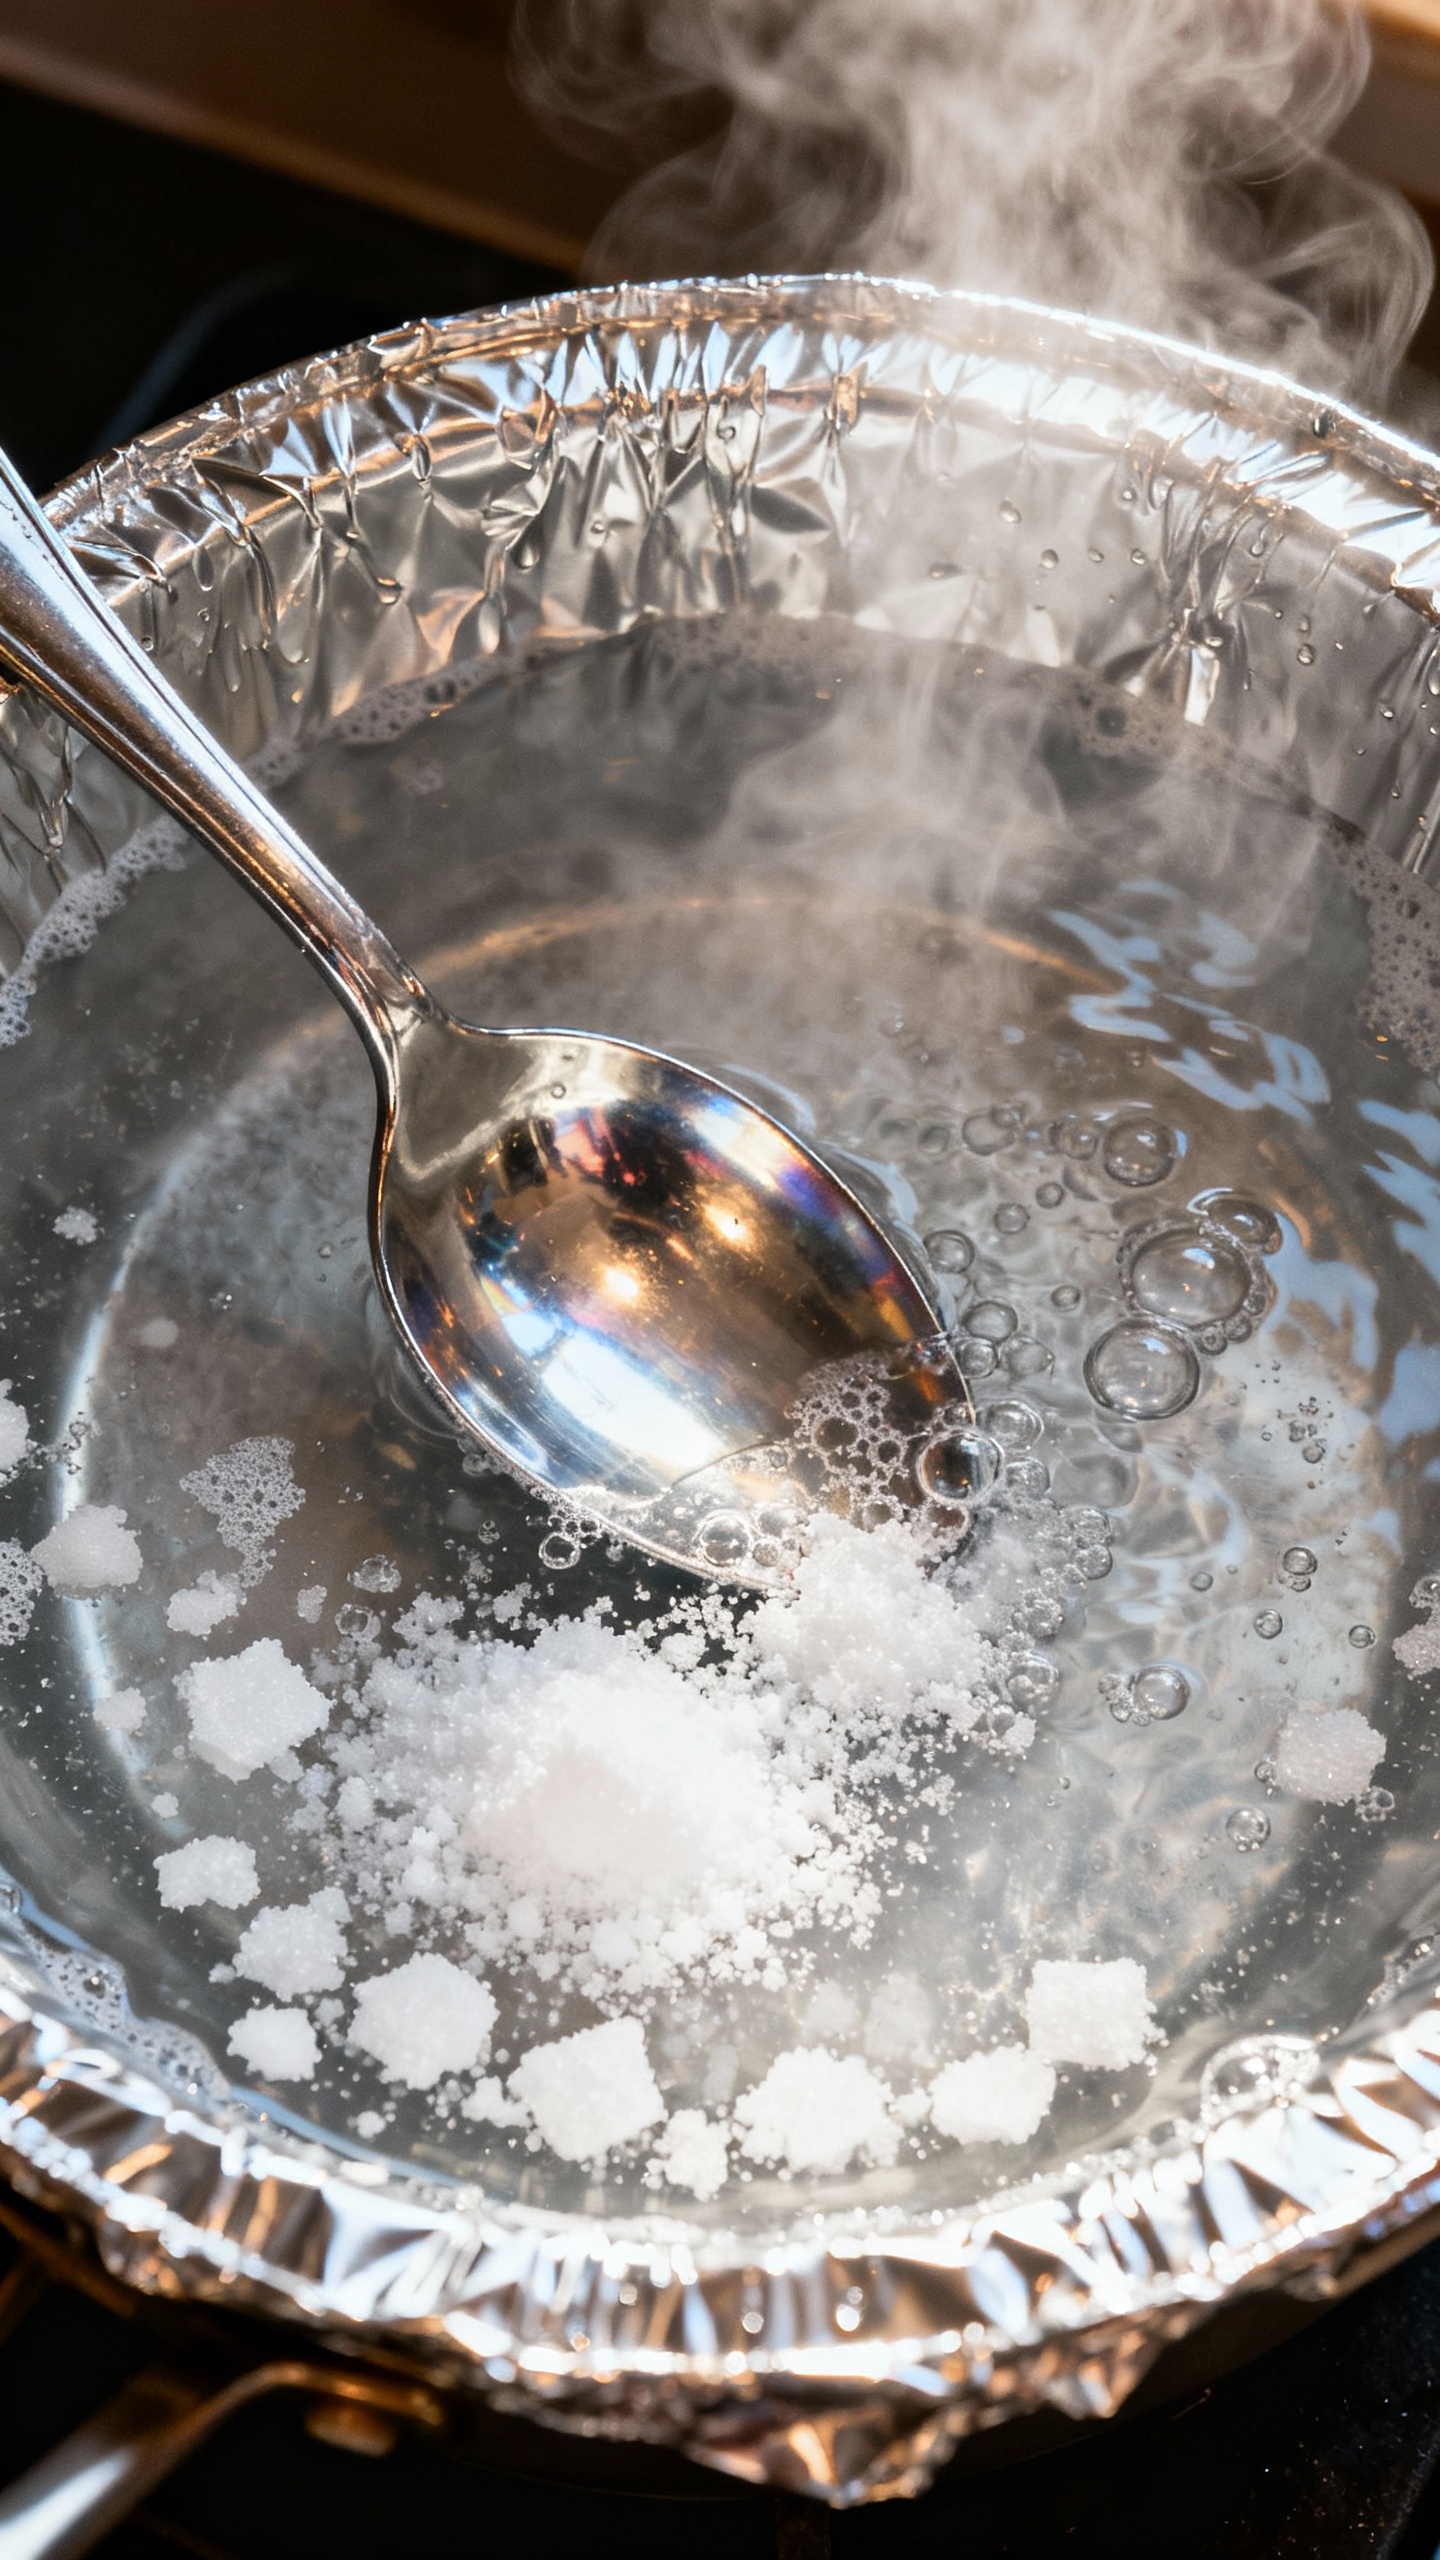
- Line a non-metal basin with aluminum foil, shiny side up.
- Add very hot water (not boiling if you have weighted or glued handles) to cover your silverware.
- Stir in 1/2 cup baking soda per gallon of water.
Add 1–2 tablespoons of salt to speed things up.
- Place silver in the bath so it touches the foil. Wait 2–5 minutes.
- Flip pieces if needed. When tarnish lifts, rinse and dry immediately.
Heads-up: This method can strip deliberate oxidization and may dull very high-polish pieces slightly if overused.
IMO, it’s perfect for everyday knives and forks that see lots of action.
When to Skip the Foil Bath
- Pieces with glued-on handles or hollow parts that don’t love heat.
- Items with inlaid stones or enamel details.
- Heirlooms with intricate oxidized patterns you want to keep.
Method 4: Commercial Silver Polish (The Old-School Workhorse)
Sometimes you want the pro finish. Good polishes clean, shine, and leave a protective layer that slows future tarnish.
- Apply a small amount to a soft cloth.
- Rub gently in straight lines. You’ll see grayish residue; that’s normal.
- Buff with a clean microfiber until you get that mirror finish.
Choose wisely: Look for polishes labeled safe for sterling and silver-plate.
Creams tend to be gentler than dips, which can be too aggressive and strip details.
Dealing With Stubborn Spots
- Inside tines and crevices: Use a soft brush or cotton swab with polish.
- Orange or rainbow tints: Repeat a light polish rather than scrubbing hard.
- Knife blades: Many blades are stainless, not silver. Treat them separately with dish soap and a non-abrasive sponge.
How to Dry and Buff Like a Pro
Water spots kill the vibe. Dry right away, then buff for drama.
- Use a lint-free microfiber cloth.
Old T-shirts shed fibers and scratch.
- Buff in long strokes along the piece, not swirly circles.
- Finish with a clean section of cloth to remove any residue.
Bonus step: If you have a polishing cloth impregnated with anti-tarnish compounds, do a quick final wipe.
Storage Tips to Keep the Shine Longer
Cleaning feels satisfying. Cleaning again next week does not. Let’s keep tarnish away longer.
- Keep it dry: Moisture speeds tarnish.
Dry completely before putting away.
- Use anti-tarnish strips or cloths: Toss a few in your drawer or wrap pieces in anti-tarnish bags.
- Avoid rubber bands and newspaper: They contain sulfur compounds. They’ll undo your hard work fast.
- Use your silver: Regular use and washing actually slows tarnish. Dinner party, anyone?
Special Care for Silver-Plated Pieces
Silver plate has a thin layer of silver over a base metal.
You need gentler care because you can polish through the layer if you go wild.
- Skip abrasive pastes. Use mild soap or a gentle polish.
- Don’t soak for long periods, especially with hot water.
- If you see yellowish base metal peeking through, stop polishing and consider professional replating.
Common Mistakes (And How to Dodge Them)
- Using toothpaste: Too abrasive. It scratches and dulls the finish.
- Wire scrubbing pads: Just no.
They scar the surface.
- Leaving silver wet: Water spots and faster tarnish. Dry ASAP.
- Overusing dips: Silver dips strip tarnish fast but can strip life from details, too. Save for emergencies.
FYI: If you catch tarnish early, you’ll breeze through maintenance with a quick polish cloth.
Future you will thank present you.
FAQ
Can I put silverware in the dishwasher?
You can, but I wouldn’t. Detergents, heat, and contact with stainless can cause pitting and discoloration. If you must, separate silver from stainless, skip lemon-scented detergents, use the gentle cycle, and dry immediately.
IMO, handwashing keeps the shine longer.
How often should I polish silverware?
Use a polish cloth after each use or monthly if it sits in a drawer. Deep polishing? Aim for every 3–6 months, depending on humidity and how often you use it.
If you see dullness or yellowing, that’s your cue.
What’s the safest method for heirloom or antique pieces?
Start with mild soap and water, then move to a gentle cream polish with minimal pressure. Avoid aluminum foil baths if the piece has intentional patina or mixed materials. When in doubt, test on an inconspicuous spot first.
Why does my silver tarnish so fast even after cleaning?
High humidity, sulfur in the air, and storage conditions speed tarnish.
Dry pieces completely, store with anti-tarnish strips, and avoid rubber, felt, and newspaper. Using your silver regularly helps more than you’d think.
Is the baking soda and foil method safe for silver-plated items?
It can work, but use caution. Reduce heat, shorten the soak, and don’t repeat often.
For thin or older plating, stick with mild soap and a gentle polish to avoid thinning the silver layer.
My silver has black spots that won’t budge. Now what?
Those might be stubborn sulfide patches or tiny pits. Try a targeted commercial polish with a soft cloth and patience.
If that fails, a professional jeweler or silver restorer can assess and clean without removing detail.
Wrap-Up: Shine Today, Less Work Tomorrow
Silver doesn’t need drama—just a little attention. Pick the method that matches your tarnish level, dry and buff like a boss, and store smart. Keep a polish cloth handy, use your silver often, and you’ll keep that brilliant shine without turning cleaning day into a marathon.
Now go set a table that flexes just a little.


