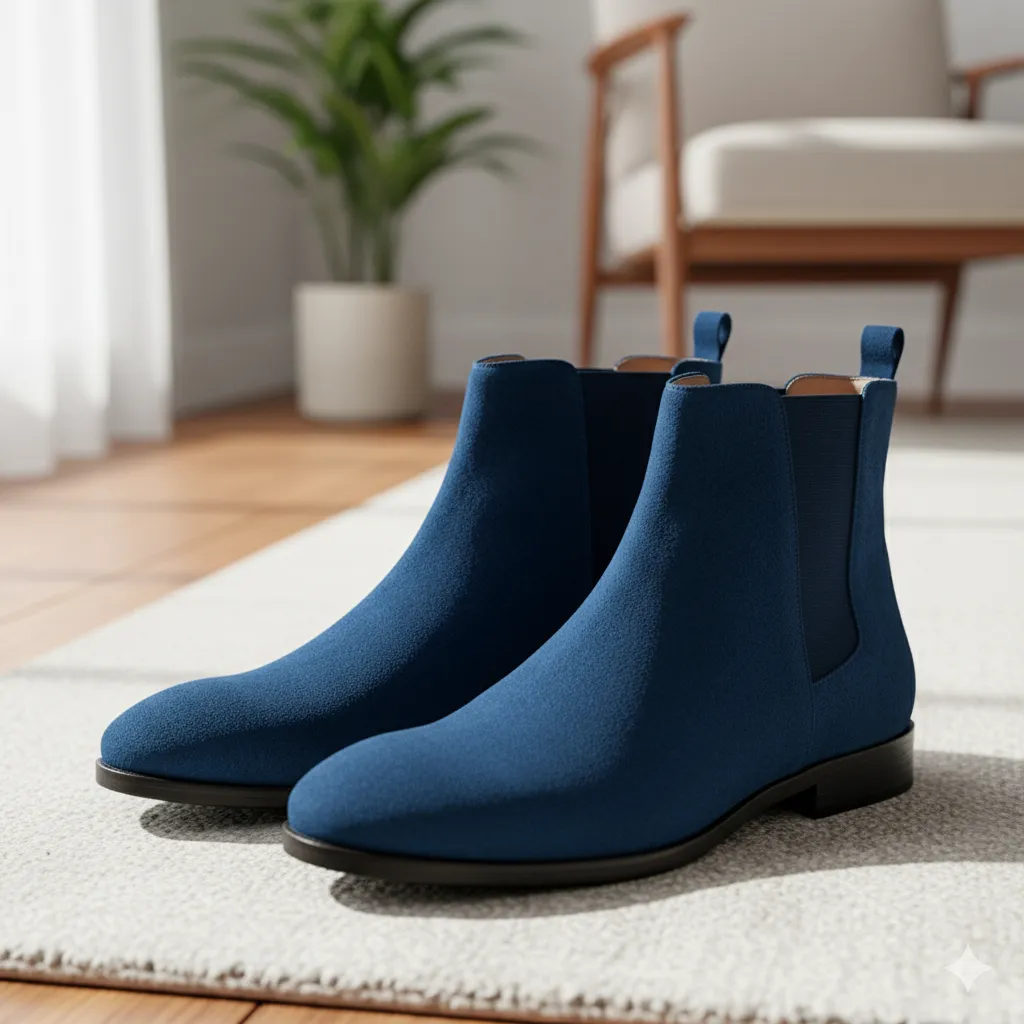
I’m going to level with you: Suede shoes are gorgeous. They have a texture, a depth, and a look that other materials just can’t match. They add a bit of effortless cool to any outfit, right? I mean, who doesn’t love a sharp pair of chukkas or some sweet suede loafers?
But here’s the brutal truth: Suede is the footwear equivalent of a drama queen. It’s high-maintenance and throws a fit—or, you know, gets a permanent stain—at the first sign of rain, mud, or a clumsy spill at happy hour. You step on a salt patch in winter, and suddenly your shoes look like they’ve been attacked by a tiny, aggressive ghost. It’s frustrating!
The challenge of cleaning them is why so many people just give up and relegate their beloved suede to the back of the closet. Water spots, oil slicks, and those terrible, flattening scuffs make your expensive shoes look cheap and worn out. But guess what? You don’t have to live that life.
I’ve been through it all—the spilled coffee, the unexpected downpour, the inevitable salt crust. After years of trial and error (and sacrificing a few pairs to the cleaning gods), I’ve figured out a step-by-step method that works beautifully. I’m going to walk you through exactly how to safely and effectively clean suede shoes—not just for a quick fix, but for long-term preventative care so they stay looking fresh, not fried. Ready to save your favorite footwear? Let’s get into it.
Understanding Suede: What Makes It Delicate
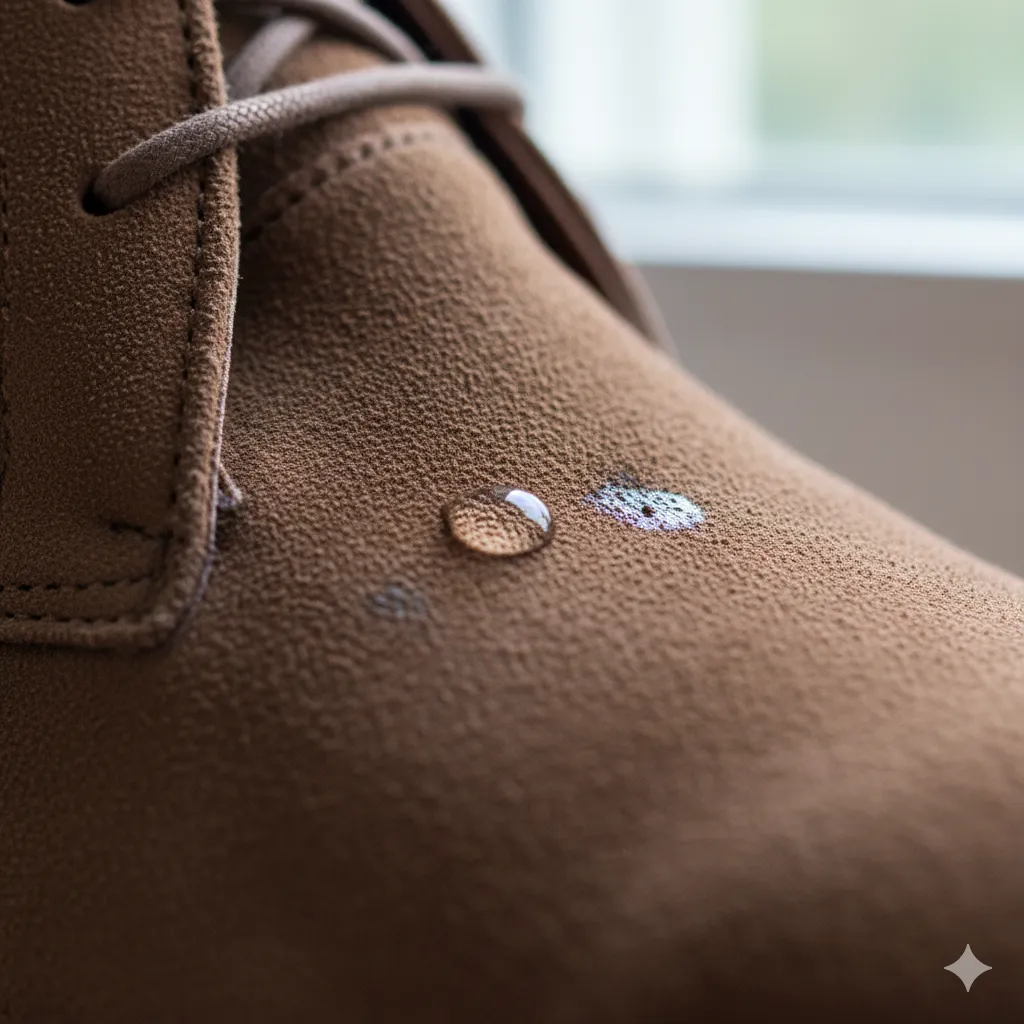
Before we start aggressively scrubbing (please don’t scrub!), we have to talk about what suede actually is. Knowing the enemy makes fighting it much easier, IMO 🙂
The Difference Between Suede, Leather, and Nubuck
- Suede: This is the inner layer of the animal hide, which is split and sanded to create that signature soft, velvety finish we call the nap. Because it’s the inner layer, the fibers are shorter and more porous than the outer skin. This is why it drinks up oil and water like a thirsty sponge.
- Traditional Leather: This uses the full, tough outer layer of the hide, making it naturally water-resistant and much more durable.
- Nubuck: This often gets confused with suede. Nubuck is actually the outer layer of the hide, but it’s sanded down to give it a velvety feel, like suede. Because it starts with the tougher outer skin, it’s generally a little more resilient than true suede, but you clean it pretty much the same way.
The bottom line is that the porous nature of suede’s fibers, the nap, is what gives it its appeal—and its vulnerability. Water, oil, and harsh rubbing all cause damage by either staining the fibers deeply or flattening that delicate nap, making the texture look matted and worn.
The Problem Areas of Suede
- Stains: Oil, food, and mud penetrate deeply into those porous fibers.
- Scuffs: Friction crushes the nap flat, creating dark, shiny, or patchy spots.
- Flattening: Simple wear and tear cause the nap to lie down, making the shoe look lifeless and old.
Hack #1: The Shower Test
Ever wonder if your suede is truly suede or that slightly tougher nubuck? Lightly and gently scratch an inconspicuous spot (like the inside heel) with your fingernail. If the fibers easily shift, change color slightly, and create a momentary light line, it’s pure suede. If it barely budges, you might be dealing with nubuck or a very heavily treated suede.
Gather Your Tools & Materials
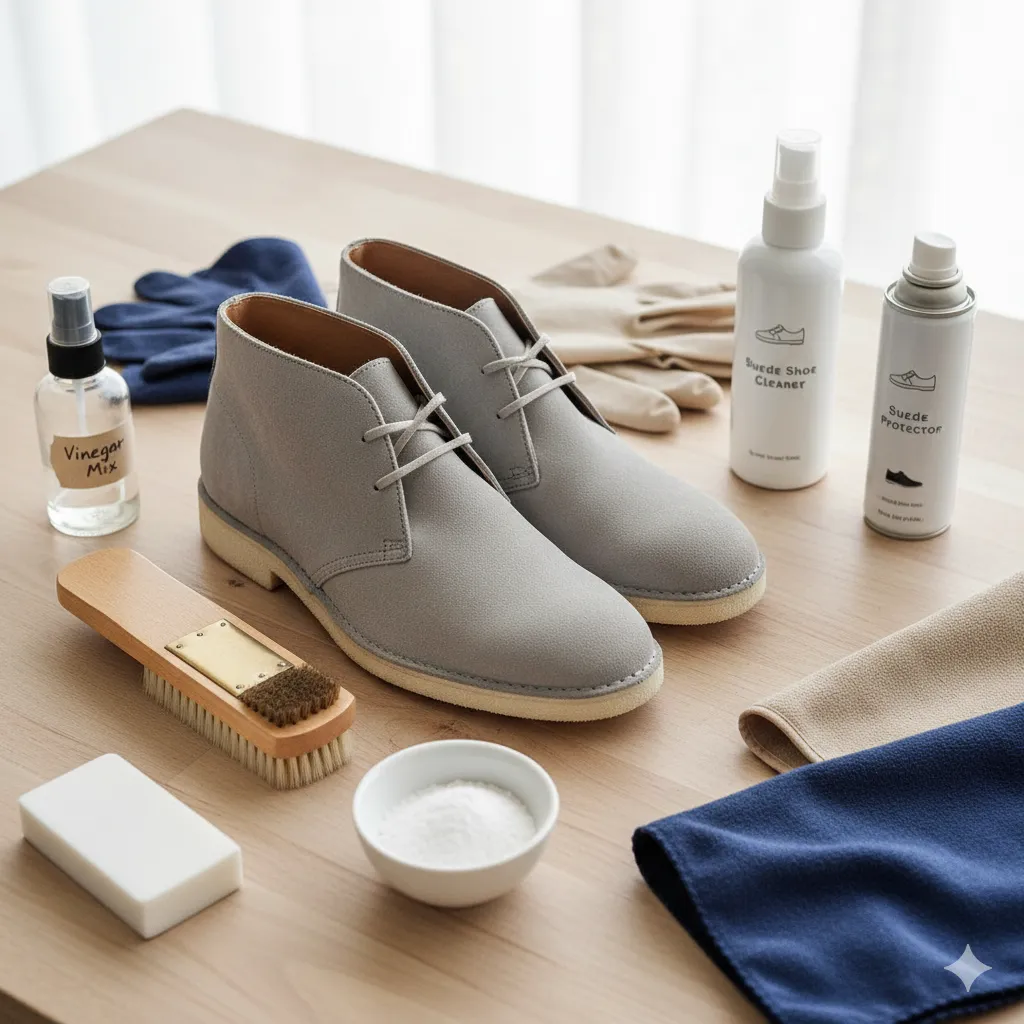
You don’t need a specialized laboratory, but you do need the right gear. Seriously, using the wrong brush here can do more harm than good—it can actually etch a pattern into the material, which you absolutely do not want.
Essential Gear for Suede Cleaning
- A Suede Brush: This is non-negotiable. Look for one that has both brass bristles (for deep, tough spots) and nylon or crepe bristles (for gentle, everyday brushing).
- Suede Eraser or Rubber: This looks like a block of firm pink or white rubber. It’s designed to lift surface stains and scuff marks without introducing moisture.
- Microfiber Cloths: You’ll need a couple of these for blotting and applying solutions. They are super absorbent and non-abrasive.
- Suede Shoe Cleaner: If you’re nervous about DIY solutions, a commercial cleaner is a safe bet. They’re pH-balanced specifically for this delicate material.
Optional, But Really Helpful Extras
- White Vinegar: Great for tackling those annoying winter salt stains.
- Baking Soda or Cornstarch: Your go-to for absorbing fresh oil or grease.
- Suede Protector Spray: A necessity for how to protect suede long-term. Apply this after cleaning and drying.
A Quick Word on Safety
Always, always test your cleaning method in an inconspicuous spot first. The inner tongue or a tiny area on the heel are good choices. This is especially true if you are trying to clean suede boots with a bright color. A moment of testing saves you a lifetime of regret, FYI.
Hack #2: The Pencil Eraser Substitute
No suede eraser? A clean, pink or white pencil eraser (the kind you used in school) can work in a pinch for light scuff marks. Make sure it hasn’t picked up any pencil graphite, though, or you’re just trading one stain for another!
Pre-Cleaning: Prep & Dust Off Surface Dirt
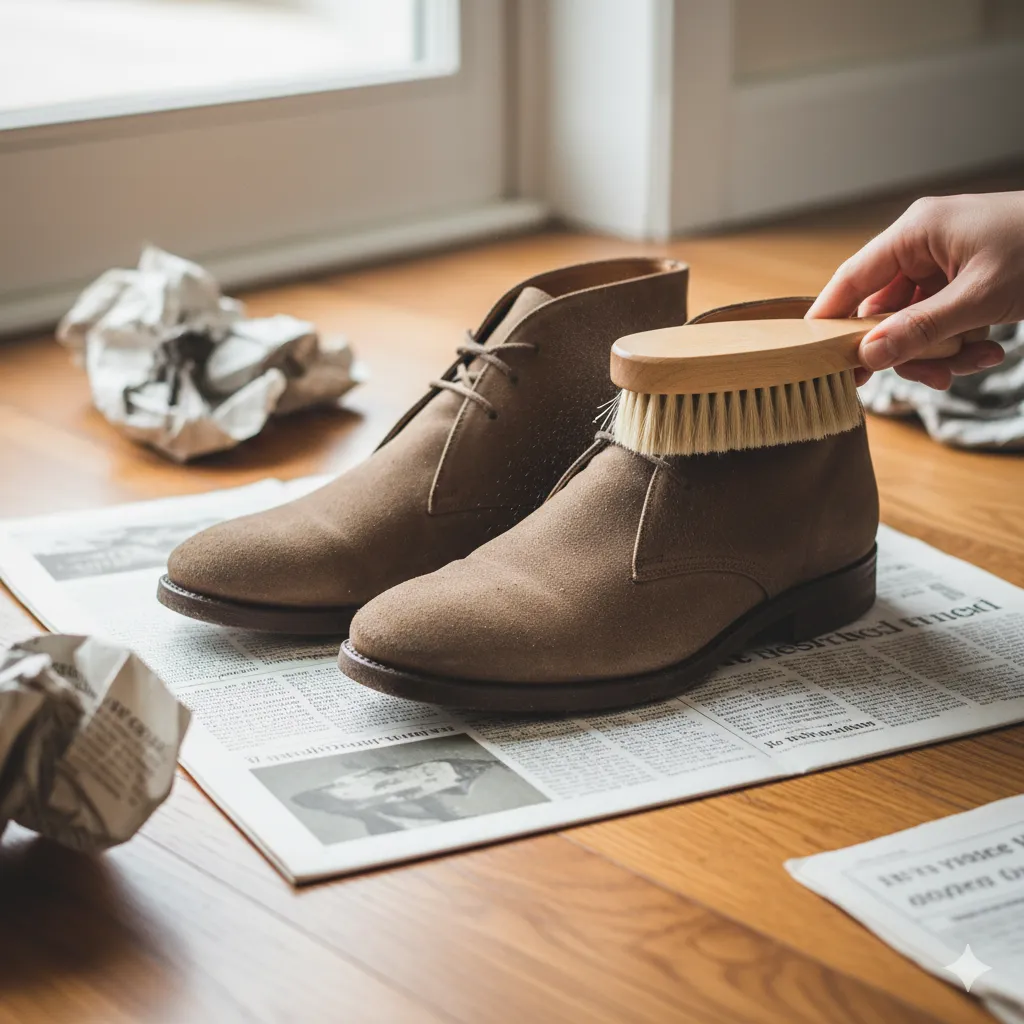
This step is pure foundation work. You wouldn’t paint a dirty wall, so don’t clean a dirty shoe.
1. Let Your Shoes Dry Out
If your shoes are damp, muddy, or soaked from a rainstorm, stop. Seriously, do nothing. Trying to brush wet suede is a fast track to ruin, as you’ll just grind the mud deeper into the fibers. Let the shoes air dry completely for 24 hours, ideally with some newspaper stuffed inside to help absorb internal moisture and maintain the shape.
2. The Initial Brush
Once they are bone-dry, take your suede brush (use the nylon or softer side) and gently brush the entire surface of the shoe.
- Brush in one direction only. Don’t saw back and forth like you’re scrubbing a floor. This lifts the dust and debris sitting on the surface and starts to restore the nap on suede.
- Work systematically over the shoe, removing loose dirt so you don’t accidentally turn it into mud later.
3. Attack the Small Spots with an Eraser
For small, localized spots—like a heel scuff or a tiny mark—use your suede eraser.
- Gently rub the eraser over the mark. The friction and rubber material will lift the spot without needing any liquid.
- Once the spot is lifted, brush away the eraser shavings with your suede brush.
Hack #3: The Toothbrush Detailer
For those annoying spots where the suede meets the sole, or in the tight seams of the stitching, a clean, dry toothbrush is perfect. The soft bristles are smaller than your main suede brush and can easily reach those tough-to-get areas that collect the most dust.
Spot Treatment: Removing Stains
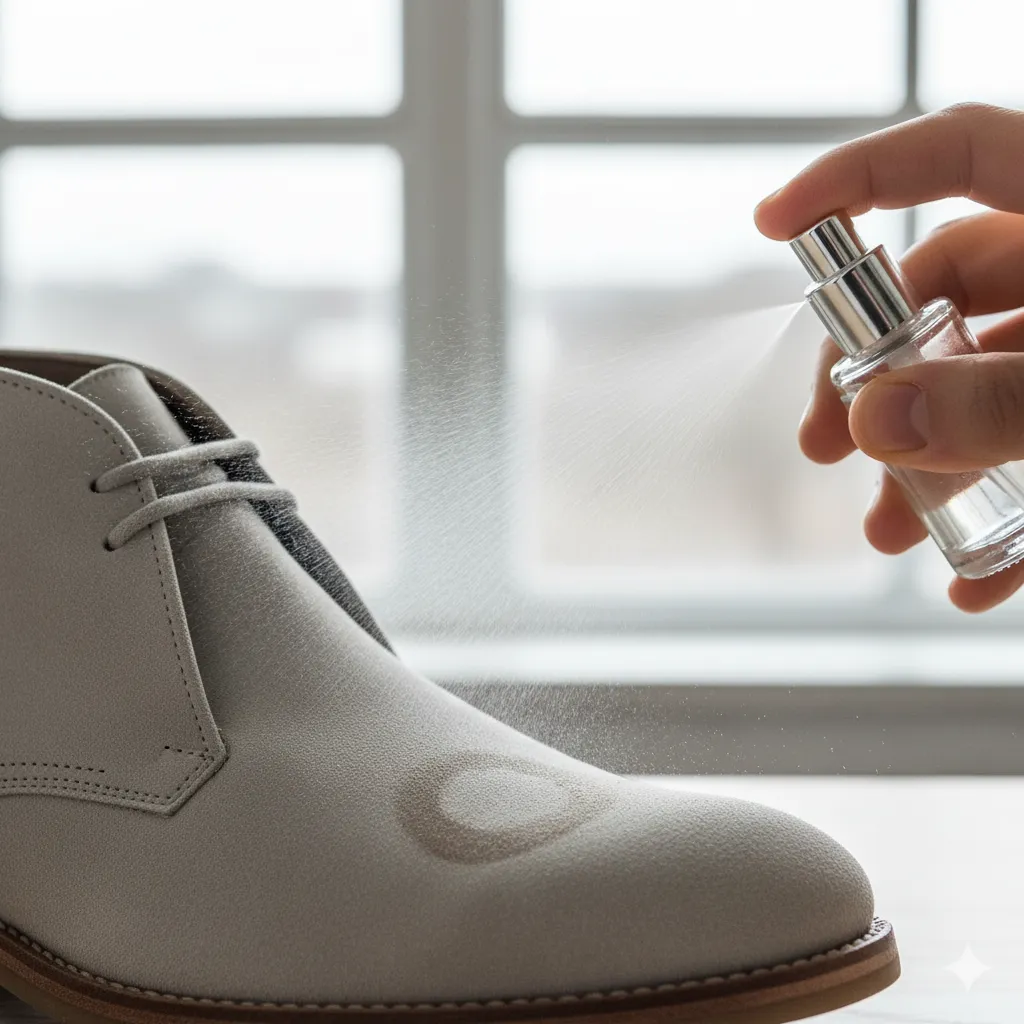
This is where the magic happens. Different stains require different strategies, so don’t try to blast an oil spot with water—that’s a disaster waiting to happen.
1. How to Remove Water Stains from Suede
Water spots look awful, but they are surprisingly easy to fix.
- Lightly spray a fine mist of water (yes, really!) onto the entire shoe. You are trying to dampen the whole surface evenly, not soak the spot itself.
- Gently blot the entire area with a clean microfiber cloth. Don’t rub!
- Let the shoe air dry completely, away from direct heat or sun.
- Once dry, use your suede brush to restore the nap. This process essentially “resets” the water’s drying pattern so it dries evenly, eliminating the watermark.
2. Oil, Grease, and Food Stains
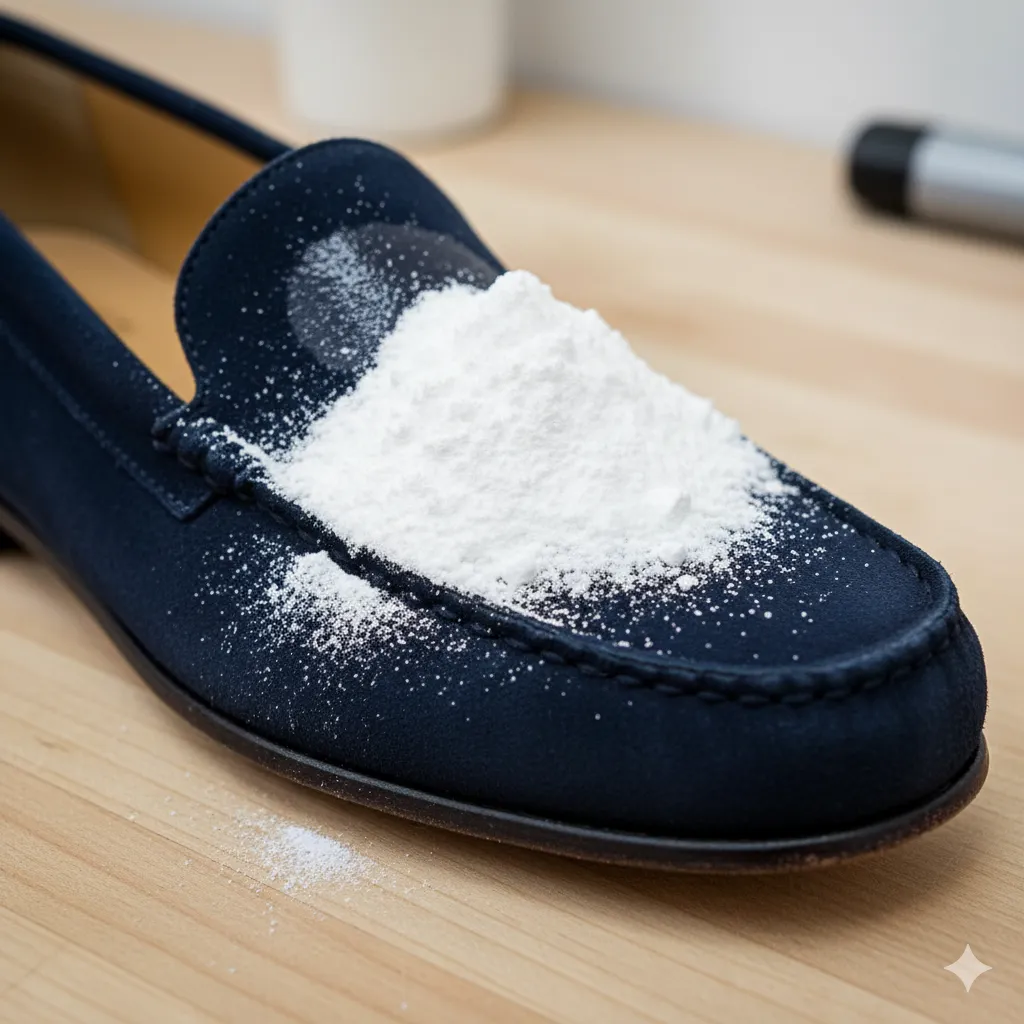
You spilled a burger, didn’t you? It happens. Act fast!
- Apply an absorbent: Immediately cover the stain with a generous amount of baking soda or cornstarch. Seriously cake it on.
- Let it sit: Give the powder at least a few hours, but ideally overnight, to soak up the oil.
- Brush it off: Use the brass side of your suede brush (very gently!) to brush the powder off. The oil should lift with the powder. Repeat this step if necessary.
3. Salt Stains (The Winter Menace)
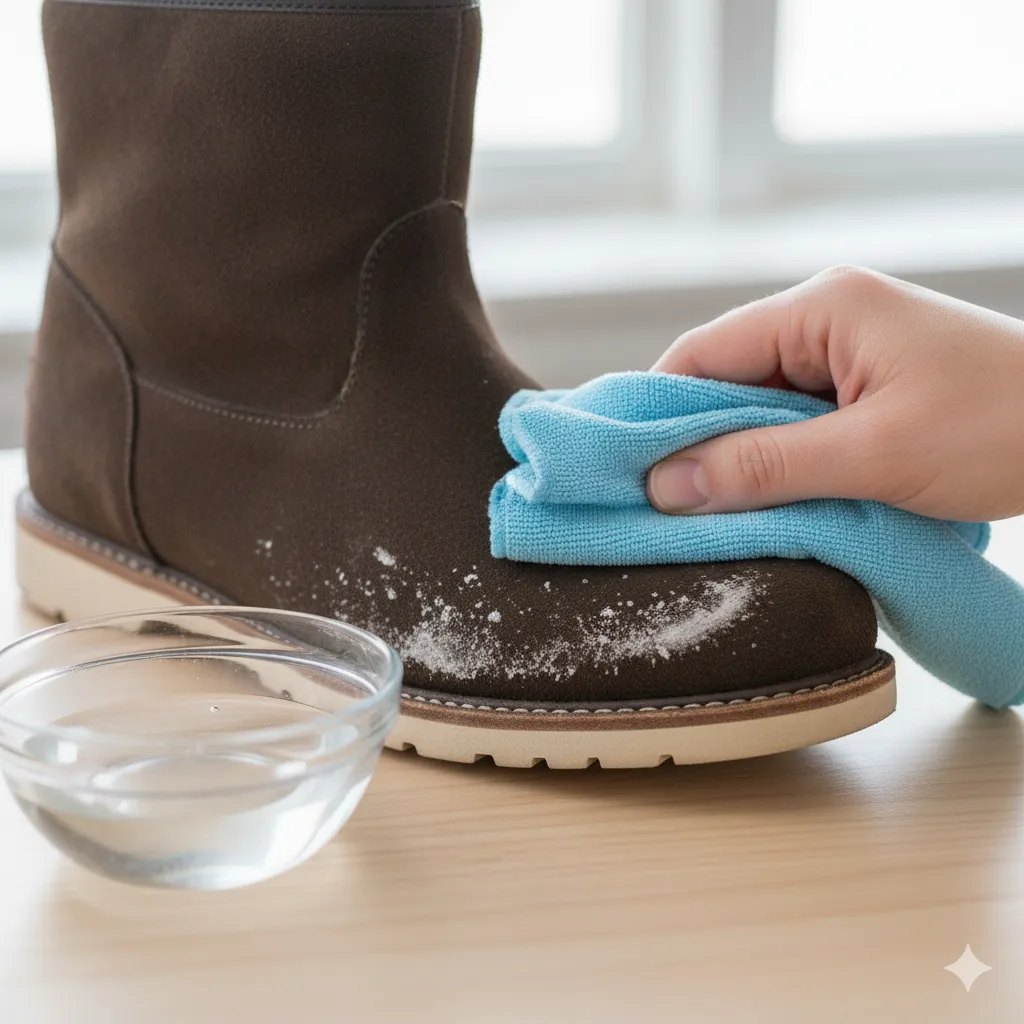
If you live where it snows, you know this pain. The salt stains are a pain, but solvable.
- Mix equal parts white vinegar and water in a small bowl.
- Dip a clean microfiber cloth into the solution, wring it out thoroughly so it’s barely damp.
- Dab the stained area carefully. The vinegar neutralizes the salt.
- Blot dry with a separate, clean, dry cloth.
- Let air dry, and then brush the nap.
Safety Tip: Work from Edges Toward Center
When applying any liquid or scrubbing any spot, always start at the outer edge of the stain and work your way in. This prevents the stain from spreading and creating a larger, less defined mess.
Hack #4: The Steam Iron “Fix” for Stubborn Stains
For a really stubborn, dried-in spot, a bit of steam can help loosen the fibers. Hold a steam iron about 6–8 inches away from the shoe (do not touch it!) and let the steam hit the spot for a few seconds. The moisture and heat will loosen the stain, making it much easier to lift with your brush or eraser afterward.
Deep Cleaning (Only If Needed)
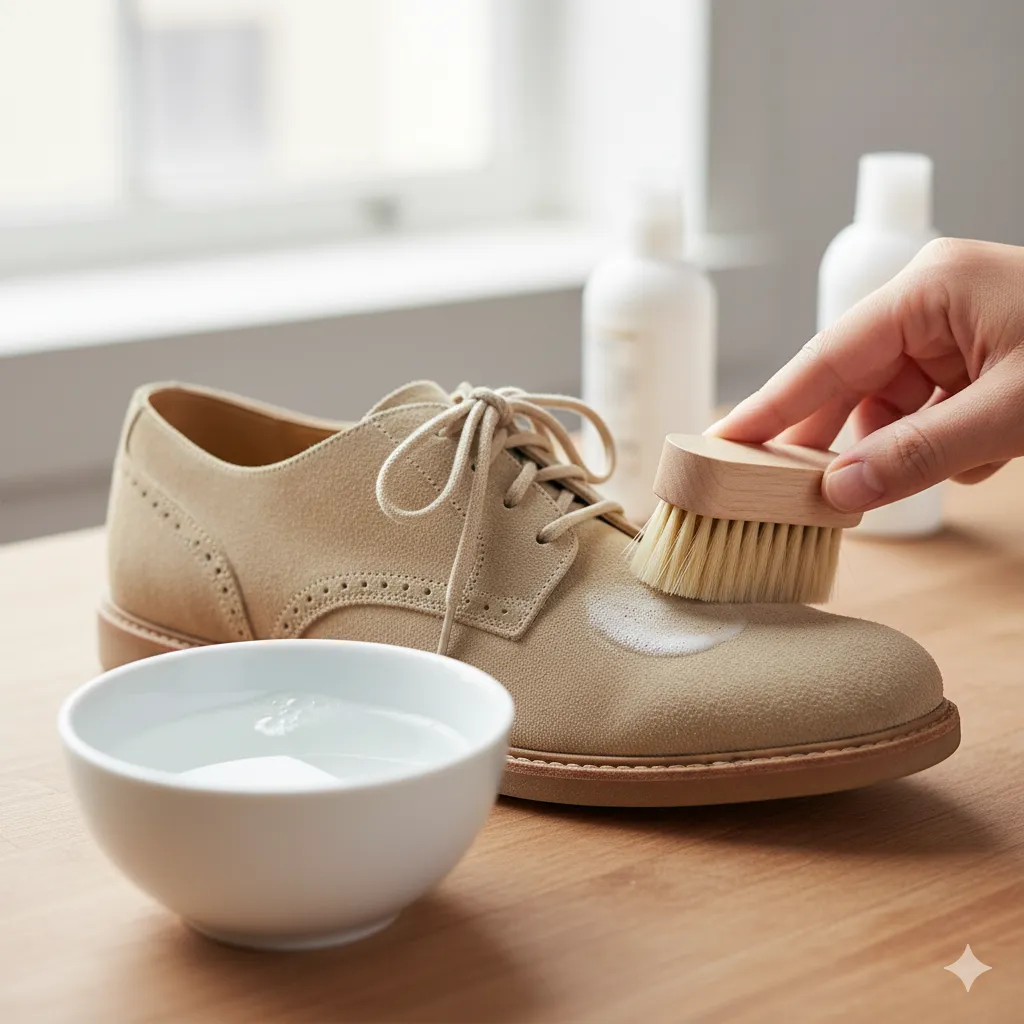
If your whole shoe is looking generally grubby, you need to go for a gentle deep clean. Less is always more with suede.
1. Create Your Cleaning Solution
You can use a commercial suede shoe cleaner, which is the safest route. If you’re going DIY, mix a tiny bit of mild dish soap (just a drop) into a cup of warm water until it’s slightly sudsy.
2. Apply with Care
- Dip a microfiber cloth or the softest side of your suede brush into the solution.
- Wring it out so it is almost dry. I mean really wring it. You want minimal moisture.
- Lightly rub the entire shoe surface in gentle, circular motions. The goal is to create a faint foam, not to soak the material.
3. Dry and Brush
- Blot the entire shoe immediately with a clean, dry microfiber cloth to remove excess moisture and residue.
- Let the shoes air dry completely (again, 24 hours is best). No direct heat!
- Once dry, use your suede brush to gently restore the nap. The whole shoe should now look cleaner and more uniform in color.
Hack #5: The Hair Dryer Fluff
After your shoes are completely dry, use a hair dryer on the cool setting while brushing. Aim the cool air at the suede as you gently brush the nap in multiple directions. This can dramatically help lift the nap, making the fibers stand up straight and restoring that like-new, velvety texture.
Restoring the Nap & Texture
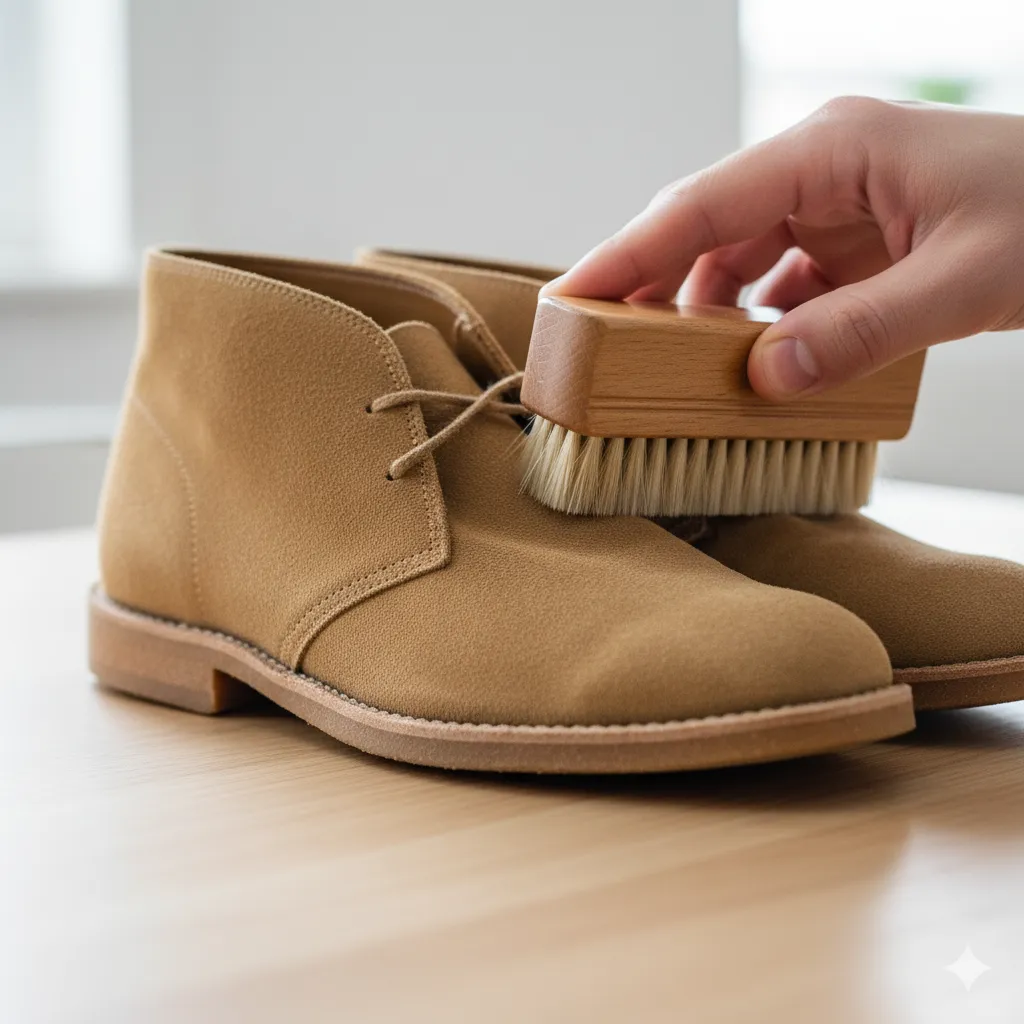
This step is critical for making your shoes look great, not just clean. Clean suede that still looks matted is a sad sight.
1. Lift and Fluff
You’ll use your suede brush’s crepe or nylon side here.
- Start with light, brisk strokes in one direction.
- Then, switch the direction and stroke against the grain.
- The goal is to gently agitate the fibers so they stand up, creating that soft, textured look. This is how to restore nap on suede.
2. Light Steaming (Cautionary Option)
As mentioned before, a little steam can do wonders for the nap. Just hold the steamer or iron several inches away, let the steam hit the surface for a few seconds, and immediately follow up with the brush. The steam relaxes the fibers, and the brush guides them back into position. Be cautious, though; too much heat or steam is a recipe for a splotchy mess.
Hack #6: The Fingernail Score
For persistent, flat spots or deep scuff marks that the brush won’t tackle, try this: gently score the area with your fingernail or the blunt edge of a butter knife. The pressure can sometimes loosen those deeply matted fibers, allowing you to follow up with the brush and lift the nap. Be extremely careful not to cut the material!
Protective Measures: Prevent Future Damage
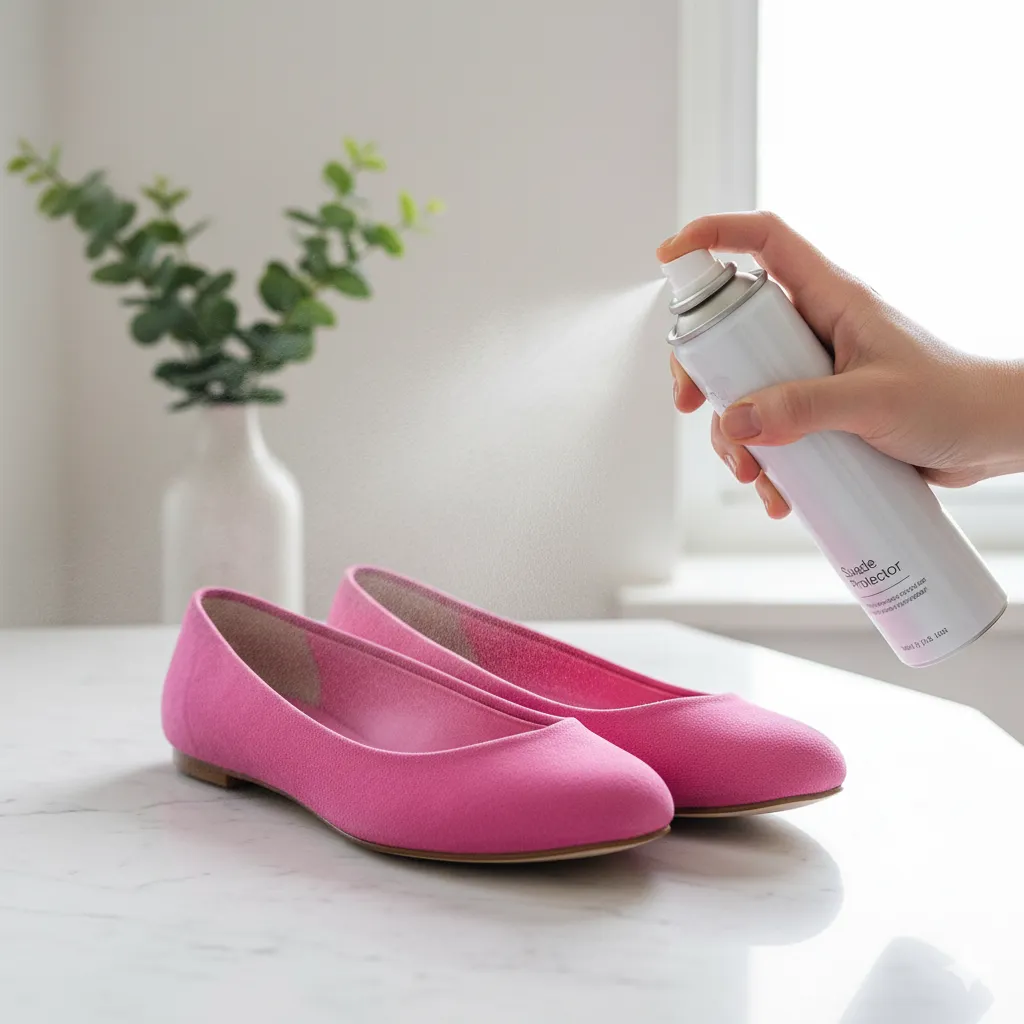
An ounce of prevention is worth a pound of cleaning—or something like that. Seriously, protecting your suede is much easier than fixing it later.
1. Apply Suede Protector Spray
This is a must-do after any major cleaning (or when you first buy the shoes!).
- Make sure the shoes are completely dry and clean.
- Spray the protector evenly across the entire surface following the product’s instructions (usually about 6–8 inches away).
- Let them dry for at least 24 hours before wearing them. The spray creates a barrier that helps repel water and stains.
2. Storage is Key
- Store your suede shoes in a breathable cloth bag or in their original box.
- Never store them in plastic bags, as this traps moisture and encourages mold or mildew—and who wants that mess?
- Keep them away from direct sunlight, which can cause the color to fade or dull.
3. Quick Cleanups are Your Friend
Get in the habit of a quick clean after every few wears. Use your suede brush to give them a 30-second once-over to knock off dust and stand up the nap. Spot-clean spills immediately before they have a chance to set.
Hack #7: The Tissue Paper Stuffing
When you store your suede shoes, stuff them with acid-free tissue paper (not newspaper, which can transfer ink). This helps them maintain their proper shape, prevents creases, and encourages airflow, all of which are vital for long-term suede health.
Troubleshooting (When Things Go Wrong)
Even when you do everything right, sometimes life happens. Here’s what to do when your shoes need a Hail Mary.
1. Color Fades or Dulls
If the color is looking tired, you can try a suede dye restorer. This is a product that puts color back into the fibers. You need to match the color perfectly, so this is a task that requires careful research and patience. It’s an intermediate-level fix, IMO.
2. Handling Mold or Mildew
If your shoes have been stored in a damp basement, you might find mold.
- Take them outside and use a dry, stiff brush (not your main suede brush!) to brush off the visible mold spores. You don’t want to do this inside.
- Dab the area with a cloth dampened with a mix of rubbing alcohol and water. Let it dry. The alcohol helps kill the spores.
- If the smell or mold persists, it’s probably time for a professional.
3. When to Consult a Professional
Sometimes, the damage is too deep. If you have a massive grease stain, the shoe is totally soaked and deformed, or you’re terrified of trying a dye restorer, take it to a reputable cobbler or professional suede cleaner. They have industrial tools and chemicals designed to gently remove the worst stains and restructure the material. Think of it as sending your baby to a high-end spa.
Mistakes to Avoid (The Suede Don’ts)
- Don’t Soak: Suede and water are enemies. Minimal moisture only!
- Don’t Use Harsh Chemicals: Bleach, ammonia, or detergent not labeled for suede can irrevocably strip the color and ruin the texture.
- Don’t Scrub Aggressively: This will flatten the nap and may even tear the material. Think gentle caresses, not an assault.
- Don’t Use Direct Heat: Never use a radiator or a hair dryer on the heat setting to dry your suede—it can cause the material to shrink, crack, or become brittle.
Hack #8: The Rubber Glove Pet Hair Remover
This is a random but useful one: If your suede is covered in pet hair, put on a clean, dry rubber kitchen glove. Rub your hand over the suede. The slight friction and static charge from the rubber will ball up and lift stubborn pet hair better than almost anything else.
The Takeaway
So, we’ve covered the full journey, from a dirty, drama-queen suede shoe to a clean, fluffy-napped masterpiece. It all boils down to a few core takeaways: Prep (let it dry!), Spot Clean (oil needs powder, water needs water), Deep Clean (if needed, use minimal moisture), and Protect (spray that sealant!).
I know it seems like a lot of steps, but it’s really about regular maintenance. A 30-second brush after you wear them and a quick spot-clean of any spills immediately are what keep the big cleaning jobs from ever happening. If you take care of your favorite pair, they’ll last you for years, looking sharp and feeling soft.
Now that you know how to clean suede shoes like a pro, go save those beautiful kicks from the back of the closet! I want to hear about your worst-ever suede stain and how you managed to fix it. Pin this guide for future reference—your shoes will thank you later!
