You don’t need a fancy mop or a PhD in grout science to make tile floors sparkle. You need a plan, a few cheap supplies, and maybe a podcast to keep you company. We’ll blitz through dirt, soap scum, and grout funk step by step.
Ten points to Gryffindor if your tiles are shiny enough to double as a mirror by the end.
Know Your Tile (So You Don’t Ruin It)

Not all tile likes the same treatment. Ceramic and porcelain? Tough as nails.
Natural stone like marble, travertine, or slate? Beautiful, but high maintenance.
- Ceramic/Porcelain: Safe with most cleaners. Avoid oil-based products that leave a film.
- Natural Stone: Skip vinegar, lemon, or anything acidic.Use a pH-neutral stone-safe cleaner only.
- Sealed vs. unsealed grout: Sealed resists stains. Unsealed sucks up grime like a sponge.
FYI, if you don’t know what you’ve got, test a small hidden area with your cleaner first. No one wants a “why is this etched?” moment.
Stock Your Cleaning Arsenal
You don’t need an entire cart of gadgets.
Just grab the basics and you’re set.
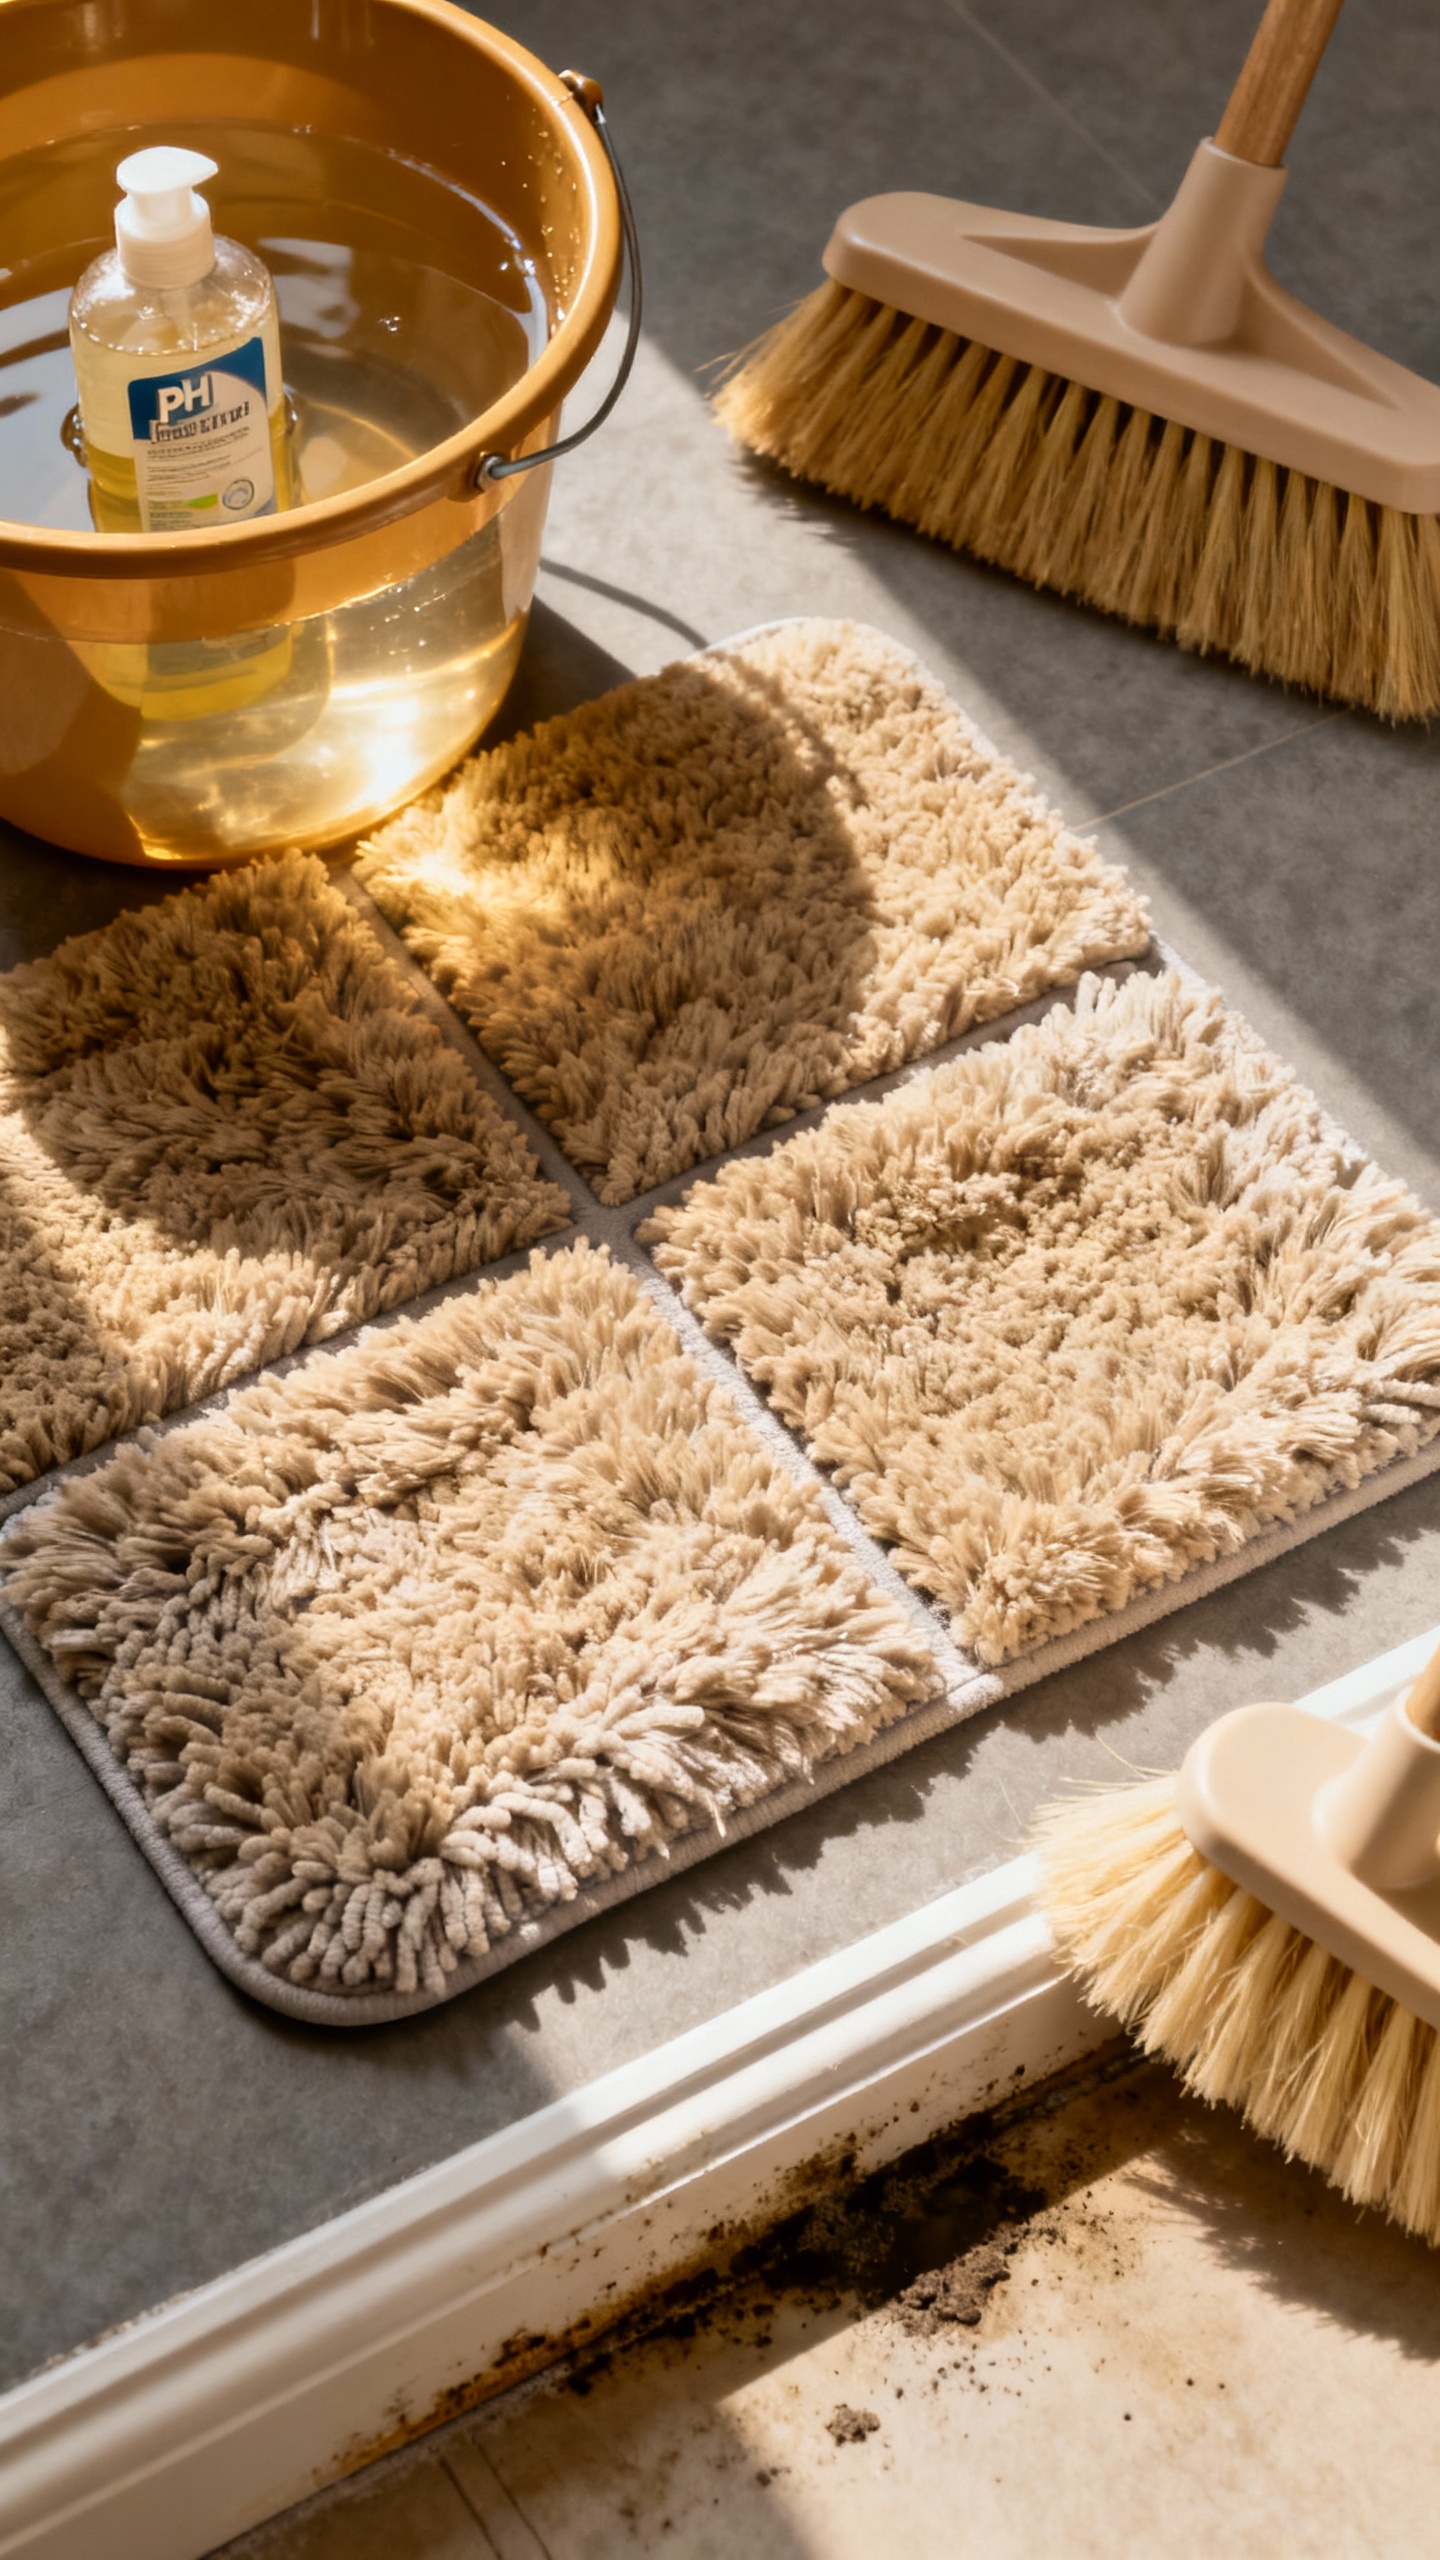
- Vacuum or broom (soft bristles)
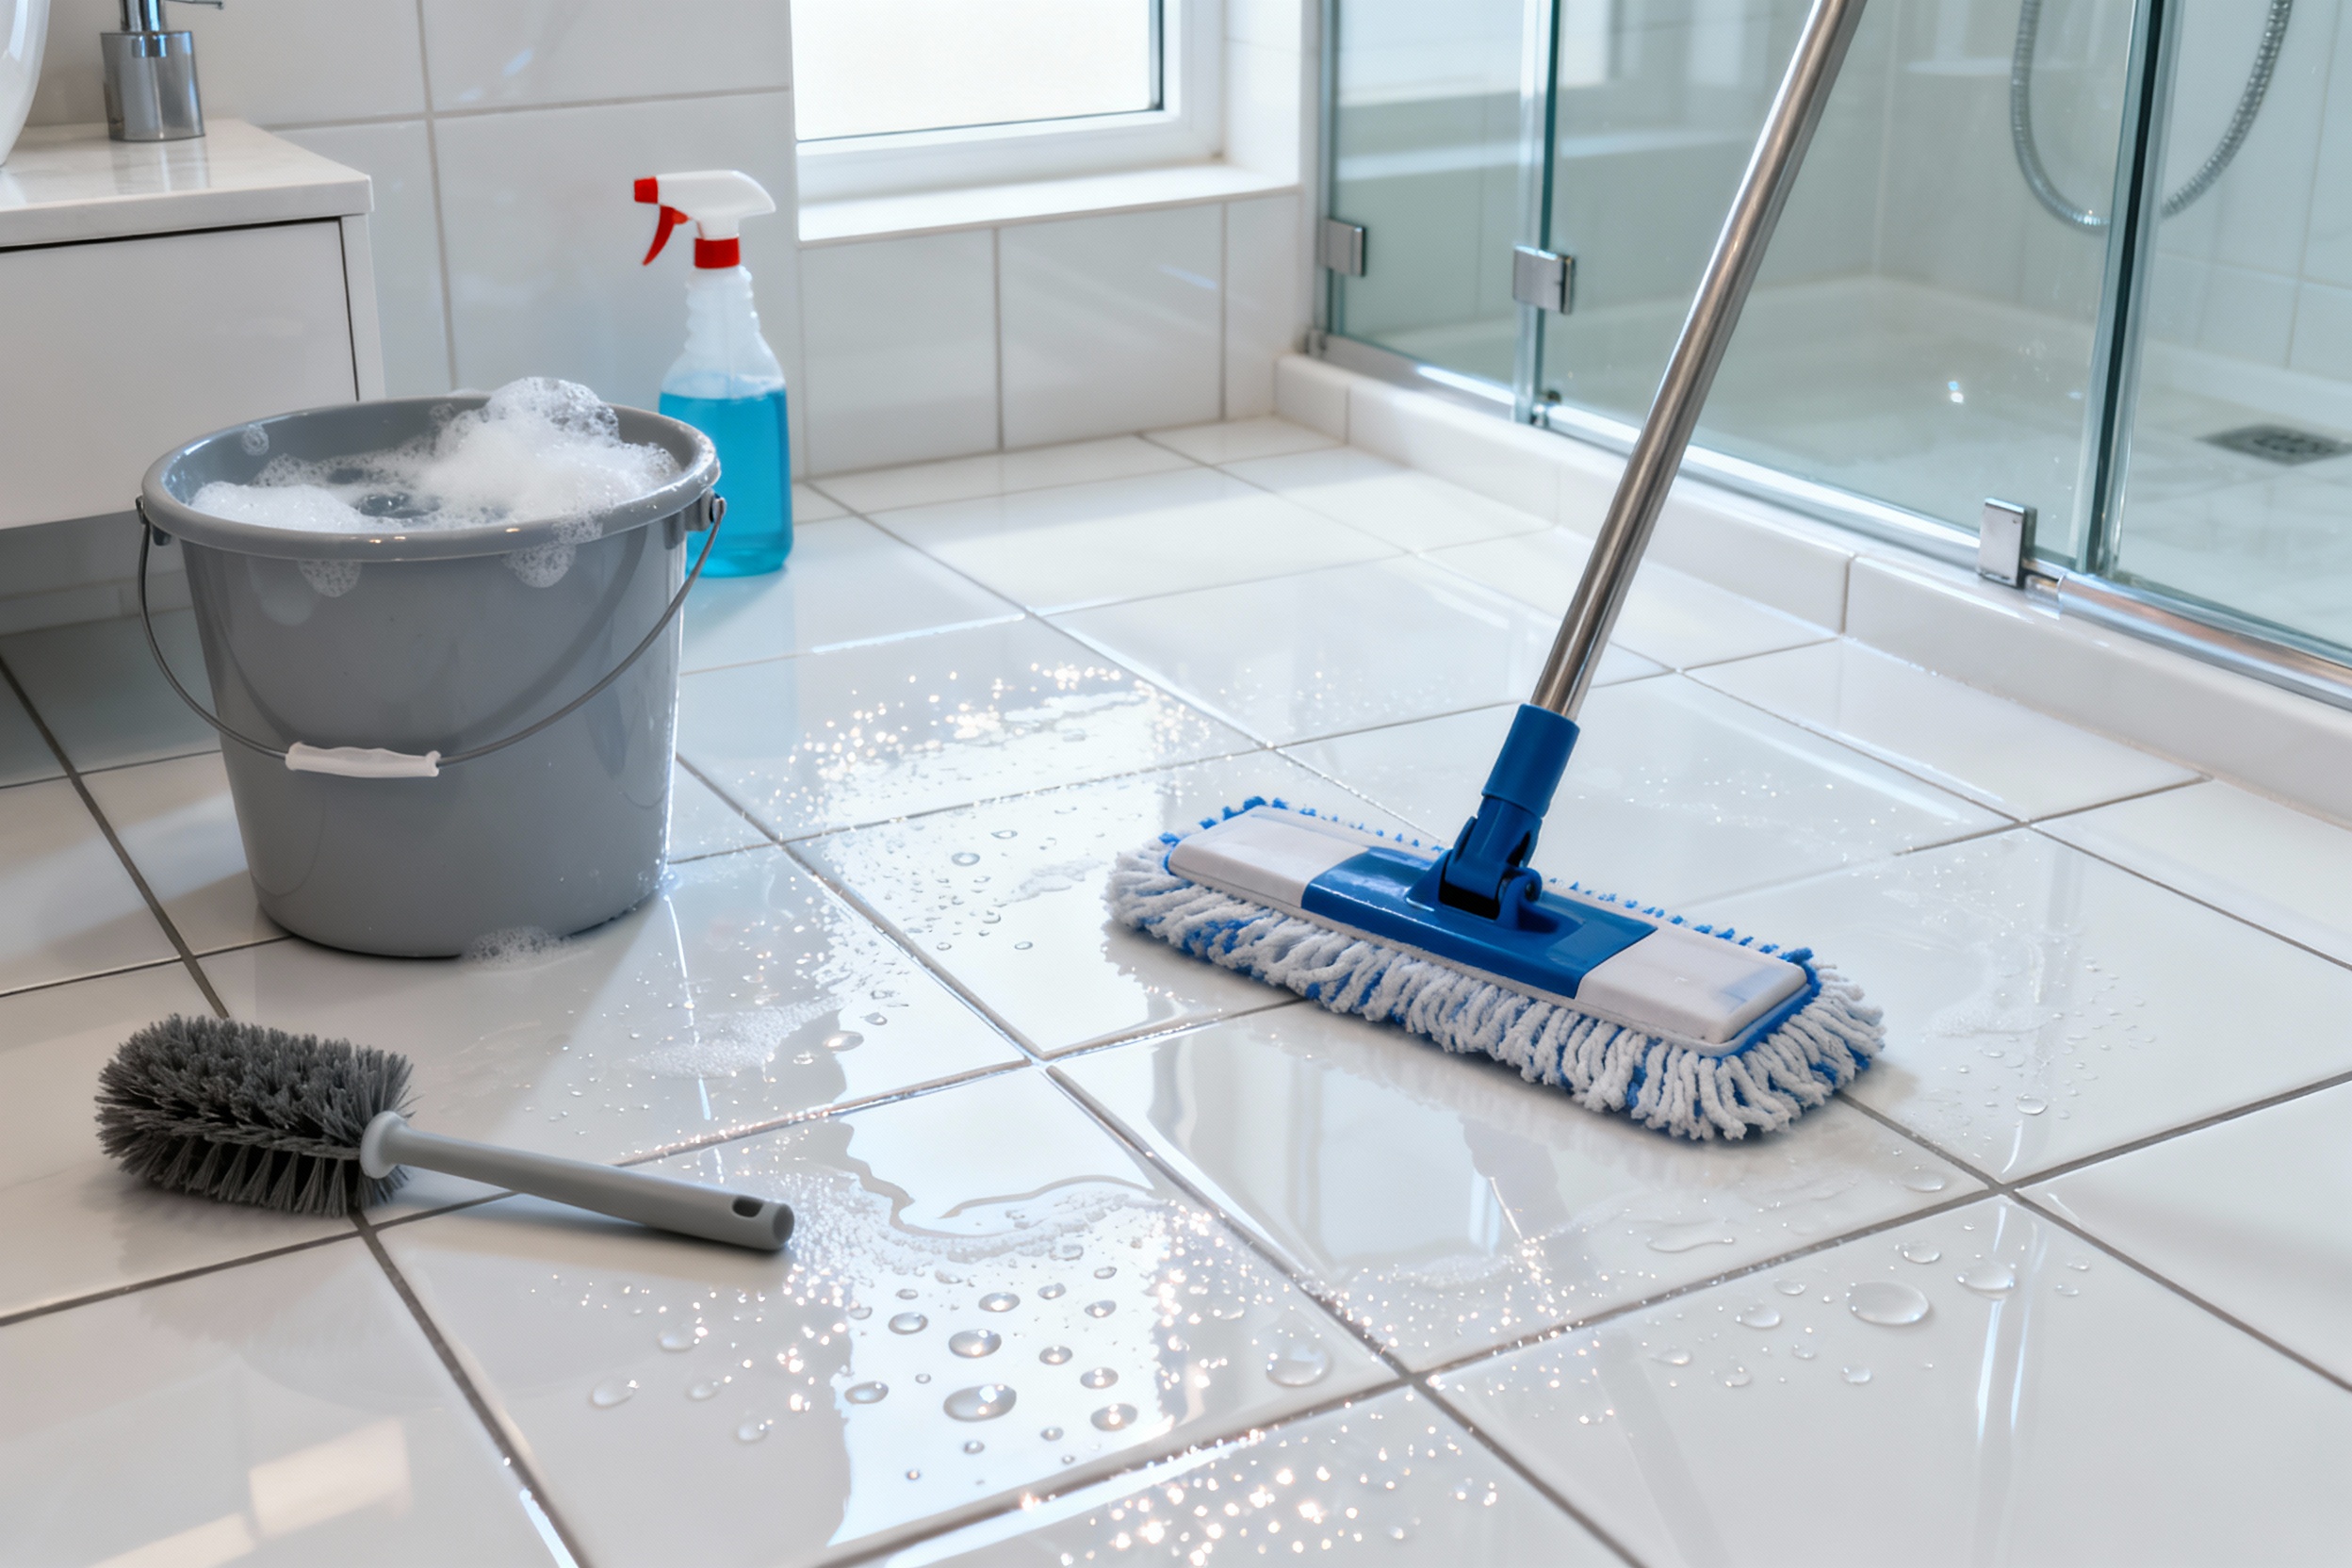
- Microfiber mop and bucket
- Grout brush or old toothbrush
- pH-neutral floor cleaner (stone-safe if you have natural stone)
- Dish soap (a few drops go a long way)
- Baking soda
- Hydrogen peroxide (for grout stains, not for natural stone grout)
- White vinegar (only for ceramic/porcelain, never on natural stone)
- Microfiber cloths or old towels
- Optional: steam cleaner with floor attachment (great for porcelain/ceramic)

Pre-Game: Remove the Gunk You Can See
Start by clearing the floor completely. Rugs, trash cans, scales—everything. You’ll clean faster without playing obstacle hopscotch.
Dry Dusting Comes First
Sweep or vacuum to pick up hair, dust, and crumbs.
Use a soft-bristle attachment near the baseboards and toilet. If you skip this step, you’ll just smear muddy dust everywhere later. Gross.
The Deep Clean Method (For a Bathroom That Actually Sparkles)
This is the core routine.
Follow it and your tiles will gleam, promise.
- Mix your cleaner: Fill a bucket with warm water and add a squirt of pH-neutral cleaner. For ceramic/porcelain, you can use a few drops of dish soap. For stone, stick to stone-safe products.
- Mop in sections: Work in 3×3 foot areas.Mop, then immediately dry with a towel or dry mop. Standing water = streaks and cloudy film.
- Hit the edges: Use a microfiber cloth around baseboards, toilet bases, and corners. These areas hoard grime.
- Rinse if needed: If the floor feels sticky or looks dull, mop again with clean plain water and dry it.
Dealing With Soap Scum and Hard Water
On ceramic/porcelain, mix equal parts water and white vinegar in a spray bottle.
Lightly spray the floor, let it sit for 5 minutes, then scrub and rinse. Do not use vinegar on natural stone. For stone, use a stone-safe soap scum remover or just warm water and elbow grease.
Grout: Where the Real Work Happens
Grout makes or breaks the look. Clean grout, and the whole floor looks new.
Dirty grout? It drags the room down.
Everyday Grout Clean
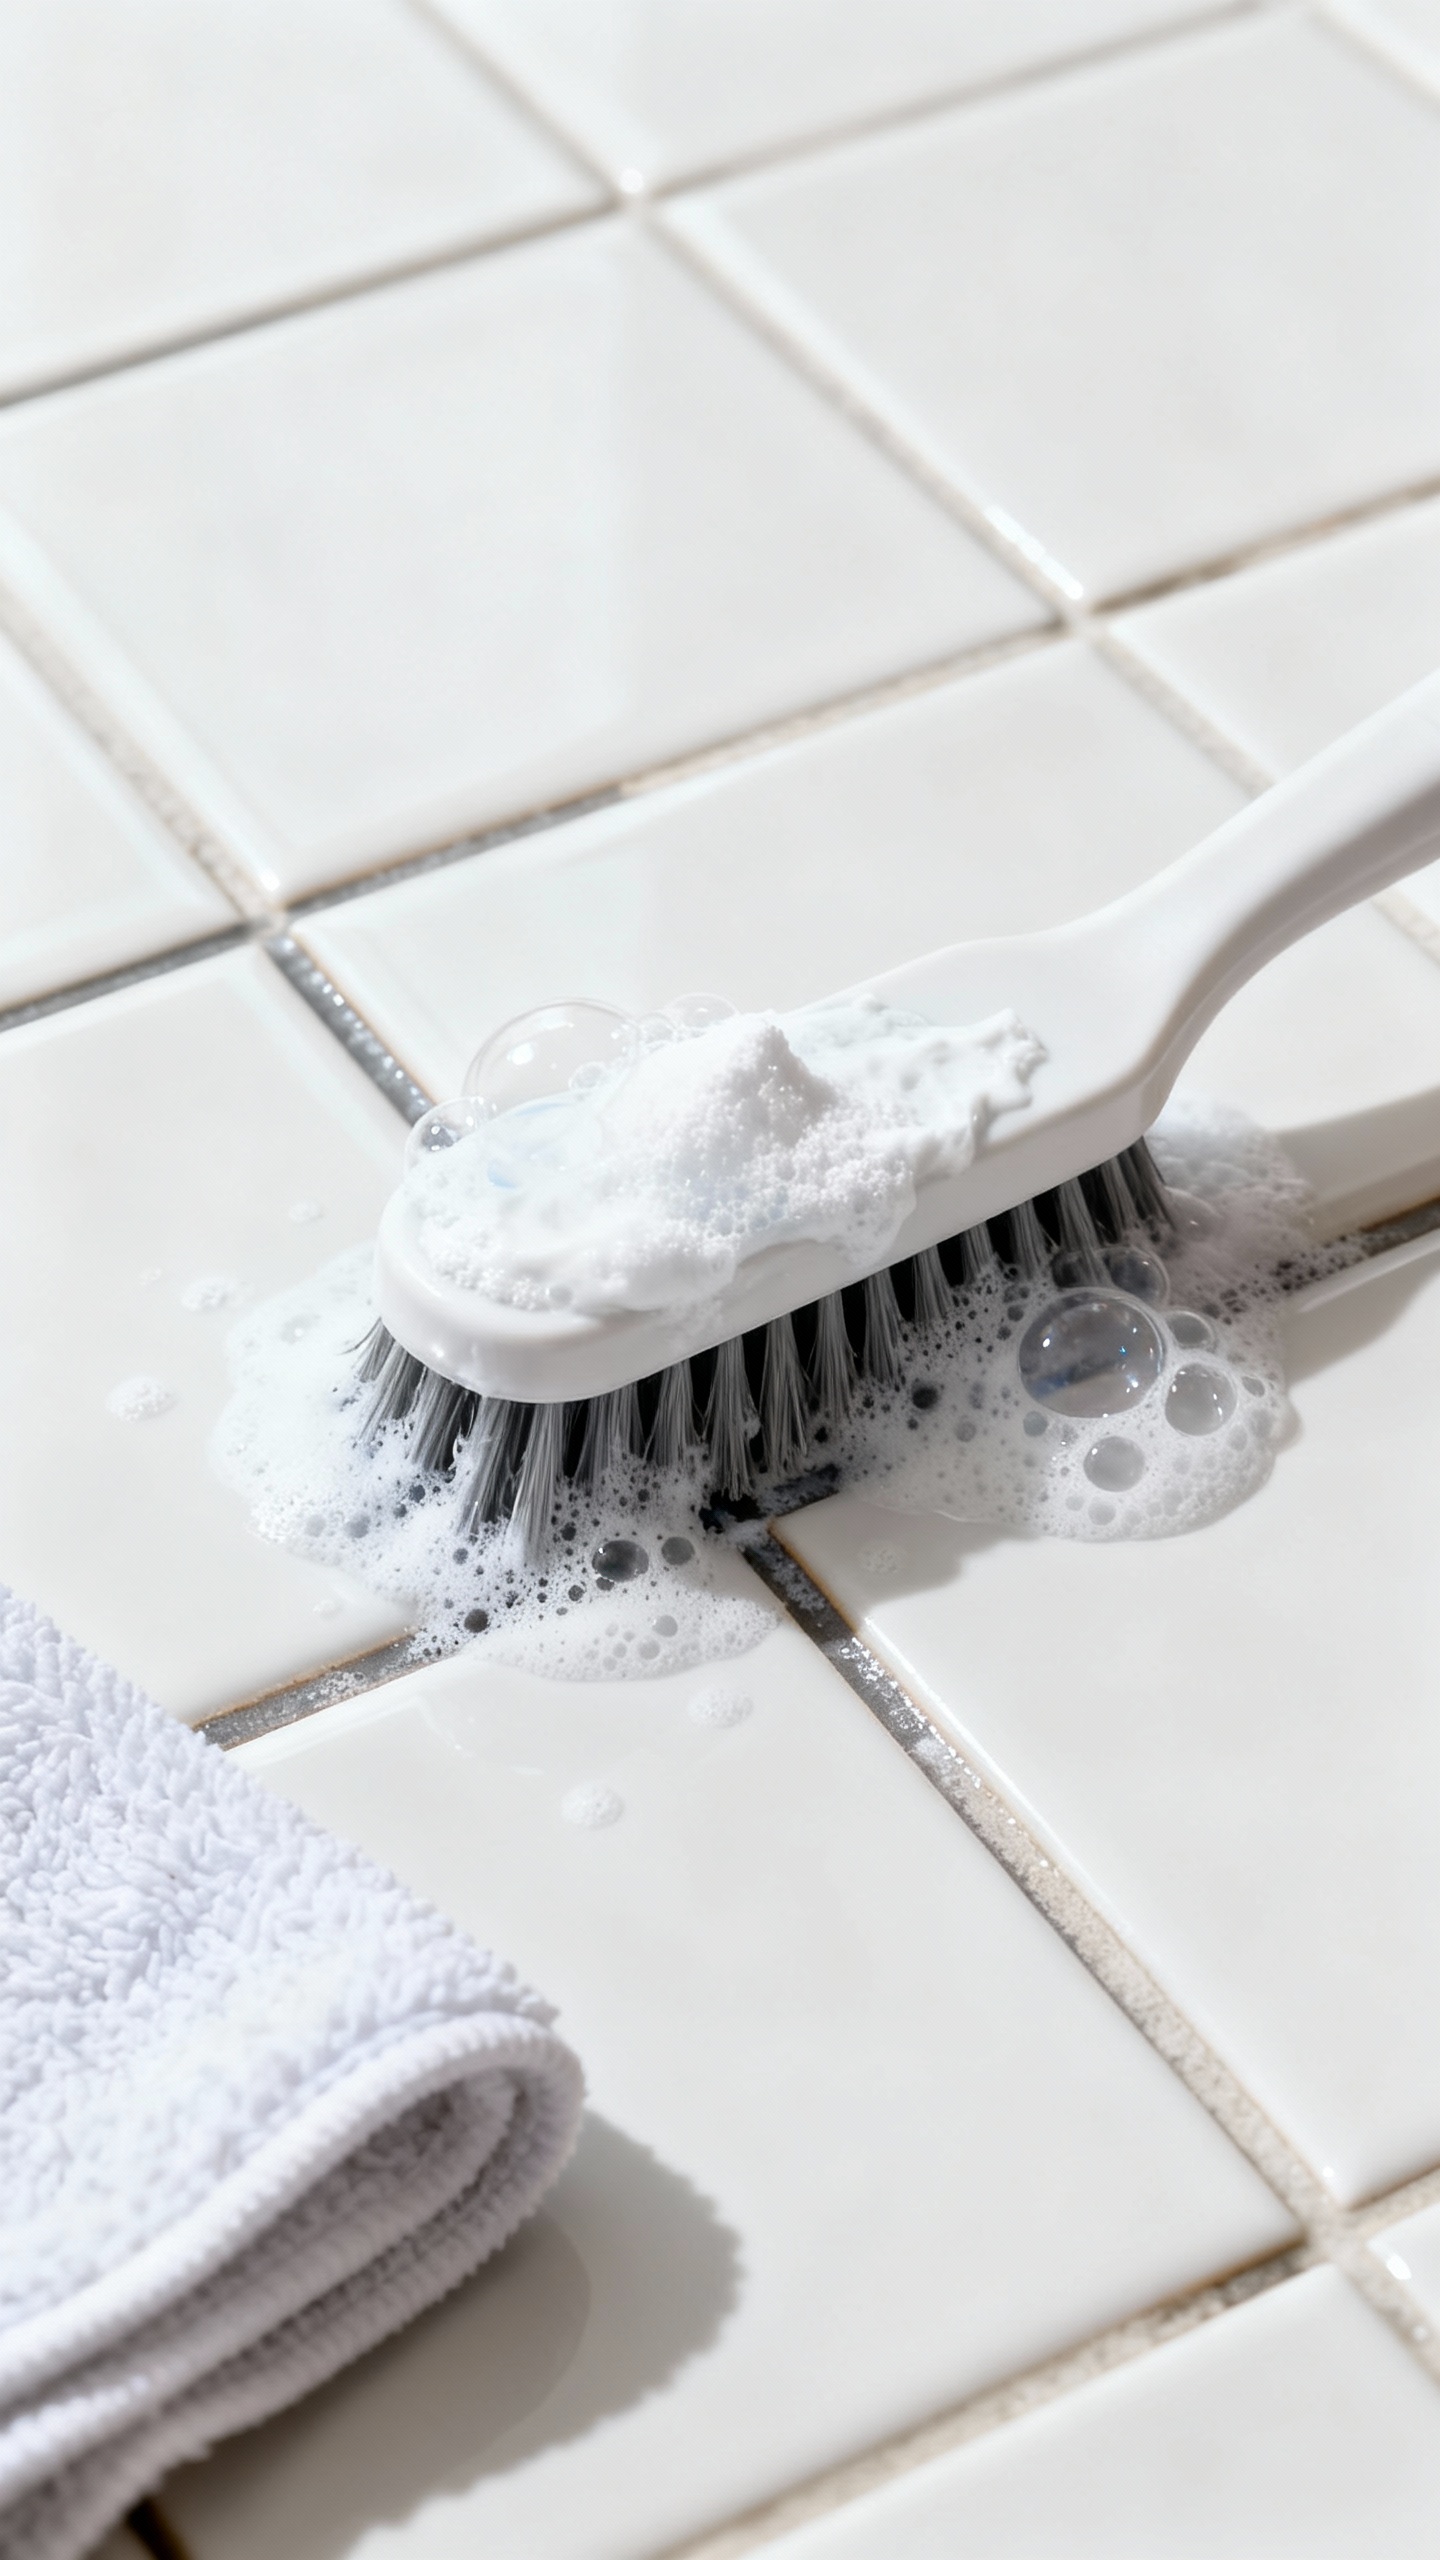
Make a paste with baking soda and water. Apply it to grout lines.
For ceramic/porcelain grout, spray hydrogen peroxide over the paste and let it fizz. Scrub with a grout brush, rinse well, then dry. It’s weirdly satisfying.
Heavy-Duty Grout Rescue
If your grout looks like a before photo, try this:
- Oxygen bleach powder (sodium percarbonate) for lightening stains.Mix per package directions, apply, let sit 10 minutes, scrub, rinse.
- Steam cleaning cuts through grime fast on ceramic/porcelain. Avoid steaming unsealed, soft, or damaged grout and most natural stone.
IMO, skip harsh chlorine bleach unless nothing else works. It can weaken grout over time and smells like a pool party gone wrong.
Stone Grout Caution
If you have natural stone tiles, stick to pH-neutral cleaners only.
Avoid peroxide and vinegar. When in doubt, use warm water, a drop of stone-safe cleaner, and a soft brush.
Make It Shine Without the Slime
No one wants glossy-but-greasy floors. You want clean, not slippery.
- Rinse properly: Any leftover cleaner causes a film.Do one final pass with clean water.
- Dry immediately: Use a towel or dry mop. This prevents streaks and water spots.
- Skip waxes on tile: They build up and attract dirt. If you need shine, clean better, don’t wax harder.
Streaks?
Cloudiness? Fix It Fast
If your floor looks hazy, fill a bucket with warm water and a splash of vinegar (ceramic/porcelain only) and mop again. Dry thoroughly.
For stone, use a stone-safe rinsing agent or just plain water and a dry buff with microfiber.
Seal the Deal: Protect Your Grout
Sealing grout keeps it from soaking up stains and makes future cleaning faster. It’s not exciting, but it works.
- Choose a penetrating grout sealer: Avoid topical sealers that leave a shiny finish.
- Make sure the grout is fully clean and dry before sealing—24 hours dry time is ideal.
- Apply with a small brush or applicator bottle and wipe off any excess from tile immediately.
- Let it cure per instructions and test by dripping water on the grout—if it beads, you nailed it.
Speedy Maintenance Routine (So You Don’t Have to Deep Clean Weekly)
A little daily care saves you from weekend-long scrubbing sessions. Future you will say thanks.
- Daily/Every other day: Quick vacuum or sweep to grab hair and dust.
- Weekly: Mop with pH-neutral cleaner, dry immediately.
- Monthly: Spot-clean grout on traffic areas.
- Every 6–12 months: Reseal grout if water stops beading.
Small Habits, Big Payoff
– Keep a microfiber cloth handy to wipe up water near the tub or sink. – Use bath mats that actually absorb.
Then wash them regularly. – Squeegee the floor after steamy showers if your bathroom turns into a sauna. Dramatic? Maybe.
Effective? Very.
FAQ
Can I use vinegar on all tile floors?
Nope. Use vinegar only on ceramic and porcelain.
It can etch natural stone like marble or travertine. If you’re not sure what you have, play it safe with a pH-neutral cleaner.
What’s the fastest way to clean grout without special tools?
Baking soda paste plus a toothbrush works shockingly well. For ceramic/porcelain, add a spray of hydrogen peroxide over the paste for extra stain-lifting.
Rinse thoroughly and dry.
Is a steam mop safe for tile floors?
Yes for ceramic and porcelain, with sealed grout and intact tiles. Keep it moving—no long steaming on one spot. Avoid steam on most natural stone and on damaged or unsealed grout.
How do I get rid of a sticky film after mopping?
You probably used too much cleaner or didn’t rinse.
Mop with clean warm water, then dry the floor. For ceramic/porcelain, a light vinegar rinse helps. For stone, stick to water and a microfiber buff.
Do I really need to seal grout?
If you like easy cleaning, yes.
Sealed grout resists stains and scrubs faster. It’s a once-in-a-while task that saves tons of time later, IMO.
What’s the best cleaner for natural stone tiles?
A pH-neutral stone-safe cleaner. Check the label—if it mentions marble or travertine, you’re good.
Avoid acids, harsh degreasers, and DIY vinegar mixes.
Conclusion
Deep cleaning tile floors doesn’t require magic—just smart steps and the right products. Sweep first, clean in sections, dry as you go, and give grout some love. Seal it, maintain it, and your bathroom will hit that fresh, hotel-level sparkle regularly.
You bring the playlist; the shine will follow.


