You ate a perfect peach and now you’re eyeing that pit like it’s a golden ticket. Can you really turn it into a tree? Yes—if you treat it right and give it time.
You won’t get fruit tomorrow, but you can absolutely grow a beautiful peach tree from a pit and maybe even harvest peaches in a few years. Let’s turn that snack into a backyard flex.
Pick the Right Peach (It Matters More Than You Think)

Not all peaches play nice when you grow them from seed. Some pits never sprout.
Others grow trees that taste… let’s call it “interesting.” Here’s what to look for:
- Local, in-season peaches: Fruit grown nearby often matches your climate better. Your future tree will thank you.
- Freestone vs clingstone: Freestone peach pits separate easier from the flesh and often sprout more reliably at home.
- Heirloom or farmers’ market fruit: Store-bought hybrids can be great, but heirlooms tend to produce more consistent offspring from seed, IMO.
- Avoid treated fruit: Some imported peaches get irradiation or cold treatments that can mess with the seed’s viability.
Clean, Dry, and Prep the Pit
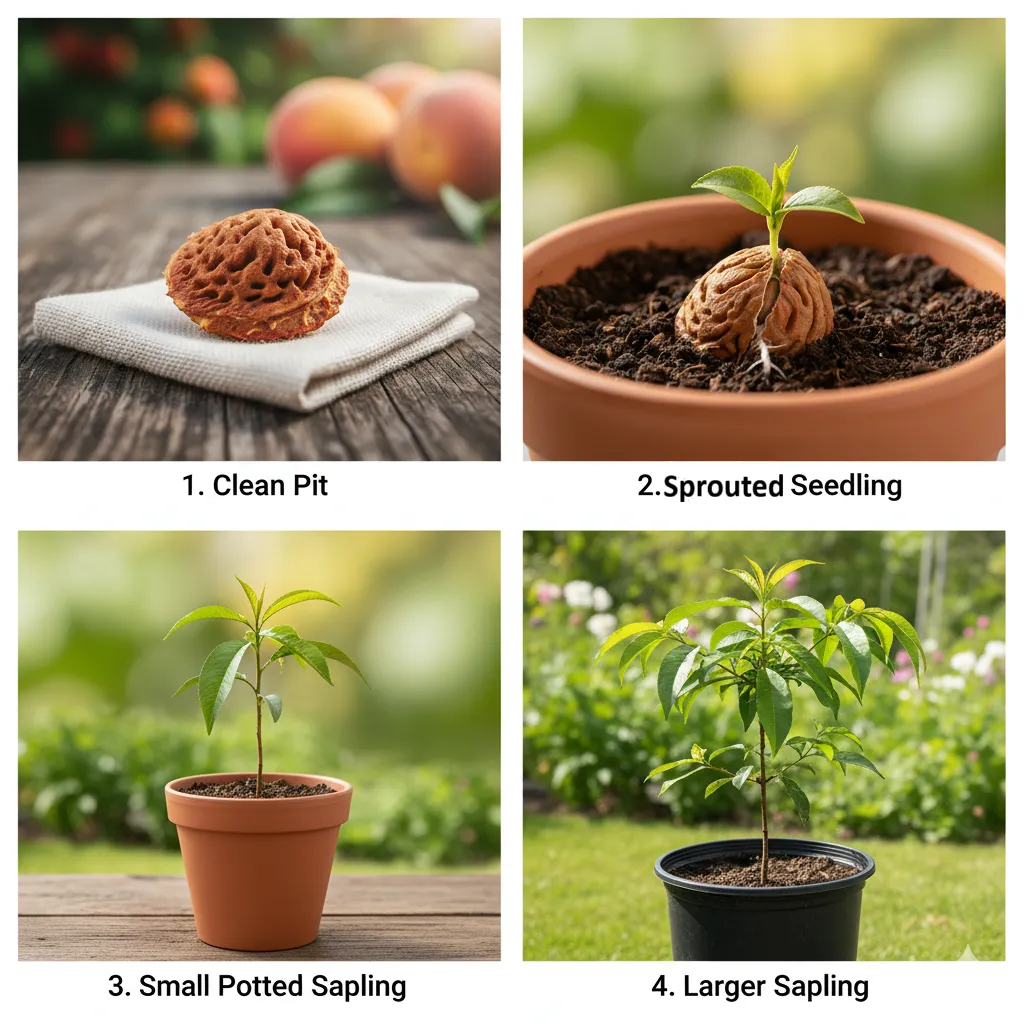
You need a clean pit, not a sticky science experiment. Scrub off all fruit flesh under warm water.
Don’t bleach it. Don’t boil it. Just clean it thoroughly. Next steps:
- Air-dry 1–2 days: Let the pit dry on a paper towel.
This prevents mold during the next step.
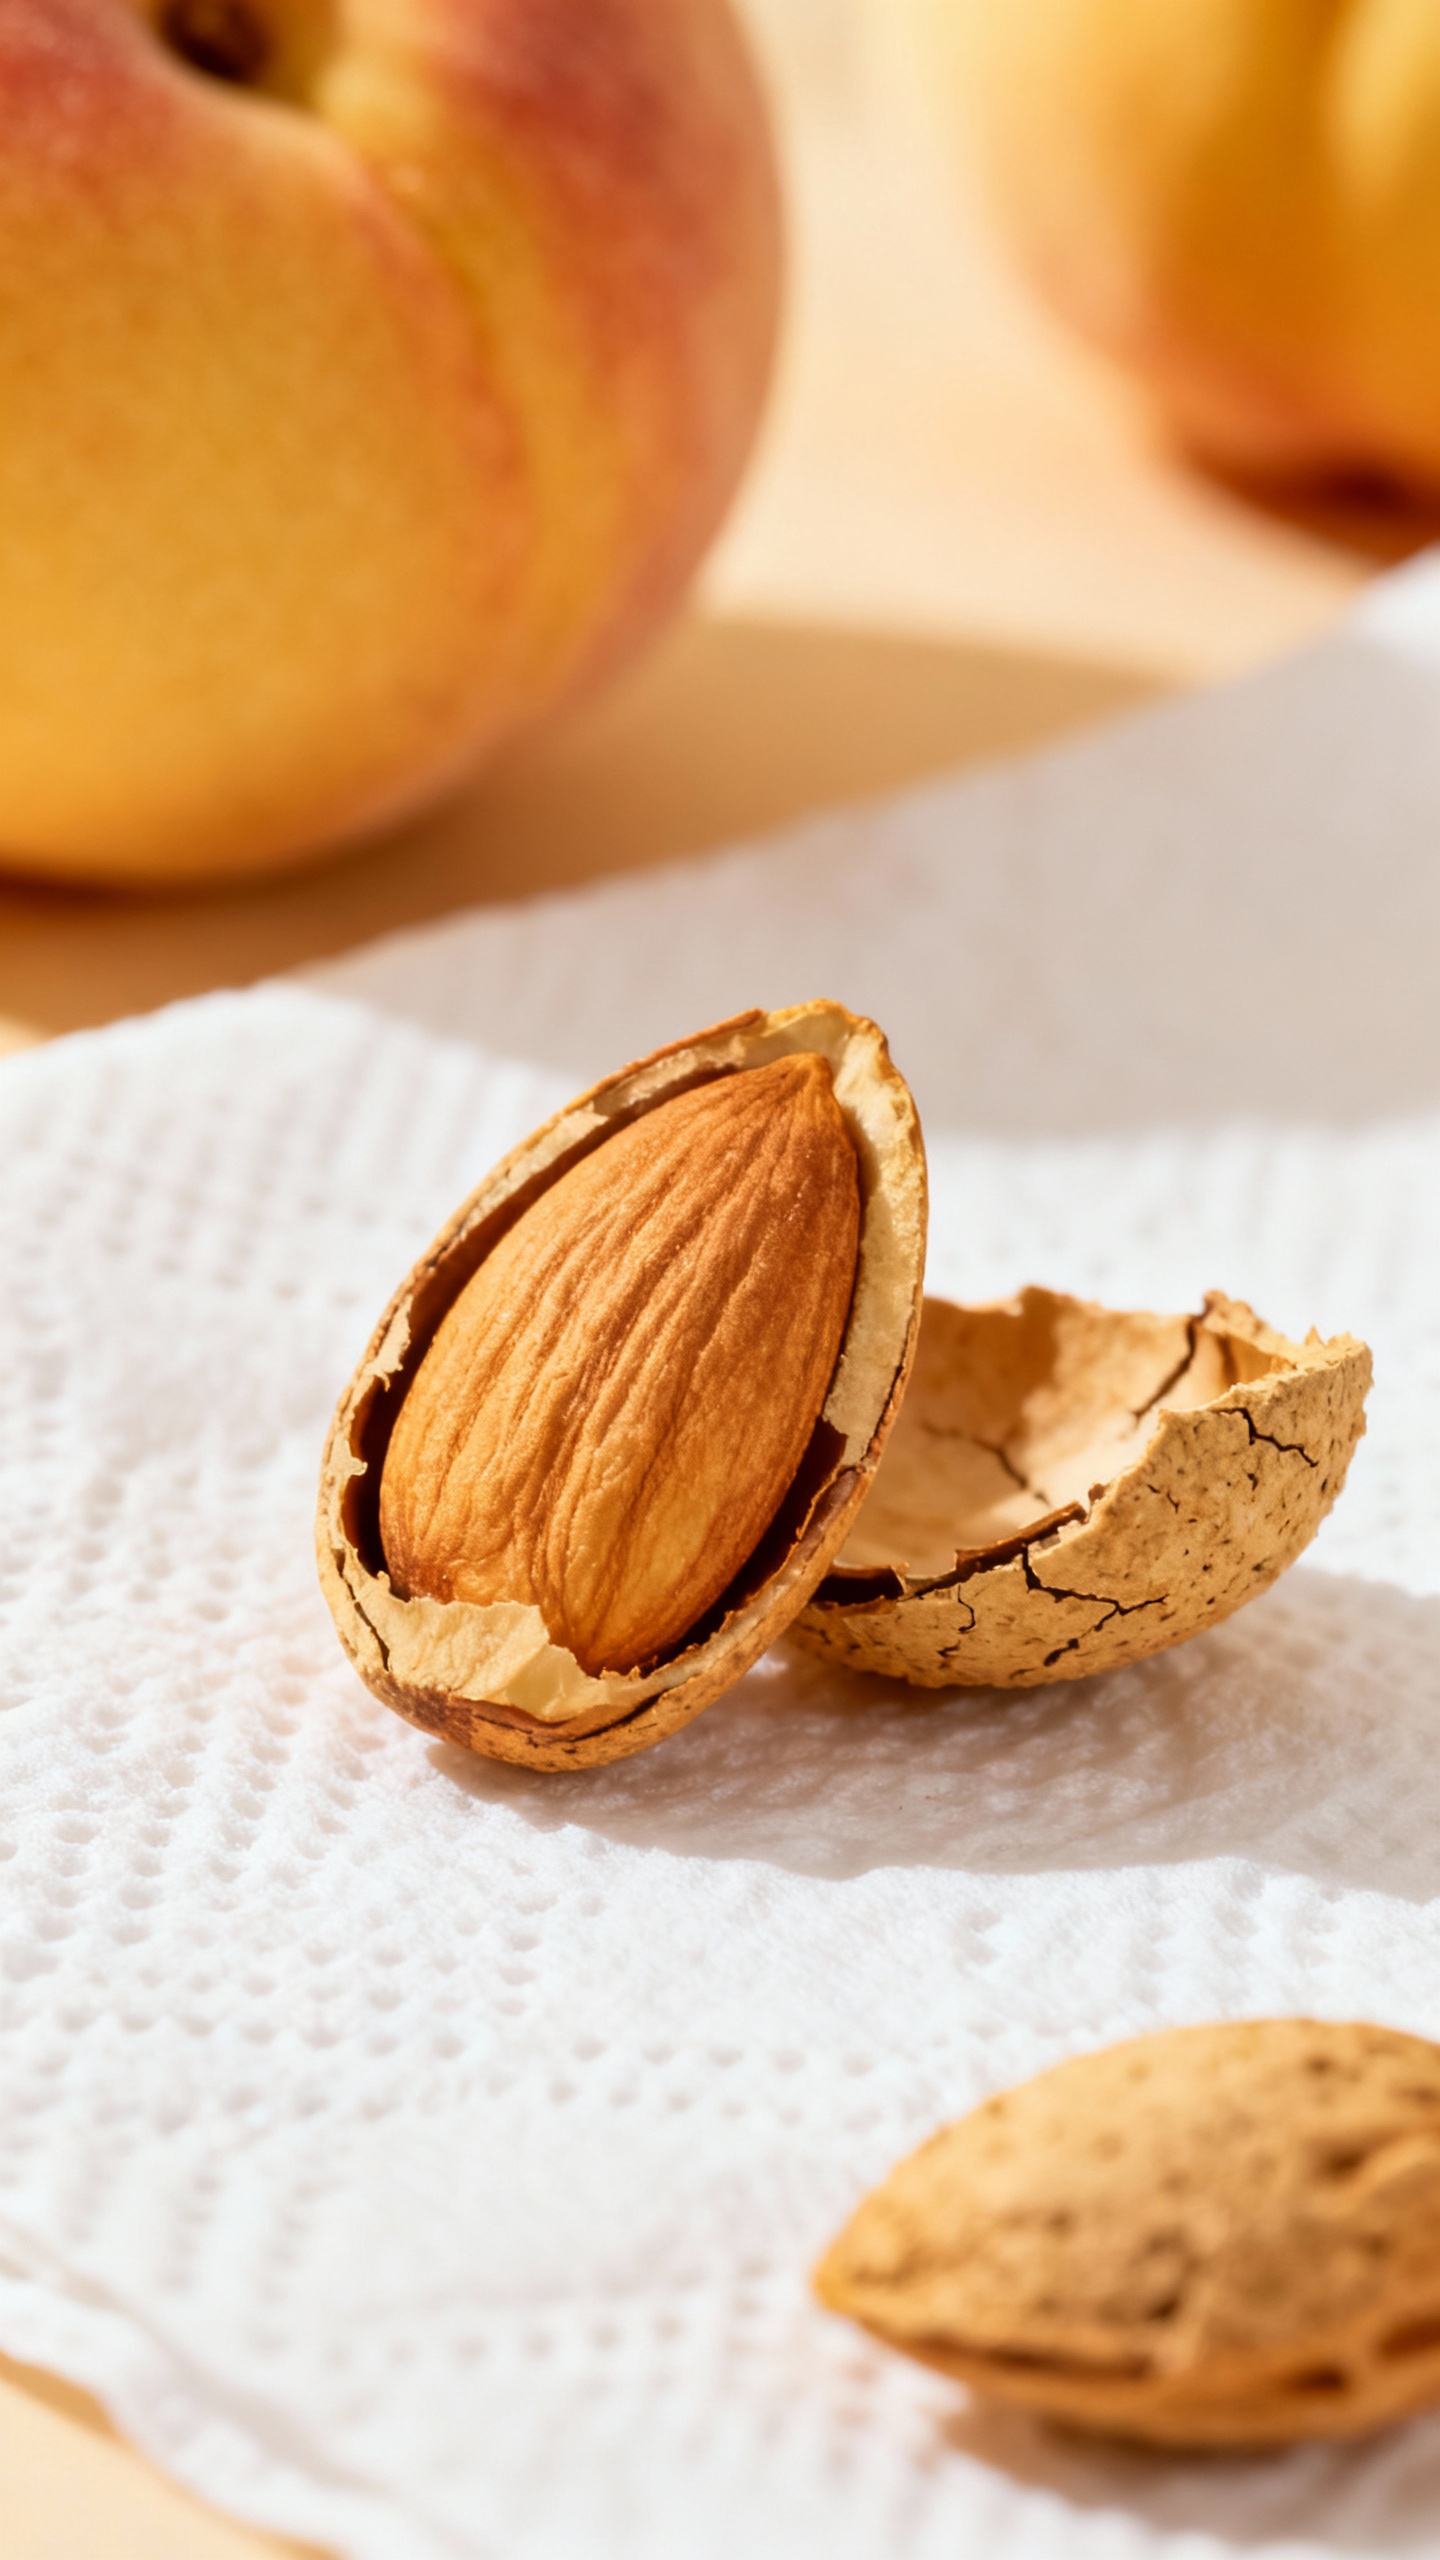
- Optional but helpful: Crack the shell. Use a nutcracker or gentle tap with a hammer to open the woody shell. Inside sits the almond-looking seed. Don’t squish it.
If cracking stresses you out, keep the whole pit intact—it’ll just sprout slower.

Stratify: Give It “Winter” in Your Fridge
Peach seeds need cold to wake up. That’s called “stratification.” No winter, no sprout—simple as that. Fridge stratification (easy mode):
- Soak the seed for 24 hours in room-temperature water.
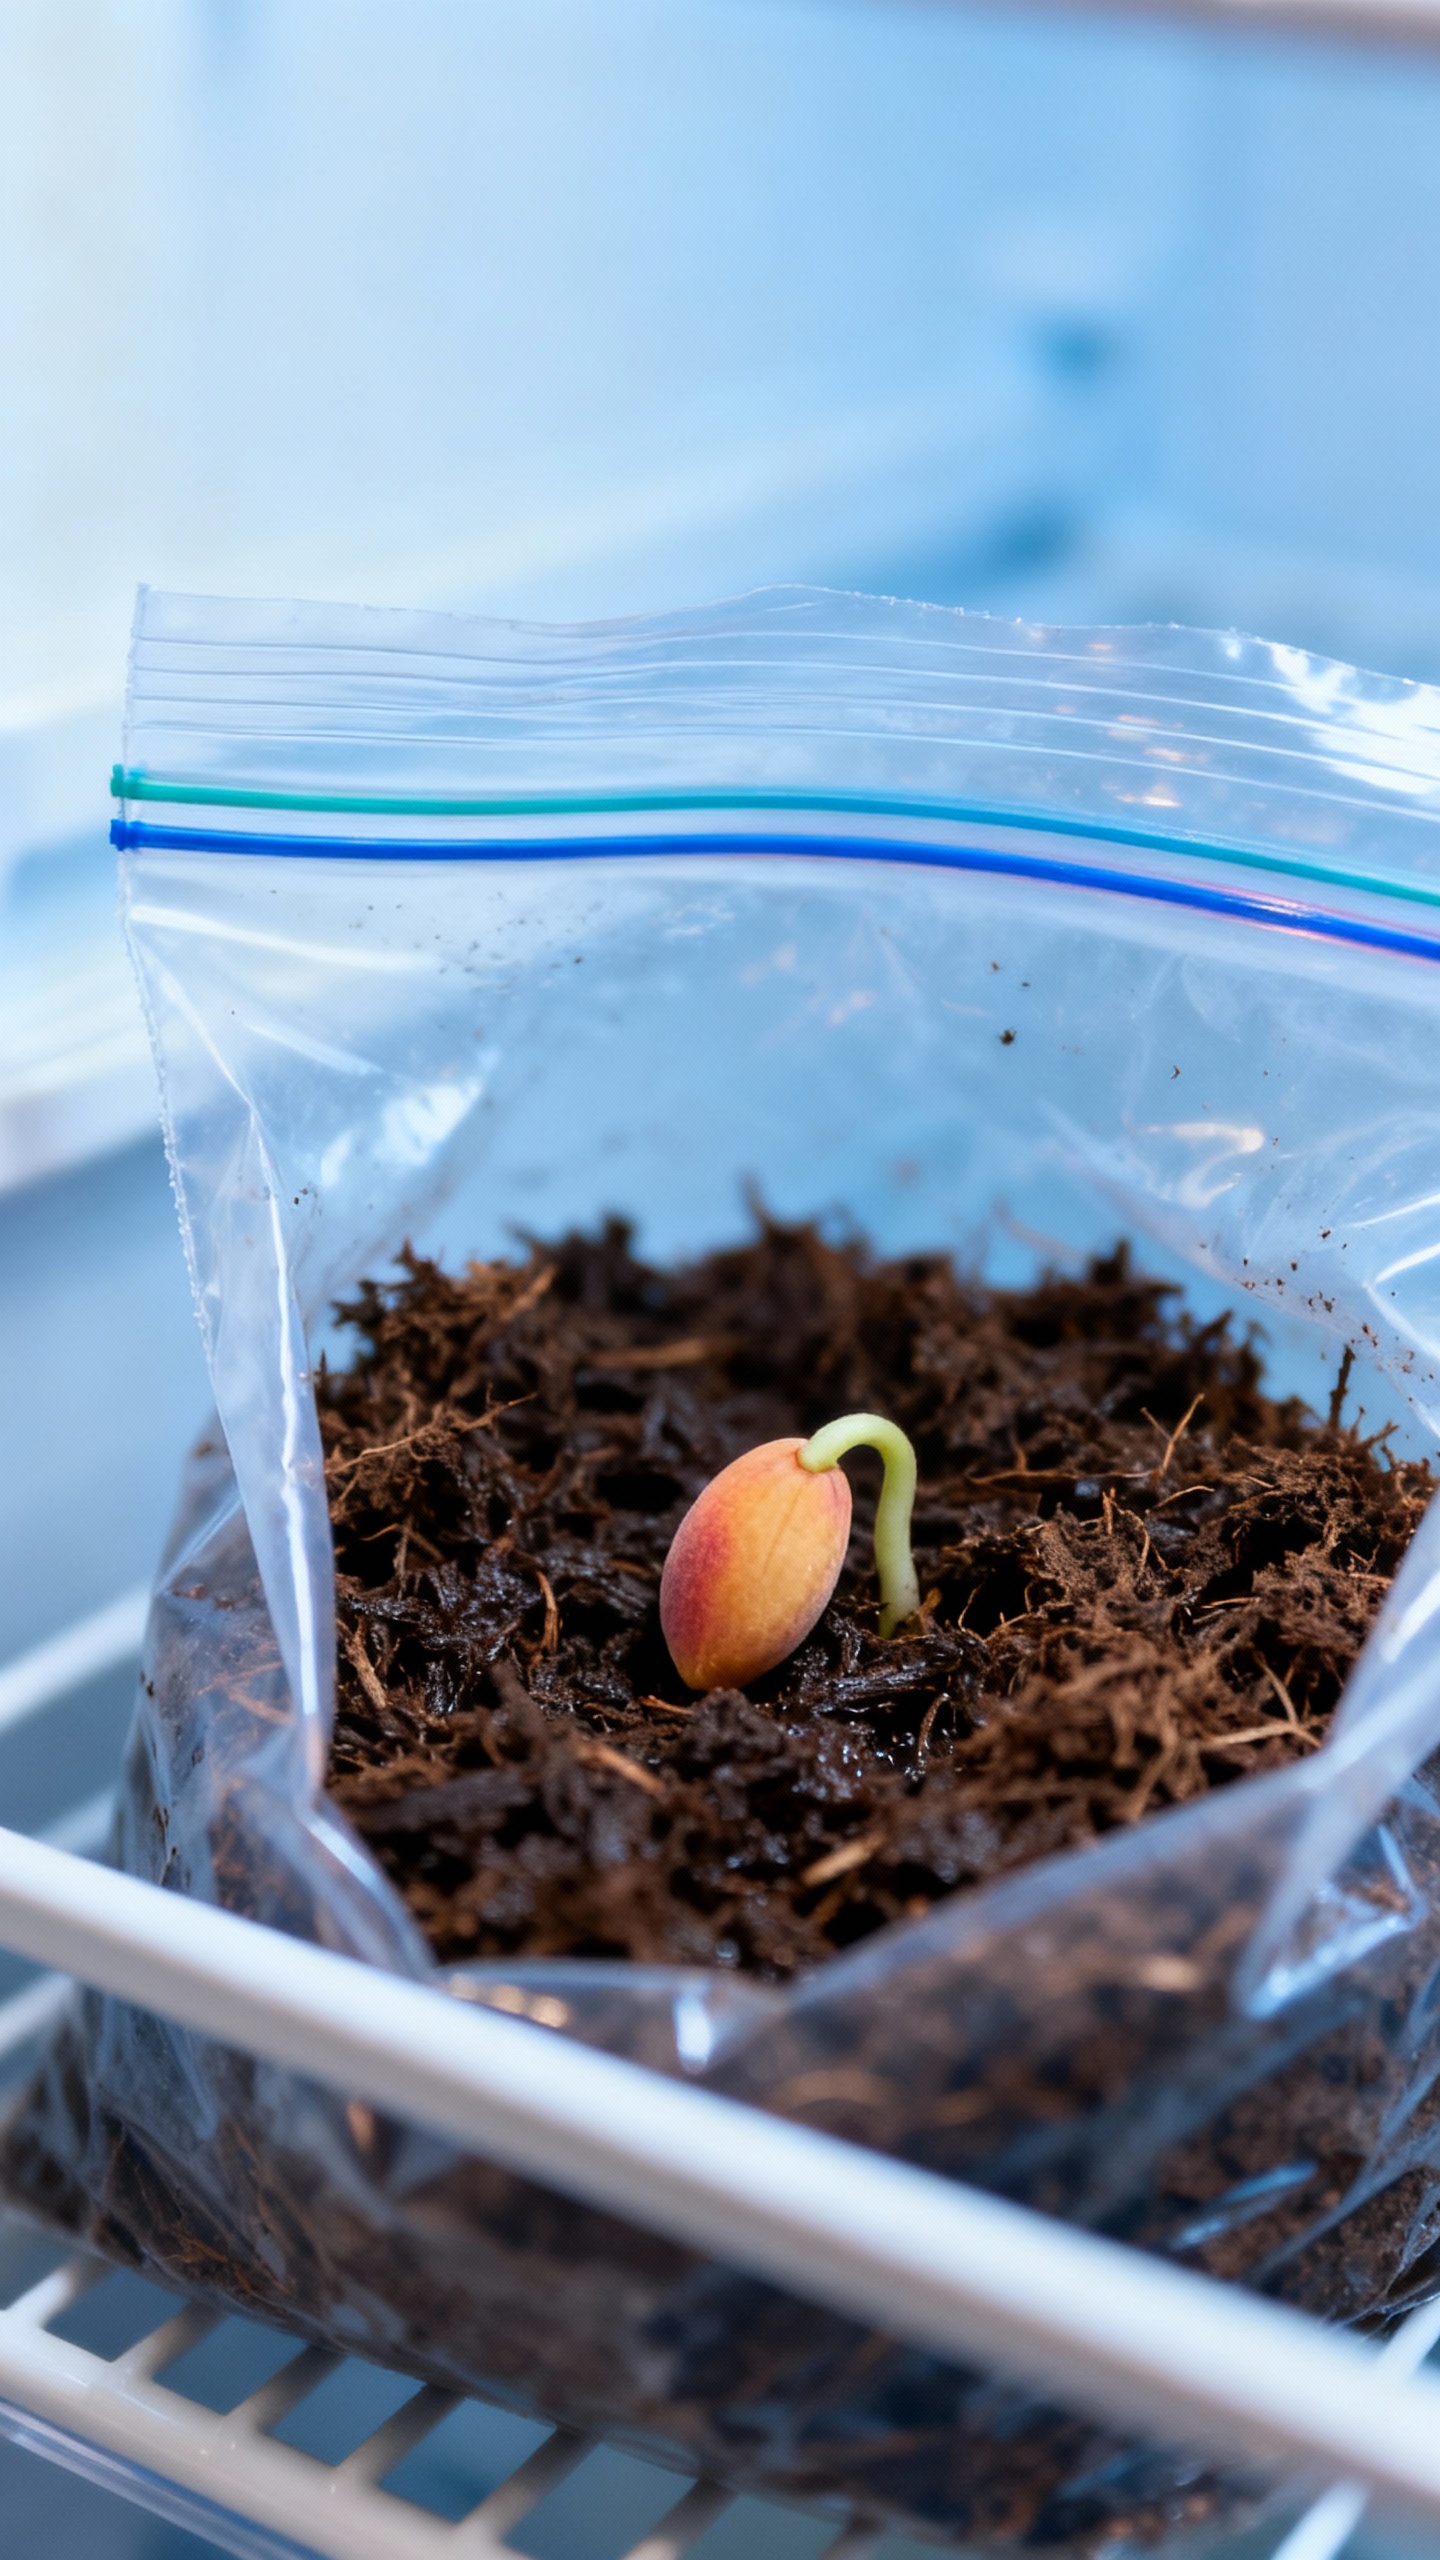
- Mix slightly damp peat moss or coco coir with a little perlite (or use a moistened paper towel). It should feel like a wrung-out sponge—not wet.
- Place the seed in the medium inside a labeled zip-top bag.
- Refrigerate at 34–40°F (1–4°C) for 8–12 weeks.
- Check weekly for mold or sprouting.
If mold shows up, rinse the seed and replace the medium.
How do you know it’s ready?
You’ll see a little root nub (radicle) popping out. Sometimes you won’t see anything after 12 weeks—give it up to 16 weeks before calling it quits. FYI, patience wins this game.
Pot It Up: Baby Tree Time
Once the seed sprouts, it wants soil and light.
Don’t plant it in a garden bed yet. Start small. Planting basics:
- Container: 4–6 inch pot with drainage holes. No drainage = root rot = tears.
- Soil: Light, well-draining mix.
A seed-starting mix or potting mix with perlite works great.
- Depth: Plant the seed about 1 inch deep, root pointing down if it’s visible. If you didn’t crack the shell, bury the whole pit.
- Water: Keep the soil slightly moist, never soggy. Think “damp cake,” not “swamp.”
- Light: Bright, indirect light at first.
After it pops up, move it to a sunny spot or under grow lights for 12–14 hours daily.
First-month care
You’ll get a cute seedling with long leaves. Rotate the pot weekly so it grows straight. No fertilizer for the first 4–6 weeks—seedlings burn easily.
After that, use a diluted balanced fertilizer every 2–3 weeks.
When and Where to Plant Outside
You can’t just yeet it into the yard and hope. Timing and location matter a ton. Best timing:
- Transplant in spring after your last frost, once the seedling stands 8–12 inches tall and has hardened off.
- Harden off: Gradually introduce it to outdoor life over 7–10 days. Start with shade, increase sun exposure daily.
Pick the perfect spot:
- Sun: At least 6–8 hours of direct sunlight daily.
More sun = more fruit later.
- Soil: Well-draining, slightly acidic (pH 6.0–6.5). Peaches hate wet feet.
- Space: Give it 12–15 feet from other trees or structures. Future you will appreciate the airflow and access.
Planting steps:
- Dig a hole twice as wide as the pot, same depth.
- Gently loosen roots; set the seedling at the same depth as in the pot.
- Backfill with native soil.
Skip heavy compost in the hole—it can act like a sponge and drown roots.
- Water deeply to settle soil. Mulch 2–3 inches thick, but keep mulch a few inches away from the trunk.
Shape It Early: Pruning for a Strong Tree
You want a sturdy, open structure that lets light in and keeps fruit reachable. Peach trees love an open-center (vase) shape. Year 1–3 pruning basics:
- Year 1: When the tree hits 2–3 feet tall, cut it back to 18–24 inches to encourage branching.
Yes, it feels rude. Do it anyway.
- Choose 3–4 main branches spaced around the trunk like a chandelier. Remove others.
- Late winter prune annually: Remove inward growth, dead wood, and tall vertical shoots.
Keep the center open for sun and airflow.
Fertilizer and water rhythm
- Water: Deeply once a week during dry spells. Aim for moist, not soggy.
- Fertilizer: In spring, apply a balanced fertilizer or compost. Don’t overfeed—excess nitrogen gives leaves, not peaches.
From Pit to Peach: Expectations and Reality
Here’s the real talk: A seed-grown peach tree won’t clone the original fruit.
It might taste different—sometimes amazing, sometimes meh. That’s the genetic lottery. Timeline:
- Germination: 2–4 months with stratification.
- Transplant to ground: After 6–12 months of container growth.
- First blossoms: Usually year 3–4.
- Fruit: Often year 4–6. You might beat that if conditions slap, but don’t count on it.
Pro tip: If you want guaranteed fruit quality and earlier harvests, you can graft a known peach variety onto your seedling in year 1–2.
But if you’re here for the experiment, roll the dice and enjoy the ride, IMO.
Pests, Problems, and How to Stay Sane
Peaches can attract issues, but you can handle most of them with a little vigilance. Common headaches:
- Leaf curl: Causes crinkled red leaves. Choose resistant varieties if you ever graft. Remove affected leaves and consider a dormant copper spray in late winter.
- Borers: Keep the trunk base clear and inspect for gummy sap.
Wrap young trunks with tree guards and keep mulch away from bark.
- Brown rot: Rots fruit near harvest. Improve airflow with pruning, thin crowded fruit, and clean up fallen fruit.
- Squirrels and birds: Net the tree when fruit starts to blush. Otherwise, you’re feeding the neighborhood.
Thinning fruit (yes, you should)
If your tree sets a ton of baby peaches, thin to one fruit every 6–8 inches along the branch.
It feels brutal, but it gives you bigger, tastier fruit and prevents branches from snapping.
FAQ
Will a peach tree grown from a pit produce edible fruit?
Usually yes, though the flavor may differ from the original peach. Seed-grown trees don’t grow true to type. You might get fantastic fruit… or just decent fruit.
If you need guaranteed results, graft a known variety onto your seedling.
Do I really need to stratify the seed?
If you live where winters get cold, you can plant the pit outdoors in fall and let nature handle stratification. Otherwise, yes—refrigerate for 8–12 weeks. Skipping that cold period usually means no sprout.
How long until I get peaches?
Expect 4–6 years from pit to harvest.
Some trees fruit sooner, especially with excellent sun, pruning, and care. Growing a tree takes patience—but the first homegrown peach tastes like victory.
Can I grow a peach tree in a container forever?
You can grow it in a large container (15–25 gallons) for a few years, especially if you keep it pruned. Long term, peaches perform best in the ground.
Container trees dry out fast and need more frequent feeding.
What climate do peach trees need?
Peaches need winter chill hours—roughly 200–1,000 hours under 45°F depending on the variety. If your winters stay warm, look for low-chill types or try grafting one later. Hot summers with good sun help develop sweet fruit.
Should I fertilize a young peach tree heavily?
Nope.
Overdoing nitrogen creates lush leaves and weak growth. Feed lightly in spring and focus on water, mulch, and pruning. Healthy structure beats fast, floppy growth every time.
Wrap-Up: From Snack to Shade
You can absolutely grow a peach tree from a pit, and the process feels weirdly magical.
Clean the seed, fake a winter in your fridge, pot it up, then give it sunshine and space. Shape it with smart pruning, keep pests in check, and wait for the payoff. When you finally bite into fruit from a tree you started after lunch one day?
That’s top-tier gardener bragging rights, FYI.


