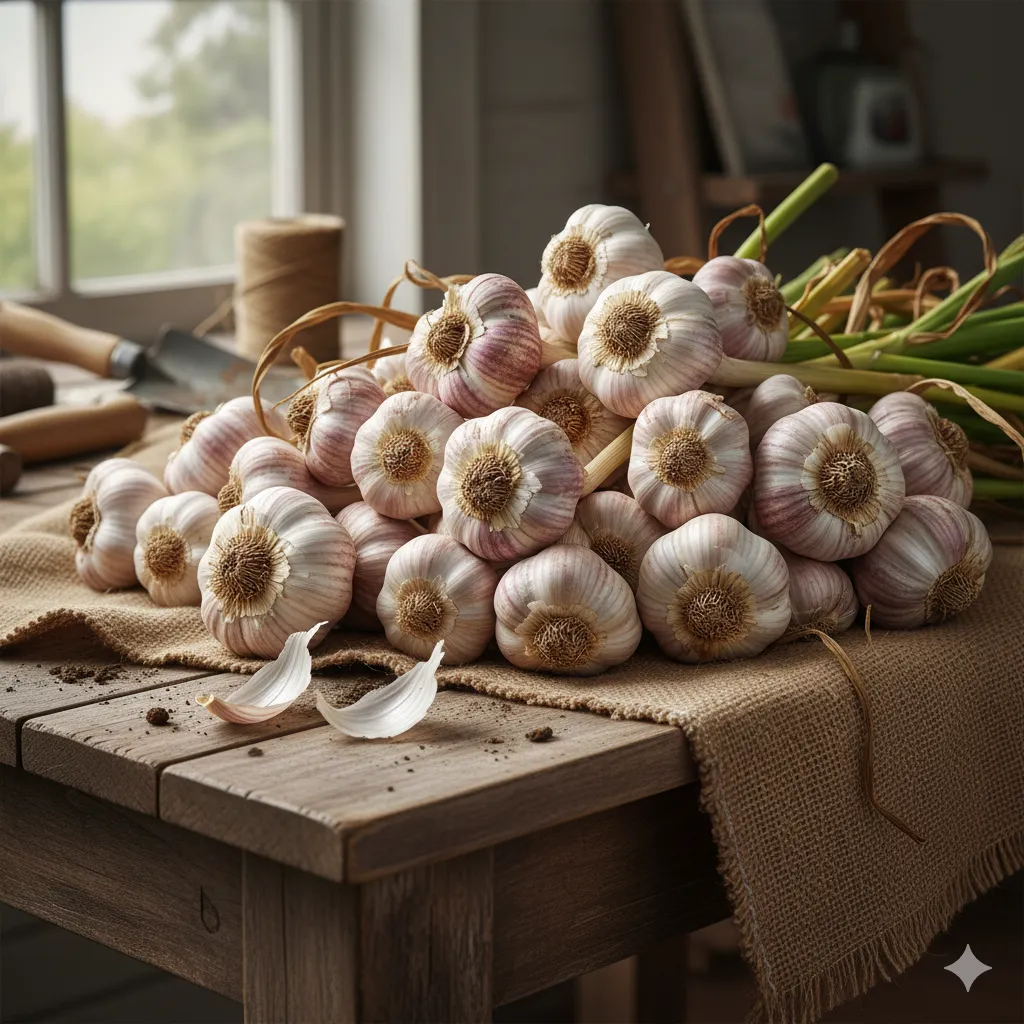
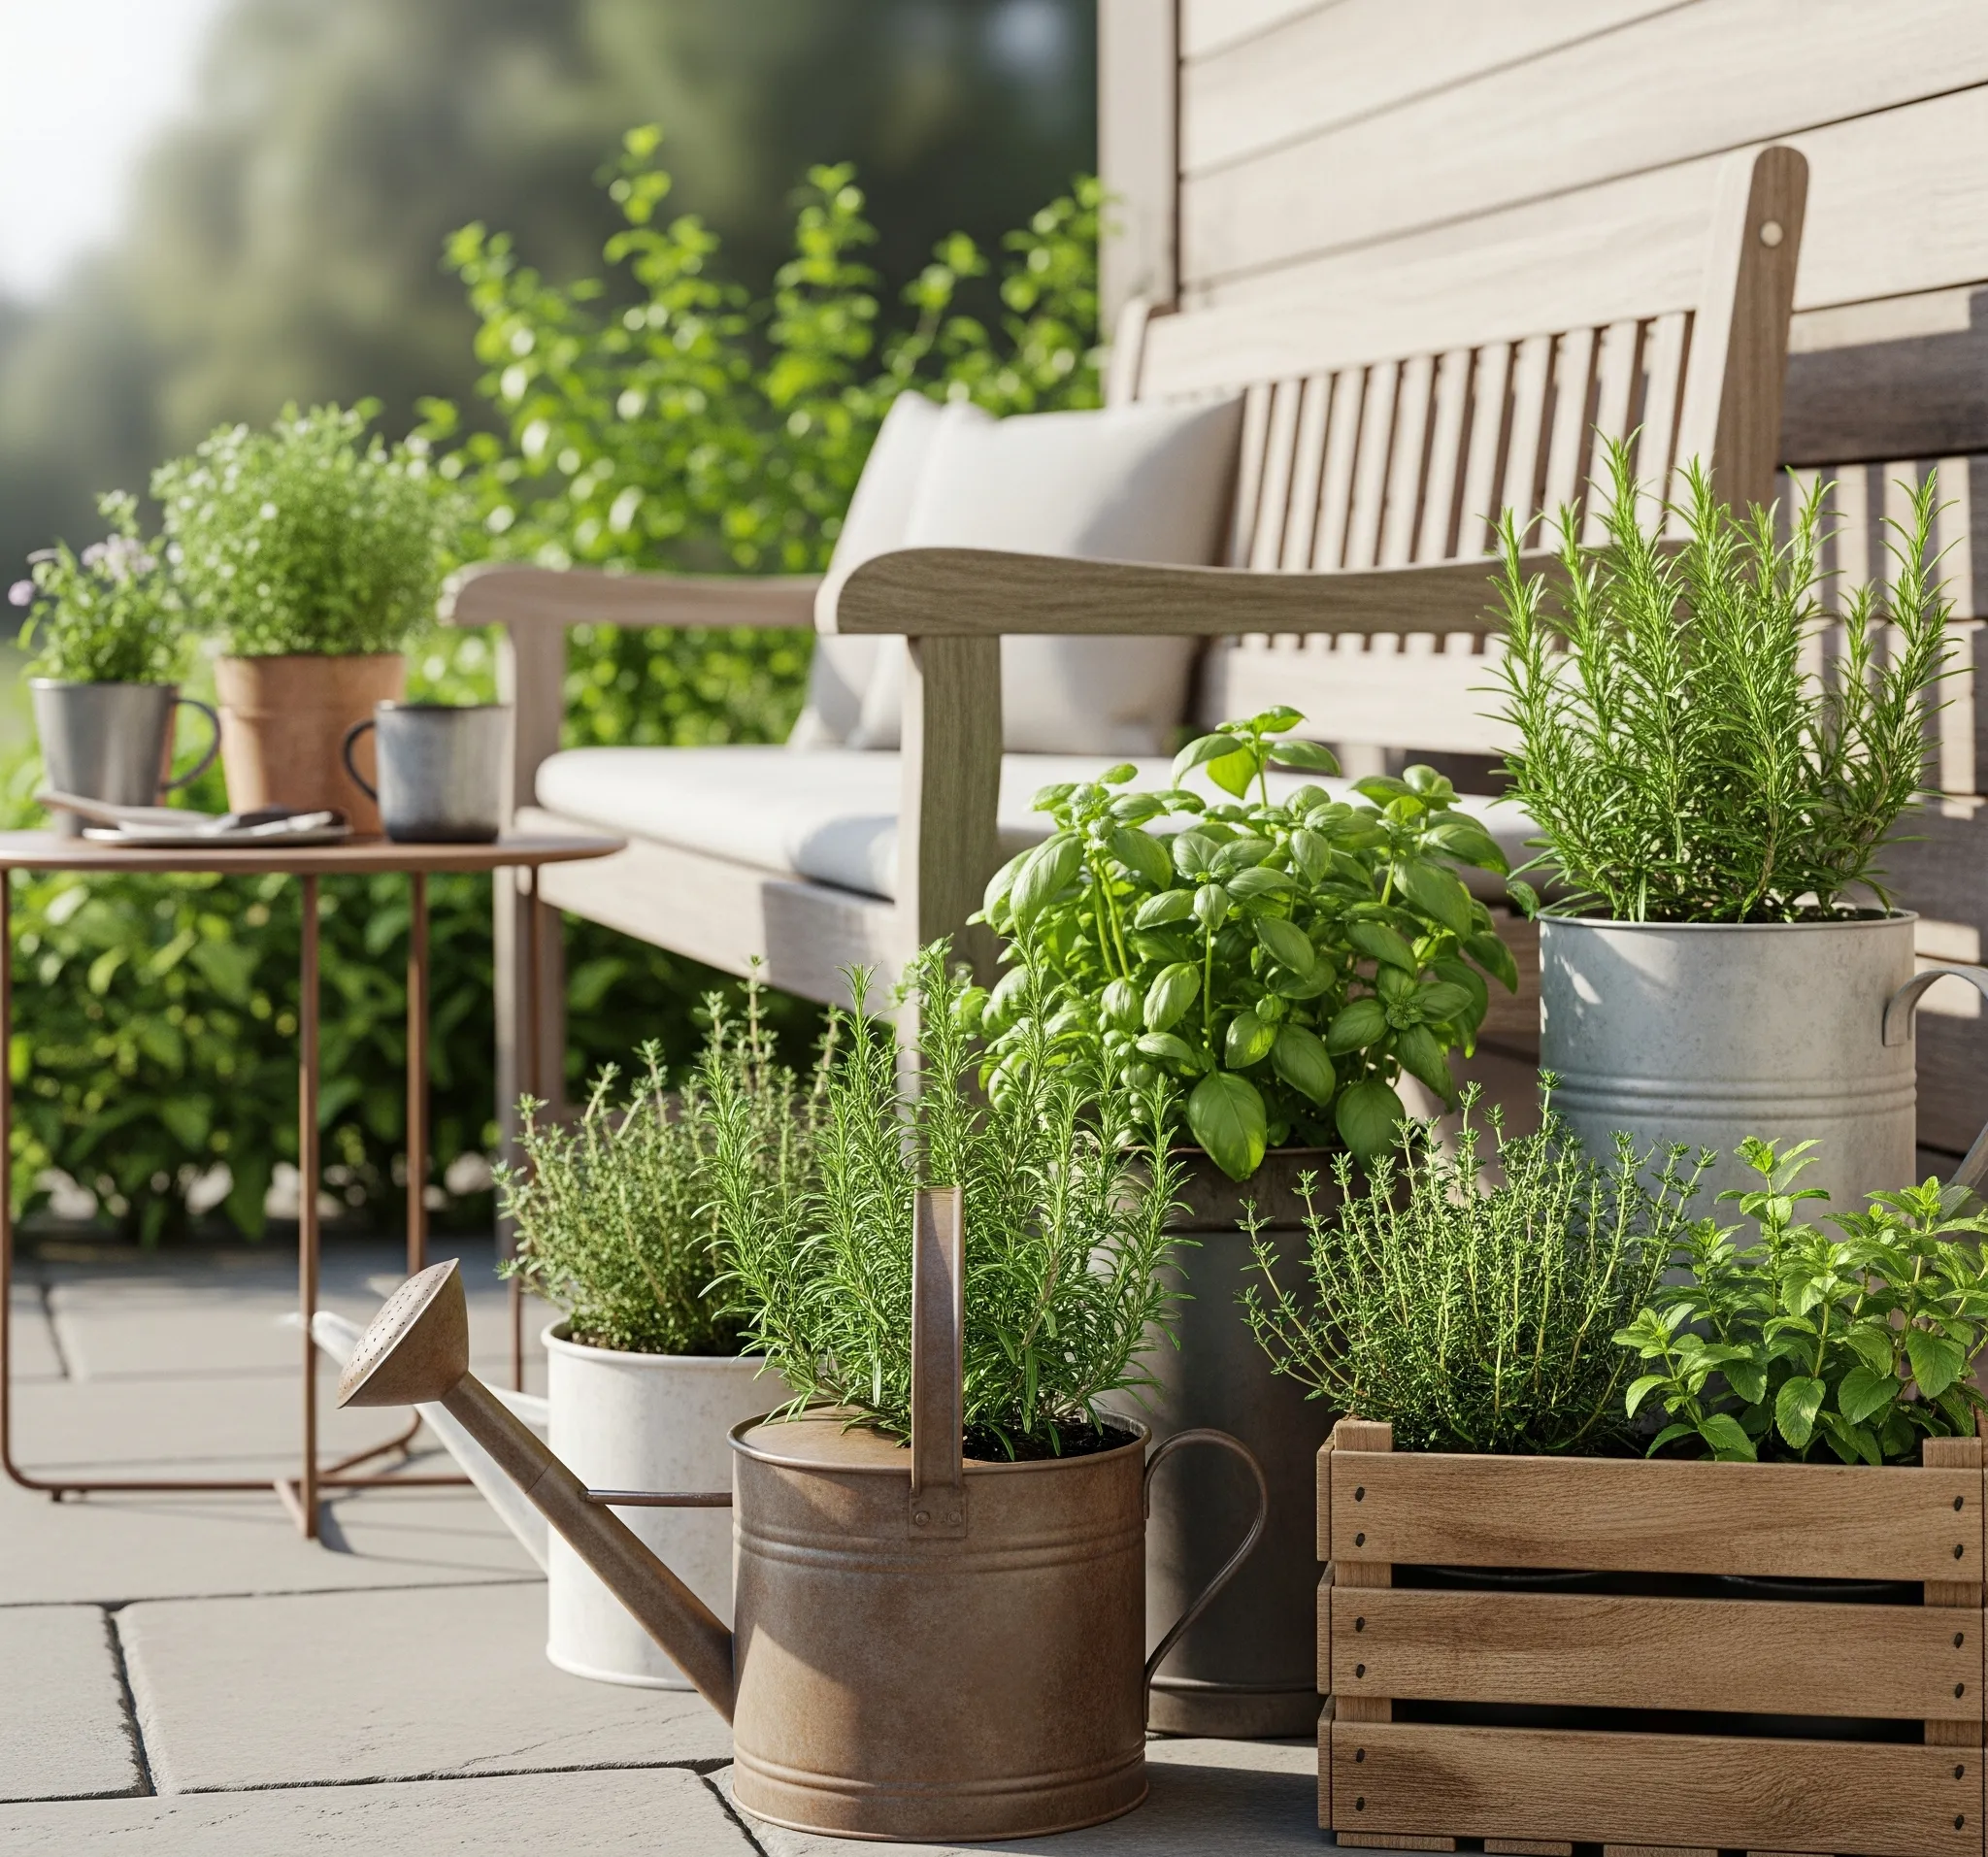
You want fresh, punchy garlic you grew yourself? You can do this. Garlic basically plants itself, then pretends to be fussy so gardeners feel important.
I’ll walk you through the exact steps, mistakes to avoid, and the little tricks that separate “meh” bulbs from the big, gorgeous heads you’ll want to show off. No green thumb required—just cloves, dirt, and a little patience.
Pick Your Garlic Like You Mean It
Not all garlic acts the same. You’ve got two main types, and choosing the right one sets you up for easy wins.
- Hardneck: Big cloves, bold flavor, grows a snakelike flower stalk called a scape.
Loves cold winters. Stores for a few months.
- Softneck: More cloves per bulb, milder, no scapes, braids beautifully. Handles warmer climates.
Stores longer (up to 9 months if you nail the cure).
Avoid supermarket garlic unless it’s local. Much of it gets treated to prevent sprouting. Buy seed garlic from a nursery, farm stand, or reputable online seller.
Yes, it costs a bit more. Yes, it’s worth it.
Varieties to Try
– Cold climates (think real winters): Music, German Extra Hardy, Rocambole types. – Mild/warm climates: California Early, Silverskin, Inchelium Red.
Timing: Plant Now, Feast Later
Garlic likes a long chill. You plant it in fall for a summer harvest.
- Best window: 2–4 weeks before the ground freezes.
In mild climates, plant late fall to early winter.
- Warm zones with no real winter? Refrigerate cloves for 3–6 weeks before planting to mimic winter. FYI, that cold period triggers bulb formation.
Can you plant in spring?
Sure. Will it size up like a fall planting? Not usually.
If you’re late, plant anyway. Gardening karma rewards effort.
Prep the Bed Like a Pro
Garlic cares about two things: drainage and nutrients. Give it both and it will flex.
- Sunny spot: 6–8 hours of direct sun.
Shade equals tiny drama bulbs.
- Soil: Loose, well-drained, and fertile. Aim for a pH around 6.5–7.0. Break up clumps and remove rocks.
- Add organic matter: Mix in compost (1–2 inches) and a balanced organic fertilizer before planting.
- Skip heavy nitrogen later: Too much turns garlic into leaves-on-legs and shrinks bulbs.
Containers?
Yep.
Use a deep, wide pot (at least 10–12 inches deep) with drainage holes. Fill with high-quality potting mix, not garden soil. Space cloves like you would in-ground.
Planting: Cloves In, Pointy End Up
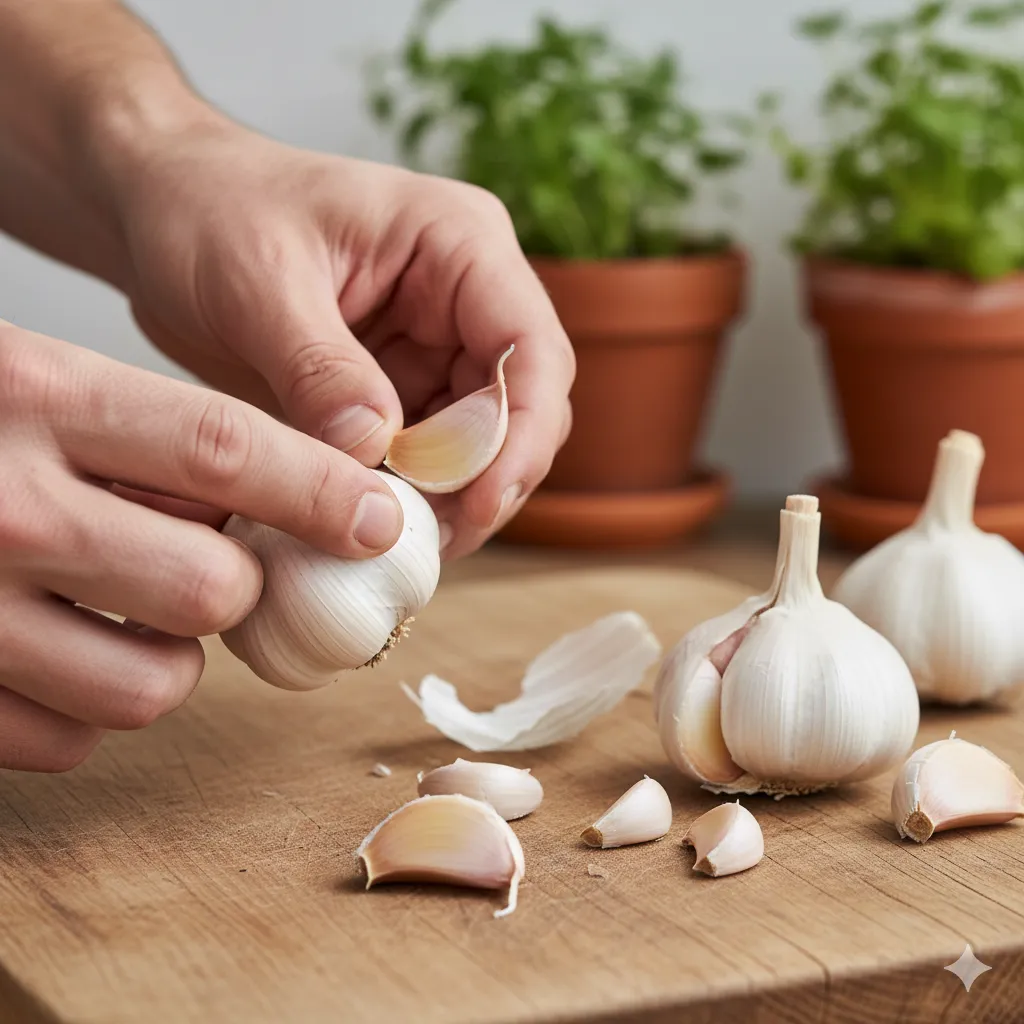
Break the bulb into individual cloves right before you plant.
Don’t peel the papery wrapper off each clove. That’s its armor.
- Spacing: 6 inches between cloves, 8–12 inches between rows. In containers, treat each clove like it owns real estate.
- Depth: Plant 2 inches deep in warmer zones, 3–4 inches in cold areas.
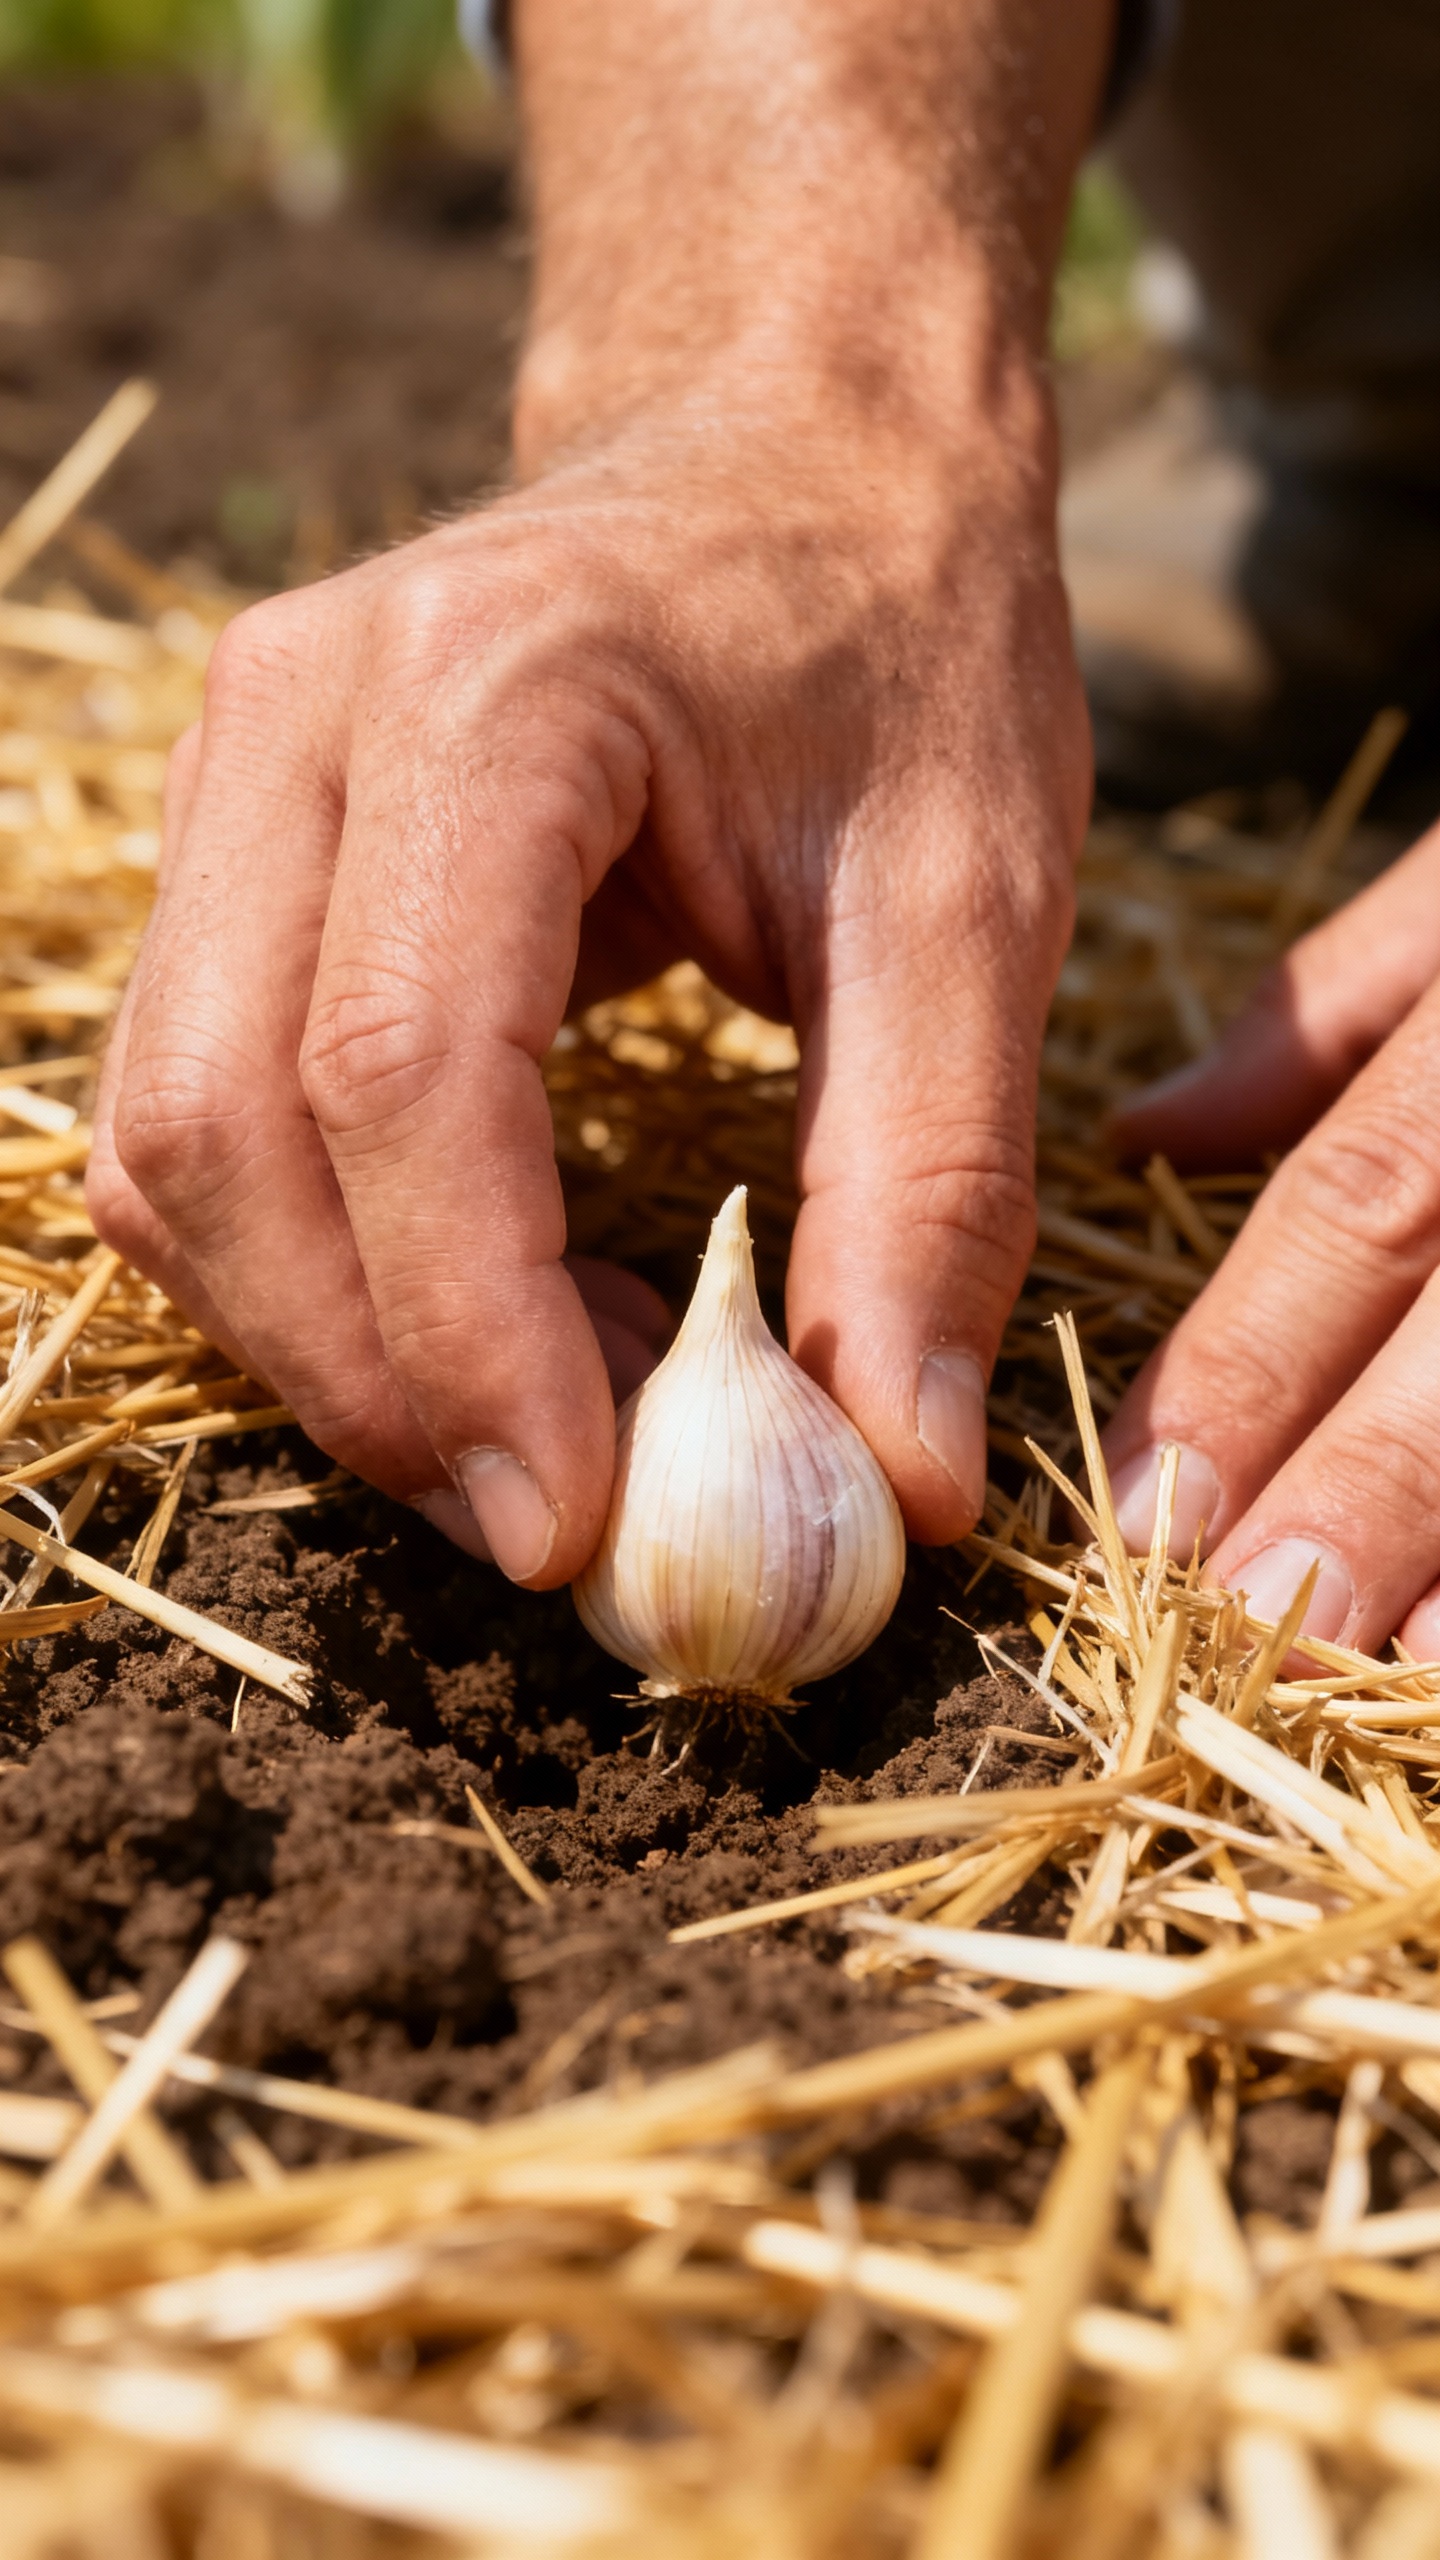
- Orientation: Pointy tip up, flat basal plate down.
Yes, it matters.
- Mulch: Cover with 2–4 inches of straw, shredded leaves, or pine needles. Mulch regulates temperature, prevents weeds, and keeps moisture steady.
Strong starts matter. Water after planting to settle the soil around the cloves.
Watering, Feeding, and Minimal Fuss
Garlic doesn’t need a babysitter, but it appreciates consistency.
- Water: Keep soil evenly moist through spring.
About 1 inch per week, including rain. Back off once leaves start to dry in early summer.
- Fertilize: In early spring, hit it with a light nitrogen boost (compost, fish emulsion, or a gentle organic fertilizer). Stop feeding by late spring.
- Weeds: Keep the bed tidy.
Garlic hates competition, and weeds steal nutrients like freeloaders.
Scapes: Free Bonus Crop
Growing hardneck? You’ll get curly scapes in late spring. Cut them off once they loop once or twice.
Removing scapes sends energy back to the bulbs. Plus, scapes taste like garlicky scallions. Toss them in stir-fries or make pesto.
Chef’s kiss.
Common Problems (And Easy Fixes)
Garlic stays pretty chill, but a few things can throw it off.
- Yellowing leaves in spring? Could be hunger or soggy soil. Feed lightly and check drainage.
- Bulbs not sizing up? Plant earlier next time, give more sun, and reduce crowding. Also, cut scapes on hardnecks.
- Rot or mushy cloves: Overwatering or poor drainage.
Elevate beds, improve soil, and water less.
- Pests: Rare, but onion thrips can show up. Strong hose blast or insecticidal soap helps. Rotate beds yearly to dodge soil diseases.
Pro Move: Crop Rotation
Don’t plant garlic where onions, leeks, or garlic grew last year.
Rotate for 2–3 years to avoid disease buildup. IMO, rotation is the most underrated “fertilizer” you can use.
Harvest Like You Meant To Grow It
Garlic signals when it’s ready. You just need to read the leaves.
- Timing: Usually early to midsummer.
Look for bottom leaves browned while top leaves stay green—about 40–60% of leaves brown.
- Test dig: Pull one plant to check. Cloves should look plump with defined skins. If you wait until all leaves die, wrappers split and storage suffers.
- Technique: Loosen soil with a fork, then lift the plant by the base.
Don’t yank by the leaves unless you like drama and snapped stalks.
Curing for Flavor and Storage
Don’t rush this part. Curing locks in flavor and extends storage.
- Brush off loose soil. Don’t wash.
- Bundle or lay bulbs in a single layer in a dry, shady, airy spot for 2–4 weeks.
- When outer skins feel papery and necks dry, trim roots and cut stems (or braid softnecks if you feel artsy).
- Store at 55–65°F in a dry place with good airflow.
Not the fridge—it can trigger sprouting.
Save your best bulbs for replanting in fall. That’s how you build a personal garlic dynasty.
Small Space? Try These Hacks
No yard?
Garlic still fits your life.
- Deep window boxes or tubs: Plant 4–6 cloves per foot, spaced evenly.
- Grow for greens: Plant extra cloves close together just for garlic greens. Snip and use like chives while your main crop bulks up.
- Companion planting: Tuck cloves at the edges of raised beds. Garlic plays nice with beets, carrots, and lettuce.
Keep it away from peas and beans.
FAQs
Can I plant cloves from the grocery store?
You can try, but success varies. Many store bulbs get treated to stop sprouting, and varieties may not suit your climate. For reliable results and better flavor, use seed garlic from a trusted source.
You’ll notice the difference, IMO.
Do I need to peel the cloves before planting?
Nope. Keep the papery skins on. They protect the clove from rot and pests while it establishes roots and shoots.
Why did my garlic produce one big round instead of a bulb?
That “round” usually happens if garlic didn’t get enough cold or you planted in spring.
It’s still edible. Plant that round in fall and it should form a proper bulb next season.
How often should I water?
Keep soil evenly moist in spring—about 1 inch of water per week. Let the top inch dry slightly between waterings.
Reduce water as harvest nears to prevent rot and improve curing.
Do I have to remove scapes?
If you grow hardneck, yes—at least if you want bigger bulbs. Cut them once they curl. Bonus: they taste amazing.
Softnecks don’t make scapes, so no FOMO.
What’s the best fertilizer schedule?
Work compost and a balanced organic fertilizer into the bed before planting. In early spring, give a light nitrogen feed. Stop feeding by late spring so the plant shifts energy into bulb growth instead of leaves.
Wrap-Up: Your Garlic Era Starts Now
You pick the right type, plant in fall, mulch, water, feed lightly, cut scapes, and harvest when half the leaves brown.
That’s the whole playbook. Garlic rewards basic consistency with big flavor and brag-worthy bulbs. Start with a few cloves this season, and by next year you’ll be the person telling friends, “It’s easy, trust me.” And you’ll be right.
