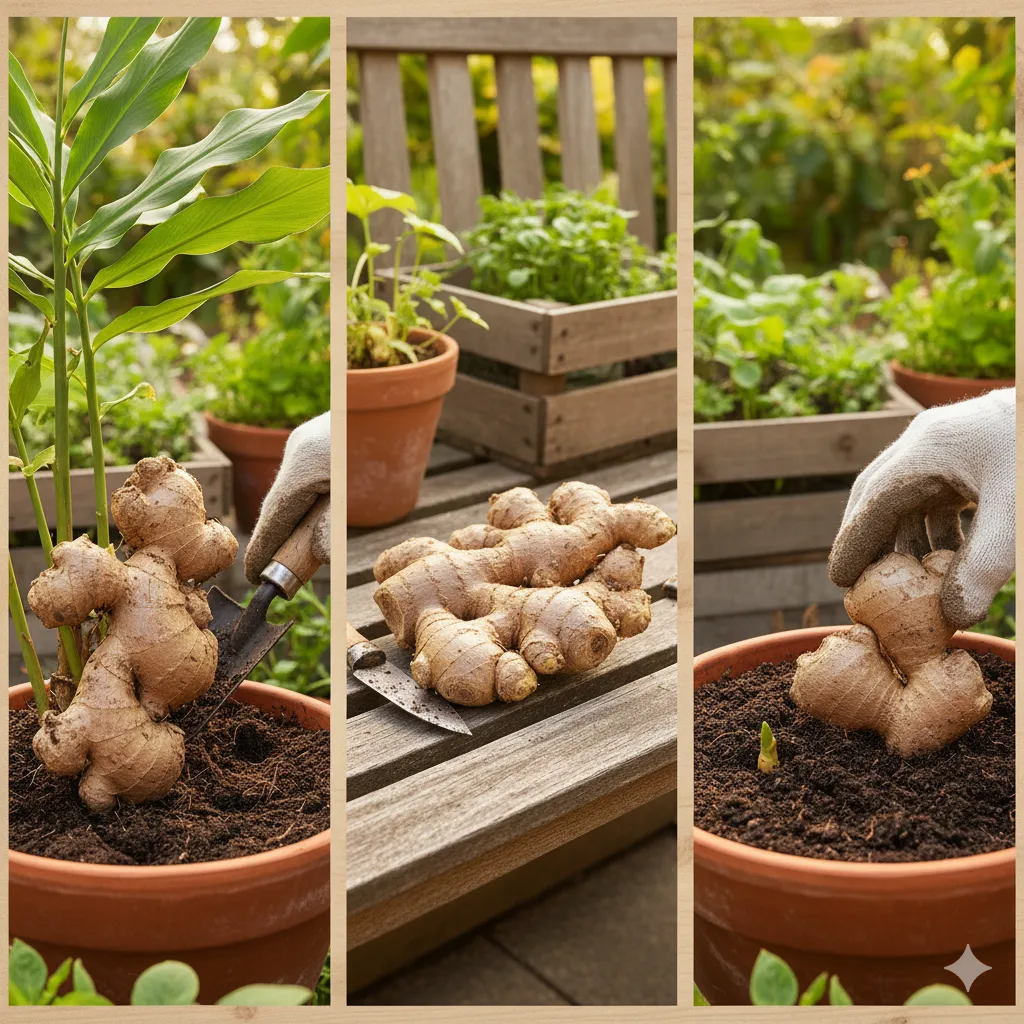
Ginger is one of those magical kitchen staples that pulls double duty: it makes your food sing and your stomach chill out. The best part? You can turn one humble store-bought root into a never-ending supply with minimal effort.
No green thumb? No problem. If you can remember to water a plant and occasionally glance at it, you’ve got this.
Pick the Right Ginger (Yes, It Matters)
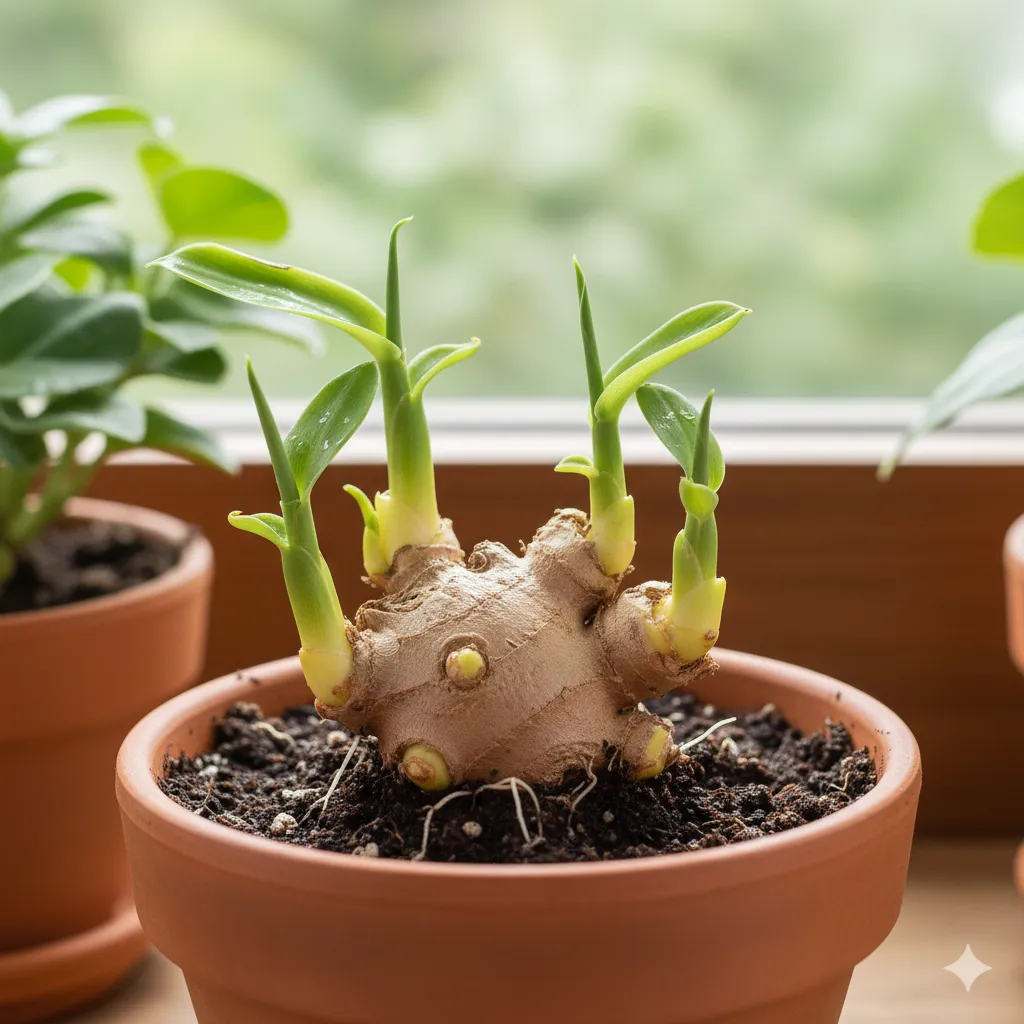
Not all ginger from the grocery store sprouts like a champ.
You want a piece that looks firm, plump, and fresh—no shriveling or moldy bits. Check for little nub-like points along the surface—those are the “eyes,” where new shoots will grow. Pro tip: Look for organic ginger. Some conventional roots get treated with growth inhibitors, which slows sprouting.
If your grocery haul isn’t sprouting after a few weeks, try a different store or hit a farmers’ market.
How much ginger should you start with?
Start with a 2–4 inch piece weighing a few ounces. Bigger chunks grow faster because they store more energy. You can cut a larger piece into smaller chunks, but give each chunk at least 2–3 eyes.
Prep It Like a Pro
If your ginger looks waxy, rinse it and let it dry overnight.
If you cut it into pieces, let the cut surfaces “cure” for 24–48 hours so they callus over. This helps prevent rot after planting. Optional upgrade: Soak the rhizomes in lukewarm water for 2–3 hours before planting. This wakes them up and rinses off any chemicals.
It’s like coffee, but for ginger.
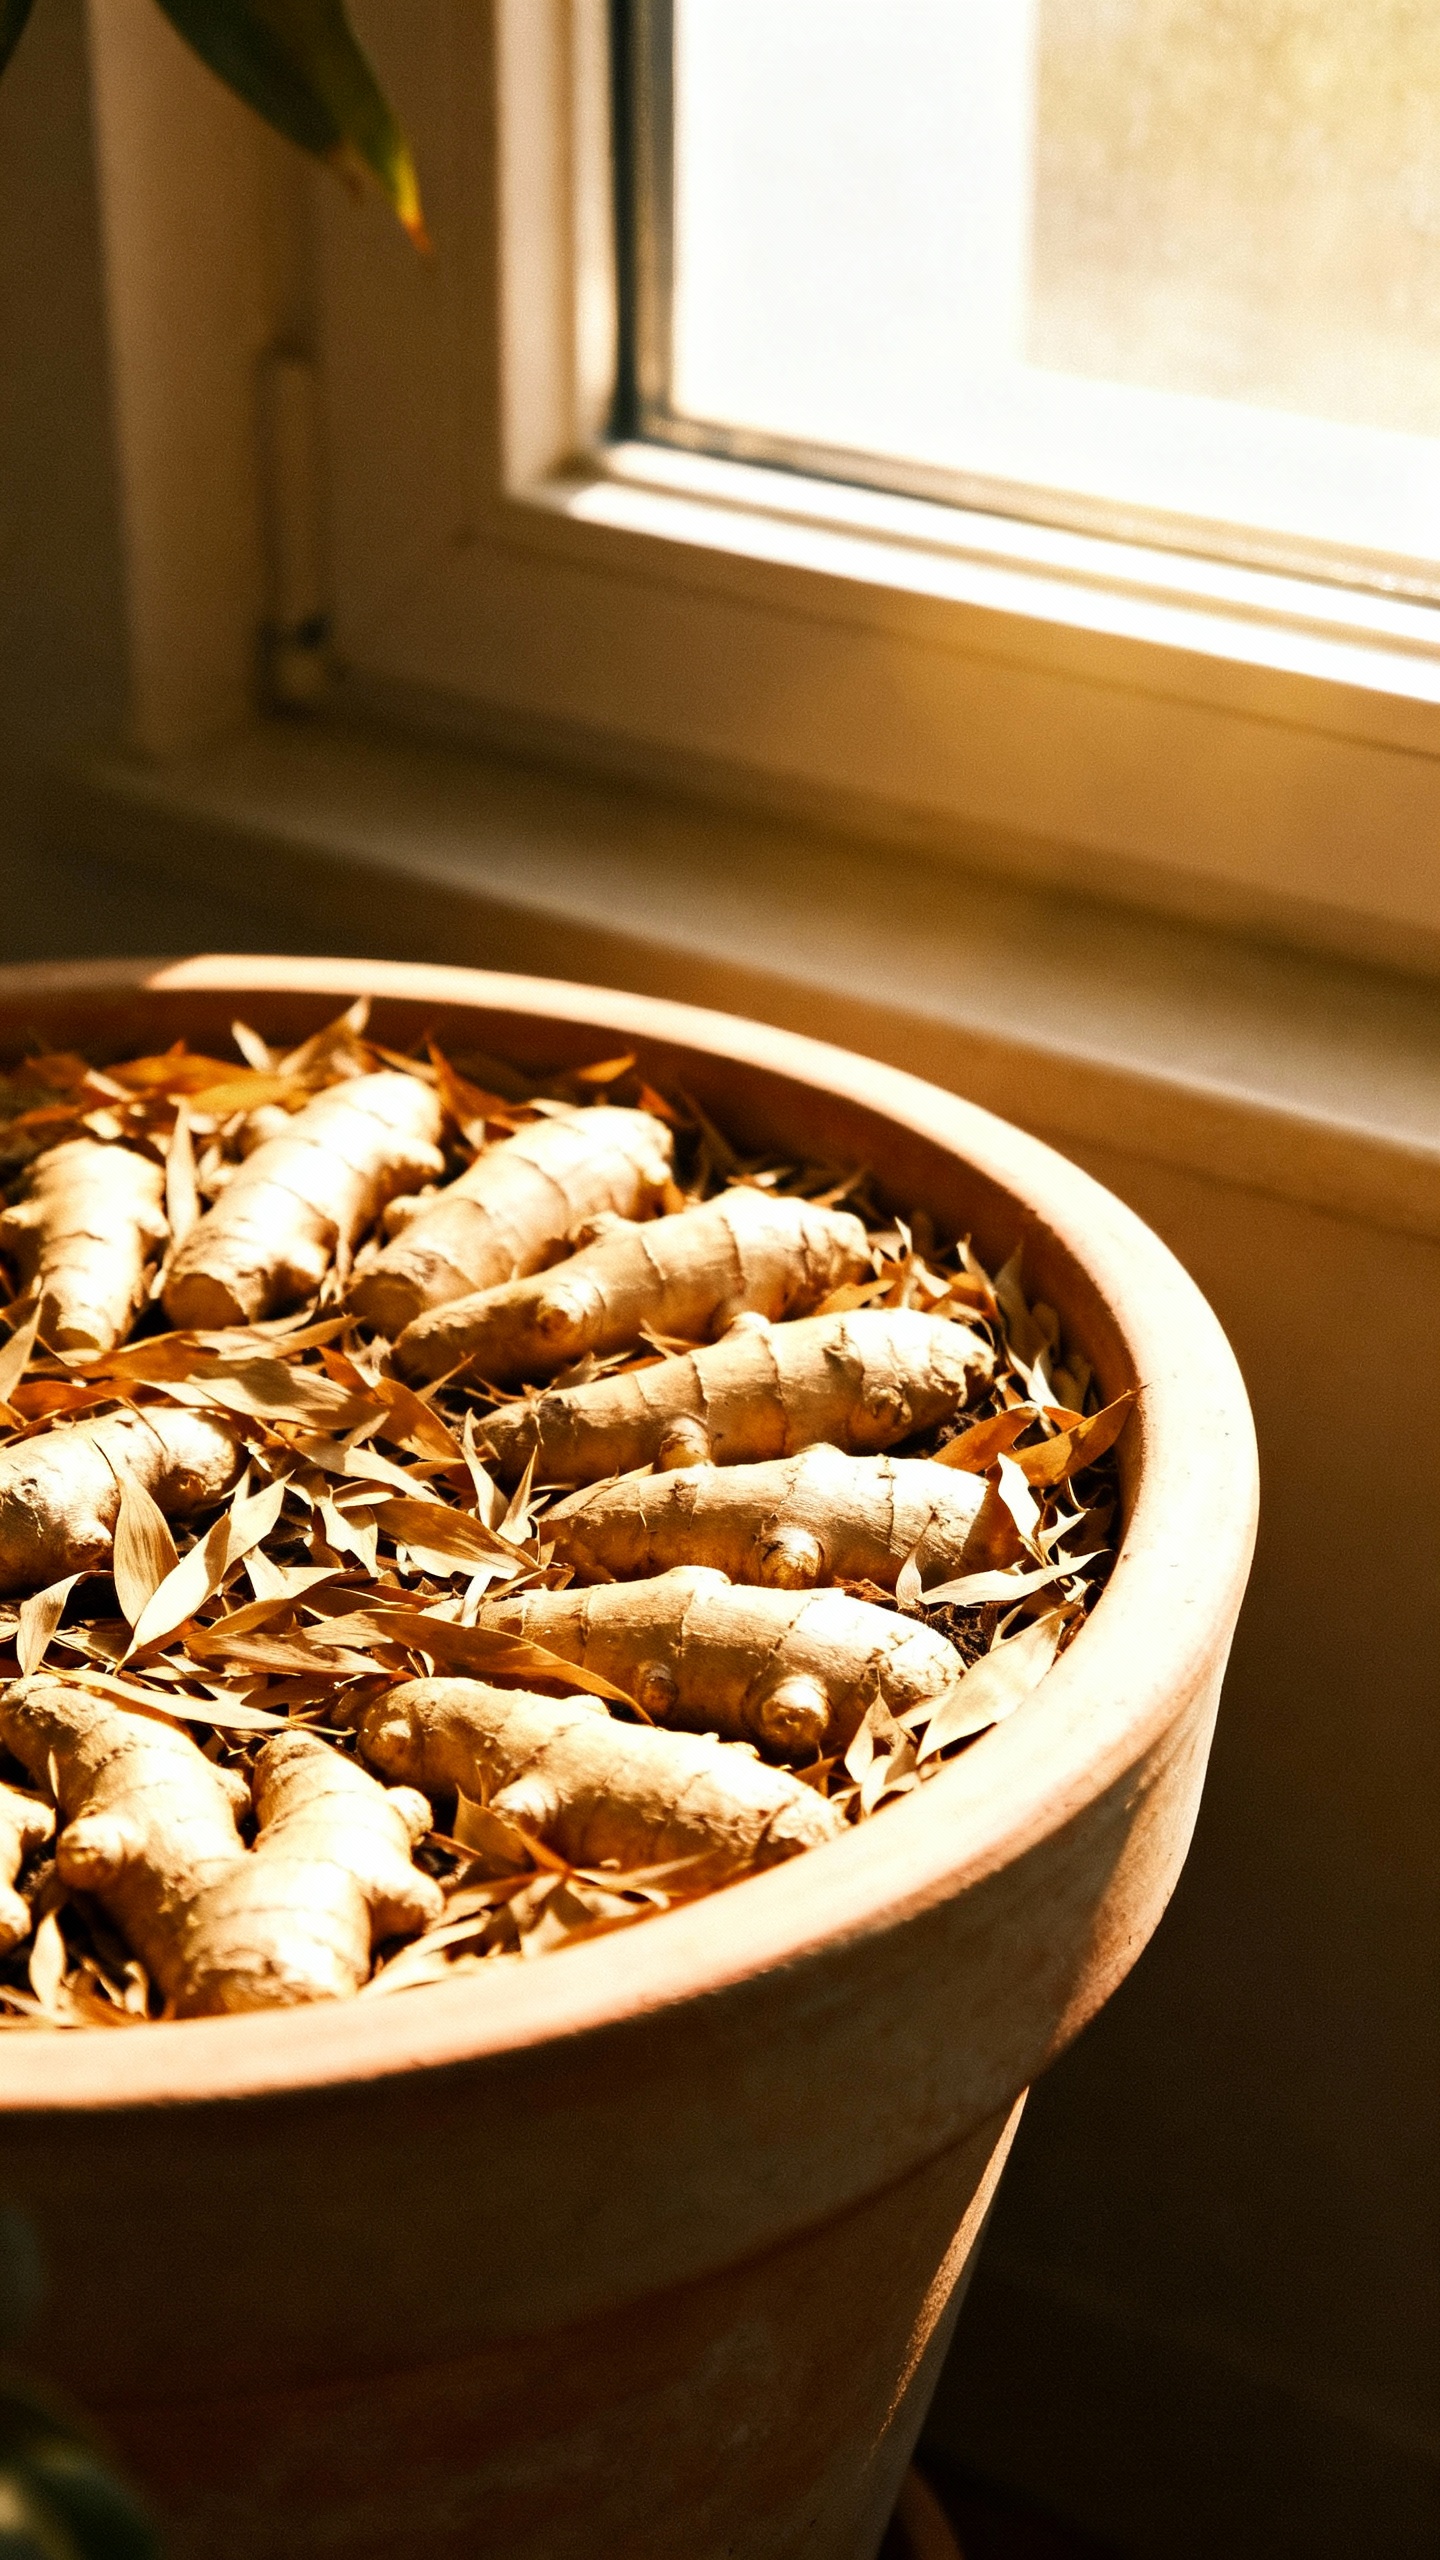
Choose the Right Pot and Soil
Ginger grows sideways, not deep. Think wide, not tall. Use a container at least 12–16 inches wide and 8–12 inches deep, with drainage holes.
It loves space to spread. For soil, go for a loose, rich mix that drains well:
- 40% high-quality potting mix
- 40% coconut coir or peat moss
- 20% perlite or coarse sand
Mix in a slow-release organic fertilizer or compost. Ginger likes nutrients, but not drama.
Can you plant it in the ground?
Absolutely—if you live in a warm climate (USDA Zone 8+).
Pick a spot with dappled sun or morning sun and afternoon shade. Heavy clay soil? Add compost and sand to loosen it up.
Planting 101: Orientation Matters
Lay your ginger pieces horizontally with the eyes facing up.
Bury them shallow—about 1–2 inches deep. Give each piece 6–8 inches of elbow room. Ginger doesn’t like roommates.
Water thoroughly after planting so the soil settles around the rhizome. Then keep the soil lightly moist, not soggy. If the pot weighs a ton when you pick it up, you overdid it. Temperature target: 70–85°F for best growth.
Below 55°F, ginger sulks. If you live somewhere chilly, start it indoors in late winter or spring.
Light, Water, and Feeding (AKA How Not to Annoy Your Ginger)
Ginger loves bright, indirect light. It tolerates morning sun but hates harsh afternoon scorch.
Indoors, a bright east-facing window or filtered south light works great. Water like this:
- Sprouting phase: Keep soil evenly moist. Don’t drown it.
- Active growth (late spring–summer): Water when the top inch feels dry.
- Late season (fall): Ease up as the plant slows down.
Feed lightly every 4–6 weeks during growth with a balanced liquid fertilizer or a gentle organic option like fish emulsion. Too much fertilizer = lush leaves, meh rhizomes. Keep it balanced.
Mulch is your friend
Add a thin layer of mulch (shredded leaves, straw, or coco chips) to lock in moisture and keep the soil happy.
Just don’t bury the stems.
Timeline: What to Expect and When
Ginger doesn’t sprint—it strolls. Here’s the realistic schedule:
- Weeks 2–6: Sprouts pop up (sometimes longer if it’s cool).
- Months 2–4: Lush green leaves and new rhizomes start forming underground.
- Months 6–10: Harvest time for young ginger (tender, pale, no tough skin).
- Months 10–12+: Mature ginger with stronger flavor and better storage life.
FYI: If you want a continuous supply, plant a few pieces every month during spring and summer. Staggering = steady harvest.
Harvesting Without Ending the Party
You don’t need to pull the whole plant to enjoy ginger.
Gently dig at the edges and snap off a section of rhizome, then tuck the rest back in and water. It’ll keep growing like nothing happened. Sneaky and sustainable.
If you want a full harvest, wait until the leaves start yellowing and the plant looks tired. That’s your cue to dig it up. Shake off the soil, break off what you need, and replant a few healthy chunks with eyes.
Boom—never-ending supply. Bonus: Young ginger (also called “green ginger”) tastes mild and juicy—perfect for stir-fries and pickling. Mature ginger packs more heat and lasts longer in storage.
Troubleshooting: When Ginger Gets Moody
- No sprouts? Too cold, too wet, or treated rhizomes. Warm it up, back off watering, or try a fresh piece.
- Yellow leaves early? Overwatering or poor drainage.
Fix the soil and let it dry slightly between waterings.
- Mushy rhizomes? Rot from soggy soil. Trim to healthy tissue, let it dry, and replant in better-draining mix.
- Pests? Spider mites and fungus gnats show up in dry or soggy conditions, respectively. Increase humidity for mites, and let soil dry plus use sticky traps for gnats.
IMO, 80% of ginger “problems” come from watering like it’s a swamp.
Keep it moist, not wet.
Smart Ways to Use and Store Your Harvest
Fresh ginger is fantastic, but you can preserve it like a boss:
- Freeze it: Peel, slice, or grate. Store flat in a bag. Grates like a dream from frozen.
- Refrigerate: Wrap in a paper towel, place in a zip bag with a corner open.
Lasts weeks.
- Make ginger paste: Blend with a splash of oil and freeze in cubes.
- Pickle young ginger: Thin-slice and soak in rice vinegar, sugar, and salt. Sushi night, anyone?
And don’t toss the peels—simmer them for a quick ginger tea. Cozy and efficient.
FAQ
Can I grow ginger indoors year-round?
Yes.
Give it bright, indirect light and warm temps, and it will happily grow in a wide container. Rotate the pot every few weeks so it grows evenly. If your home runs dry, add a humidity tray or group plants together.
How long until I can harvest?
You can sneak some young ginger after about 6–8 months.
For mature, robust flavor, wait 10–12 months. If patience isn’t your thing, plant multiple pots so something is always nearing harvest.
Do I have to peel ginger before planting?
Nope. Plant it as-is.
The skin protects the rhizome. Save the peeling for cooking.
Will ginger survive frost?
Hard no. Frost will wreck it.
If you’re in a cooler climate, grow it in a pot and bring it indoors before temps drop below 55°F. Outdoors, mulch heavily and hope for the best—but I wouldn’t bet my stir-fry on it.
What’s the difference between edible ginger and ornamental ginger?
Edible ginger is Zingiber officinale. Ornamental gingers have flashy flowers but often meh or inedible rhizomes.
If you want kitchen gold, stick to Zingiber officinale. Label your pots, FYI.
Can I regrow ginger from scraps after cooking?
Only if you kept a piece with at least one eye and didn’t peel or cook it. Once it’s peeled or sliced thin, it usually dries out too fast to sprout well.
Next time, set aside a knobby chunk specifically for planting.
Conclusion
Turn one grocery-store ginger root into a self-replenishing stash with a wide pot, loose soil, and a little warmth. Plant shallow, water smart, and harvest as you go so the plant keeps producing. Do that, and you’ll never suffer a ginger shortage again—your future curries and teas will thank you.
IMO, it’s the easiest “set it and semi-forget it” garden project you can start this week.
