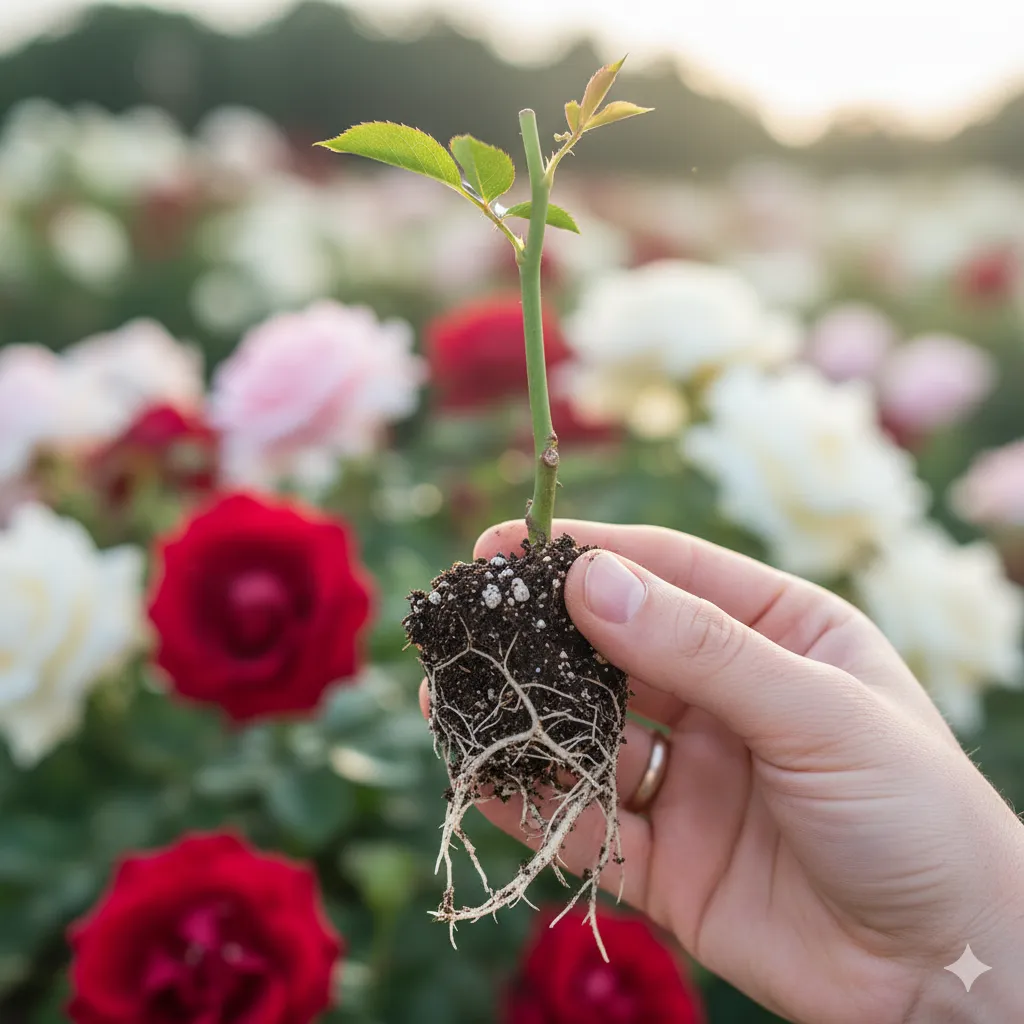
You want more roses without buying more roses? Same. Growing roses from cuttings gives you free plants that match the parent plant exactly, and you don’t need a greenhouse or a PhD.
You just need a few simple tools, some patience, and a tiny bit of plant whispering. Let’s multiply your garden the fun, easy, budget-friendly way.
Choose the Right Stems (Timing Matters)
You can root roses almost any time, but you’ll get the best results if you start with the right growth. Go for stems that are neither soft and floppy nor hard and woody—think “firm but flexible.”
- Best seasons: Late spring through mid-summer for semi-hardwood cuttings.
Early fall can work too if your climate stays mild.
- Best stems: This year’s growth, about pencil-thick, with several leaf nodes and no flowers (or spent flowers you can snip off).
- Avoid: Weak, diseased, or super-thorny drama queens. Choose healthy, vigorous canes.
How to Spot a Good Cutting
Look for a stem that bends slightly without snapping. It should have green bark with a bit of firmness.
If it’s flowering, cut the bloom off—that energy needs to go to roots, not vanity projects.
Prep Your Gear (Keep It Clean, Keep It Simple)
You don’t need a lab, promise. But clean tools matter because roses hate infection almost as much as you hate losing plants.
- Pruners: Sharp and sanitized (wipe with rubbing alcohol).
- Growing medium: A mix of perlite and potting soil (50/50), or straight perlite/sand. You want great drainage.
- Containers: Small pots or deep cell trays with drainage holes.
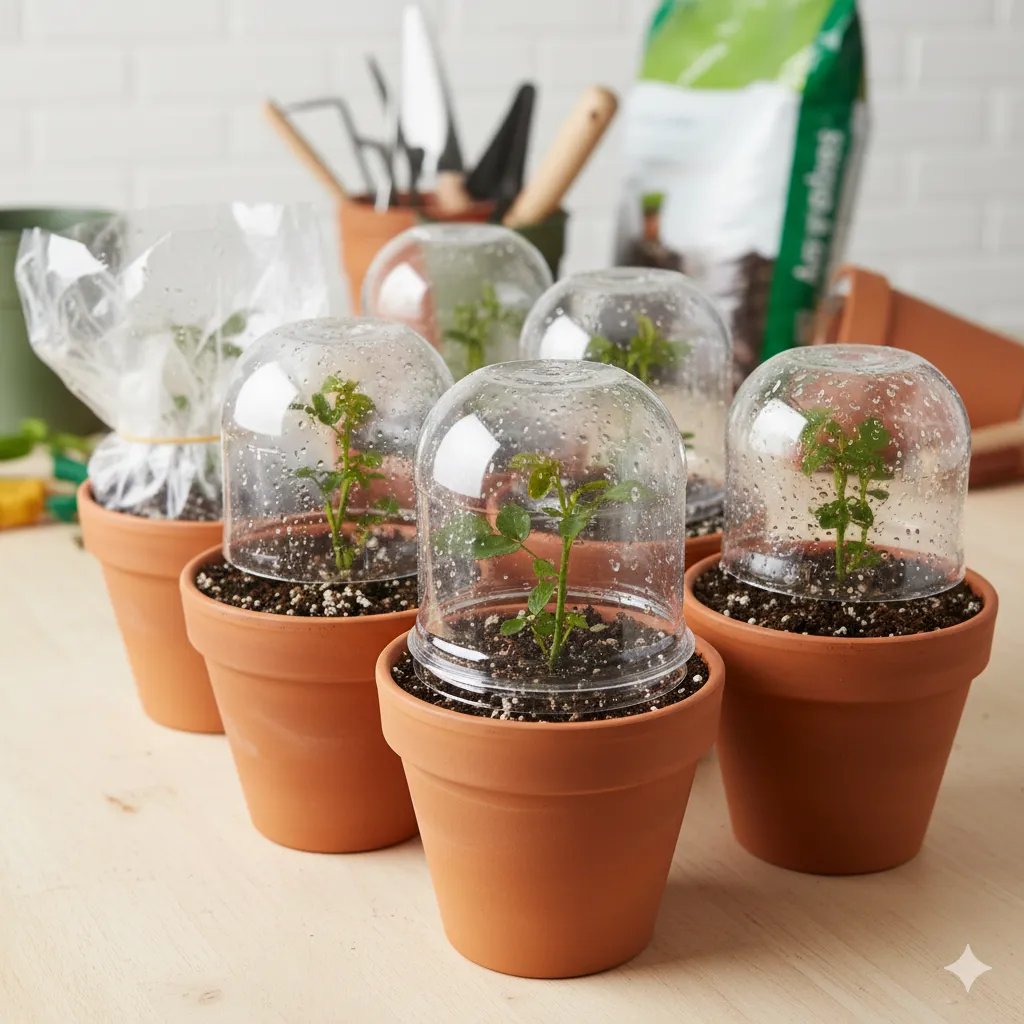
- Rooting hormone (optional but recommended): Powder or gel.
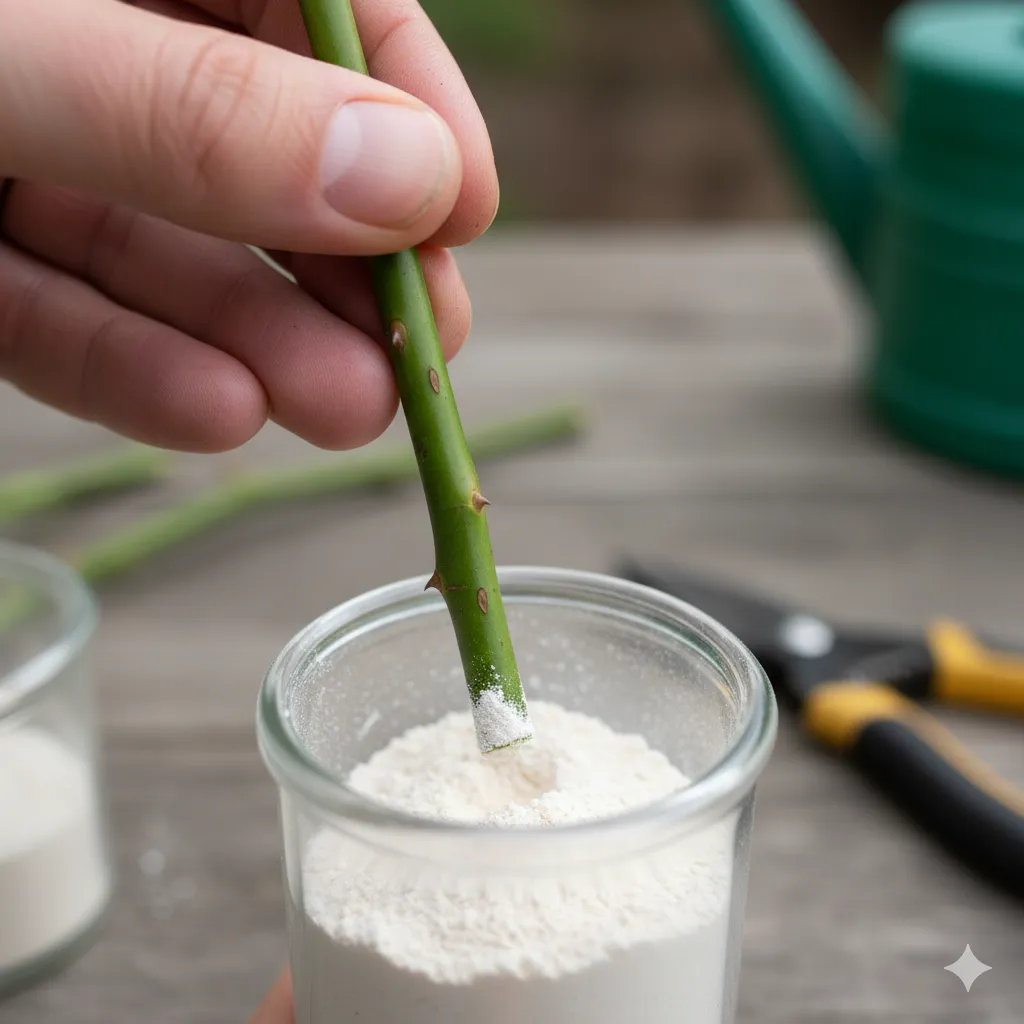
- Humidity dome: Clear plastic bag, plastic bottle cloche, or a propagator lid.
- Labels: Because three months from now you won’t remember which is ‘Eden’ and which is Aunt Linda’s mystery rose.
Take and Prepare the Cuttings
Here’s the foolproof, no-fuss method that actually works.
- Cut the stem: Take a 6–8 inch cutting from a healthy cane, right below a node.
Cut in the morning when the plant is hydrated.
- Strip the leaves: Remove all except the top 1–2 leaflets. Less foliage = less water loss.
- Trim the base: Make a fresh, clean cut just below a node (where roots form easily). Optionally, lightly scrape one side of the lower stem to expose a sliver of cambium—this can encourage rooting.
- Dip in hormone: Tap off excess.
Don’t double-dip in the container—pour some out and use that. FYI, cinnamon can help with fungus, but it won’t replace hormone.
- Plant it: Poke a hole in your moistened medium and insert the cutting 2–3 inches deep. Firm the mix around it.
The “Burrito Method” (For Extra Credit)
If you want fun and slightly ridiculous: wrap prepped cuttings in a damp paper towel, put them inside a plastic bag with air holes, and stash in a warm, dim spot for 2–4 weeks.
Check for callus formation, then pot them up. It’s quirky, but IMO it works surprisingly well for stubborn varieties.
Create the Perfect Mini Greenhouse
Cuttings root best with high humidity and steady warmth. Think spa day, not sauna.
- Humidity: Cover each pot with a clear plastic bag or bottle dome.
Keep plastic off the leaves—use sticks or wire hoops to hold it up.
- Light: Bright, indirect light. Avoid direct midday sun unless you enjoy cooking your cuttings.
- Temperature: 65–75°F is ideal. Bottom heat (a seedling mat) speeds rooting, but it’s optional.
- Airflow: Open the cover for a few minutes daily to prevent mold.
If you see condensation pouring down the sides like a rainforest, vent a bit more.
Watering Without Drowning
Keep the medium barely moist, never soggy. Water from the bottom if possible so you don’t knock the cutting around or splash fungal spores. When in doubt, touch the soil—dry on top is fine if it’s lightly moist underneath.
Rooting Timeline and What to Expect
Rooting usually takes 3–8 weeks depending on variety and conditions.
Patience beats poking the cutting daily (tempting, I know).
- Weeks 1–2: Cutting looks the same or a little wilted. That’s normal.
- Weeks 3–5: New leaf growth appears. Good sign, but not a guarantee of roots yet.
- Weeks 4–8: Gentle tug test—feel resistance?
Roots! If it slips out like a noodle, give it more time.
Fertilizer? Not Yet
Skip fertilizer until roots establish.
Feeding too soon can burn tender new roots. After transplanting, use a diluted, balanced fertilizer (quarter strength) once you see new growth pushing confidently.
Potting Up and Hardening Off
Once you see resistance on the tug test or roots peeking from drainage holes, upgrade your plant.
- Transplant: Move to a quality potting mix in a 1–2 gallon pot. Keep the original root ball intact—treat it like a soufflé.
- Acclimate: Gradually reduce humidity over a week.
Crack the dome more each day until you remove it completely.
- Sun training: Introduce morning sun first, then extend exposure. Avoid harsh afternoon sun for young plants.
- Plant out: After 2–3 months of strong growth, move to the garden. Space well and water deeply.
Overwintering First-Year Cuttings
If you root them late in the season, keep them potted and sheltered their first winter.
A cold frame, unheated garage with light, or a bright indoor spot near a cool window works. Don’t let them dry out, but ease up on water during dormancy.
Common Pitfalls (And How to Avoid Them)
Let’s dodge the usual heartbreaks, shall we?
- Rot and mold: Too much water + not enough airflow. Fix the drainage, vent the dome, and sanitize tools.
- Leaf drop: Stress happens.
Keep humidity high. If the stem stays green and firm, you still have a shot.
- No roots after 8 weeks: Try fresh cuttings, switch to perlite, add bottom heat, or test the burrito method. Some varieties just play hard to get.
- Weak, leggy growth: They need more light.
Brighten the setup, but keep it indirect until well established.
- Cuttings collapse: Could be pests or disease. Start with healthy stock and sterilize everything—IMO, prevention beats cure every time.
Bonus Tricks for Higher Success Rates
Because “foolproof” means stacking the odds in your favor.
- Take extras: Root 3–5 cuttings per variety. You’ll almost always lose one, and that’s fine.
- Use a node-free base: Plant the cutting so at least one node sits below the soil—roots love nodes.
- Honey or willow water: Folks swear by them.
They won’t beat rooting hormone, but they won’t hurt.
- Label everything: Future you will thank present you. And your plant-trading friends will too.
FAQ
Can I root store-bought rose bouquets?
You can try, but success drops because florists often treat stems to last longer in the vase, not to grow roots. If you do, pick stems with some leaves left, cut fresh below a node, and follow the same steps.
Expect lower success compared to garden cuttings.
Do I need rooting hormone?
Not strictly, but it boosts success and speeds up rooting, especially for fussier varieties. If you go without, keep humidity steady and warmth consistent. The cutting will still attempt to root, just slower.
How long until I get flowers?
Many cuttings will flower the following season if they root early and grow well.
Some will take two seasons to bulk up. Focus on root and branch development first—big blooms come from strong plants.
What varieties root best?
Shrub roses, many old garden roses, and groundcovers root easily. Hybrid teas and some modern floribundas can be moodier.
If you’re new to this, start with a vigorous shrub or heirloom variety to build confidence.
Can I propagate patented roses?
Not for sale or distribution while the patent remains active. For personal use, laws vary by region, so check local rules. FYI, many older and heritage roses are out of patent and fair game for home propagation.
Why did my cutting leaf out but then die?
It likely used stored energy to push leaves without forming enough roots.
Keep humidity high until roots develop, avoid direct harsh sun early, and resist the urge to fertilize too soon.
Wrap-Up: Your Rose Army Awaits
You don’t need fancy equipment or mystical gardening powers. You need a good stem, clean tools, airy soil, and a humid, bright setup. Root a handful, expect a few flops, and celebrate the wins.
Before long, you’ll have a mini rose nursery—and yes, your friends will ask for plants. Share the love, or keep them all. No judgment.
