Ready to throw a party that screams “Pinterest perfect” without breaking the bank or your back? Good, because we’re diving headfirst into the magical world of DIY balloon arches! You’ve seen those stunning balloon garlands all over Instagram, right? They’re popping up at every event imaginable, from chic baby showers and lively birthday bashes to elegant weddings and proud graduation ceremonies. And who can blame us for being obsessed? They’re absolute showstoppers!
For ages, I thought these magnificent creations required some kind of helium wizardry or a professional party planner on speed dial. Boy, was I wrong! Turns out, you don’t need fancy equipment or a truckload of helium to pull off a spectacular balloon arch. Nope, not even a little bit. All it takes is some basic supplies, a dash of creativity, and this super-simple guide. So, if you’re ready to impress your guests and maybe even yourself, stick around, because we’re about to make how to make a balloon arch ridiculously easy. Trust me, if I can do it, you totally can too! This DIY balloon arch project is about to become your new favorite party trick.
What You’ll Need: Balloon Arch Supplies Checklist
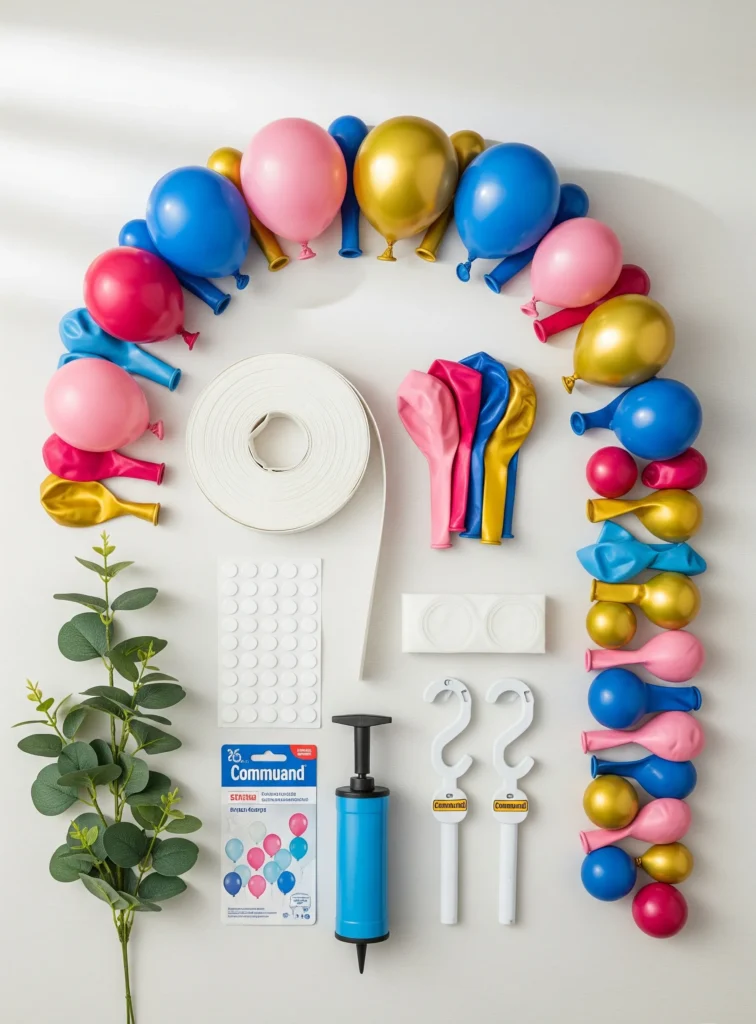
Alright, let’s get down to brass tacks. Before we start blowing things up (metaphorically, of course!), you need to gather your arsenal. Think of this as your party prep mission briefing. You might already have some of these lying around, but if not, no worries – they’re all super accessible and won’t require you to sell a kidney.
Here’s your essential balloon arch supplies checklist:
- Balloons in assorted sizes: This is where the magic happens! Get a variety, from 5-inch mini balloons to 12-inch standards, and maybe even a few 18-inch or 24-inch showstoppers. Mixing sizes is key to that lush, organic look. Pick colors that match your theme – pastels for a baby shower, vibrant brights for a birthday, or elegant metallics for a wedding.
- Balloon strip/tape: This is your secret weapon, folks. It’s a clear plastic strip with little holes that makes attaching balloons ridiculously easy. Ditch the idea of intricate knot-tying — this tape does all the heavy lifting. If you’ve ever wondered how to get that perfect curve, this is your answer.
- Glue dots: These tiny, mighty adhesive dots are perfect for sticking smaller balloons into any gaps, giving your arch a full, professional finish. They’re like super-secret agents for your balloons.
- Balloon pump (manual or electric): Unless you enjoy turning blue and passing out, a pump is non-negotiable. Seriously, your lungs will thank you. An electric one is a total game-changer, especially for bigger projects, but a manual one works just fine for smaller arches.
- Command hooks or string for mounting: How are you going to get this masterpiece to stay up? Command hooks are fantastic for walls because they’re easy to remove. If you’re attaching it to a railing or a backdrop stand, good old string or fishing line does the trick.
- Optional fun stuff: Want to elevate your DIY balloon arch materials from great to absolutely gorgeous? Consider adding some greenery (like eucalyptus), faux flowers, pretty ribbons, or even some confetti balloons for extra sparkle. These little touches really make a difference.
Pro Tip: Don’t skimp on balloon quality! Cheaper balloons tend to pop easily and deflate faster, leaving your arch looking sad and saggy before the party even starts. Spend a few extra bucks for a better brand, and you’ll save yourself a lot of headaches (and embarrassing deflated moments).
Step-by-Step: How to Make a Balloon Arch Without Helium
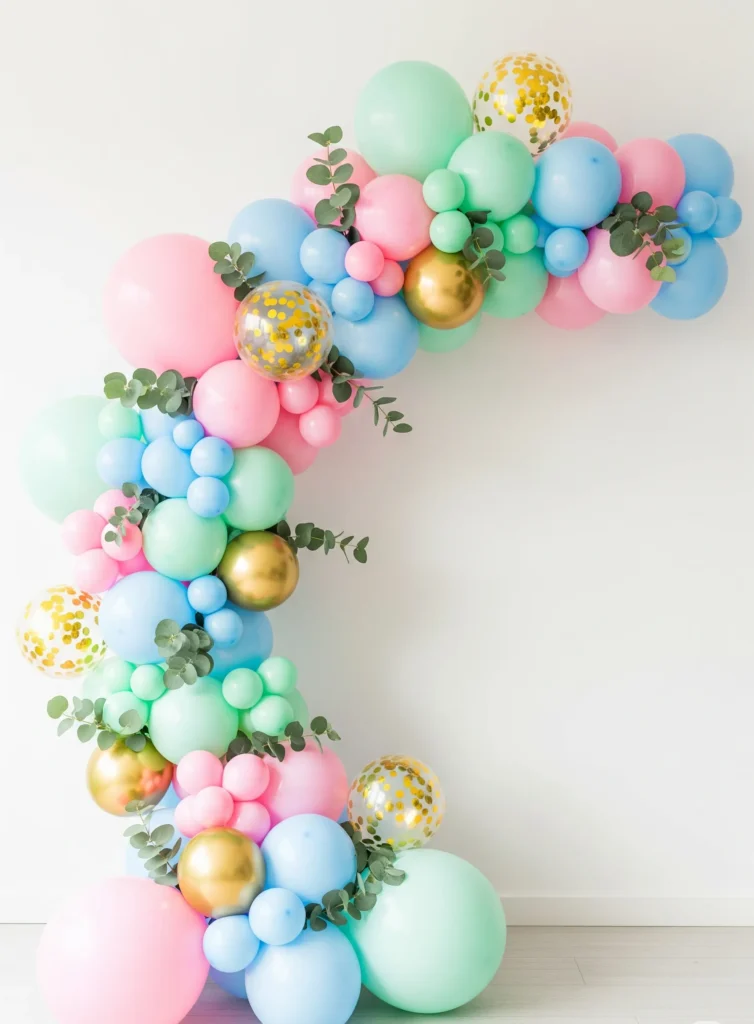
Alright, let’s get to the good stuff! This is where you learn how to build a balloon arch that looks like it cost a fortune but actually saved you one. And remember, absolutely no helium is required here. We’re talking air power, baby!
Step 1: Plan Your Color Scheme and Balloon Sizes

Before you even touch a balloon, take a moment to plan. What colors are you going for? Are you doing an ombre effect, or is it a vibrant rainbow? Lay out your balloons to get a visual sense of the distribution of colors and sizes. This helps you avoid that dreaded “oops, I have too many small pinks!” moment halfway through. Trust me, a little planning goes a long way.
Step 2: Inflate Balloons (Use a Pump to Save Time)
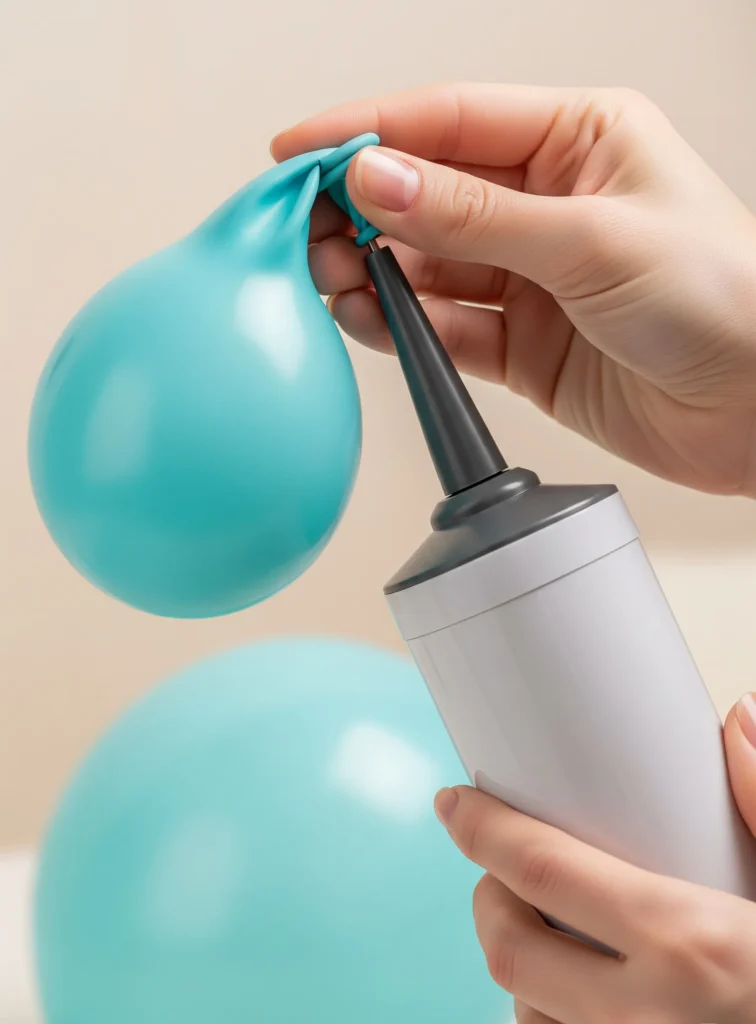
This is probably the most labor-intensive part, but a pump makes it a breeze. Seriously, if you’re not using a pump, you’re doing it wrong. Start with your largest balloons and work your way down. Don’t overinflate them! A slightly underinflated balloon is more pliable and less likely to pop. Plus, it gives your arch a softer, more organic look. Inflate a mix of sizes – this variety is crucial for a full-looking balloon garland tutorial.
Step 3: Attach Balloons to Balloon Strip or Tape
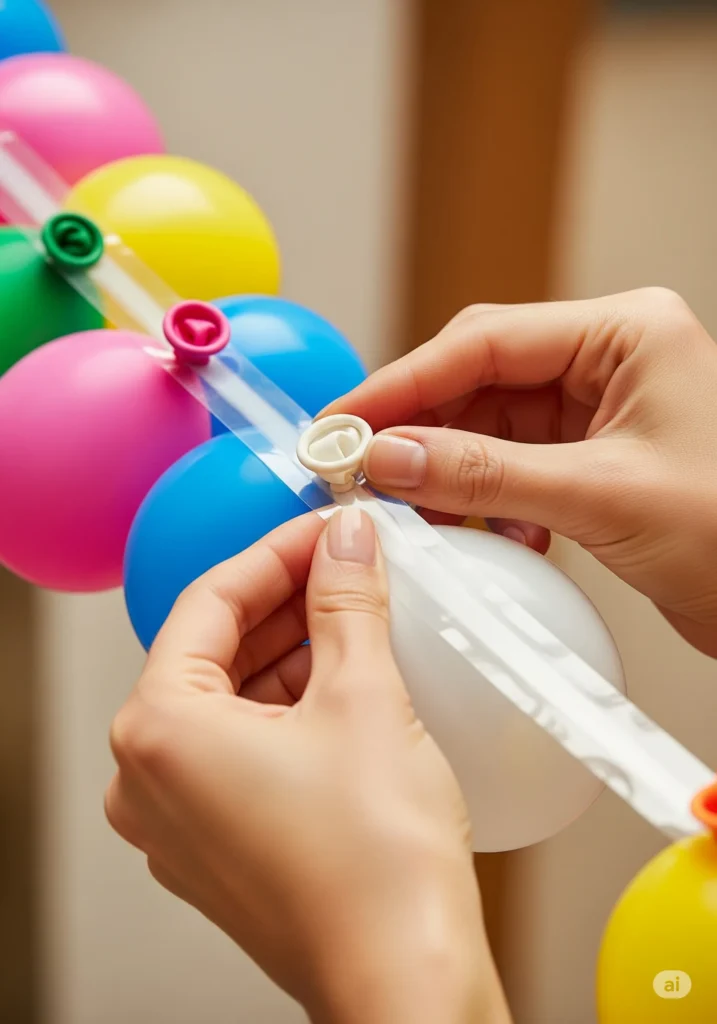
Now for the fun part! Take your balloon strip. You’ll notice it has alternating large and small holes. Start by pulling the knot of a larger, inflated balloon through one of the larger holes. Then, skip a hole or two and pull another balloon knot through. Alternate colors and sizes as you go. Don’t be afraid to squish them together; this helps create that full, voluminous look. Keep going until you’ve filled your desired length of the strip. It’s like a giant, colorful puzzle!
Step 4: Fill in Gaps with Mini Balloons Using Glue Dots
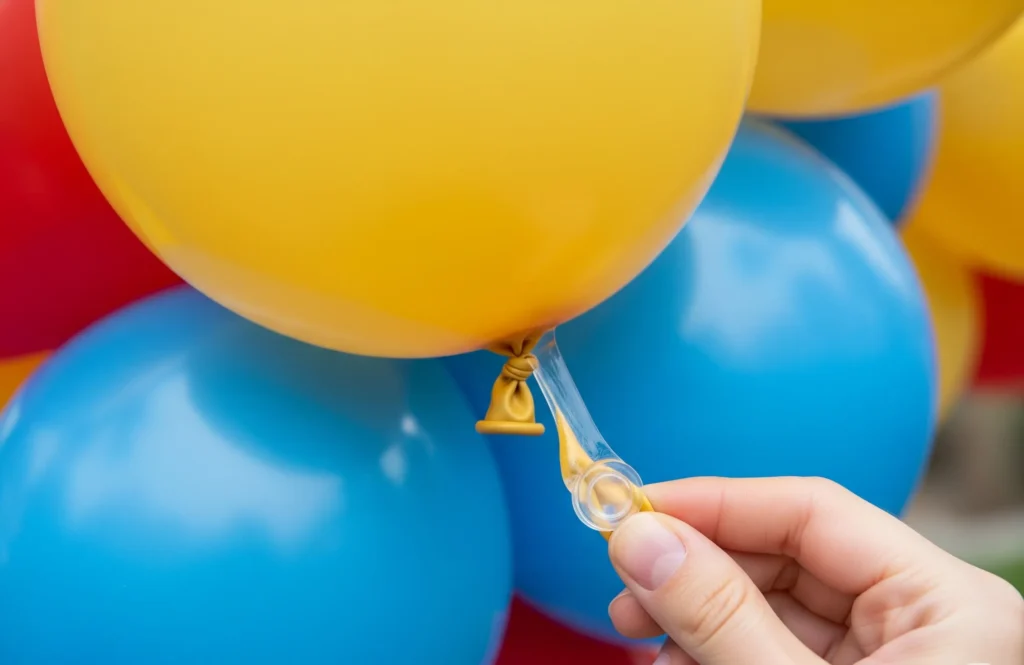
Once your main strip is full, you’ll likely see some gaps. This is totally normal! This is where your smaller, 5-inch balloons and glue dots come in. Inflate those mini balloons and use a glue dot (or two!) on the knot end. Then, simply press them onto any empty spots on your arch, nestling them between the larger balloons. This step is a game-changer for making your step-by-step balloon garland look professional and lush. It adds depth and dimension, banishing any sparse areas.
Step 5: Hang Your Balloon Arch Using Command Hooks or String
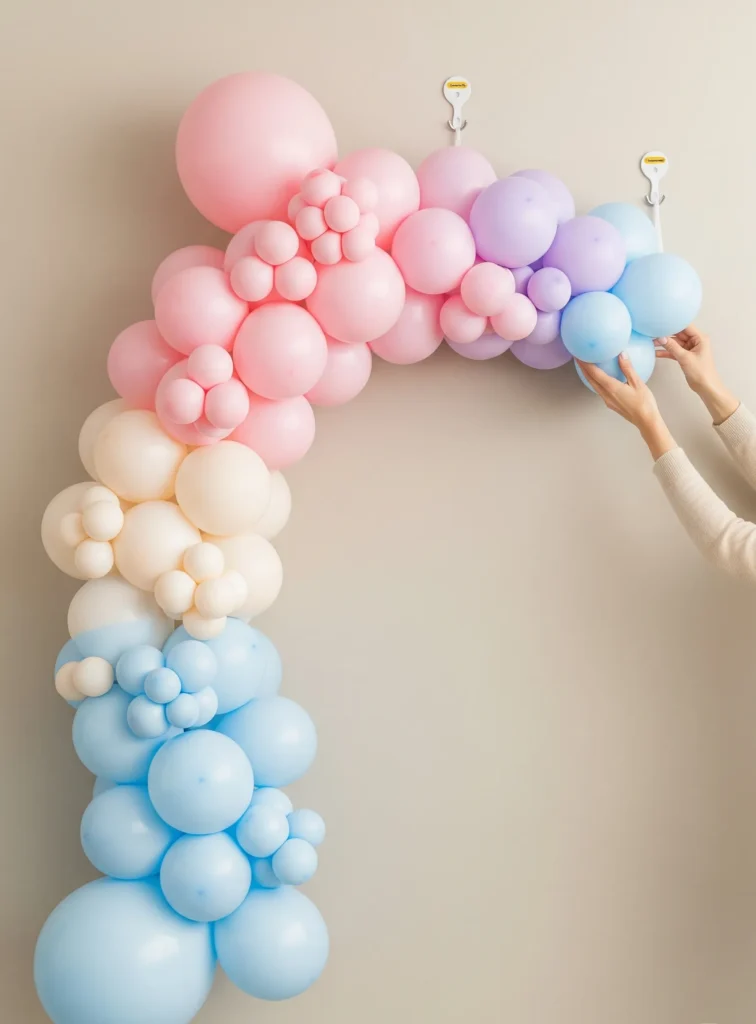
Time to display your masterpiece! If you’re attaching it to a wall, strategically place a few Command hooks. You can weave the balloon strip through the hooks or tie string to the strip and hang it from the hooks. For a backdrop frame or a doorway, string or fishing line works perfectly. Stand back and admire your handiwork! You just made a fantastic balloon arch no helium required.
Pro Tip: When attaching balloons to the strip, make sure the knots are secure. A loose knot can lead to a rogue balloon making a daring escape, and nobody wants that kind of drama at their party.
Balloon Arch Styling Ideas for Every Event
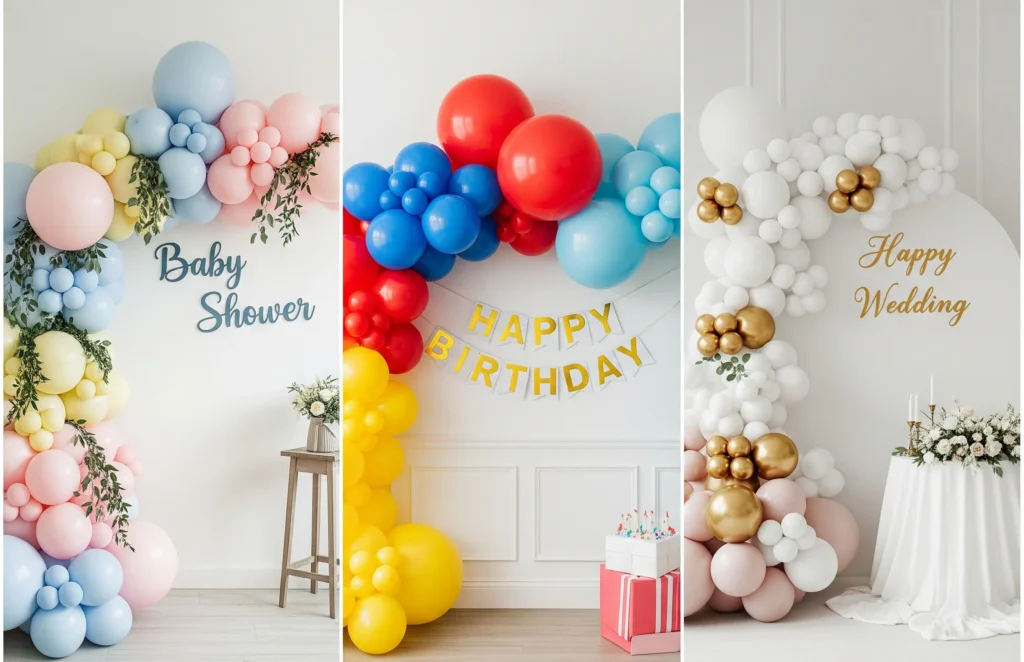
You’ve built the foundation; now let’s talk about making your balloon decoration ideas truly shine. This is where you get to unleash your inner stylist and tailor your themed balloon garland to fit any occasion.
- Color Combos by Occasion:
- Baby Shower Pastels: Think soft blues, pinks, yellows, and mint greens. Mix in some white or ivory for a dreamy, ethereal vibe.
- Birthday Brights: Go wild with primary colors, neons, or a vibrant rainbow. The brighter, the better for a celebratory atmosphere!
- Wedding Neutrals: Elegant whites, creams, golds, silvers, and blush tones create a sophisticated backdrop for any wedding or anniversary.
- Graduation Glam: School colors, naturally! Or a mix of metallic gold/silver with black for a classic, celebratory look.
- Add Eucalyptus, Faux Flowers, or Signage for a Pro Finish: This is my favorite part! Tucking in some realistic-looking eucalyptus branches or silk flowers instantly elevates your party balloon decorations. You can also attach a custom sign to the center of your arch – “Happy Birthday,” “Oh Baby,” or the happy couple’s initials. These elements add texture, sophistication, and a truly bespoke feel.
- Incorporate Themed Balloons: Planning a jungle-themed birthday? Grab some animal print balloons or foil animal shapes to weave into your arch. For a space party, stars and crescent moons are a must. For a first birthday, a giant number “1” foil balloon integrated into the design is super cute. This personalizes your balloon arch for baby shower, balloon arch for birthday, or balloon arch for wedding in a unique way.
Pro Tip: If you’re using real greenery, add it as close to the event as possible to keep it looking fresh. Faux greenery, however, can be added whenever you like – no wilting worries!
Tips to Make Your Balloon Arch Last Longer
So, you’ve put in all that effort to create a magnificent DIY balloon garland – naturally, you want it to last! Nobody wants a sad, deflated arch halfway through the festivities. Here are my top tips to ensure your creation stays fresh and fabulous:
- Best Time to Build Before the Party (12–24 hours ahead): This is the sweet spot. Balloons inflated with air (not helium) typically last for days, even weeks, but they look their absolute best within 24 hours of inflation. This gives you plenty of time to assemble without rushing, and your arch will still look vibrant when guests arrive.
- Store in a Cool, Dry Area to Prevent Popping: Extreme temperatures are the enemy of balloons. Heat makes them expand and pop, while cold makes them shrink and look deflated. Store your finished arch (or inflated balloons) in a cool, climate-controlled room, away from direct sunlight, sharp objects, and curious pets. Your garage might be fine, but a living room is probably better.
- Use Quality Balloons (Cheap Ones Deflate Quickly): I touched on this earlier, but it bears repeating. Those super-cheap balloons from the dollar store might seem like a bargain, but they often have thinner latex and more imperfections. This means they’re more prone to popping and, perhaps more frustratingly, losing air quickly. Investing in good quality, professional-grade latex balloons will pay off in the long run. They hold air better and have a richer, more consistent color. This is a crucial balloon arch tip if you want a long-lasting balloon garland.
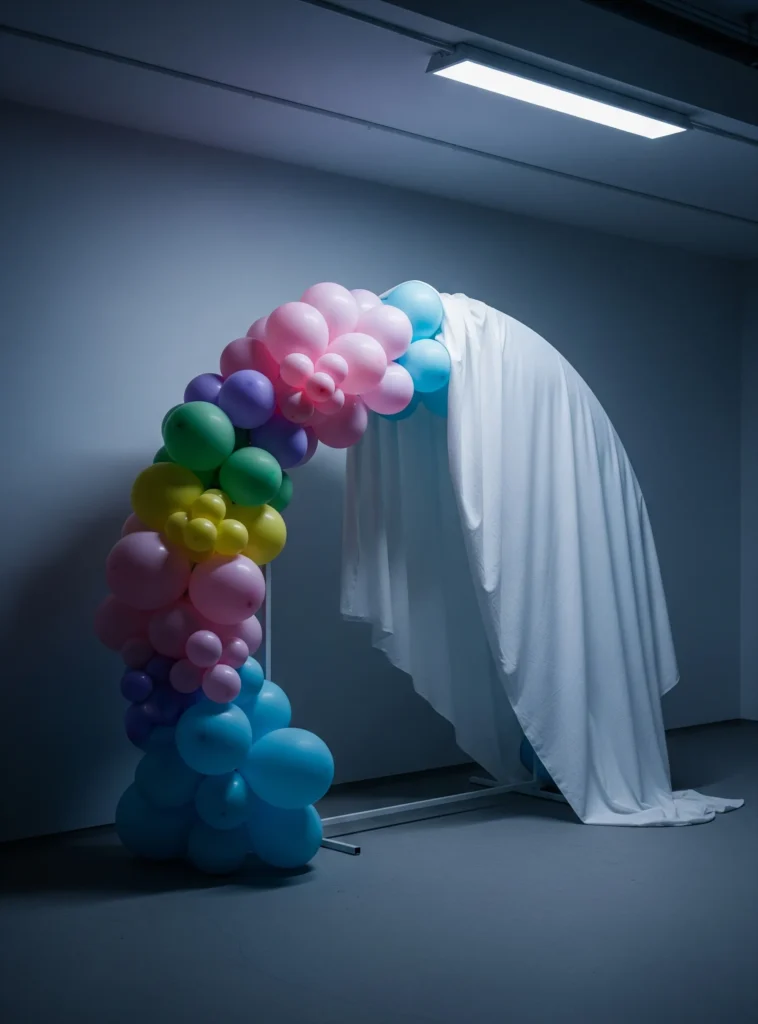
Pro Tip: If you’re worried about dust or pet hair, lightly cover your completed arch with a large, clean sheet or plastic drop cloth while it’s waiting for the party. Just be gentle!
Common Balloon Arch Mistakes to Avoid
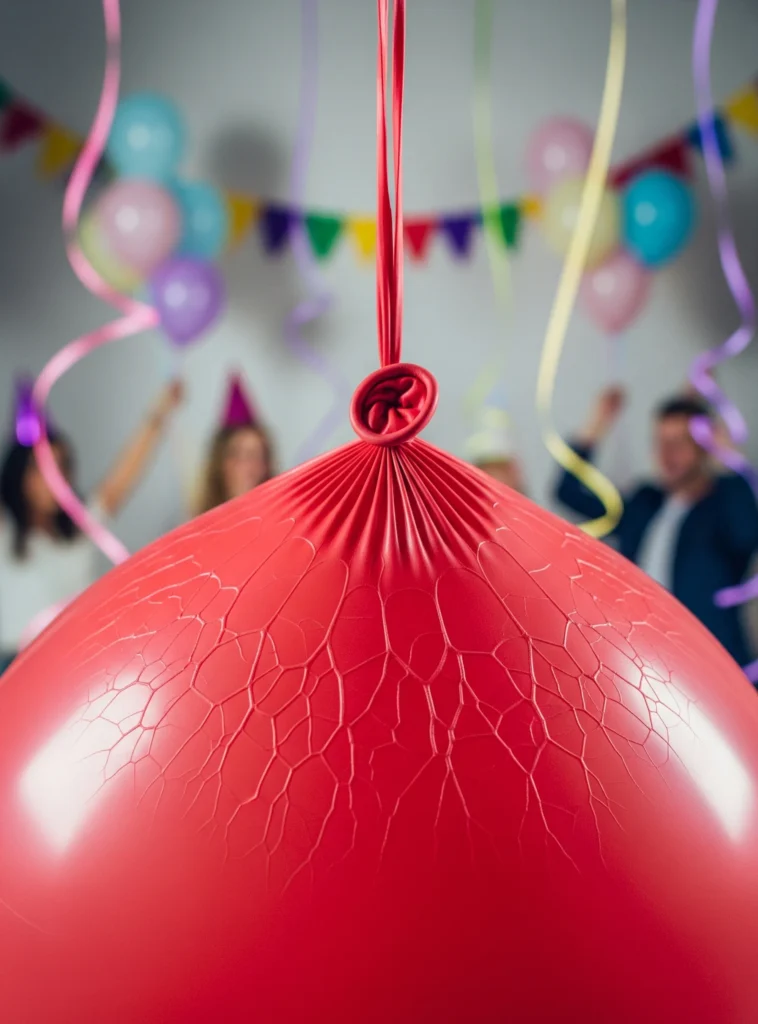
Even seasoned DIYers can stumble. But hey, that’s why I’m here – to help you steer clear of the pitfalls! Avoiding these common balloon arch mistakes will save you time, frustration, and potentially, a lot of popped balloons.
- Overinflating balloons = popping risk: This is probably the number one mistake I see. When a balloon is filled to its absolute max, it’s under immense pressure, making it super susceptible to popping from even the slightest touch. Aim for a slightly softer, rounder shape rather than a taut, egg-like one.
- Skipping a pump = sore cheeks: We already covered this, but seriously, don’t be a hero. Your lungs and jaw muscles will revolt. A pump is a small investment for your sanity and health. This is a vital balloon decorating hack for anyone attempting a larger arch.
- Not securing arch = party disaster: Imagine spending hours on your masterpiece, only for it to come crashing down mid-party. Tragic, right? Double-check your Command hooks or knots. Make sure they’re firmly in place and can support the weight of the arch. If it’s outdoors, consider adding extra anchor points, especially if it’s windy.
- Using only one balloon size = flat look: This creates a boring, uniform line instead of that dynamic, organic garland effect. The varying sizes are what give your arch depth, texture, and visual interest. Mix those 5-inch, 12-inch, and 18-inch balloons for a truly stunning result.
Pro Tip: Before hanging your arch, give it a gentle shake to test its stability. Better to have a balloon tumble off during testing than during the main event!
Budget-Friendly Balloon Arch Hacks
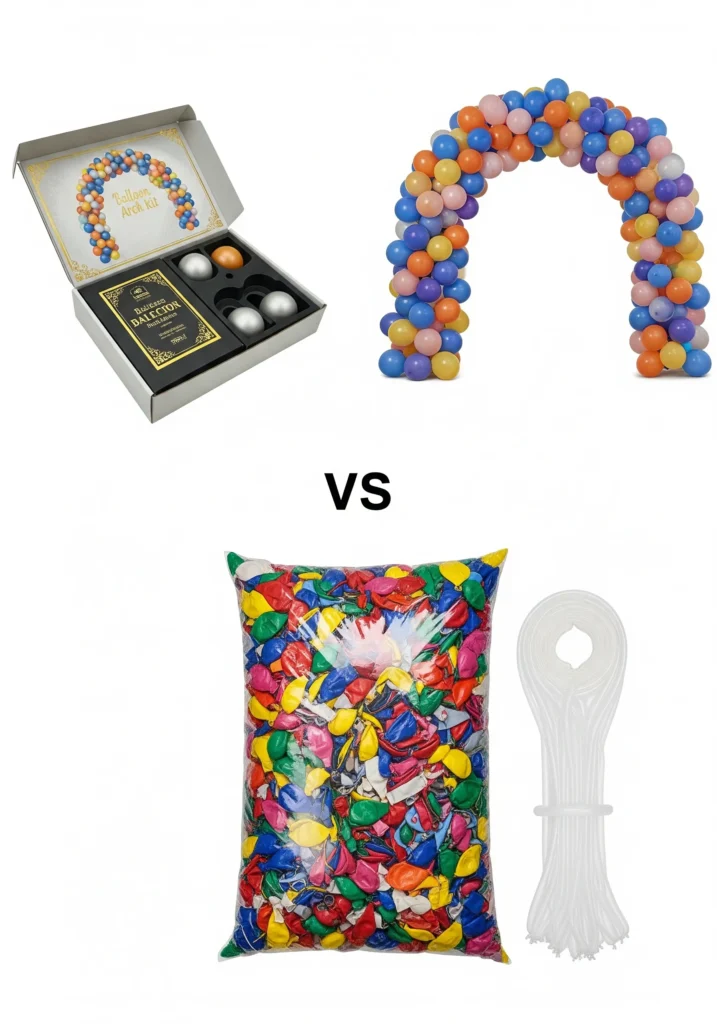
Let’s be real, parties can get expensive fast. But rocking an amazing DIY balloon arch doesn’t have to drain your wallet. Here are some smart ways to create a stunning backdrop without breaking the bank. These budget party decor tips will help you achieve that high-end look on a shoestring.
- Use a balloon strip instead of pricey kits: Many “balloon arch kits” include the strip, but often they’re overpriced. You can buy the balloon strip on its own for just a few dollars, and then source your balloons separately. This gives you more control over colors and sizes, and usually ends up being much cheaper. It’s an affordable DIY decorations staple!
- Buy balloons in bulk online: Stores like Amazon or specialty party supply websites often offer balloons in bulk bags at significantly lower prices than buying individual packs at craft stores. Plus, you’ll have extra for future parties or to replace any unexpected poppers.
- Reuse florals or ribbons from other decor: Got some pretty faux flowers from an old centerpiece? Ribbons from a gift? Repurpose them! Tuck them into your balloon arch for added flair. This not only saves money but also adds a cohesive touch to your overall party theme.
Pro Tip: Look for multi-color balloon packs online. Sometimes these are cheaper per balloon than buying single-color packs, and you might find a combination that works perfectly for your theme.
Final Thoughts: You’ve Got This!

See? I told you it wasn’t rocket science! Making a no helium balloon garland is totally doable, even for us mere mortals. You’ve got all the steps, the insider tips, and even a few hacks to keep your wallet happy.
It’s easy to get caught up in making everything absolutely “perfect” for a party, but honestly, the beauty of a DIY balloon arch lies in its charming imperfections. It doesn’t have to be flawlessly symmetrical or exactly like that photo you saw on Pinterest. It just needs to be fun, festive, and a reflection of your awesome party spirit!
So, go ahead, give it a try. Unleash your inner party stylist. I’m betting you’ll surprise yourself with how incredible your DIY balloon arch tutorial turns out. When you’re done, be sure to snap some photos and show off your creation. And hey, if you found this helpful, save this post, pin it for later, and share it with a friend who needs a little party-planning inspo!


