You want to make your own candles? Excellent choice. It’s cheaper than hoarding fancy jars from the store, and you get total control over scent, color, and vibes.
Plus, you can say, “Oh this? I made it,” like a smug little DIY goblin. Let’s melt some wax and keep drama (and burns) to a minimum.
What You’ll Need (Without Overcomplicating It)

Good news: candle making requires simple gear you might already have.
No lab coat necessary.
- Wax: Soy (beginner-friendly), beeswax (natural + slow burn), or paraffin (classic, strong scent throw).
- Wicks: Cotton or wood. Size matters—match the wick to your container diameter for a clean burn.
- Containers: Heat-safe jars, tins, or thrifted ceramics. Avoid thin glass that cracks.
- Fragrance oil or essential oil: Use candle-safe fragrance oils for best results.
- Color: Dye chips or liquid dye.
Crayons? Please don’t—your wick will cry.
- Tools: Thermometer, pouring pitcher (or a measuring cup), double boiler setup, stirring spatula, wick centering tool (or chopsticks), scale.
Choosing the Right Wax (Fast Guide)
- Soy: Smooth finish, easy cleanup, great for containers. Lower scent throw vs. paraffin.
- Beeswax: Natural honey scent, long burn.
Tougher to scent strongly.
- Paraffin: Strong scent throw and vibrant colors. Not the most “natural,” FYI.
- Blends: Soy-paraffin or coconut blends balance scent and smoothness. IMO, great for beginners.
Set Up Your Candle Zone

Work on a clean, flat surface.
Lay down parchment or newspaper. Keep kids, pets, and rogue elbows away. You’ll thank yourself later when your counter isn’t wax-glazed.
- Wick your containers: Stick the wick tab to the jar bottom with a glue dot or a dab of melted wax.
Center it.
- Secure the wick: Use a centering tool, clothespin, or tape across the top. Keeping it upright = even burn.
- Measure your wax: Roughly double your container volume in wax flakes. Or weigh it for accuracy.

Heat, Melt, and Don’t Boil the Wax
We’re melting wax, not making soup.
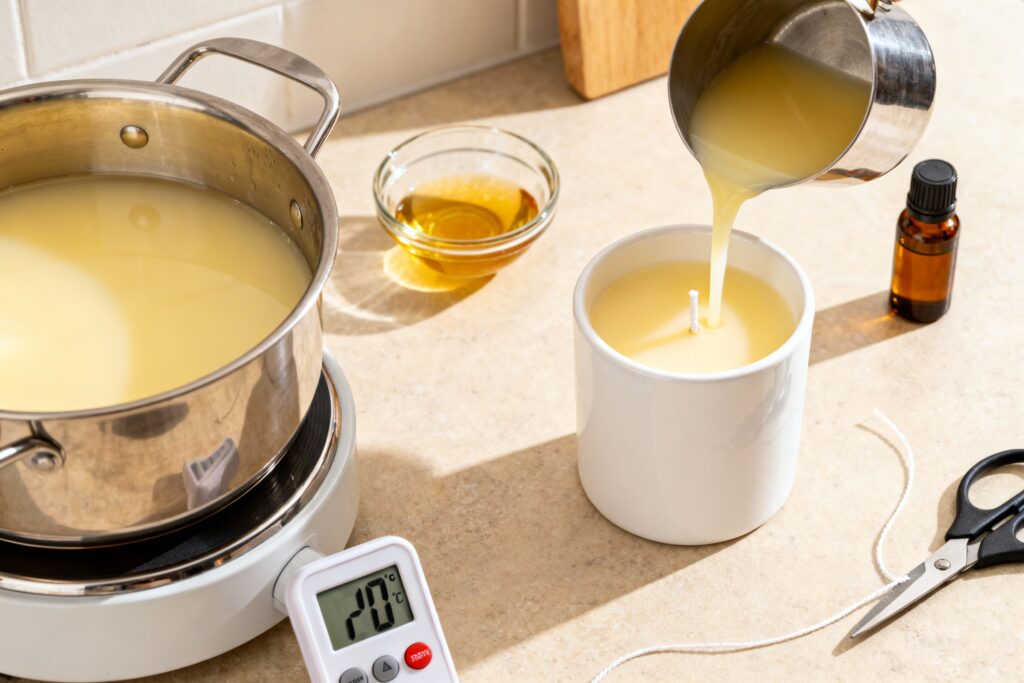
Gentle heat wins. A double boiler setup keeps things safe and smooth.
- Set up the boiler: Place a metal or glass pitcher in a pot of simmering water. Keep water below the top of the pitcher.
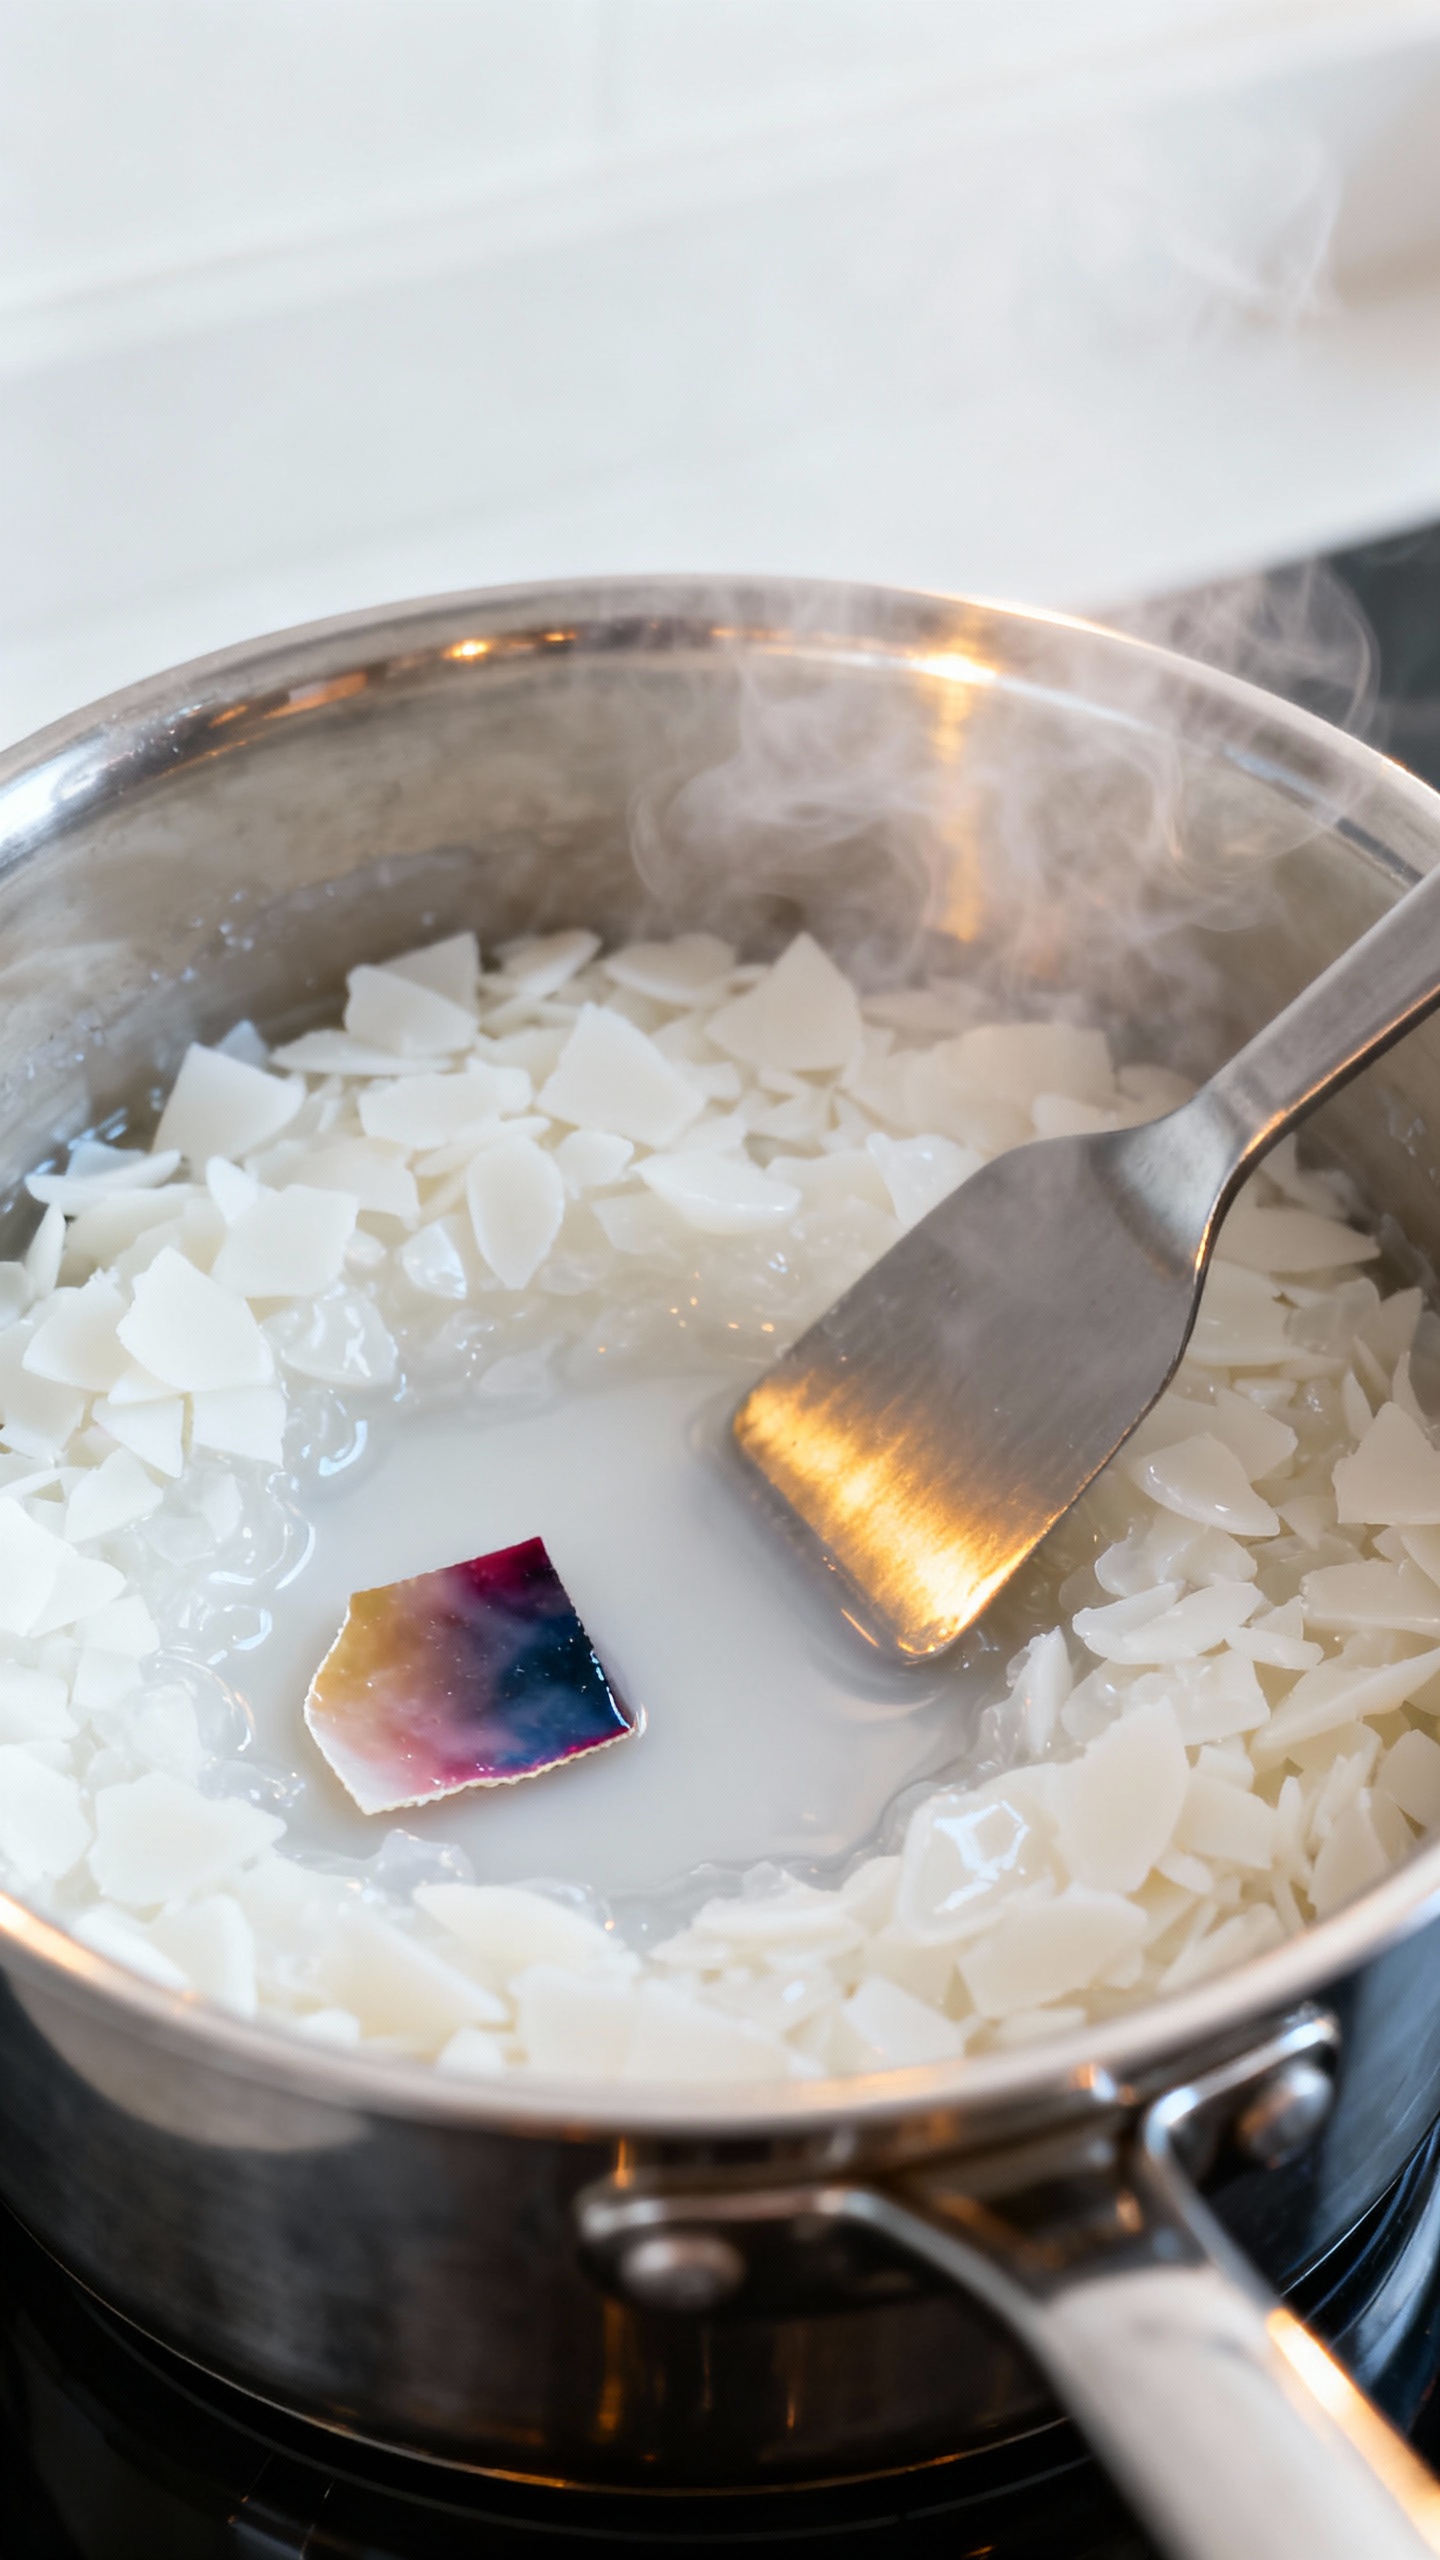
- Add wax and stir: Let it melt slowly, stirring occasionally.
No flames under the wax directly, please.
- Watch temperature: Aim for 170–185°F (77–85°C) to fully melt most container waxes.
When to Add Fragrance and Color
- Color: Add dye to fully melted wax. Stir for an even shade.
- Fragrance: Add at the wax’s recommended temp (often 160–180°F / 71–82°C). Stir for 2 minutes, gently, to bind oil to wax.
- Load: Start with 6–8% fragrance by weight.
Example: 8 oz wax = about 0.5 oz fragrance. Check your wax’s limit.
Pour Like a Pro
Timing matters. Pour too hot and you get sinkholes; too cool and you get lumpy tops.
We’re aiming for smooth, not tragic.
- Container candles (soy): Pour at 120–140°F (49–60°C) for a smooth top.
- Paraffin containers: Often pour a bit hotter, around 150–160°F (65–71°C).
- Beeswax: Pour at 145–160°F (63–71°C). It sets faster, so move with purpose.
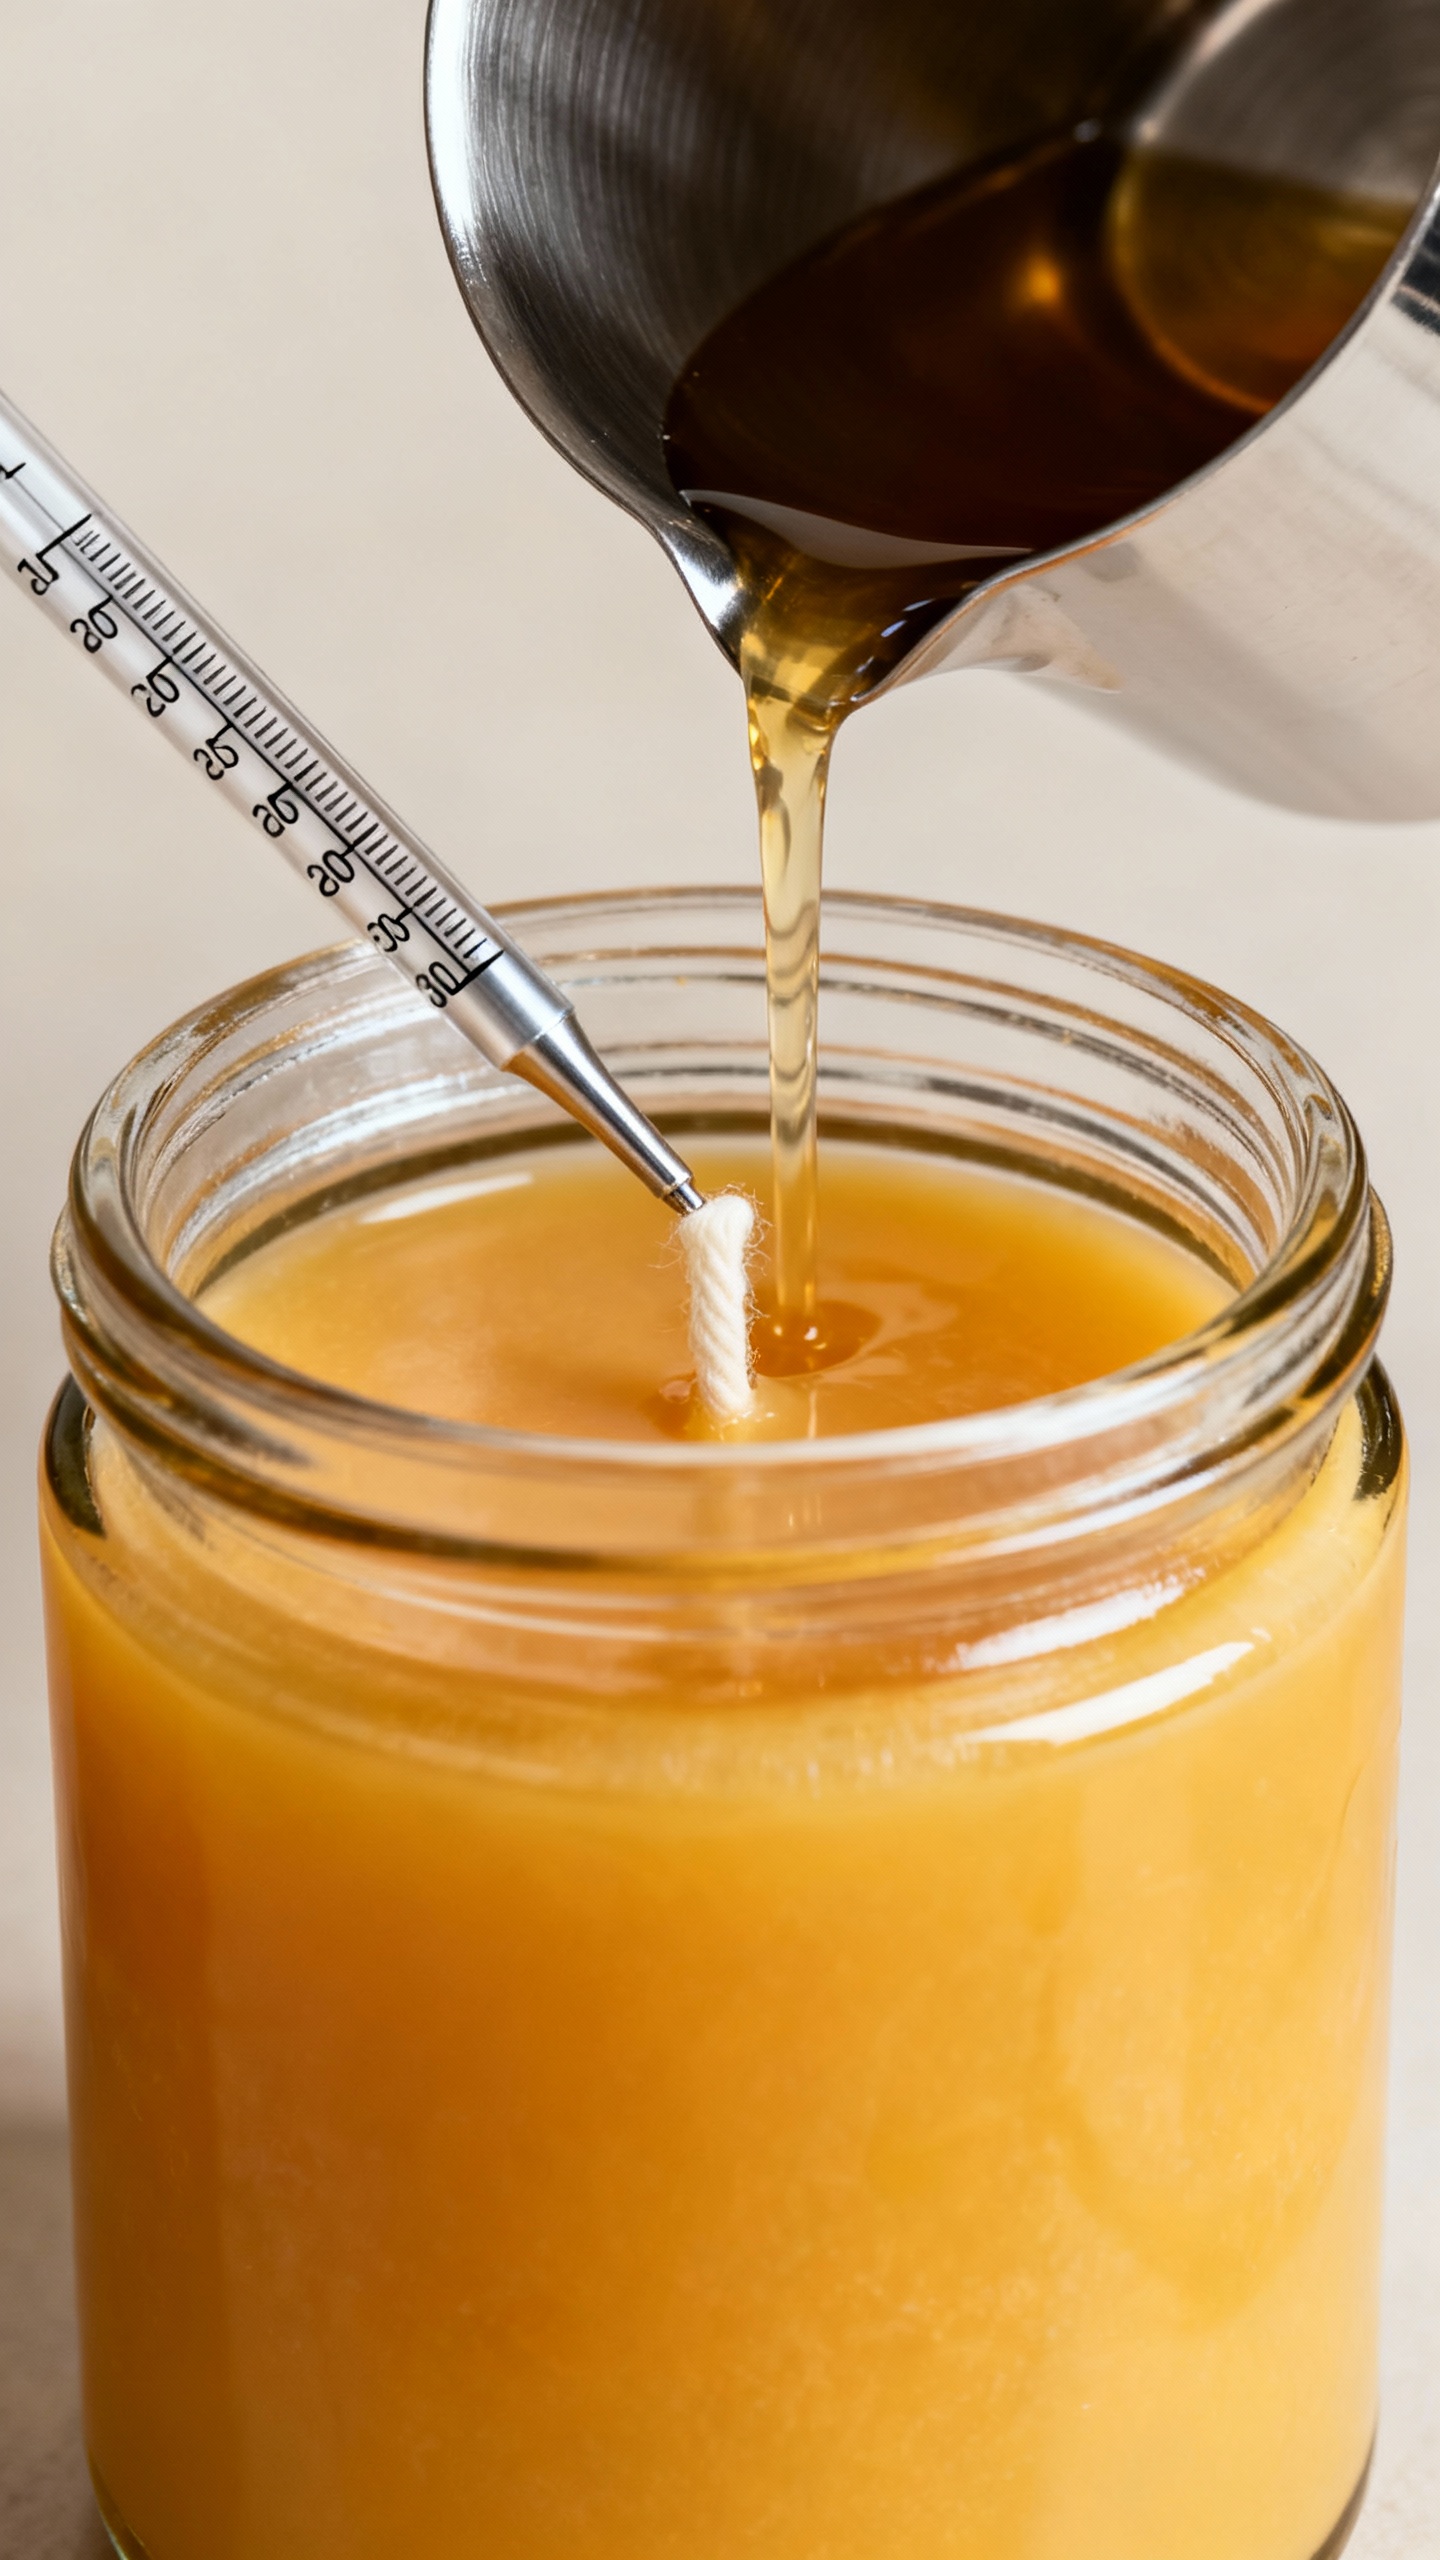
Pour slowly down the side of the jar. Leave a little space at the top.
Tap the container gently to release bubbles. Keep that wick centered.
Fixing Imperfections
- Sinkholes: Poke relief holes near the wick after the top sets. Top off with a small re-pour of warm wax.
- Frosting (soy): Harmless.
To reduce, pour cooler and warm your containers slightly before pouring.
- Wet spots: Cosmetic only. Pre-warm containers or cool candles slowly to minimize.
Let Them Cure (Patience, Friend)
Fresh candles need time to set their vibe. You can light them after 24 hours, but for best scent and burn, cure them longer.
- Soy: 1–2 weeks for peak scent throw.
- Paraffin: 3–5 days usually works.
- Beeswax: A week+ helps stabilize.
Store candles with lids in a cool, dry place while they cure.
Try not to sniff them every 10 minutes. (You will. It’s fine.)
Wick Sizing and Burn Testing (Don’t Skip)
If your candle tunnels or smokes, the wick likely disagrees with your jar and wax. You must test.
I know, not glamorous, but it saves you from candle sadness.
- Rule of thumb: The melted wax pool should reach the jar edges within 2–3 hours. If not, go up a wick size.
- Too hot/sooty? Wick down. Your jar shouldn’t feel like a mini volcano.
- Trim your wick: Keep it around 1/4 inch (6–7 mm) before each burn.
Burn Test Method
- Cure the candle, then light it for 2–4 hours.
- Watch the melt pool: aim for full edge-to-edge melt without excessive flame height.
- Let it cool, trim the wick, and repeat over several sessions.
Take notes like a proud candle nerd.
Fun Customization Ideas
Once you nail the basics, get creative. This is where candle-making stops being “melt and pour” and starts being “I’m an artisan, actually.”
- Layered colors: Pour one color, let it set, then pour the next at a slightly cooler temp.
- Wood wicks: Cozy crackle. Use a wick clip and choose the right width for your jar.
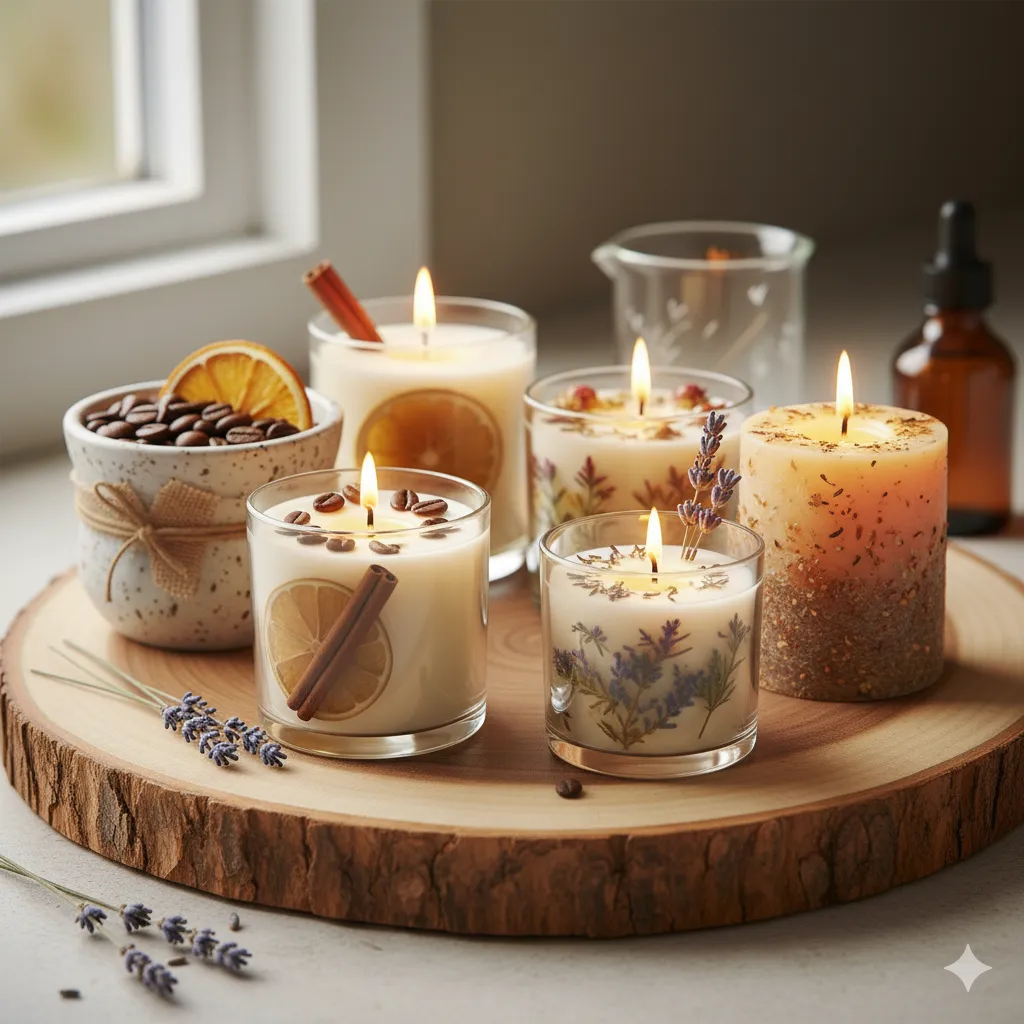
- Dried botanicals: Decorate the top lightly.
Don’t pack flammable stuff near the wick.
- Scent combos: Try lavender + vanilla, citrus + sage, cedar + amber. Keep total fragrance load within limits.
- Labeling: Add burn instructions and scent notes. Your future self (and gift recipients) will appreciate it.
Safety You Won’t Regret Reading
- Never heat wax over direct flame. Double boiler or a wax melter only.
- Keep a lid nearby to smother any accidental flame.
Water + wax = disaster.
- Don’t leave melting wax unattended. It’s not a simmer sauce.
- Use heat-safe containers and avoid hairline-cracked glass.
- Label burn tips: Trim wick, burn within sight, keep away from drafts, pets, and curtains.
FAQ
Can I use essential oils instead of fragrance oils?
Yes, but manage expectations. Essential oils don’t always throw scent strongly in candles and some degrade with heat. Use oils known to perform well (like lavender or peppermint) and stick to your wax’s max load.
For strong, consistent scent, candle-safe fragrance oils usually win.
Why did my candle tunnel?
Two reasons: wick too small or first burn too short. Make the first burn long enough to melt the top layer edge-to-edge (usually 2–3 hours). If it still tunnels after proper burning, size up the wick.
How do I clean up wax spills?
Let wax harden, scrape gently, then wipe with hot soapy water.
For fabric, freeze it, scrape, then treat with a stain remover. Soy wax cleans up easiest—another reason beginners love it.
Are crayons safe for coloring candles?
They contain pigments and fillers that clog wicks and cause weak burns. Use candle dye made for wax. It disperses evenly and keeps your flame happy.
What’s the best beginner wax?
Soy container wax (like a 464 or similar) gives smooth pours, easy cleanup, and forgiving temps.
It’s great for learning without wrestling with complicated setups.
My candle tops look rough. Did I ruin it?
Probably not. Soy loves to develop bumpy or frosted tops.
It’s cosmetic. A quick heat gun pass or a thin re-pour can smooth it. Or embrace the “handmade” aesthetic—it’s charming, IMO.
Conclusion
Candle making isn’t hard—you just need the right wax, a decent wick, and a little patience.
Start simple, take notes, and tweak one variable at a time until your candles burn like champs. Before long, you’ll have a shelf of cozy scents and a new reason to save every cute jar you see. Light it up—responsibly—and enjoy the glow.


