Have you ever scrolled through Pinterest or Instagram and just stopped dead in your tracks, totally mesmerized by those incredible paper flowers? I mean, seriously, they look so real, right? For a long time, I thought, “No way I could ever make those.” But then I took the plunge, and let me tell you, DIY paper flowers are officially my new obsession. Forget your grandma’s dusty silk arrangements; we’re talking about masterpieces perfect for weddings, stunning home decor, dreamy photo backdrops, epic parties, and even kick-ass wall art.
Why Everyone’s Obsessed With DIY Paper Flowers
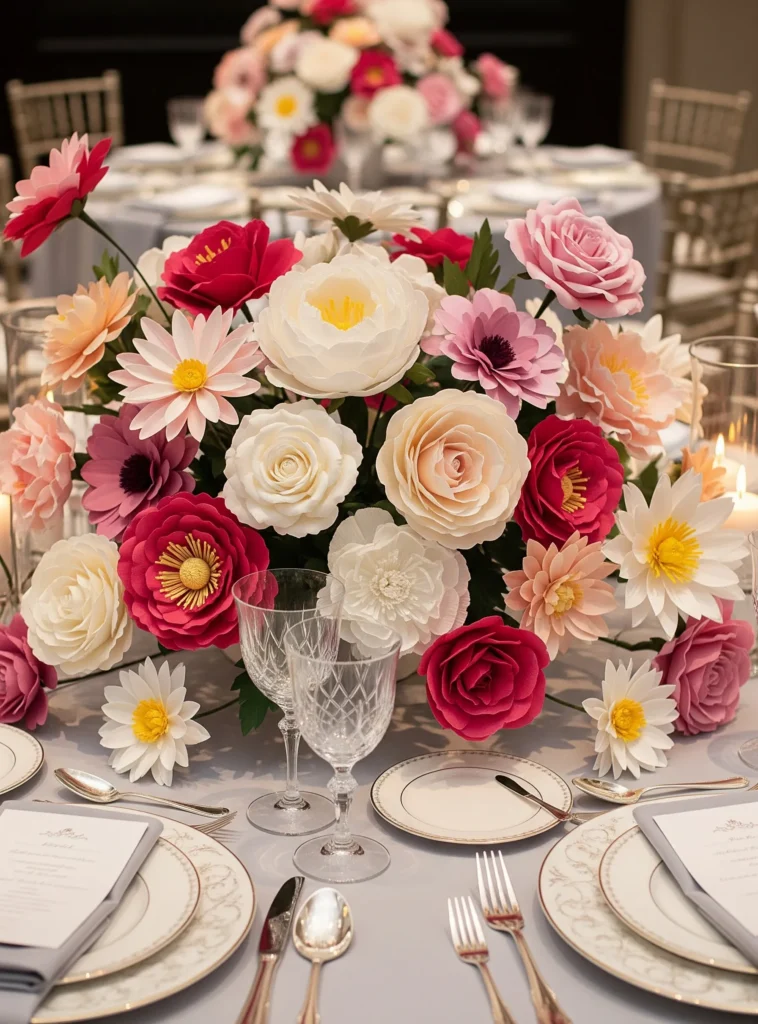
Seriously, you can’t escape them. One minute you’re looking up dinner recipes, and the next, you’re drowning in a sea of gorgeous paper blooms on Pinterest. And Instagram? Forget about it. Every other post is some genius showing off their latest paper floral triumph. It’s not just a trend; it’s a full-blown phenomenon, and for good reason. These aren’t your kindergarten cut-outs; they’re sophisticated, beautiful, and surprisingly simple to make once you know the ropes.
They’re also super versatile. Need a budget-friendly bouquet that won’t wilt? Paper flowers. Want a unique statement piece for your living room? Paper flowers. Planning a baby shower and need a show-stopping focal point? You guessed it, paper flowers! And the best part? No green thumb required. Over the next few scrolls, I’m gonna spill all my secrets on how to make these beauties, share some ridiculously easy templates, and help you get those realistic results you’ve been dreaming of.
Supplies You’ll Need to Make Realistic Paper Flowers
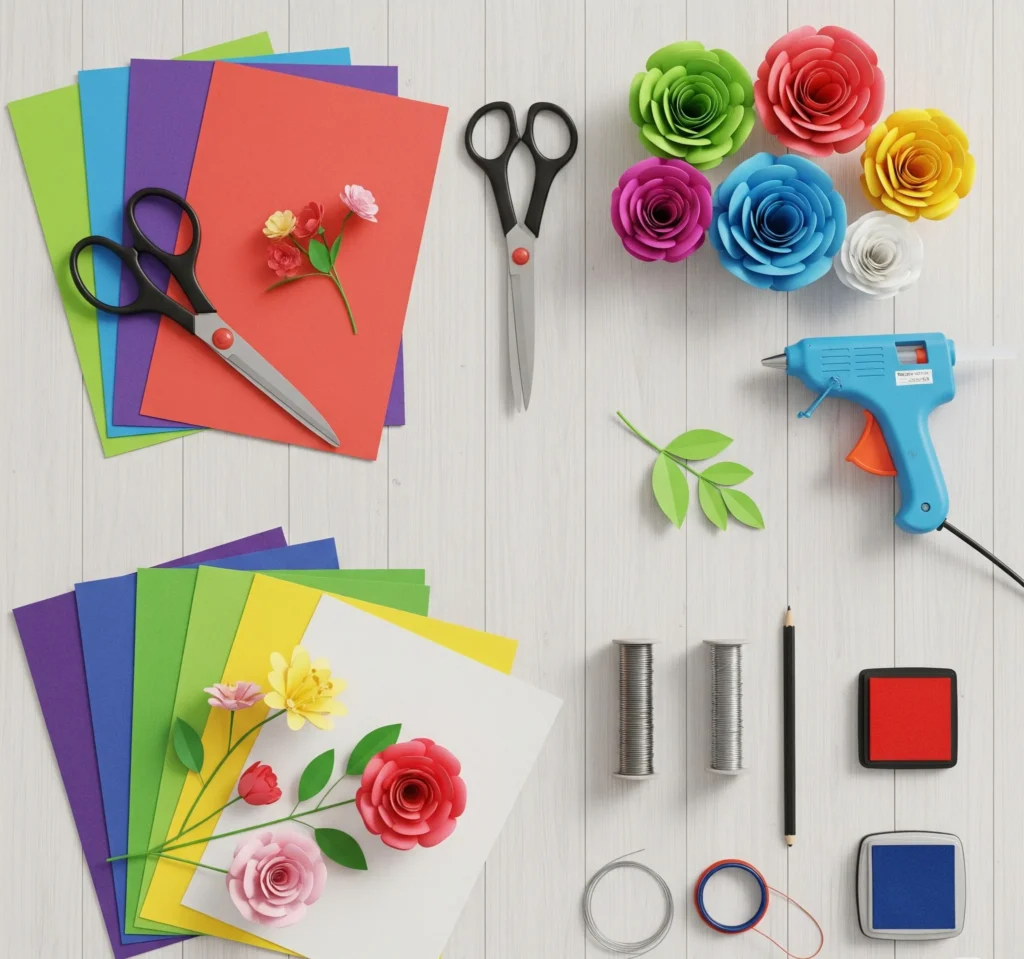
Before we dive headfirst into petal perfection, let’s talk tools. Don’t worry, you don’t need a fancy craft room or a huge budget. Most of these paper flower supplies are probably already lurking in your house, or they’re just a quick trip to your local craft store away.
- Cardstock or Crepe Paper: This is your foundation, your canvas. For sturdier flowers that hold their shape, cardstock is your best friend. But if you want that delicate, flowy, super-realistic petal curl, crepe paper (especially floral crepe paper!) is where it’s at. Trust me, once you try good quality crepe, you’ll be hooked.
- Scissors: Sharp ones. Please, for the love of all that is crafty, use sharp scissors. It makes cutting those intricate petal shapes so much easier and cleaner.
- Hot Glue Gun & Glue Sticks: This is pretty much non-negotiable for speedy assembly. A low-temp mini glue gun works wonders and saves your fingertips from nasty burns.
- Floral Wire or Drinking Straws: These are for your stems. Floral wire gives you more flexibility for shaping, but if you’re making a ton of flowers or just want a quick solution, sturdy drinking straws work surprisingly well.
- Free Paper Flower Templates: This is where the magic really happens! You don’t have to be an artist to make gorgeous shapes. I’ve got some free paper flower templates for you right here, ready to download and print. No more wonky petals, okay?
- Optional but Highly Recommended: Ink or Paint: Want to take your flowers from “pretty” to “OMG, are those real?” A little ink or paint on the edges or bases of your petals adds incredible dimension and realism. Think subtle blush tones or a touch of earthy green.
Pro Tip: Always, always do a quick dry run with your glue gun to make sure it’s heated up and flowing smoothly. Nothing’s worse than gloopy glue when you’re in a flow state!
Step-by-Step Guide: How to Make Paper Flowers That Look Real
Alright, let’s get our hands sticky! This is where you’ll learn how to make paper flowers step by step. It’s less complicated than it looks, I promise. We’re gonna break it down, so you’ll be a paper florist in no time.
Step 1: Gather Your Supplies & Print Templates
First things first, make sure you have all your tools ready to roll. You’ll need:
Step 2: Cut Out Your Petals and Leaves
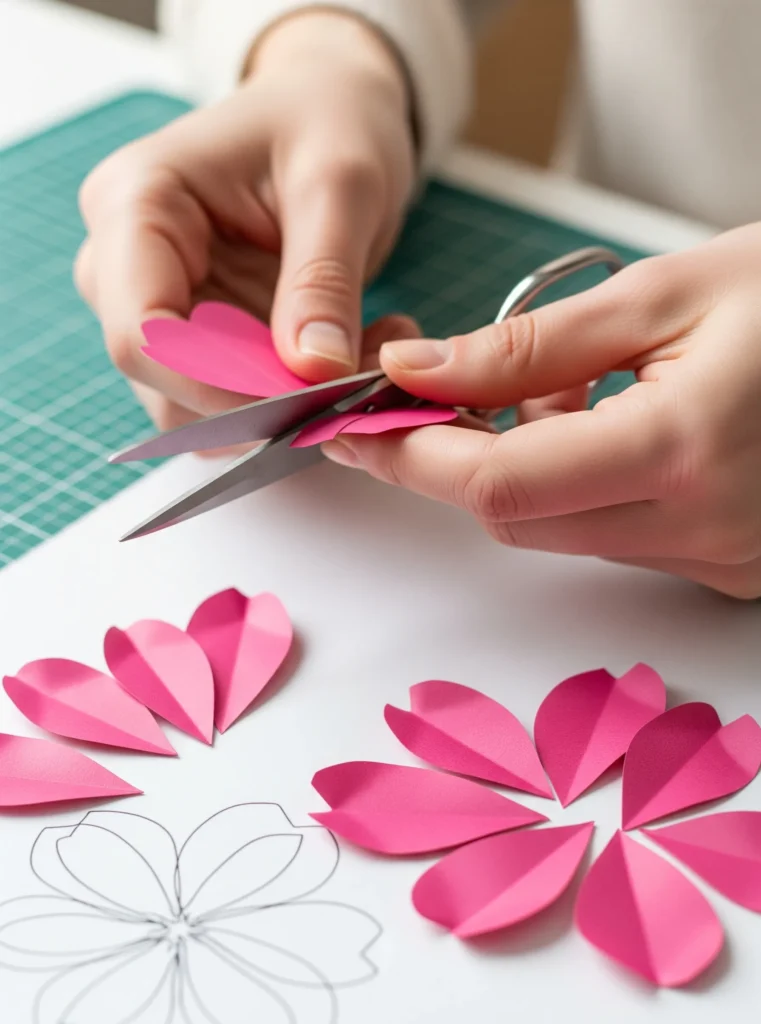
Now for the meticulous part! Carefully cut out all the individual petal and leaf shapes from your printed templates. Take your time here – precision really pays off in the final look of your flower.
- Pro Tip for Quantity: If you’re making a bunch of petals of the same size, try stacking 2-3 sheets of paper and cutting them all at once. Just make sure your scissors are super sharp to get clean edges on all layers!
Step 3: Shape Your Petals (The Realism Secret!)
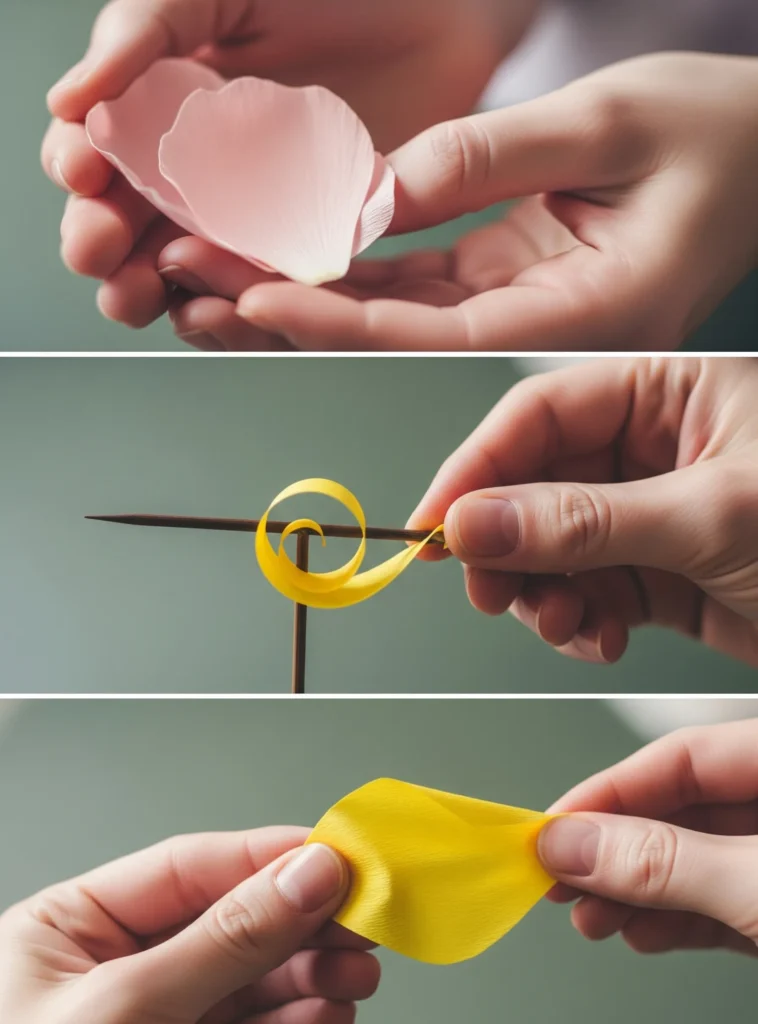
This is arguably the most important step for getting that “looks real” vibe. Flat petals equal fake-looking flowers. We want curves, dimension, and movement!
- For Cardstock Petals:
- Cupping: Gently place your thumb in the center of the petal and your pointer finger on the backside. Apply light pressure and pull your thumb upwards to create a gentle cup shape.
- Curling Edges: Grab a thin dowel, a pencil, or even the handle of your scissors. Place the very edge of the petal against the tool and gently pull the petal around the curve of the tool, applying light pressure. Curl inwards or outwards, depending on the flower type and the look you’re going for.
- Adding a “Spine”: For some petals, a soft fold right down the center, then unfolding it, can give it a natural spine, mimicking a real flower petal.
- For Crepe Paper Petals:
- Stretching/Cupping: Crepe paper has a grain (tiny lines running through it). Hold the petal with both hands across the grain (horizontally). Gently pull and stretch the center of the petal outwards. This creates a beautiful, natural cup.
- Curling Edges: Use your fingers to gently roll the edges of the petal inwards or outwards. The stretchiness of the crepe makes this super easy and organic.
Step 4: Assemble Your Flower’s Center
Pro Tip: Look at a real flower similar to what you’re making. Observe how the petals curve, cup, and overlap. Try to replicate those natural imperfections in your paper petals.
Every beautiful flower needs a heart! How you create the center depends on your template.
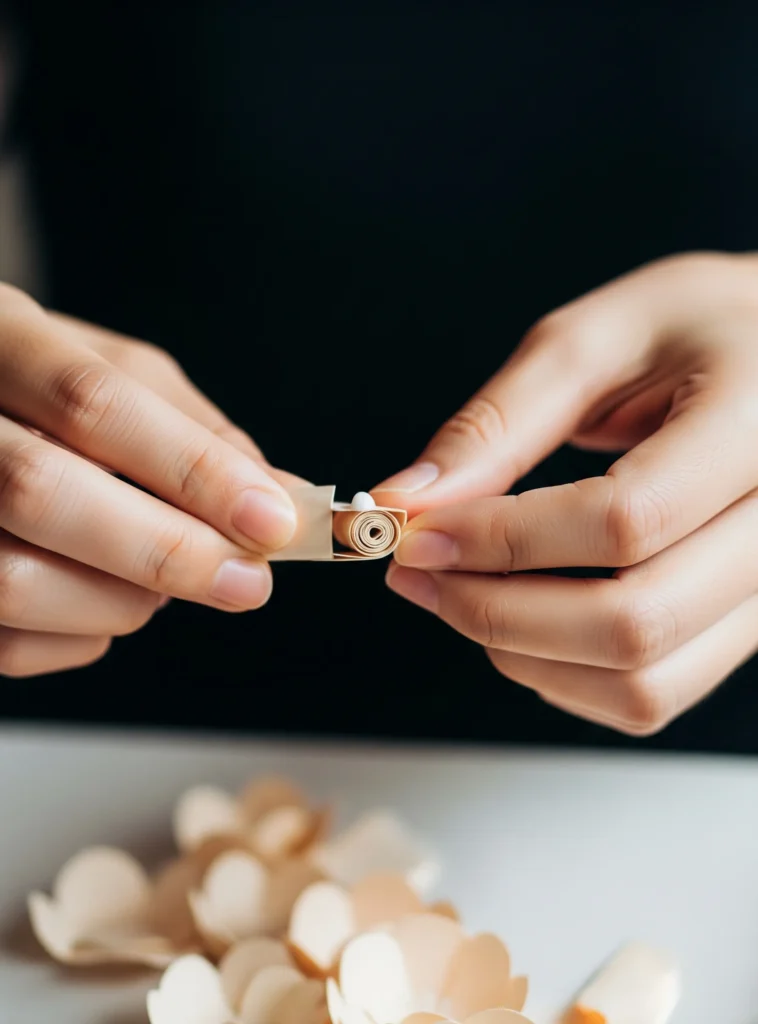
- Rolled Center: For many roses and basic blooms, you’ll have a small rectangular piece on your template. Apply a thin line of hot glue along one long edge. Starting from one end, tightly roll the paper into a small, cylindrical bud. Secure the end with glue.
- Small Petal Bud: Some templates include tiny petals specifically for the center. Curl these very tightly and glue them around a small rolled paper base or directly onto the end of your floral wire/straw stem.
Step 5: Begin Attaching Petals (Layer by Layer)
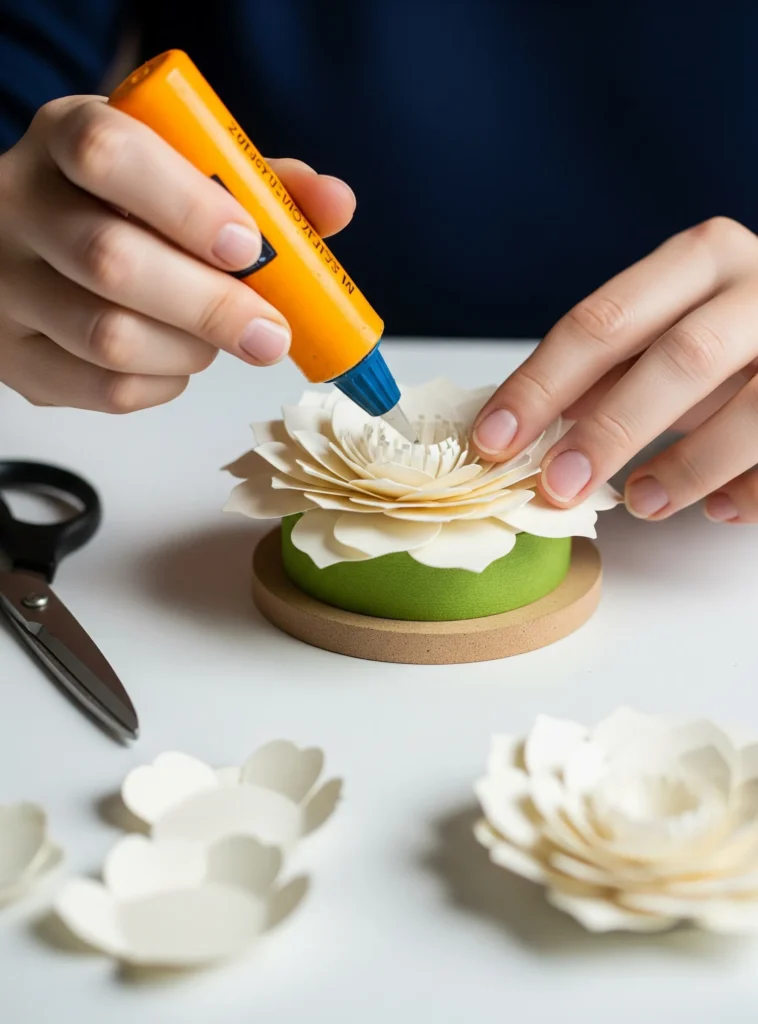
Now for the magical transformation! This is where your flower really starts to take shape.
- First Layer: Apply a small dab of hot glue to the base of your first petal (the flat bottom edge). Attach it to the base of your flower’s center.
- Overlap & Stagger: Place the next petal, overlapping the first one slightly. The key here is to stagger them. Don’t line them up perfectly; think of how petals grow naturally, slightly offset from the layer below.
- Work Outwards: Continue adding petals in concentric circles, working your way outwards from the center. Each layer should slightly overlap the previous one.
- Angle Matters: As you add layers, consider slightly changing the angle of attachment. Inner petals might stand more upright, while outer petals might flare out more. This creates a more realistic, voluminous look.
Pro Tip: If you’re struggling with assembly, use a pair of tweezers or a craft pick to help position smaller petals. It saves your fingers from becoming glue-coated messes, IMO.
Step 6: Add Optional Leaves and Calyx
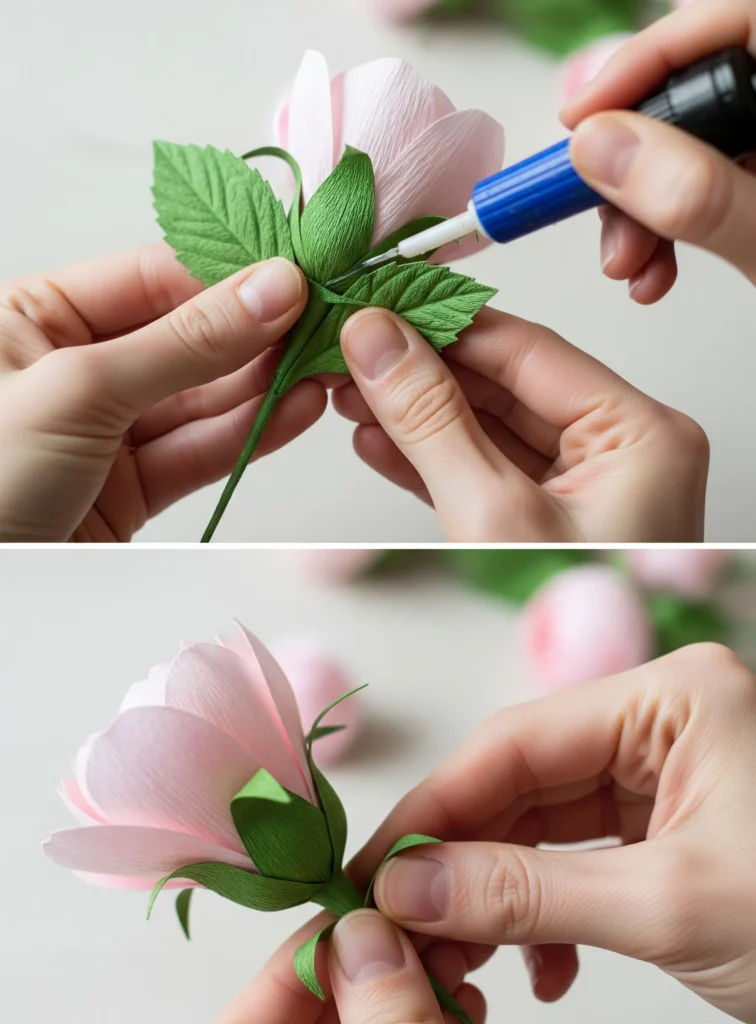
Once your flower is fully bloomed, it’s time to add those finishing touches that truly make it look real.
- Leaves: If your template includes leaf shapes, cut them out and gently score or fold them down the center to create a vein. Glue them to the base of your flower, or along the stem if you’re using floral wire.
- Calyx: This is the green, cup-like structure at the base of a real flower that holds the petals. Your template might include a calyx shape. Glue this to the very bottom of your assembled flower, covering the points where your petals meet.
Step 7: Attach Your Stem (If Desired)
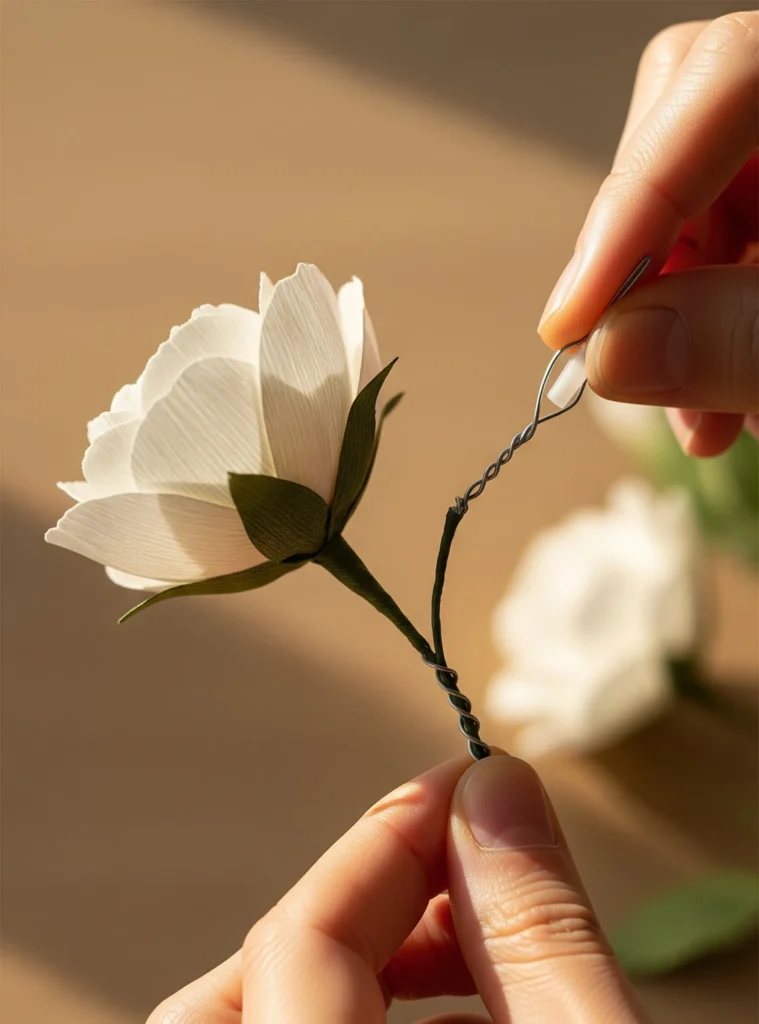
If your flower isn’t going to be directly glued to a surface, it needs a stem!
- Floral Wire: Apply a dab of hot glue to one end of your floral wire. Insert it directly into the base of your flower, pushing it up through the center of the calyx (if you used one) until it’s secure.
- Drinking Straw: For larger flowers, you can insert the straw directly into the base, or create a small “plug” of rolled paper and glue the flower onto that, then insert the plug into the straw.
Step 8: Final Fluff & Shading (The “Looks Real” Power-Ups!)
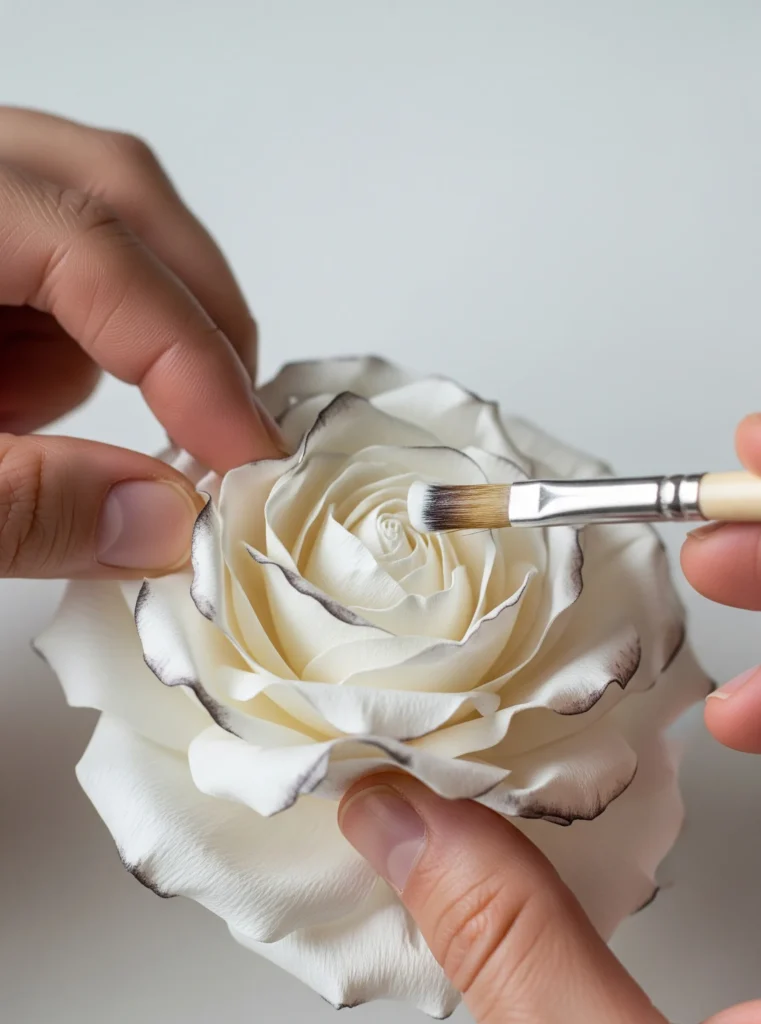
You’re almost there! This is where you elevate your flower from “pretty” to “OMG, are those real?”
- Fluffing: Gently go back through your layers of petals. Push some up, pull some down, slightly bend them. Encourage that natural, organic look. No two petals should sit exactly the same way.
- Shading with Ink/Paint: This is my absolute favorite trick. Dip a soft brush or a sponge dauber into a very light amount of ink (like Distress Ink) or watered-down acrylic paint. Gently brush or dab it onto:
- The very edges of the petals.
- The base of the petals, where they meet the center.
- The very center of the flower. This creates natural shadows and highlights, mimicking the way light hits real petals and adding incredible depth.
Pro Tip: Always, always do a quick dry run with your glue gun to make sure it’s heated up and flowing smoothly. Nothing’s worse than gloopy glue when you’re in a flow state, FYI.
3 Stunning Paper Flower Styles to Try (With Templates!)
Ready to get specific? I’ve picked three of my absolute favorite easy paper flower templates for you to try. Each one gives a totally different vibe, but they all share that “wait, is that real?” quality.
🌹 Classic Paper Rose – Romantic and Timeless
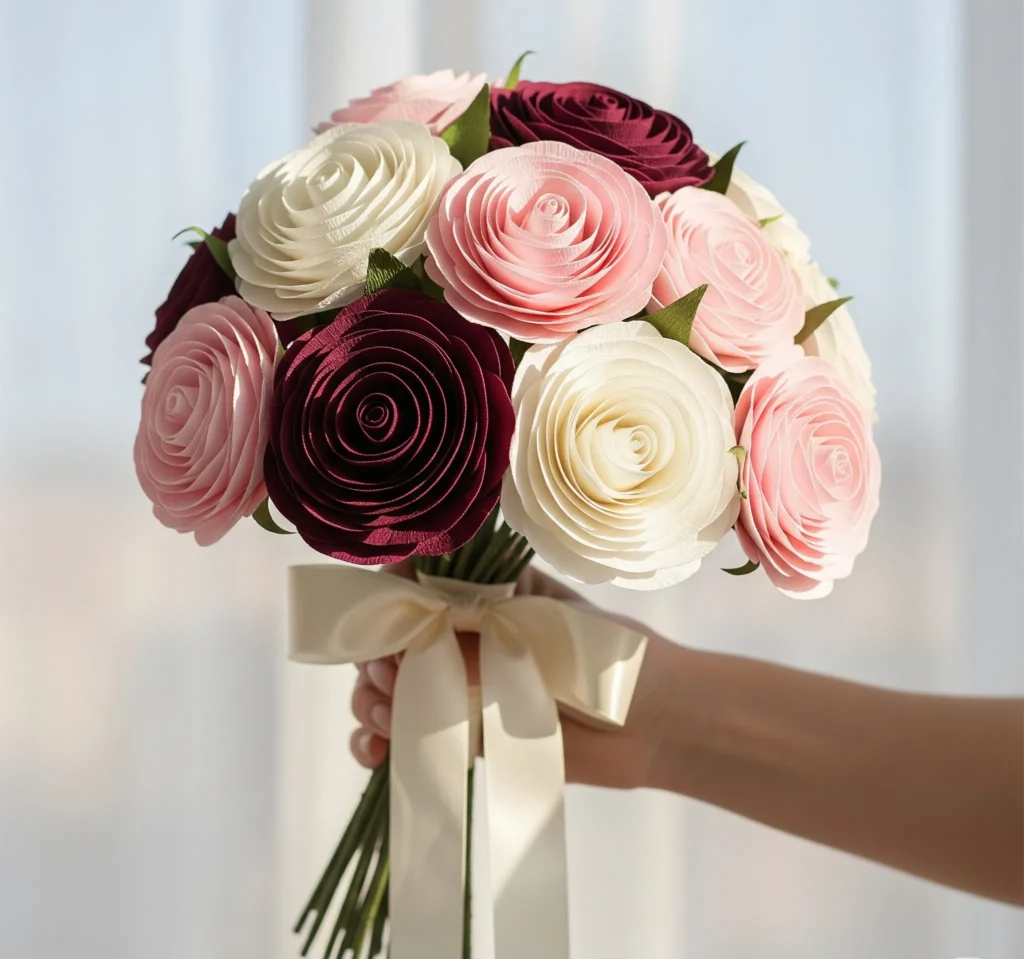
Ah, the rose. The queen of flowers. And guess what? You can make them out of paper, and they look unbelievably real. My paper rose tutorial will walk you through creating those delicate, swirling petals that make a rose so iconic. These are perfect for bouquets, boutonnieres, or just scattered on a table for instant romance.
Download Classic Paper Rose Template Here!
🌼 Giant Wall Daisy – Perfect for Backdrops
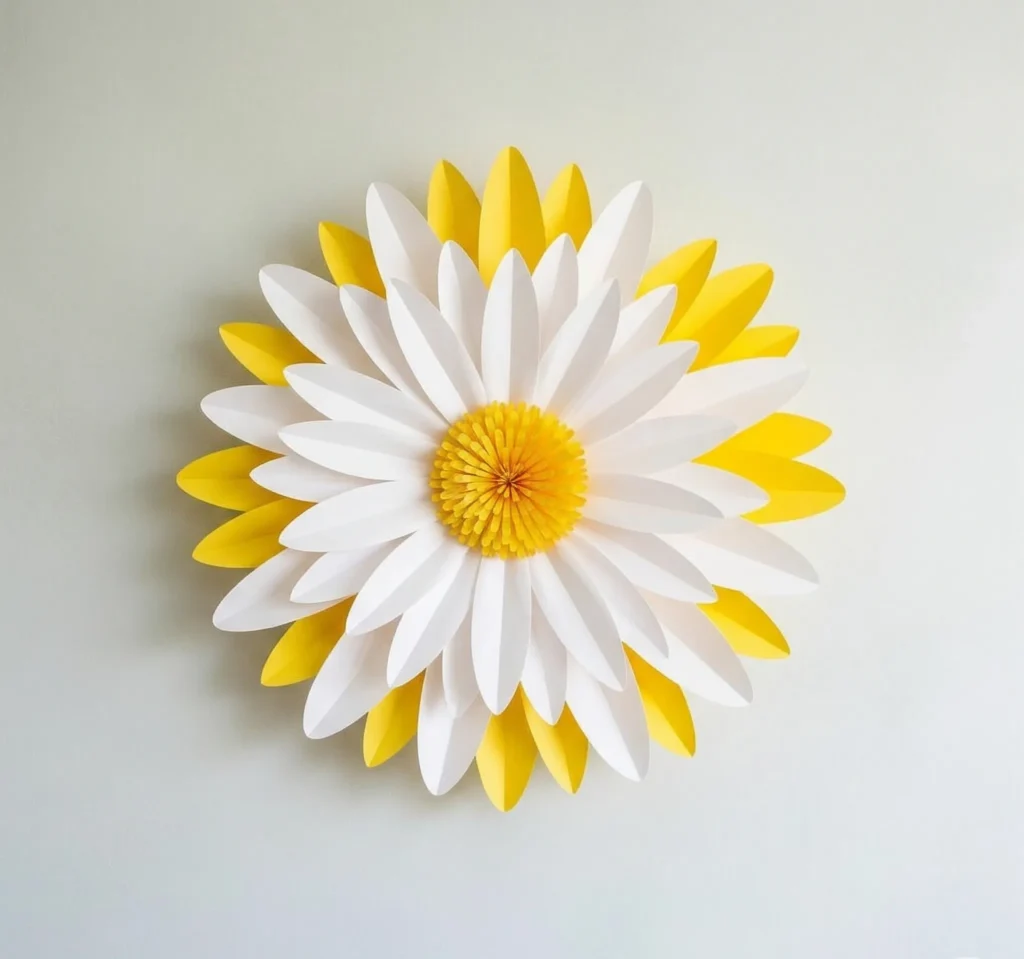
Want to make a statement? Like, a huge statement? Then you need a giant paper flower DIY project, and a wall daisy is your jam. Imagine a wall covered in these bad boys for a party backdrop or a whimsical nursery. They’re surprisingly simple, mostly just big, bold petals and a fun, textured center. Trust me, these are showstoppers.
Download Giant Wall Daisy Template Here!
🌸 Peony Paper Flower – Full and Fluffy
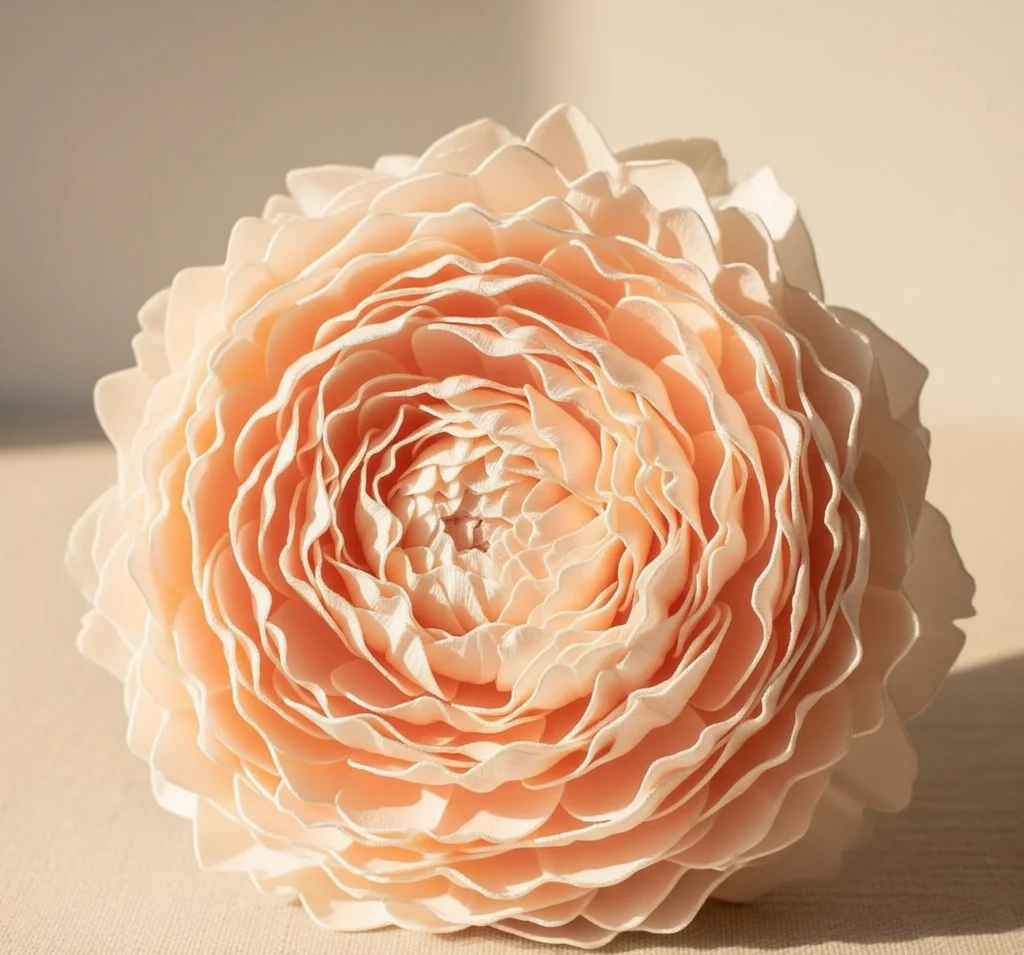
If you love lush, voluminous flowers, the peony is calling your name. My peony-inspired bloom has tons of layers, giving it that soft, fluffy, slightly disheveled look that makes real peonies so irresistible. These are fantastic for larger arrangements or as standalone decorative pieces.
Download Peony-Inspired Paper Bloom Template Here!
Pro Tip: Before you start cutting a ton of petals, make one small test flower from scrap paper. It helps you get a feel for the assembly and if you need to adjust any sizes!
How to Use DIY Paper Flowers in Your Decor
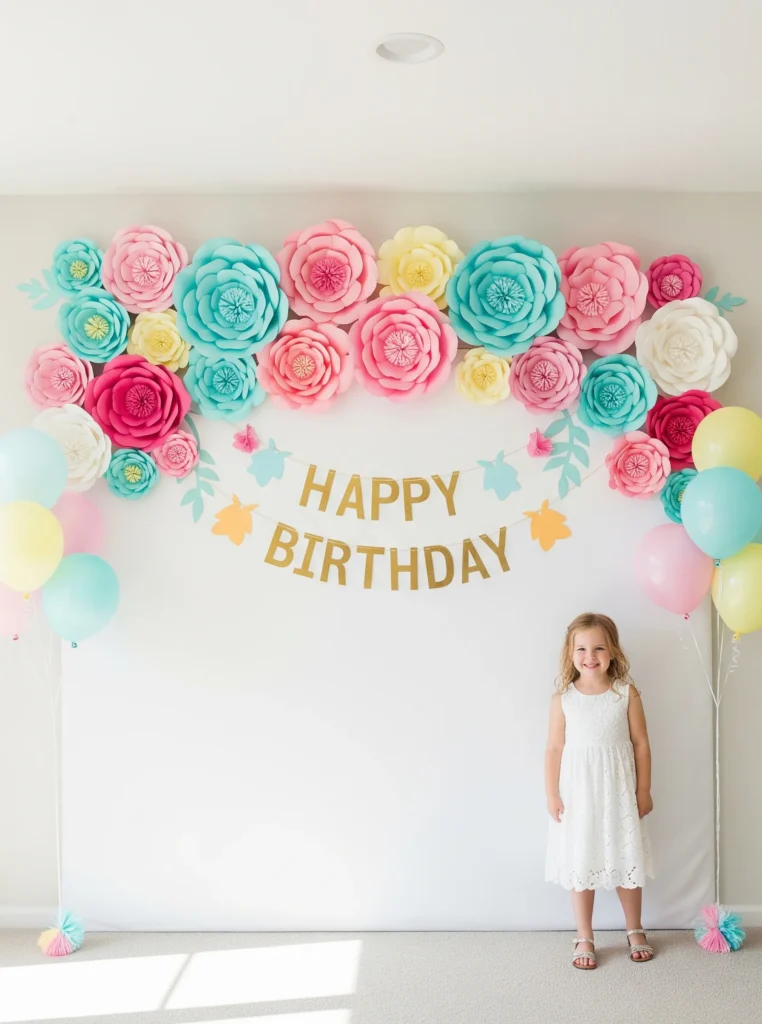
Okay, you’ve made these gorgeous paper flowers. Now what? The possibilities are pretty much endless, and honestly, that’s part of the fun! These aren’t just pretty faces; they’re incredibly versatile.
- Party Decor: Forget flimsy balloons! Imagine paper flower wall decor for a birthday bash, a whimsical bridal shower, or the sweetest baby shower. They add instant elegance and a personal touch that store-bought decorations just can’t touch.
- Wall Art: Transform any room with a cluster of these beauties. A nursery, a teen’s room, even your home office can get a serious upgrade. Create a stunning floral mural or frame a single, dramatic bloom.
- Bouquets for Weddings or Gifts: This is where they really shine. Bridal bouquets that won’t wilt in the summer heat? Check. Thoughtful, handmade gifts that last forever? Double-check. The paper flower bouquet ideas are endless, from vibrant mixes to elegant single-flower arrangements.
Pro Tip: When arranging paper flowers, don’t just stick them in a vase. Play with different heights and angles, and use some real (or faux) greenery to fill in gaps and add contrast.
Common Mistakes & How to Fix Them
Look, we all make mistakes. I’ve had my share of wonky petals and glue-covered fingers. But part of becoming a paper flower pro is learning from those oopsies! Here are some common pitfalls and how to totally nail it next time.
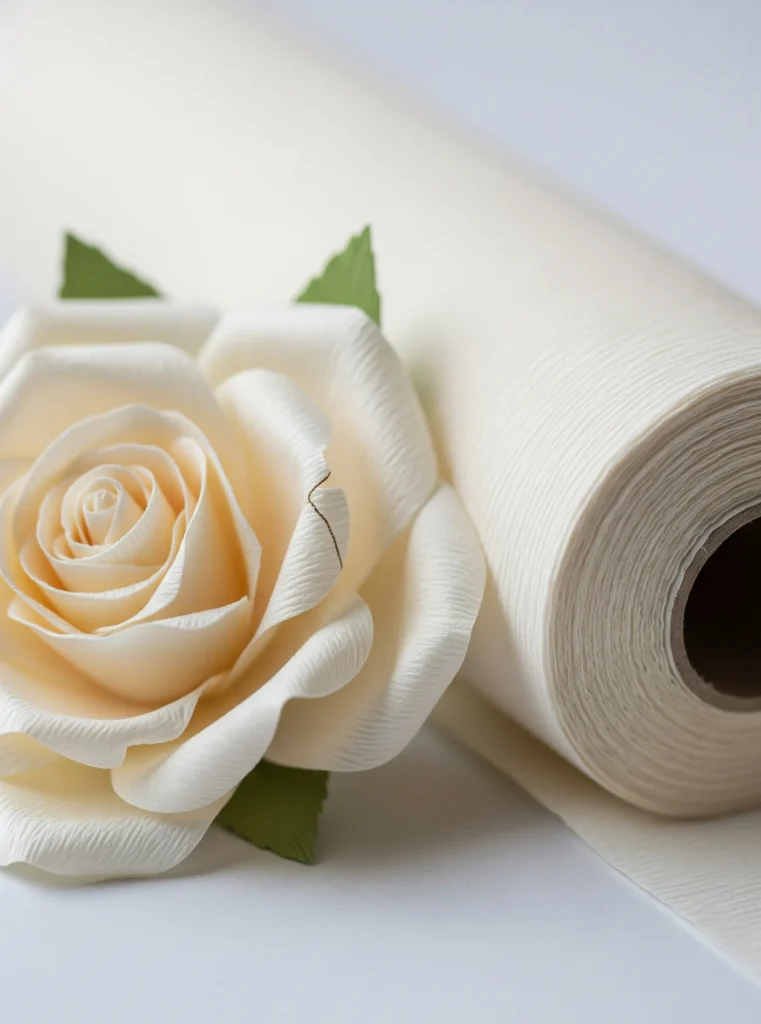
- “My petals are too stiff!” Been there. If your flowers look a bit… cardboard-y, you’re probably using cardstock that’s too heavy or not manipulating it enough. Try a lighter weight cardstock, or better yet, switch to crepe paper. Crepe paper’s natural stretch makes it super easy to get those soft, pliable petals.
- “My petals are all uneven!” Ugh, the worst. This usually happens when you’re freehand cutting. The simple fix? Use printable templates. Seriously, they’re a game-changer for consistent, beautifully shaped petals. Cut a few at a time by stacking your paper, and you’ll save a ton of time too.
- “My flowers aren’t sticking together!” This is usually a glue issue. Are you using school glue? Bless your heart, but that ain’t gonna cut it for paper flowers. You need a hot glue gun or a really good tacky craft glue. Hot glue sets fast, which is essential when you’re layering petals. If your hot glue isn’t holding, make sure your gun is fully heated up before you start.
Pro Tip: Don’t be afraid to pull apart a flower if it’s not working. Sometimes it’s better to start fresh with a few petals than to try and force it. No one needs that kind of negativity in their craft life!
Final Tips for Making Paper Flowers Look Realistic
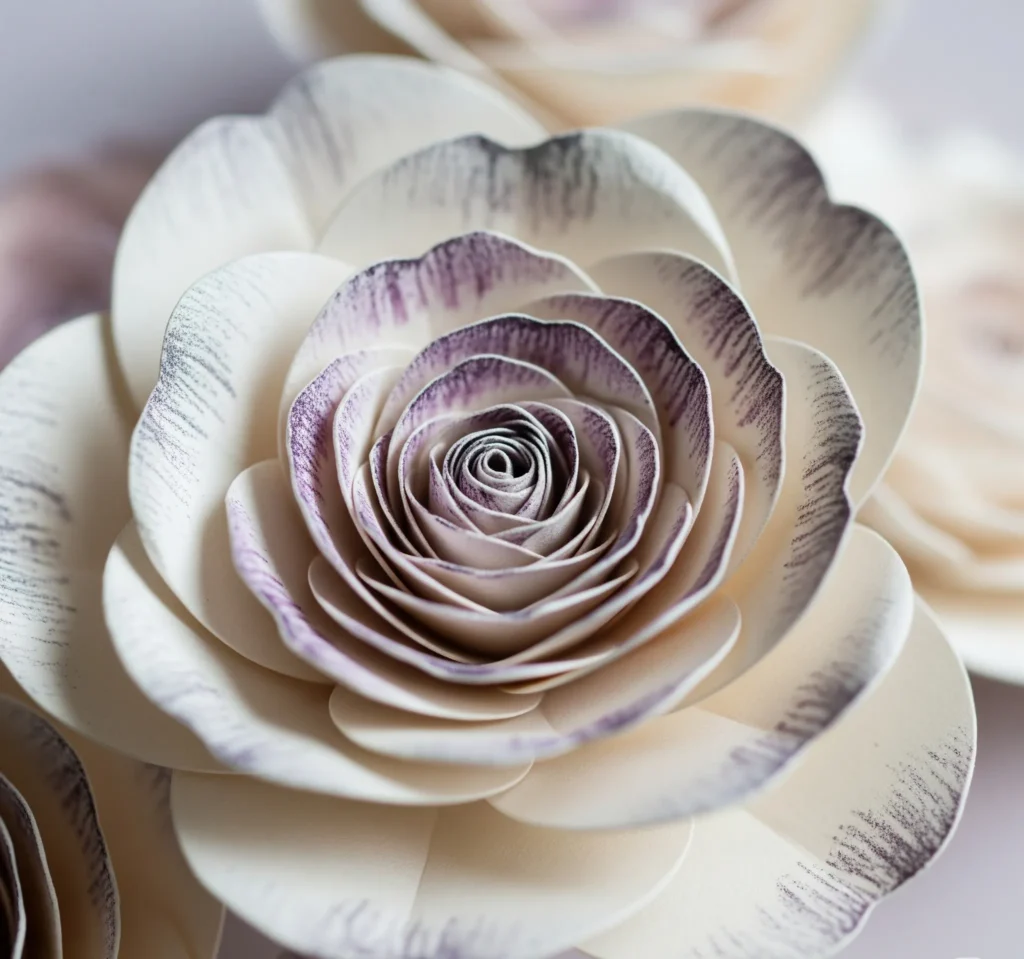
So you want your paper blooms to fool even the most discerning eye? I got you. It’s all in the details, my friend. These how to make realistic paper flowers hacks will elevate your game.
- Use Gradient Paper or Add Shading with Ink: Real flowers aren’t one flat color. Their petals often have subtle color variations. You can mimic this by using paper that already has a gradient, or my favorite trick: gently sponge a slightly darker or lighter shade of ink or paint onto the base or tips of your petals. This instantly adds depth.
- Curl Petals in Layers: Don’t just curl the whole petal at once. Curl the tips, then maybe the middle, then the base. Different levels of curl create a more organic, natural look, making your lifelike paper blooms truly shine.
- Fluff and Stagger Layers for Depth: Once your flower is assembled, don’t just leave it flat. Gently fluff out the petals, staggering them so they don’t all sit in perfect, boring lines. Overlap them slightly, push some up, pull some down. Embrace the natural asymmetry of real flowers.
Pro Tip: Look at real flowers! Seriously, grab a bouquet from the grocery store and just observe. How do the petals sit? What are the color variations? This kind of observation is your best art teacher.
Free Download: Easy Printable Paper Flower Templates (PDF)
Alright, enough talk, let’s get you crafting! As promised, here are your free paper flower templates PDF downloads. I’ve included a few options, ranging from beginner-friendly to slightly more intricate, so there’s something for everyone.
- Beginner Paper Rose Template – Perfect for your very first paper flower!
- Intermediate Giant Wall Daisy Template – A classic that will build your skills.
- Advanced Peony Template – For when you’re ready to show off!
Download now and start creating! What are you waiting for? Click, print, and let’s make some magic! And hey, if you want more awesome DIY projects and exclusive templates sent straight to your inbox, sign up for my newsletter below! 😉
Conclusion: You Don’t Need a Green Thumb to Make These Flowers Bloom
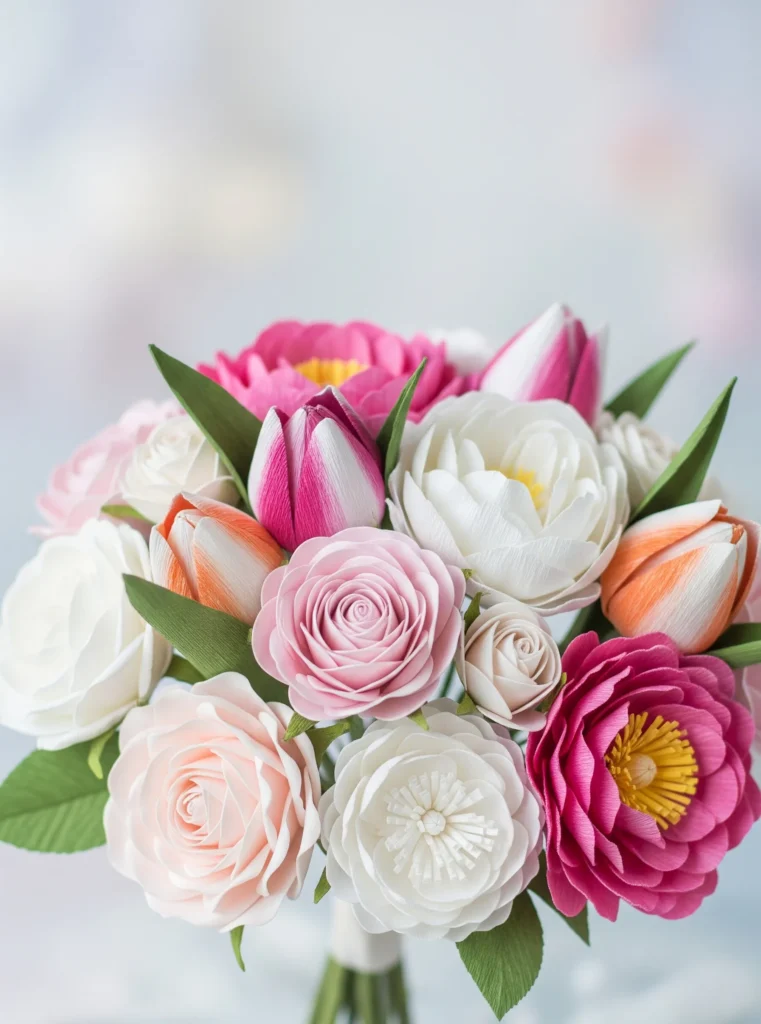
So, there you have it! Who knew something so gorgeous could be so… paper-y? Seriously, making these flowers is way easier than it looks, and the payoff is huge. No more wilted bouquets or sad-looking plastic plants. You’ve got the power to create stunning, lasting beauty with just a few supplies and a little bit of patience.
Don’t be afraid to experiment, tweak, and make these designs your own. The best part about DIY is adding your unique flair. And when you make yours, please, oh please, share your creations with me! I live for that stuff. Tag us @homesmadestylish on Instagram! And if you’re hungry for more crafty goodness, check out my other DIY tutorials [link to related DIY tutorials] – you won’t regret it!
Pin it to save for later! And tag us @homesmadestylish when you make yours!


