How many times have you scrolled past those mesmerizing slime videos, thinking, “I wish I could make that”? Or maybe your kiddo has been begging non-stop, and you’re just trying to avoid another Pinterest fail. Been there, done that, got the sticky t-shirt. But guess what? I’ve cracked the code on the best slime recipe for beginners, and I’m spilling all the beans. This isn’t just a no-fail slime recipe; it’s practically magic, perfect for little hands (and big ones!).
Why This Is the Best Slime Recipe for Beginners
Let’s be real, making slime can feel like a science experiment gone wrong sometimes, right? So many recipes out there promise the moon but deliver a sticky, unmanageable mess. This particular step-by-step slime tutorial is different. It’s tried, tested, and honestly, perfect for kids who are just starting their slime-making journey. No more throwing out batches of failed goo!
Beyond the obvious mess-free fun, making slime offers fantastic sensory play benefits. It’s squishy, stretchy, and surprisingly calming. Plus, we’re using safe slime ingredients you likely already have or can easily find. So, if you’re ready to dive into some seriously fun DIY slime, stick around! You won’t regret it.
What You Need: Slime Ingredients Checklist
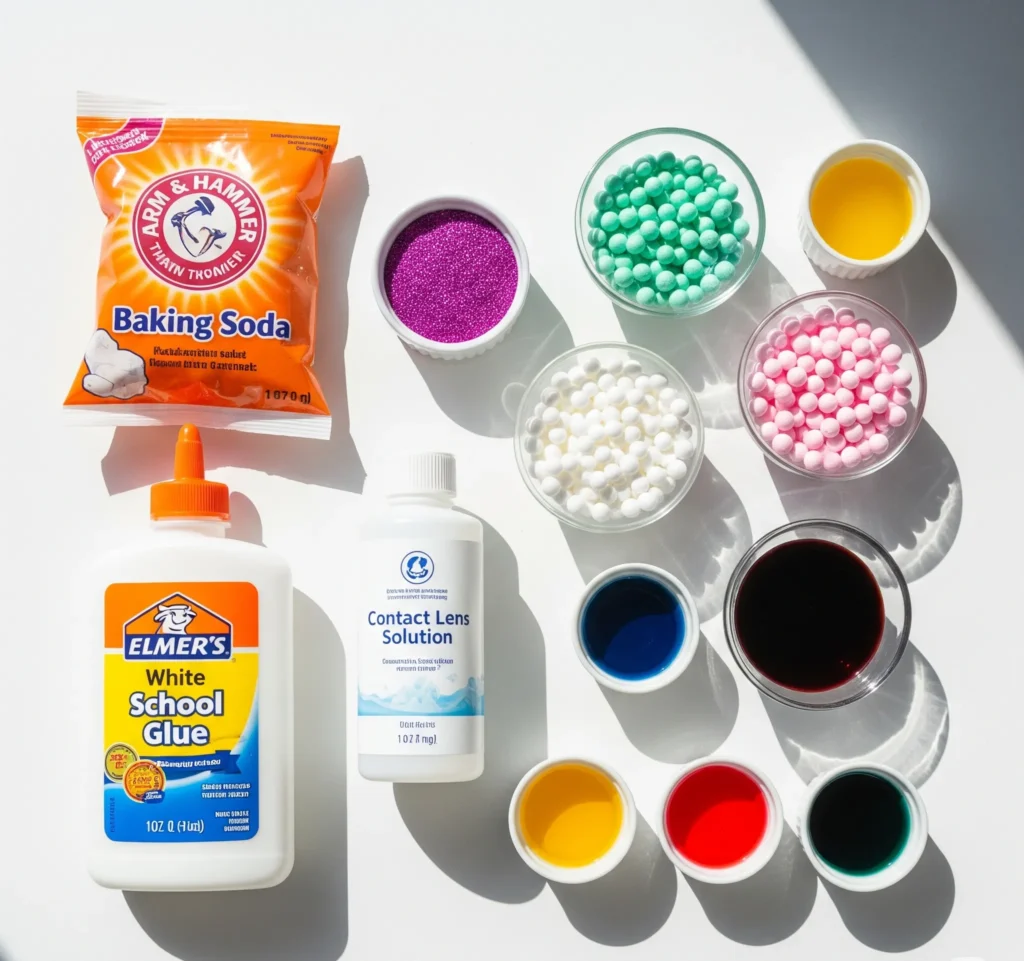
Okay, before we get our hands gooey, let’s gather our supplies. Think of this as your slime-making arsenal. You don’t need a ton of fancy stuff, just a few key players. IMO, keeping it simple is the key to a safe slime recipe.
- White School Glue (PVA): This is the backbone of our slime. Think Elmer’s or any generic white school glue. The PVA (polyvinyl acetate) is what reacts to make that glorious stretchy texture. Don’t skimp here; quality matters for the best stretch.
- Baking Soda: Our secret weapon for consistency! Baking soda helps activate the slime, giving it that perfect bounce and reducing stickiness.
- Contact Lens Solution (or Saline Solution): This is your primary activator. The boric acid and sodium borate in most contact lens solutions react with the PVA glue to form the slime. Make sure your solution contains these ingredients for it to work its magic.
- Optional Fun Stuff: This is where you get to personalize your slime!
- Food Coloring: Gel food coloring works wonders for vibrant hues, but liquid drops are fine too.
- Glitter: Because everything is better with a little sparkle, am I right?
- Foam Beads: For that crunchy, satisfying texture.
- Small Plastic Bowl and Spoon: To mix your masterpiece in.
Step-by-Step Instructions for Making Slime (With Photos!)
Alright, my fellow slime enthusiast, it’s showtime! This is the part where we turn those simple ingredients into glorious, stretchy slime. Follow these slime making instructions closely, and you’ll be a slime pro in no time. This easy slime tutorial is truly how to make slime step-by-step without any headaches.
Step 1: Pour Glue into a Bowl
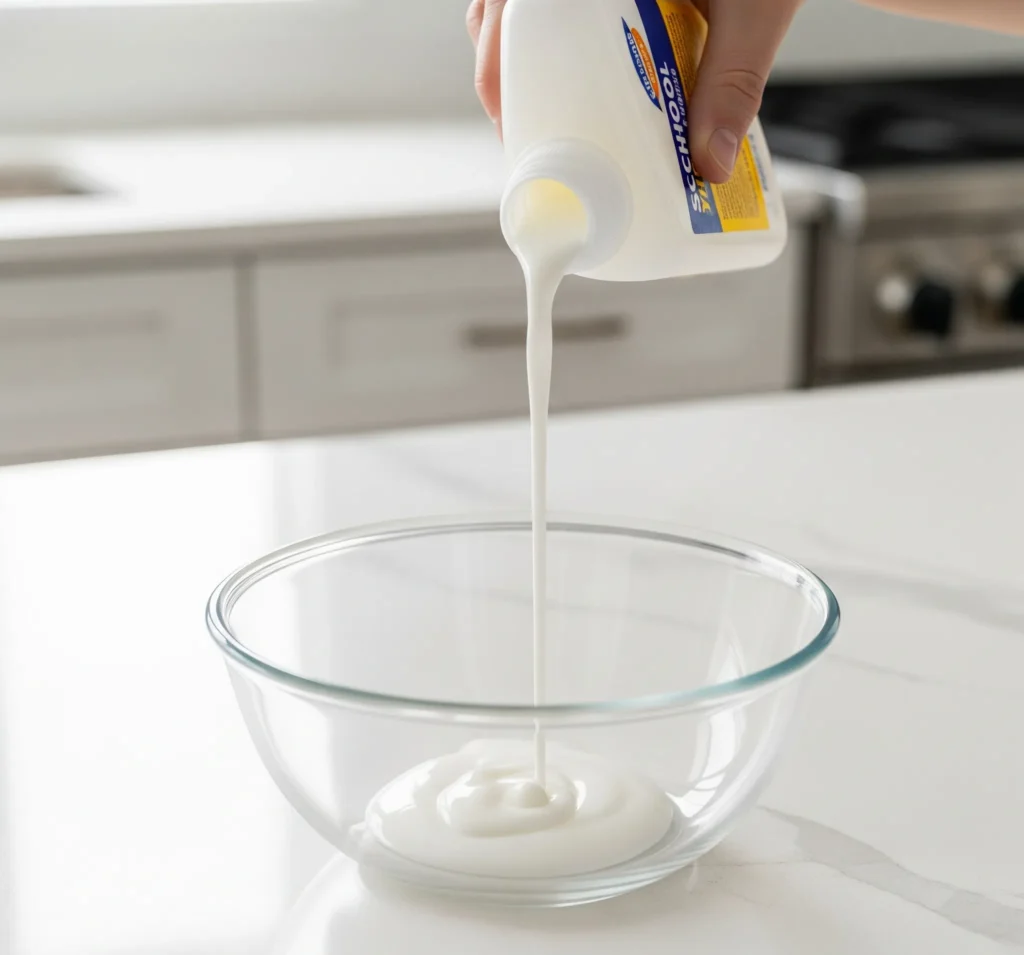
First things first, grab your mixing bowl. I usually use a medium-sized one so I have plenty of room to mix without making a huge mess. Pour about half a cup (4 oz) of white school glue into the bowl. If you want to make a bigger batch, just double everything! This is the foundation of your beginner slime DIY.
Step 2: Add Baking Soda and Mix
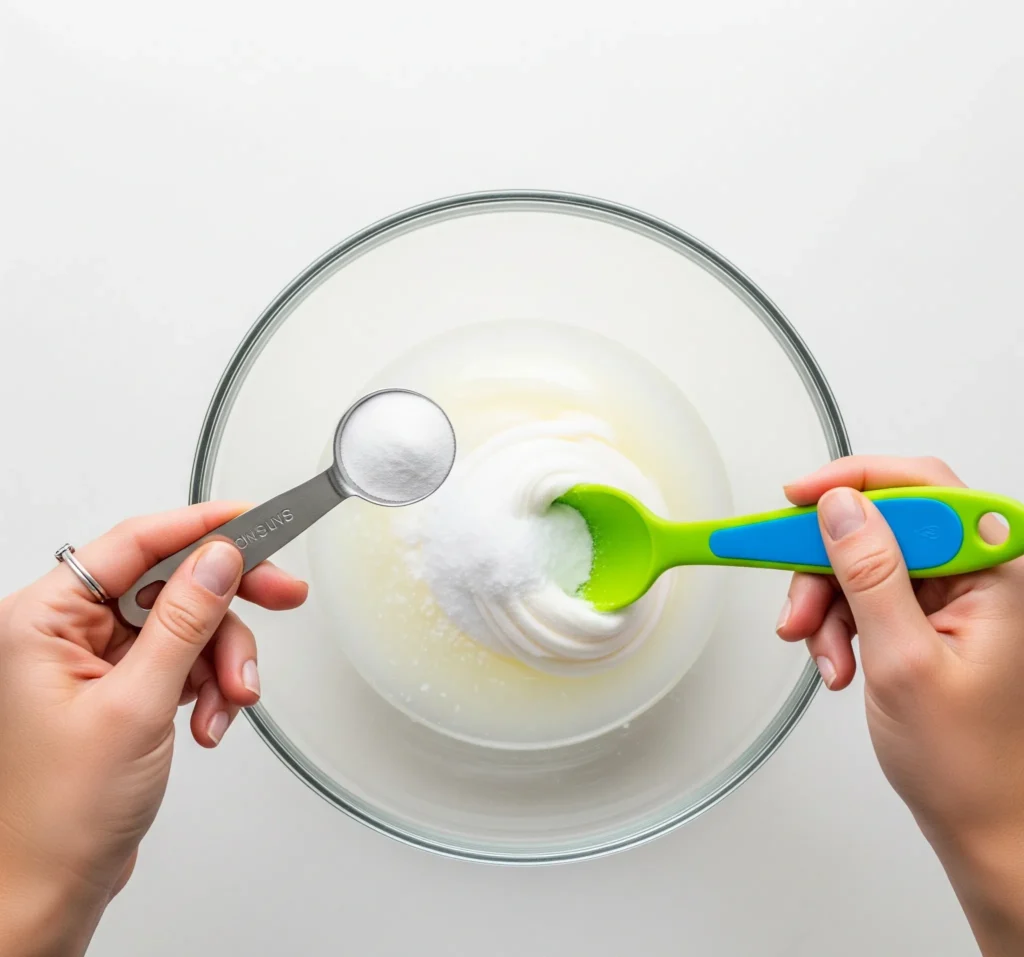
Next up, sprinkle in half a teaspoon of baking soda with your glue. Now, take your spoon and mix it all together really well. You want to make sure the baking soda is completely dissolved and evenly distributed throughout the glue. This step is crucial for getting that perfect non-sticky consistency later on. Don’t rush it!
Step 3: Add Food Coloring or Extras
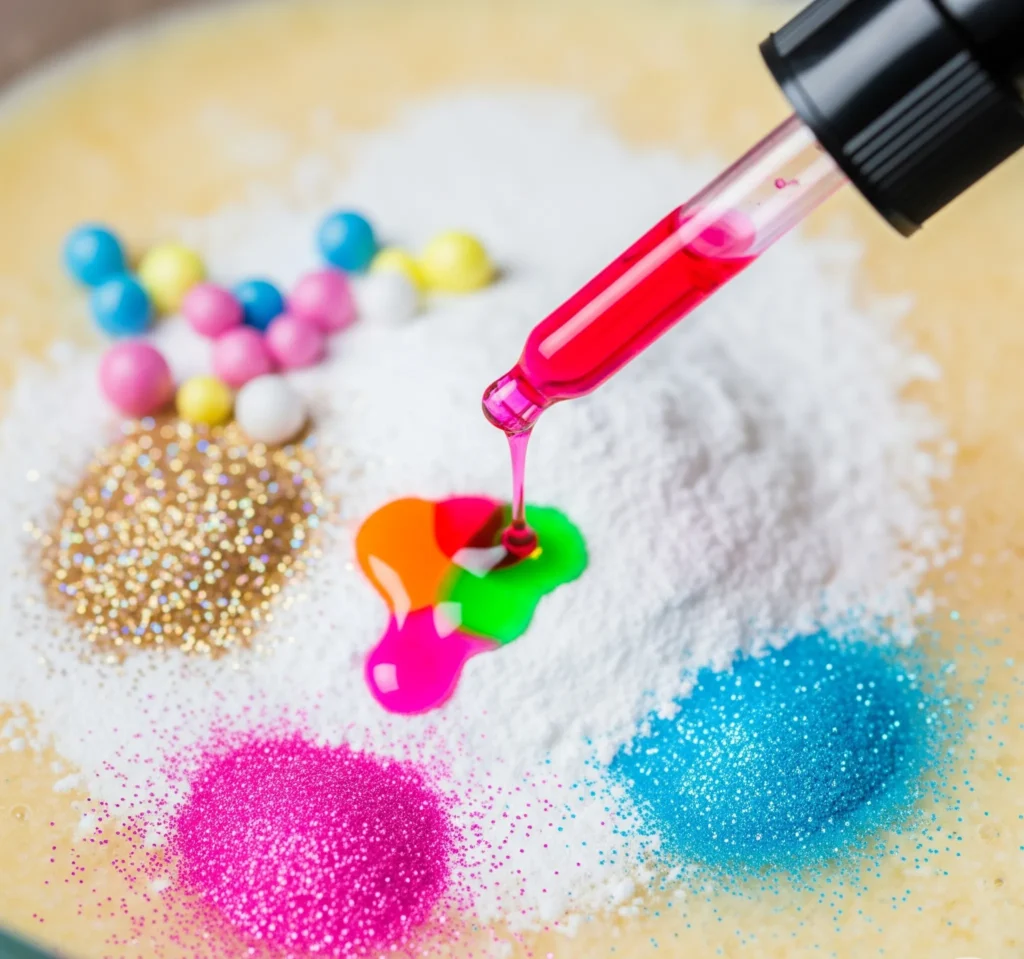
Here’s where the fun really begins! If you want colored slime, add a few drops of food coloring now. Start with 2-3 drops, mix, and then add more if you want a deeper shade. This is also the time to toss in any glitter, foam beads, or other fun add-ins you’ve got. Mix ’em in good! Don’t be shy; make it your own!
Step 4: Add Contact Lens Solution Slowly
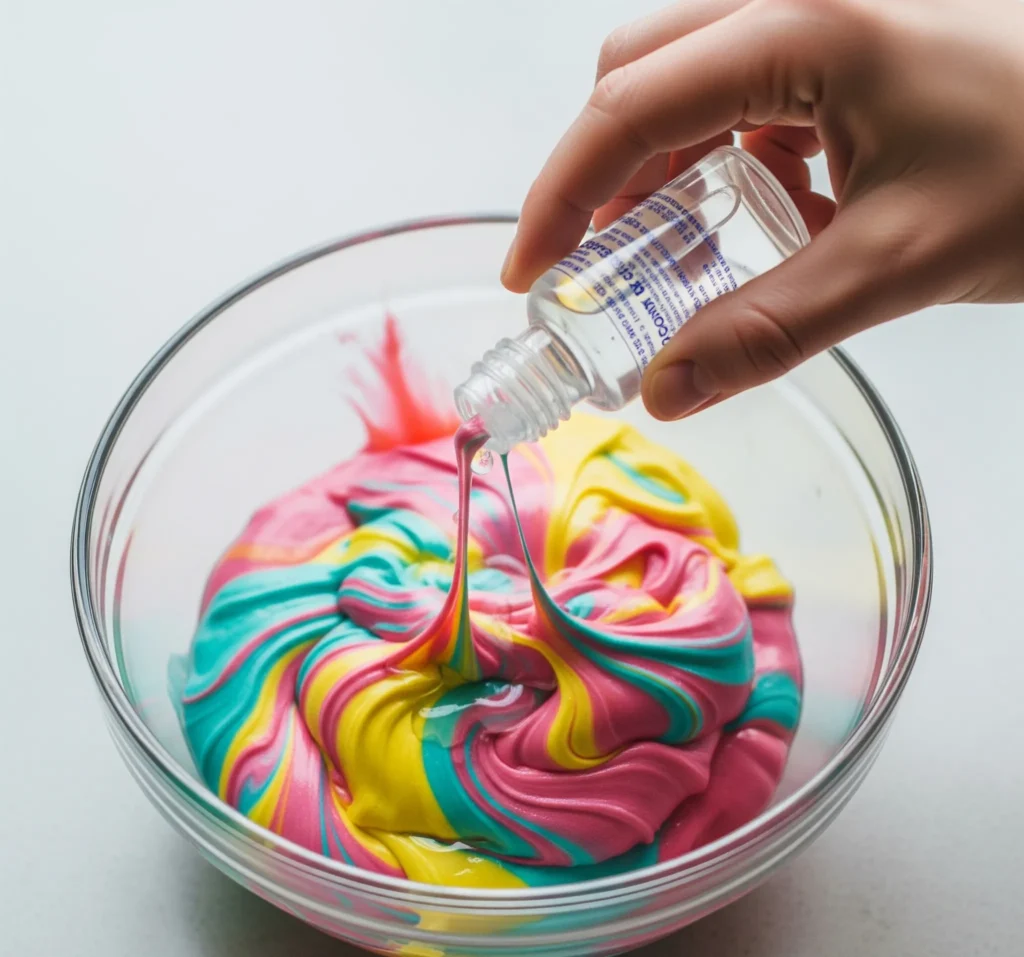
This is the magic moment! Slowly add one tablespoon of contact lens solution to your mixture. Stir, stir, stir! You’ll notice almost immediately that the mixture starts to clump together and pull away from the sides of the bowl. If it’s still too sticky after a minute or two of mixing, add another half tablespoon of contact solution, mix, and repeat until it starts to form a cohesive blob. The key here is slowly and gradually. Don’t dump it all in at once, or you’ll end up with a rubbery mess. This is often the trickiest part of how to make slime at home.
Step 5: Knead Until It’s the Perfect Stretchy Slime
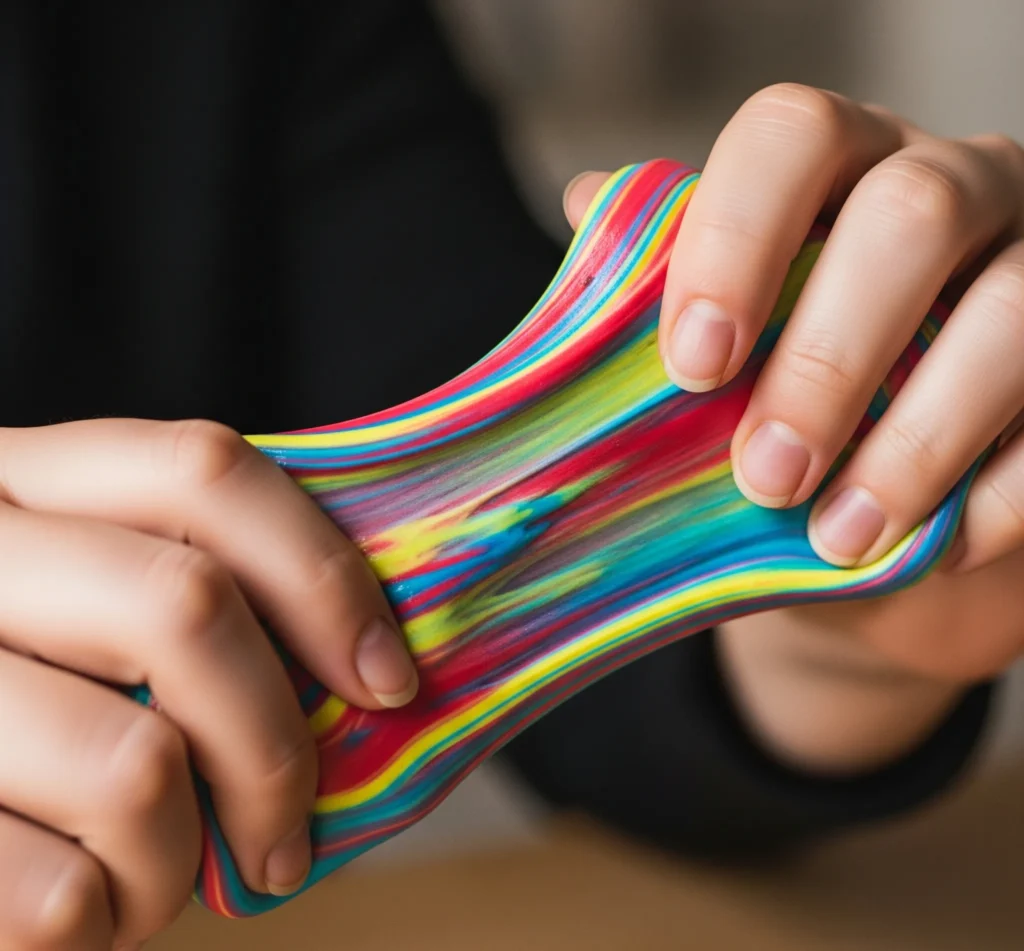
Once your slime has mostly pulled away from the bowl and is less sticky, it’s time to get your hands dirty! Take the slime out of the bowl and start kneading it with both hands. It might be a little sticky at first, but keep kneading. The warmth from your hands and the continued mixing will help activate the remaining solution, making it less sticky and more stretchy. This is how you achieve that perfect stretchy slime. Keep going until it’s smooth, stretchy, and no longer sticks to your hands. This usually takes about 5-10 minutes. Congratulations, you just nailed this easy slime recipe!
Troubleshooting: What to Do If Your Slime Is Too Sticky or Too Hard
Okay, so you followed all the steps for your DIY slime with photos, but your slime isn’t quite right? Don’t panic! Even the pros face a little slime troubleshooting now and then. It’s a learning curve, and I’ve got quick fixes for you.
Slime Too Sticky?
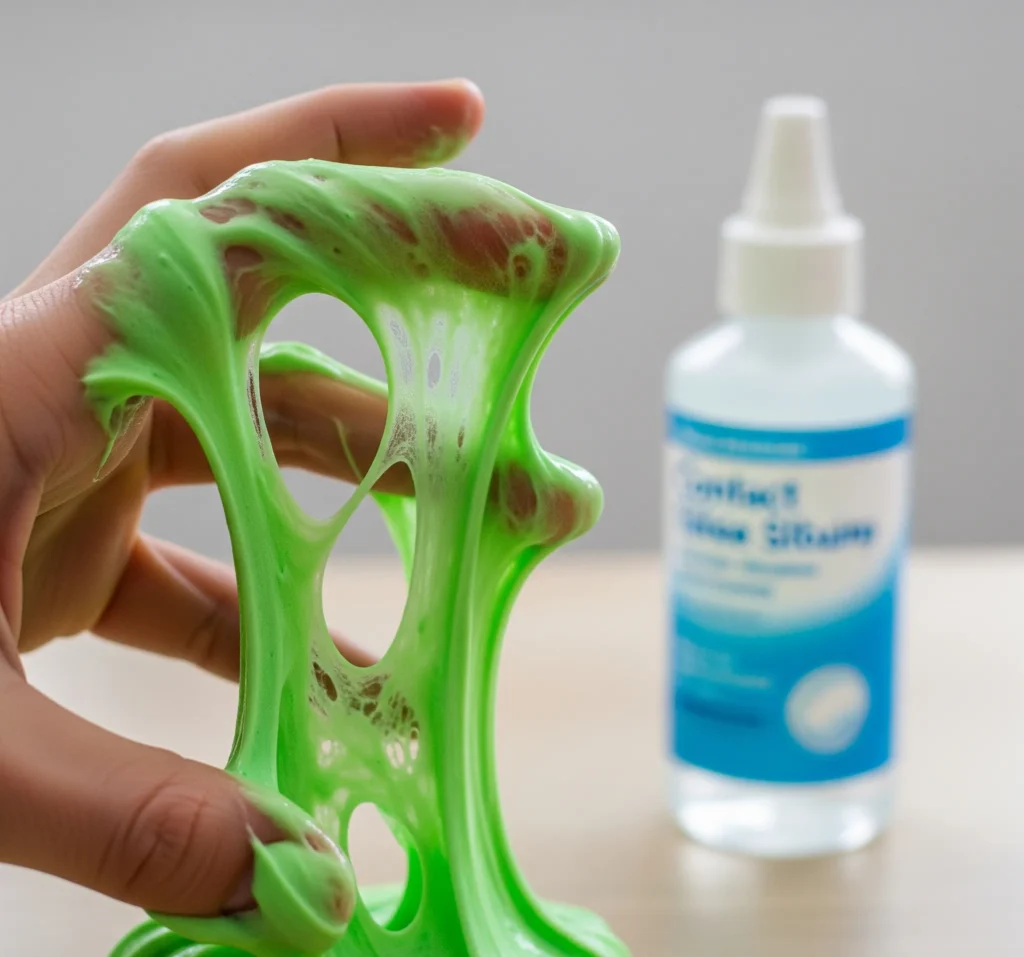
This is probably the most common issue. If your slime is sticking to everything like a clingy toddler, it just needs a bit more activator. Quick Fix: Add tiny amounts (think 1/4 teaspoon at a time) of contact lens solution and knead it in. Keep adding and kneading until it reaches your desired non-sticky consistency. Patience is key here! A little goes a long way. This is your go-to slime too sticky fix.
Slime Too Hard or Not Stretchy Enough?
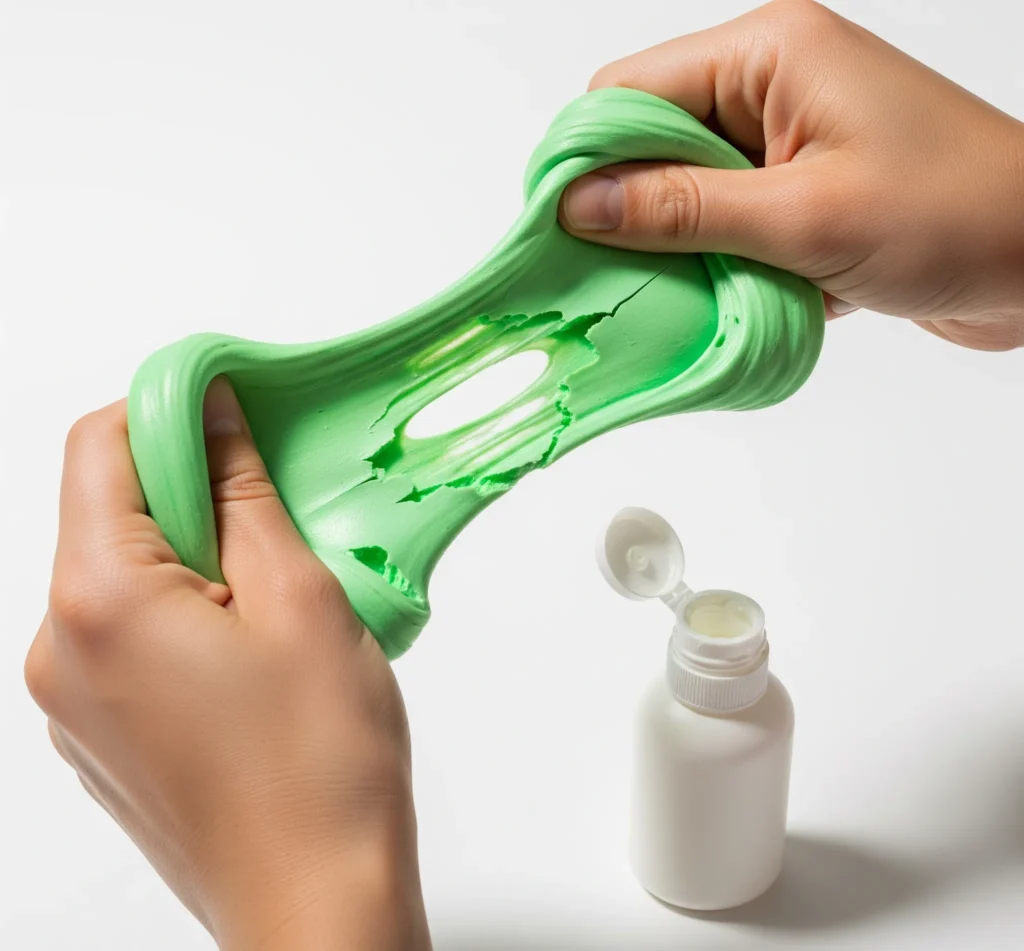
If your slime feels more like a bouncy ball than a stretchy, gooey wonder, it means you’ve probably added a smidge too much activator. Quick Fix: Try adding a tiny squirt of lotion (unscented works best, IMO) or a small amount of white school glue. Knead it into the slime. The lotion helps soften it and restore some elasticity. You can also try adding a few drops of water, but be careful not to make it too watery! Keep kneading until it loosens up and becomes pliable again. This is how to fix slime that’s gone a bit stiff.
Fun Variations to Try Next
Once you’ve mastered the basic kid-approved slime recipe, why stop there? The world of slime is vast and full of exciting possibilities! Here are a few fun indoor activity for kids ideas to keep the slime party going.
Fluffy Slime
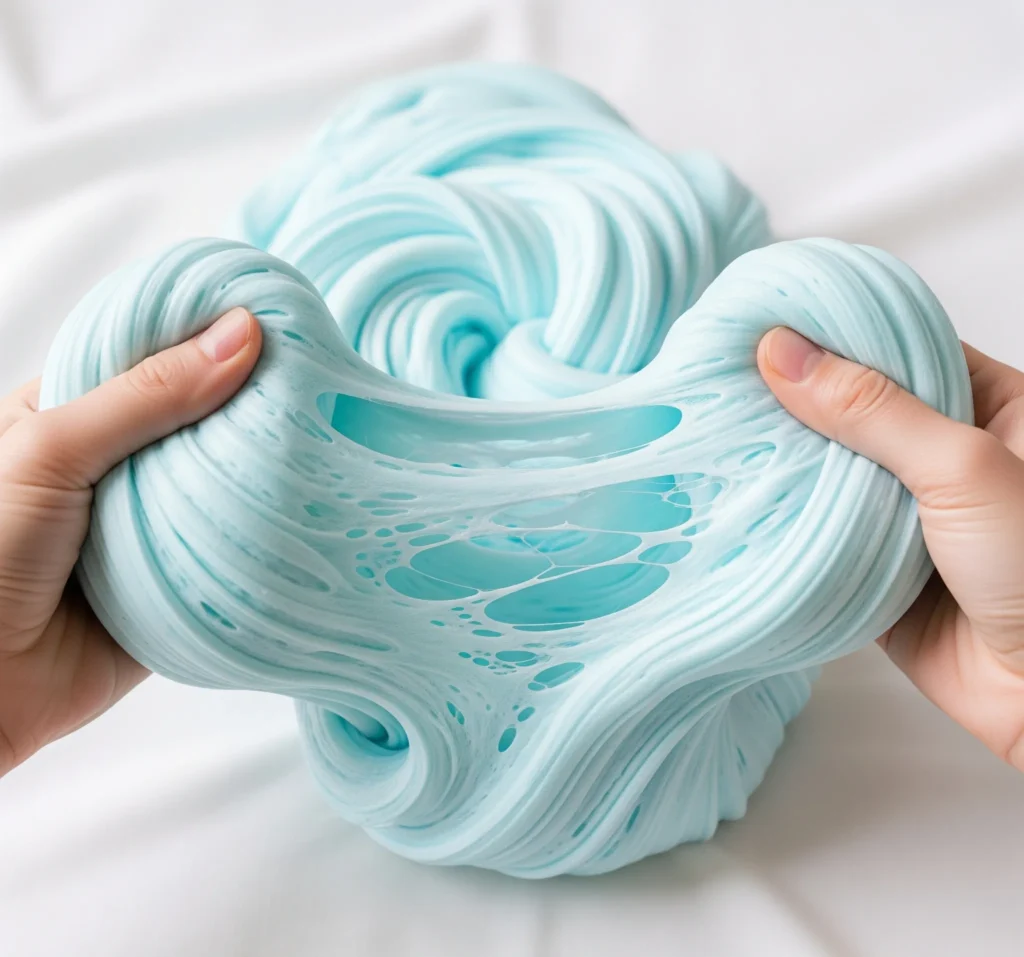
This is a crowd-pleaser and super satisfying to play with. How to Make It: Start with your basic white glue, then add a generous amount of shaving cream (not gel!). Mix well before adding your baking soda and contact lens solution. The more shaving cream you add, the fluffier it gets! This is hands down my favorite fluffy slime recipe.
Glitter Slime
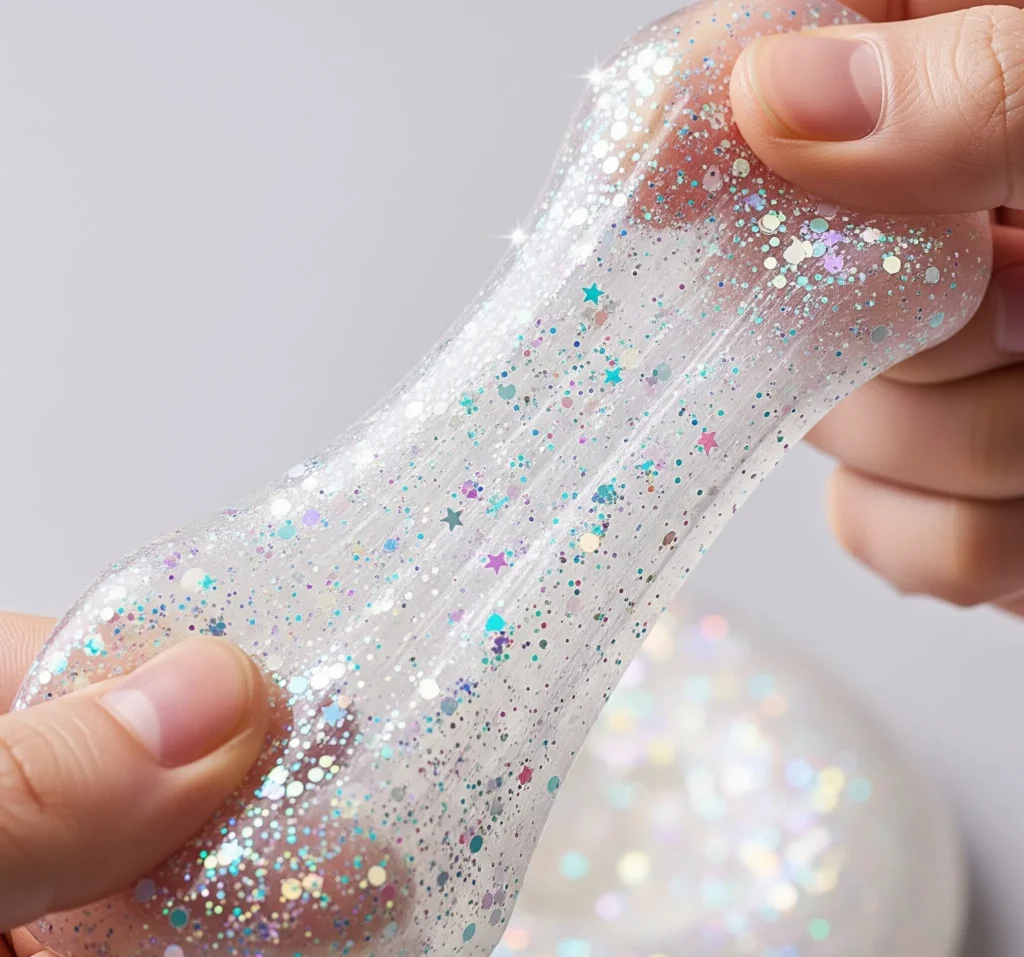
For those who believe more sparkle is always the answer (and who doesn’t?). How to Make It: Just like our original recipe, but go wild with the glitter in Step 3! Mix in fine glitter, chunky glitter, iridescent glitter – whatever makes your heart sing. This is a simple but effective glitter slime variation.
Glow-in-the-Dark Slime

Perfect for a spooky party or just some nighttime fun! How to Make It: Add glow-in-the-dark paint (the kind that glows under a black light or after being “charged” in light) to your glue mixture in Step 3. Mix thoroughly. Follow the rest of the steps as usual. Charge it under a bright light, then turn out the lights and watch it glow! Seriously cool stuff. This glow in the dark slime is always a hit.
Slime Storage & Cleanup Tips
Okay, you’ve made your awesome slime, played with it for hours, and now what? Proper storage is key to making your creation last, and let’s be real, knowing slime cleanup tips is essential for maintaining sanity!
How to Store Slime
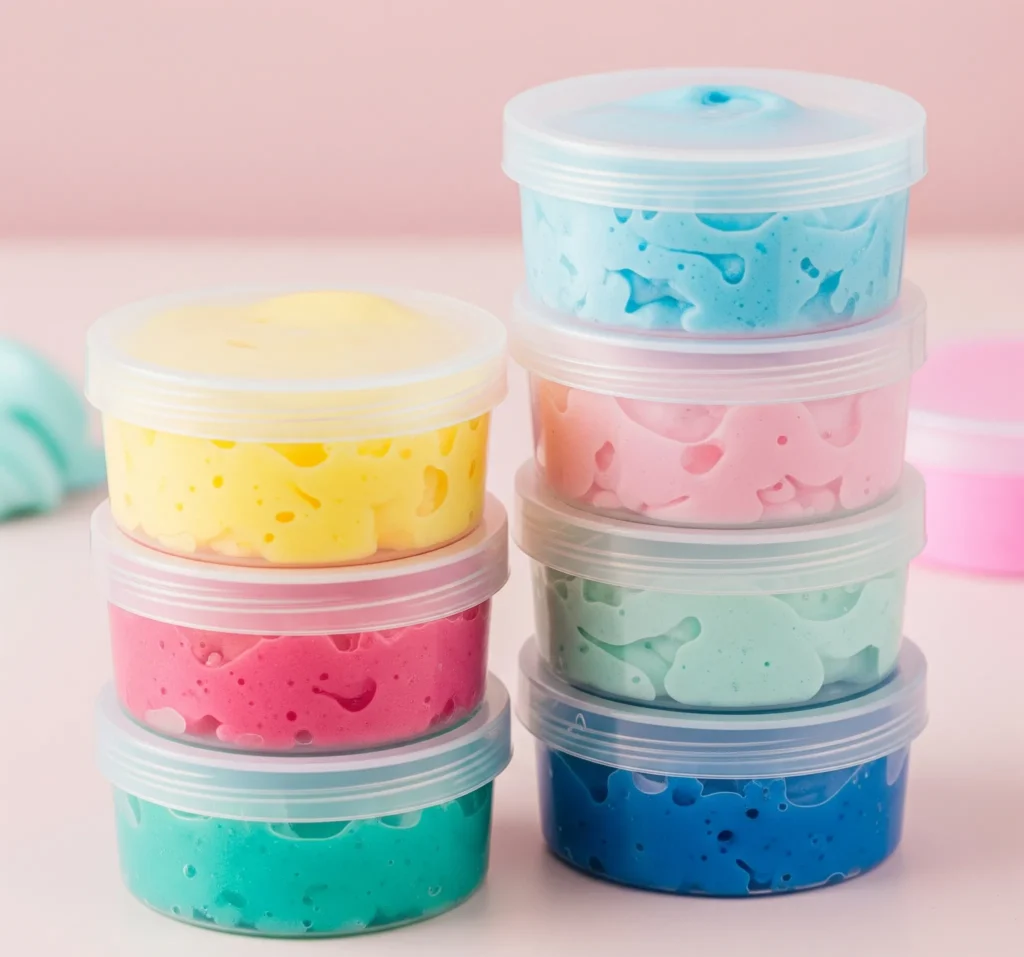
To keep your slime fresh and stretchy for as long as possible (which can be weeks if stored correctly!), you need to keep it in an airtight container. Think Tupperware, Ziploc bags, or even old contact lens cases for tiny batches. Pro Tip: Store your slime in a cool, dry place away from direct sunlight. If it starts to feel a bit stiff after a while, you can try kneading in a tiny bit of lotion or a drop of water to revive it. This is the ultimate how to store slime hack!
How to Get Slime Out of Carpet/Fabric
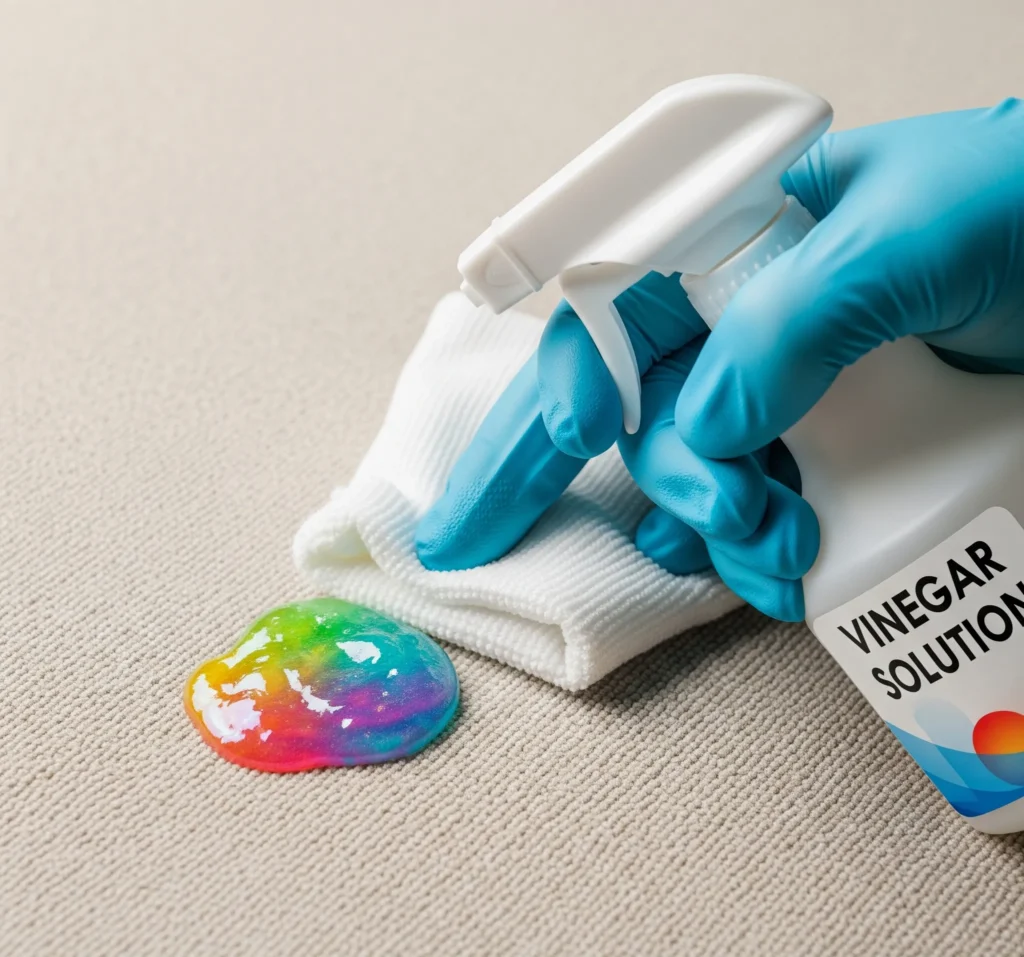
Accidents happen, especially when kids are involved. Don’t freak out if your gorgeous creation ends up where it shouldn’t! Quick Hacks:
- For fresh slime: First, try to scrape off as much as you can with a spoon or dull knife.
- For dried slime: Mix equal parts white vinegar and warm water. Blot the affected area with a cloth soaked in the solution. Let it sit for a few minutes, then gently scrub with a brush. The vinegar helps break down the glue. You might need to repeat this a few times.
- Rubbing Alcohol: For stubborn spots, a little rubbing alcohol on a cotton ball can work wonders. Just dab, don’t rub, and always test on an inconspicuous area first! This slime mess-free advice will save you headaches, trust me.
Final Thoughts: Keep the Slime Fun Going!
Well, there you have it, folks! Your complete guide to making awesome, easy slime DIY that kids (and adults!) will absolutely adore. We’ve covered everything from the basic best slime recipe for kids to troubleshooting and even cool variations. It’s been a wild, wonderfully sticky ride, hasn’t it?
Don’t stop here! The world of slime is constantly evolving, with new textures and ingredients popping up all the time. Feel free to experiment with different add-ins, colors, and even scents. This Pinterest slime tutorial is just the beginning of your slime-making adventures. I’d love to see what you create, so don’t hesitate to share your slime masterpieces or drop a comment below with your favorite slime-making tips! Happy sliming!
Learn how to make slime without activator.
Learn how to make slime without glue.
Printable Recipe Card
Want just the essential recipe details without scrolling through the article? Get our printable recipe card with just the ingredients and instructions.


