Okay, let’s get this party started! Slime. Remember those days of sticky, glittery chaos? For years, it felt like glue was the undisputed king of the slime kingdom. But honestly, who needs all that fuss (and the occasional eye-roll from parents when the glue bottle runs out mid-project)? As someone who’s spent more than a fair share of rainy afternoons diving headfirst into DIY concoctions, I’m here to tell you that how to make slime without glue isn’t just possible, it’s actually… dare I say it… better!
Why Make Slime Without Glue?
Let’s be real, sometimes you just don’t have glue on hand. Or maybe you’re like me and have a kiddo with sensitive skin. Perhaps you’re just looking for a safe slime recipe that doesn’t involve borax, which, let’s be honest, can feel a bit intimidating to use with little ones. Whatever your reason, cutting out the glue and borax opens up a whole new world of possibilities for creative, hands-on fun.
These no glue no borax slime recipes I’m about to share aren’t just safe; they’re incredibly easy, surprisingly mess-friendly (compared to traditional slime, anyway!), and absolutely perfect for those “what are we going to do today?” moments or impromptu playdates. Trust me, your kids (and your sanity) will thank you.
Recipe #1: Cornstarch and Dish Soap Slime (No Glue, No Borax)
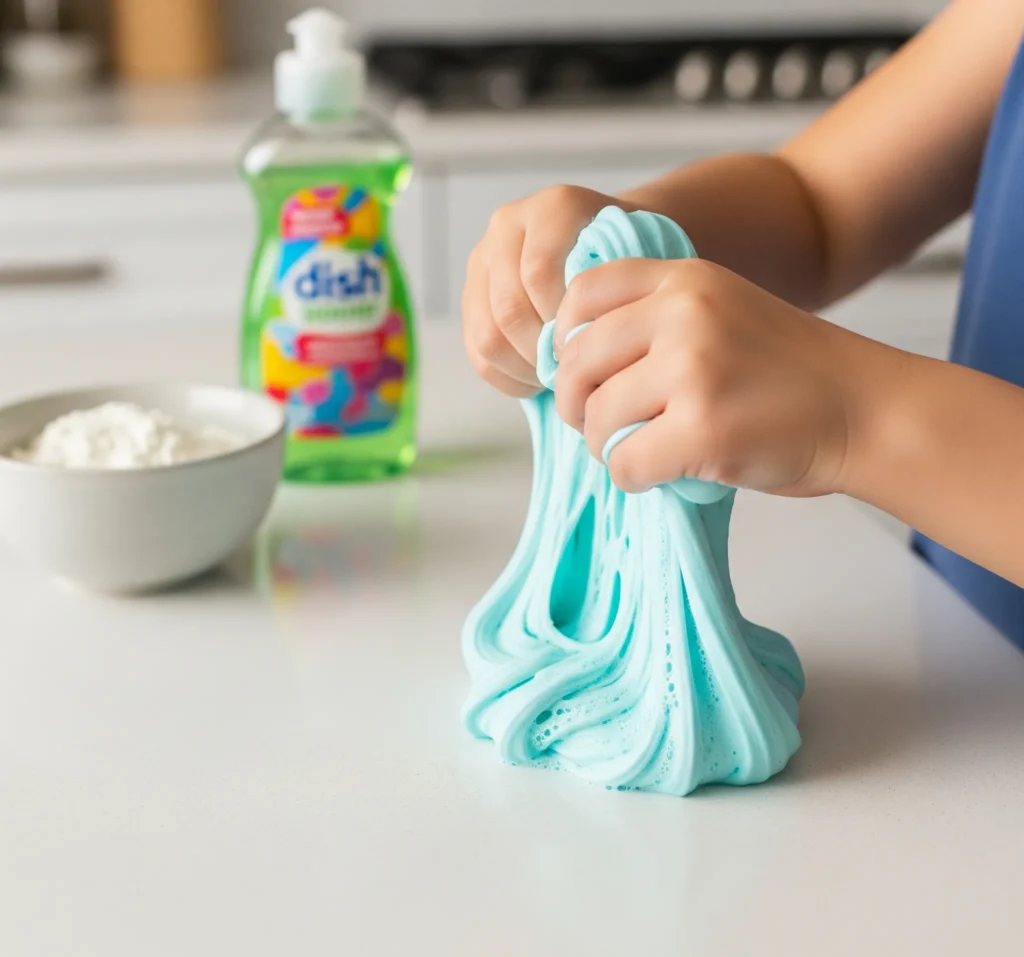
This one is a total winner for its simplicity and the amazing texture it creates. It’s like a soft, squishy cloud that kids just can’t get enough of. Plus, you probably have these ingredients just chilling in your pantry right now!
Ingredients:
- Dish soap (any kind works, but I find thicker ones give a better result)
- Cornstarch
- Optional: Food coloring or glitter (because who doesn’t love a bit of sparkle?)
Instructions:
- Get Your Base Ready: Grab a bowl and pour in about 1/4 cup of dish soap. If you’re adding food coloring, now’s the time! Stir it in until you get a nice, even color. Seriously, don’t skimp on this step – a well-mixed color makes for prettier slime.
- Slowly Add the Magic Dust: Begin adding cornstarch, a tablespoon at a time, and stir, stir, stir! It’ll start to look lumpy and weird at first, but don’t give up hope. This is where the magic happens.
- Knead It Out: Once it starts to pull away from the sides of the bowl, ditch the spoon and get your hands in there. Knead the mixture like you’re making tiny bread dough. Keep adding small amounts of cornstarch until it reaches that perfect, moldable dish soap slime consistency. It should be pliable but not too sticky. Think Play-Doh, but stretchier.
Why Kids Love It:
My kids go absolutely gaga for the super soft, squishy, and wonderfully moldable texture of this slime recipe without glue. It’s less stretchy than traditional slime, but its unique feel makes it perfect for shaping and squishing. It’s seriously tactile fun, and since it’s a DIY cornstarch slime, you know it’s super gentle on their hands.
Pro Tip: If your slime starts to feel a bit too crumbly, add a tiny drop or two of dish soap and knead it in. It’s like a mini spa treatment for your slime!
Recipe #2: Shampoo and Salt Slime (2-Ingredient Slime!)
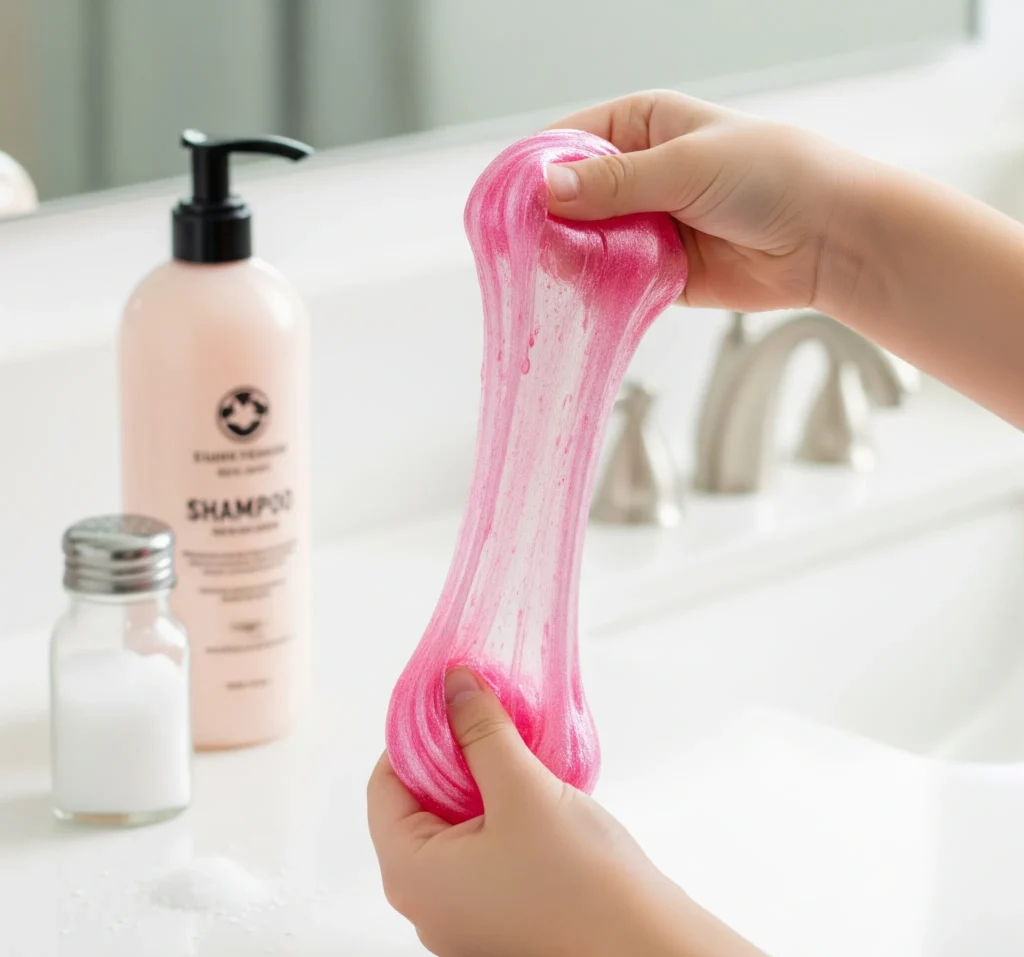
If you’re looking for a quick fix that uses minimal ingredients, this shampoo slime is your new best friend. It’s probably one of the simplest slime with no glue recipes out there, which is why it’s constantly blowing up on Pinterest.
Ingredients:
- Thick shampoo (the thicker, the better for this one! Think creamy, not watery)
- Table salt
- Optional: Food coloring (again, for that extra pop!)
Instructions:
- Shampoo & Color Power: Pour a good amount of shampoo into a bowl – maybe about 1/4 to 1/2 cup, depending on how much slime you want. Add a few drops of food coloring if you’re feeling fancy, and mix it thoroughly.
- Salt it Up (Carefully!): This is the crucial step, so pay attention, buttercup! Start adding a tiny pinch of salt at a time. Seriously, a pinch! Stir well after each addition. You’ll notice the shampoo thickening almost immediately. If you add too much salt, it’ll turn watery, and nobody wants watery slime, right? You’re aiming for a gooey, stretchy texture.
- Chill Out: Once you have that perfect consistency, pop the bowl into the freezer for about 10–15 minutes. This helps solidify the mixture and makes it less sticky.
- Gentle Knead: Remove from the freezer and gently knead your 2-ingredient slime. It will be a bit firm at first, but as it warms up in your hands, it will become perfectly pliable.
Why It’s Popular on Pinterest:
It’s literally a 2-ingredient slime that uses stuff you already have. No fancy trips to the craft store needed. It’s the ultimate “I need slime now!” solution. Plus, it usually smells pretty good thanks to the shampoo. IMO, that’s a huge bonus!
Pro Tip: The type of shampoo really matters here. Thicker, creamier shampoos (like those “2-in-1” types or ones for dry hair) work way better than watery ones. Don’t say I didn’t warn you!
Recipe #3: Flaxseed Slime (Natural & Edible-Safe!)
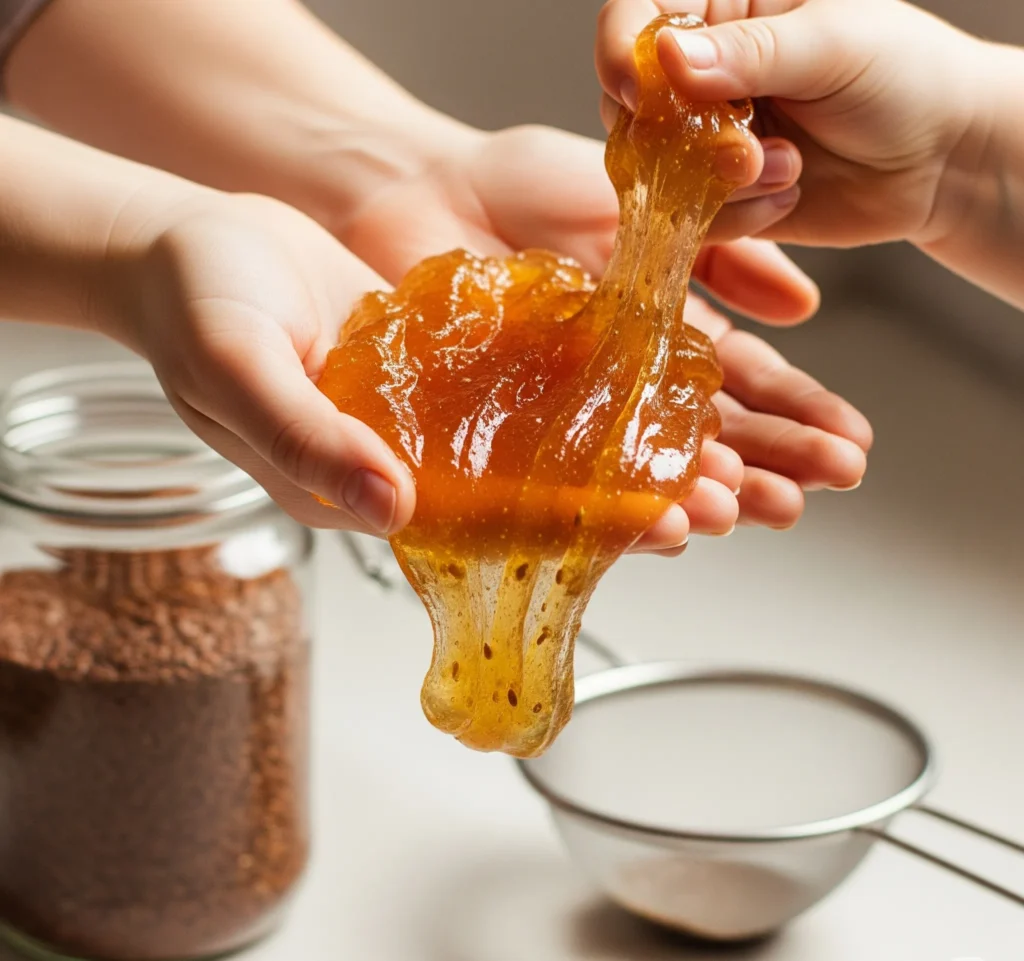
Okay, for all you crunchy, natural parents out there (and let’s be honest, even if you’re not, this is pretty cool), this flaxseed slime is going to be your jam. It’s a fantastic natural slime recipe and gets bonus points for being potentially edible slime (though I still wouldn’t encourage snacking on it, FYI, it’s just safer if it ends up in little mouths).
Ingredients:
- Flaxseeds (also known as linseeds)
- Water
Instructions:
- Soak ‘Em Up: In a bowl, combine about 1/4 cup of flaxseeds with 2 cups of water. Give it a good stir and then let those little seeds soak overnight. They’ll get plump and start releasing their magical gel.
- Simmer for Slime: The next morning, pour the flaxseed and water mixture into a saucepan. Bring it to a gentle simmer over medium heat, stirring constantly. You’ll notice a thick, jelly-like consistency forming. This usually takes about 5-10 minutes.
- Strain and Cool: Once it’s nice and thick, remove it from the heat. Carefully strain the mixture through a fine-mesh sieve or cheesecloth into another bowl. This separates the seeds from the slime gel. Discard the seeds. Let the slime cool completely before letting your kids play with it. Seriously, don’t skip this cooling step unless you want burnt little fingers!
Why Parents Love It:
This one is a parent’s dream because it’s genuinely natural, non-toxic, and ideal for younger toddlers who are still exploring the world with their mouths. It’s a fantastic sensory experience without any worries about questionable chemicals. It might not be as vibrant or stretchy as other slimes, but its safety factor makes it a top choice for little ones.
Pro Tip: If your flaxseed slime feels a bit too thick, you can add a tiny bit of warm water and stir it in. If it’s too thin, a quick re-simmer might thicken it up, but usually, letting it cool thoroughly does the trick.
Slime Storage Tips: How to Keep It Fresh Longer
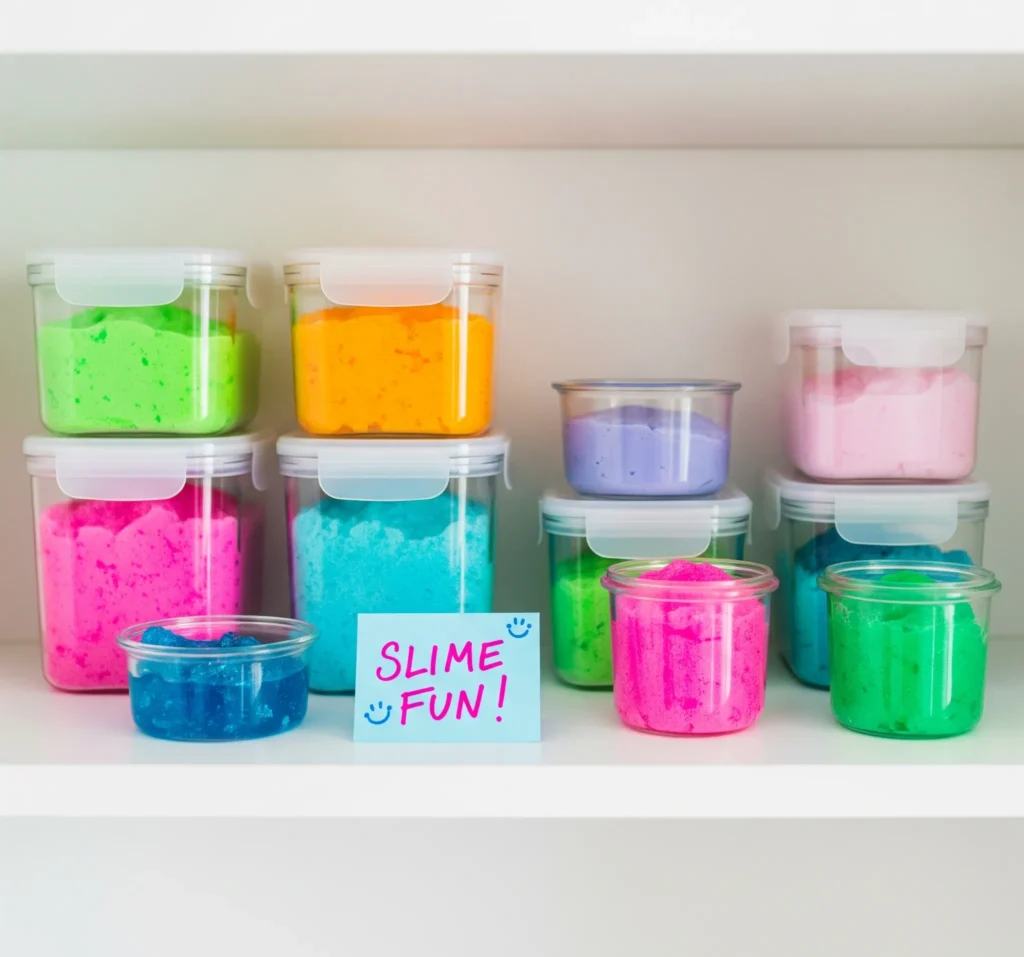
So, you’ve whipped up some awesome glue-free slime. Now what? You want that glorious goo to last, right? No one likes dried-up, crusty slime. Here are my tried-and-true tips for how to store slime and keeping slime fresh for extended play.
- Airtight is Right: This is the golden rule, folks! Always, always store your homemade slime in an airtight container. Think Ziploc bags, old food containers with secure lids, or even small Mason jars. Oxygen is the enemy of fresh slime.
- Chill Out (Literally): Keep your slime away from heat sources or direct sunlight. A cool, dark place (like a cupboard or even the fridge for some types, especially the flaxseed one) will extend its life significantly.
- Revive the Relic: Has your slime gone a bit stiff or dried out? Don’t toss it just yet! For dish soap and cornstarch slime, try adding a few drops of water or a tiny bit more dish soap and kneading it in. For shampoo slime, a spritz of water can sometimes help. It’s amazing how a little hydration can bring it back from the brink!
Pro Tip: Label your slime containers with the date you made it. That way, you know roughly how long it’s been hanging around, and you can manage expectations for its lifespan.
Quick Cleanup Tips for Glue-Free Slime
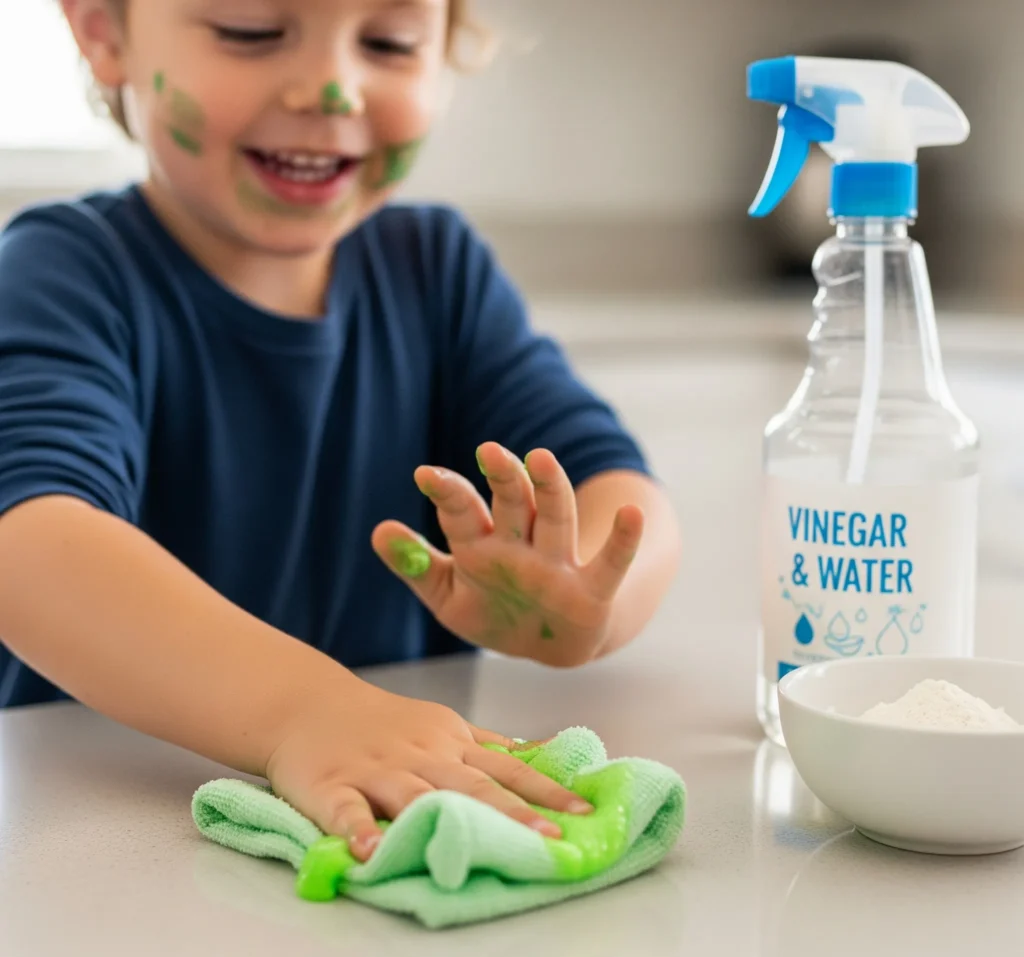
Let’s be honest, as much as we love slime, the thought of the cleanup can sometimes make us cringe. But here’s the good news: these mess-free slime recipes are generally way easier to clean up than their traditional, glue-laden counterparts.
- For Stuck Slime: Did a rogue piece of slime decide to bond with your kitchen counter or the living room rug? Don’t panic! For most of these glue-free slimes, a mixture of warm water and a bit of white vinegar or a sprinkle of baking soda can work wonders. Apply, let it sit for a minute, then gently scrub.
- Hands and Surfaces: For general cleanup on counters or hands, good old warm, soapy water is usually all you need. A quick wipe, and you’re good to go. The lack of sticky glue makes a world of difference here.
- The Big Bonus: Seriously, compared to dealing with traditional slime disasters (I’m looking at you, slime-in-the-hair incident of ’23), these glue-free versions are a breeze. Less stress for you, more fun for everyone! This is truly how to clean up slime with minimal effort.
Pro Tip: Have a designated “slime zone” for play. Lay down a cheap plastic tablecloth or an old sheet. It catches most of the mess, and you can just gather it up and shake it off outside when play is over. Easy peasy!
Final Thoughts: Safe Slime Fun Without the Glue
Well, there you have it! Three fantastic, fuss-free ways on how to make slime without glue that kids will absolutely adore. From the squishy, moldable goodness of dish soap slime to the lightning-fast fun of shampoo slime, and the wonderfully natural charm of flaxseed slime, you’ve now got a whole arsenal of easy slime recipes for kids at your fingertips.
So, ditch the sticky glue, say goodbye to borax worries, and embrace the joy of DIY slime no glue! I highly encourage you (or, let’s be real, your kids) to try all three versions and find your favorite. Maybe you’ll even invent your own variations! If you whip up a batch, don’t be shy – share your photos and pin your favorite Pinterest slime tutorial from this list. Happy sliming, fellow enthusiasts!
What glue-free slime concoction are you going to try first?
Printable Recipe Card
Want just the essential recipe details without scrolling through the article? Get our printable recipe card with just the ingredients and instructions.


