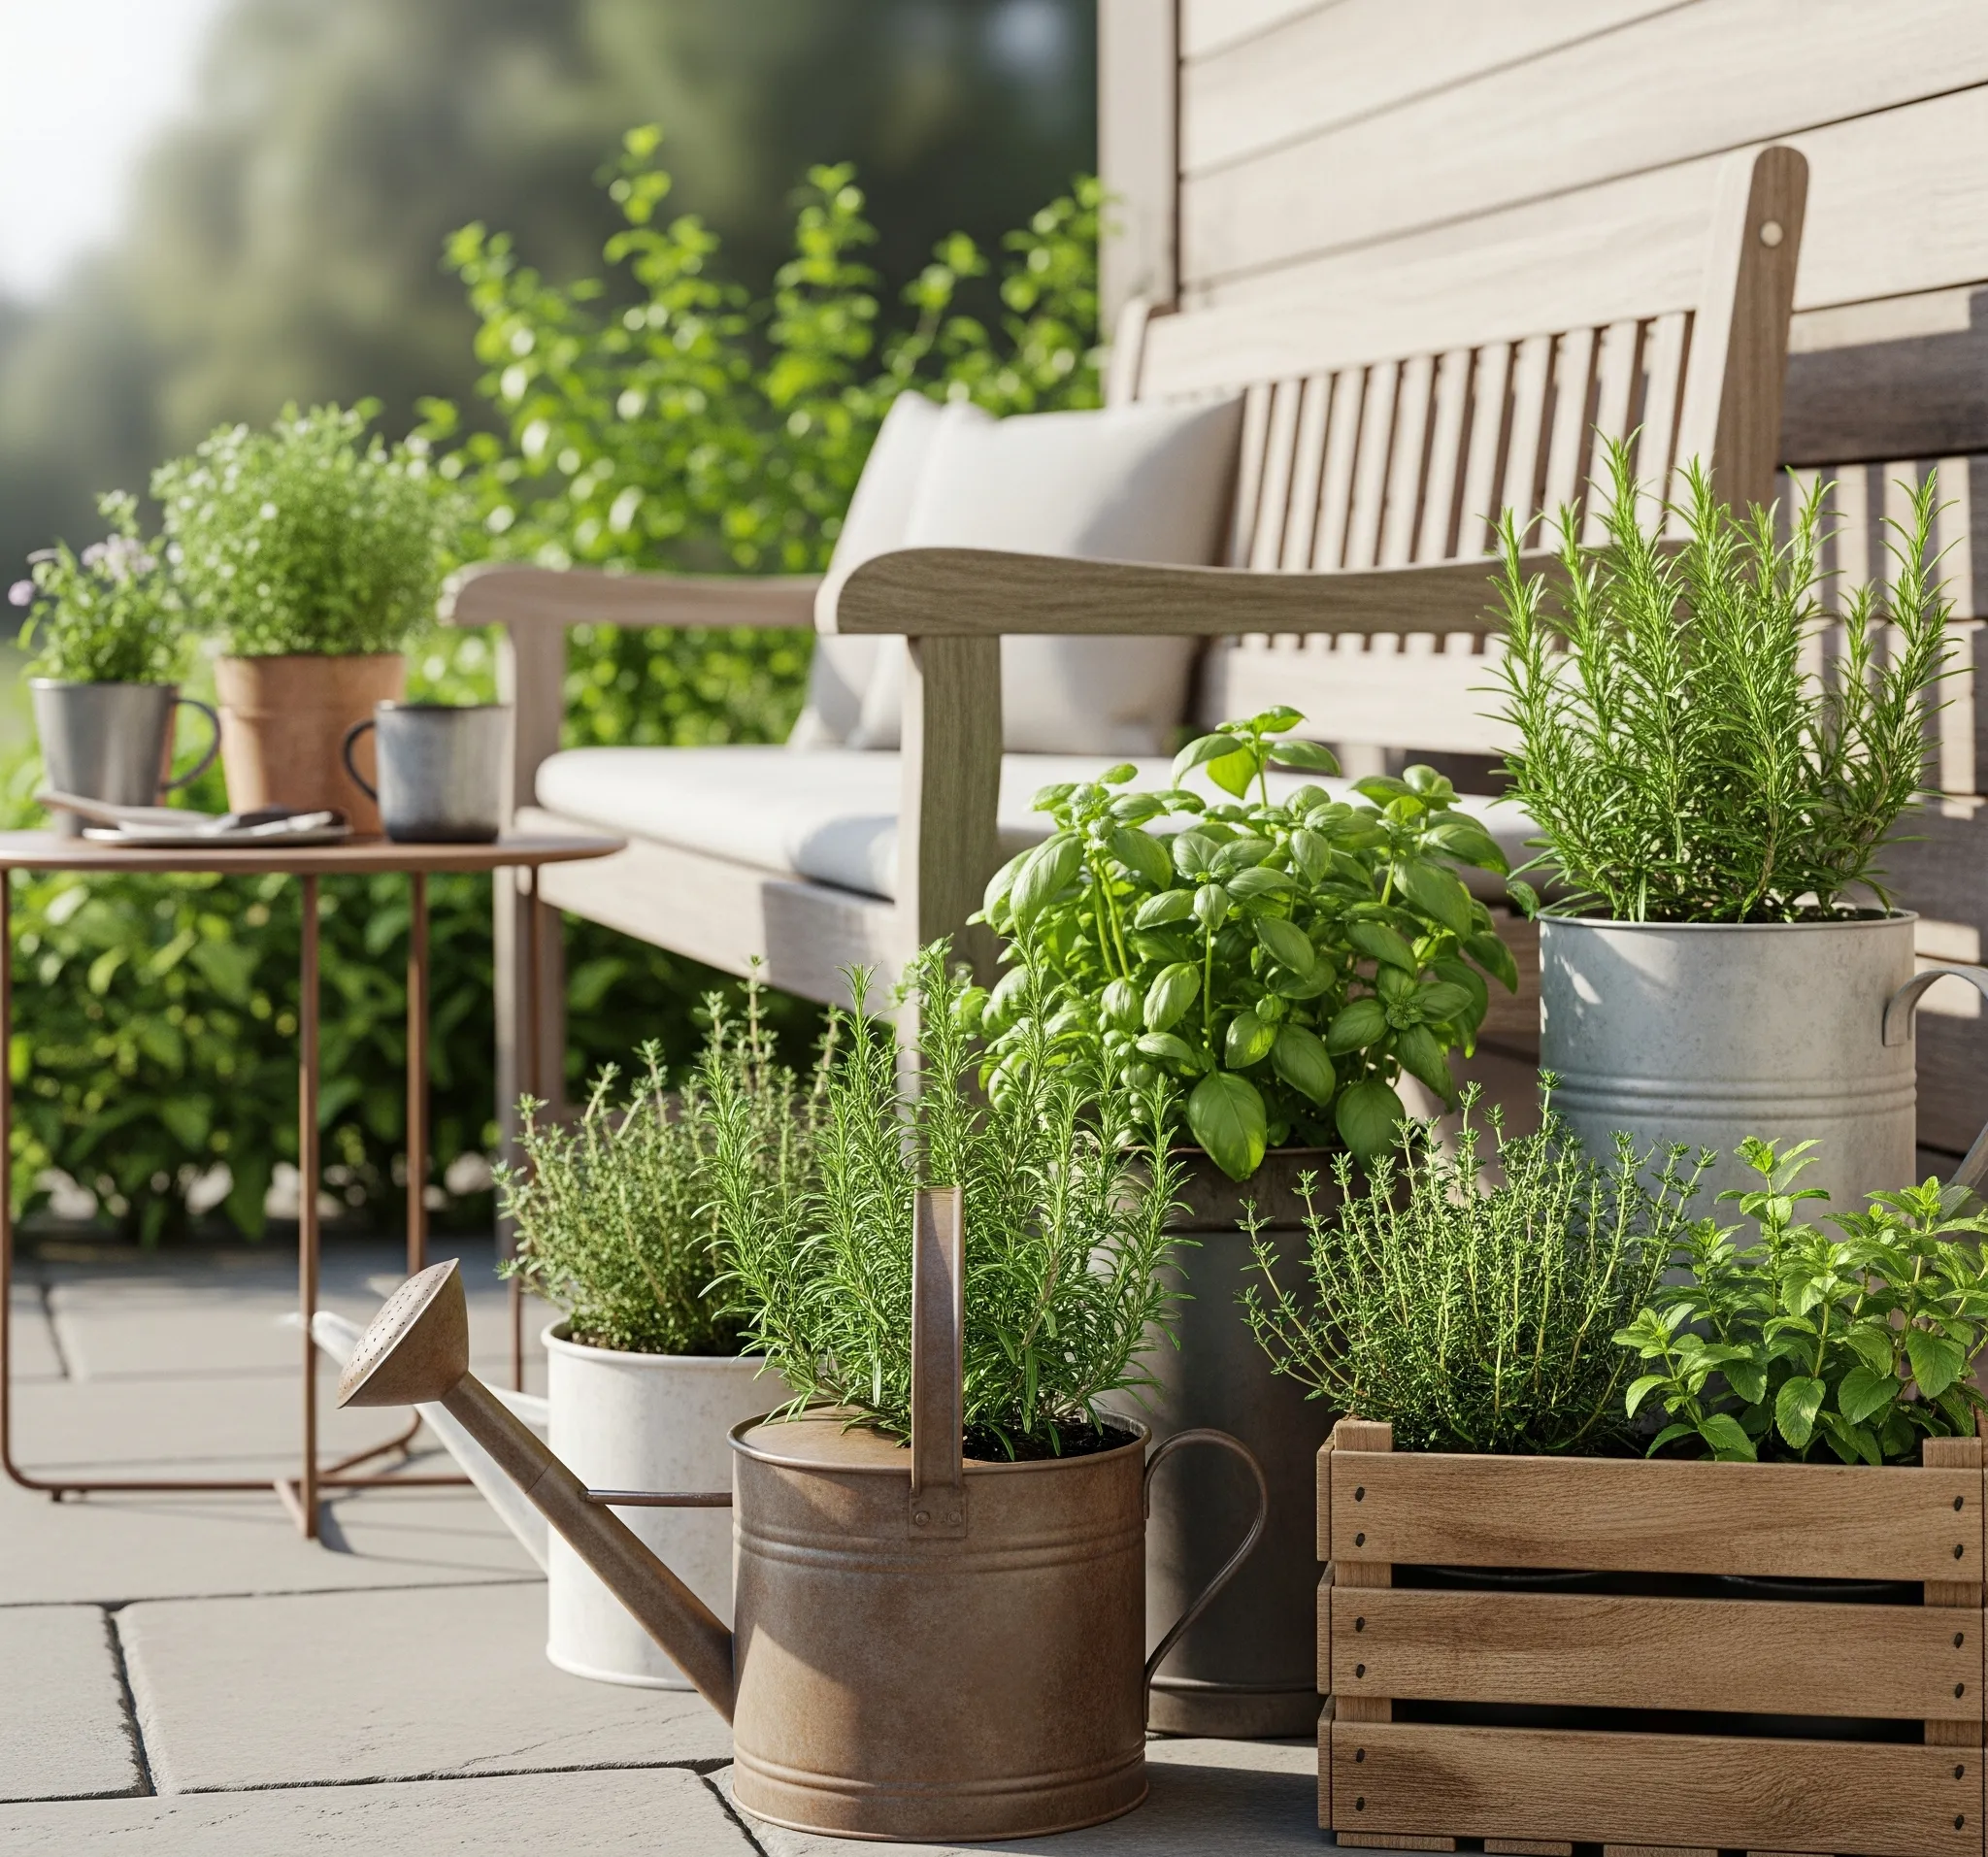
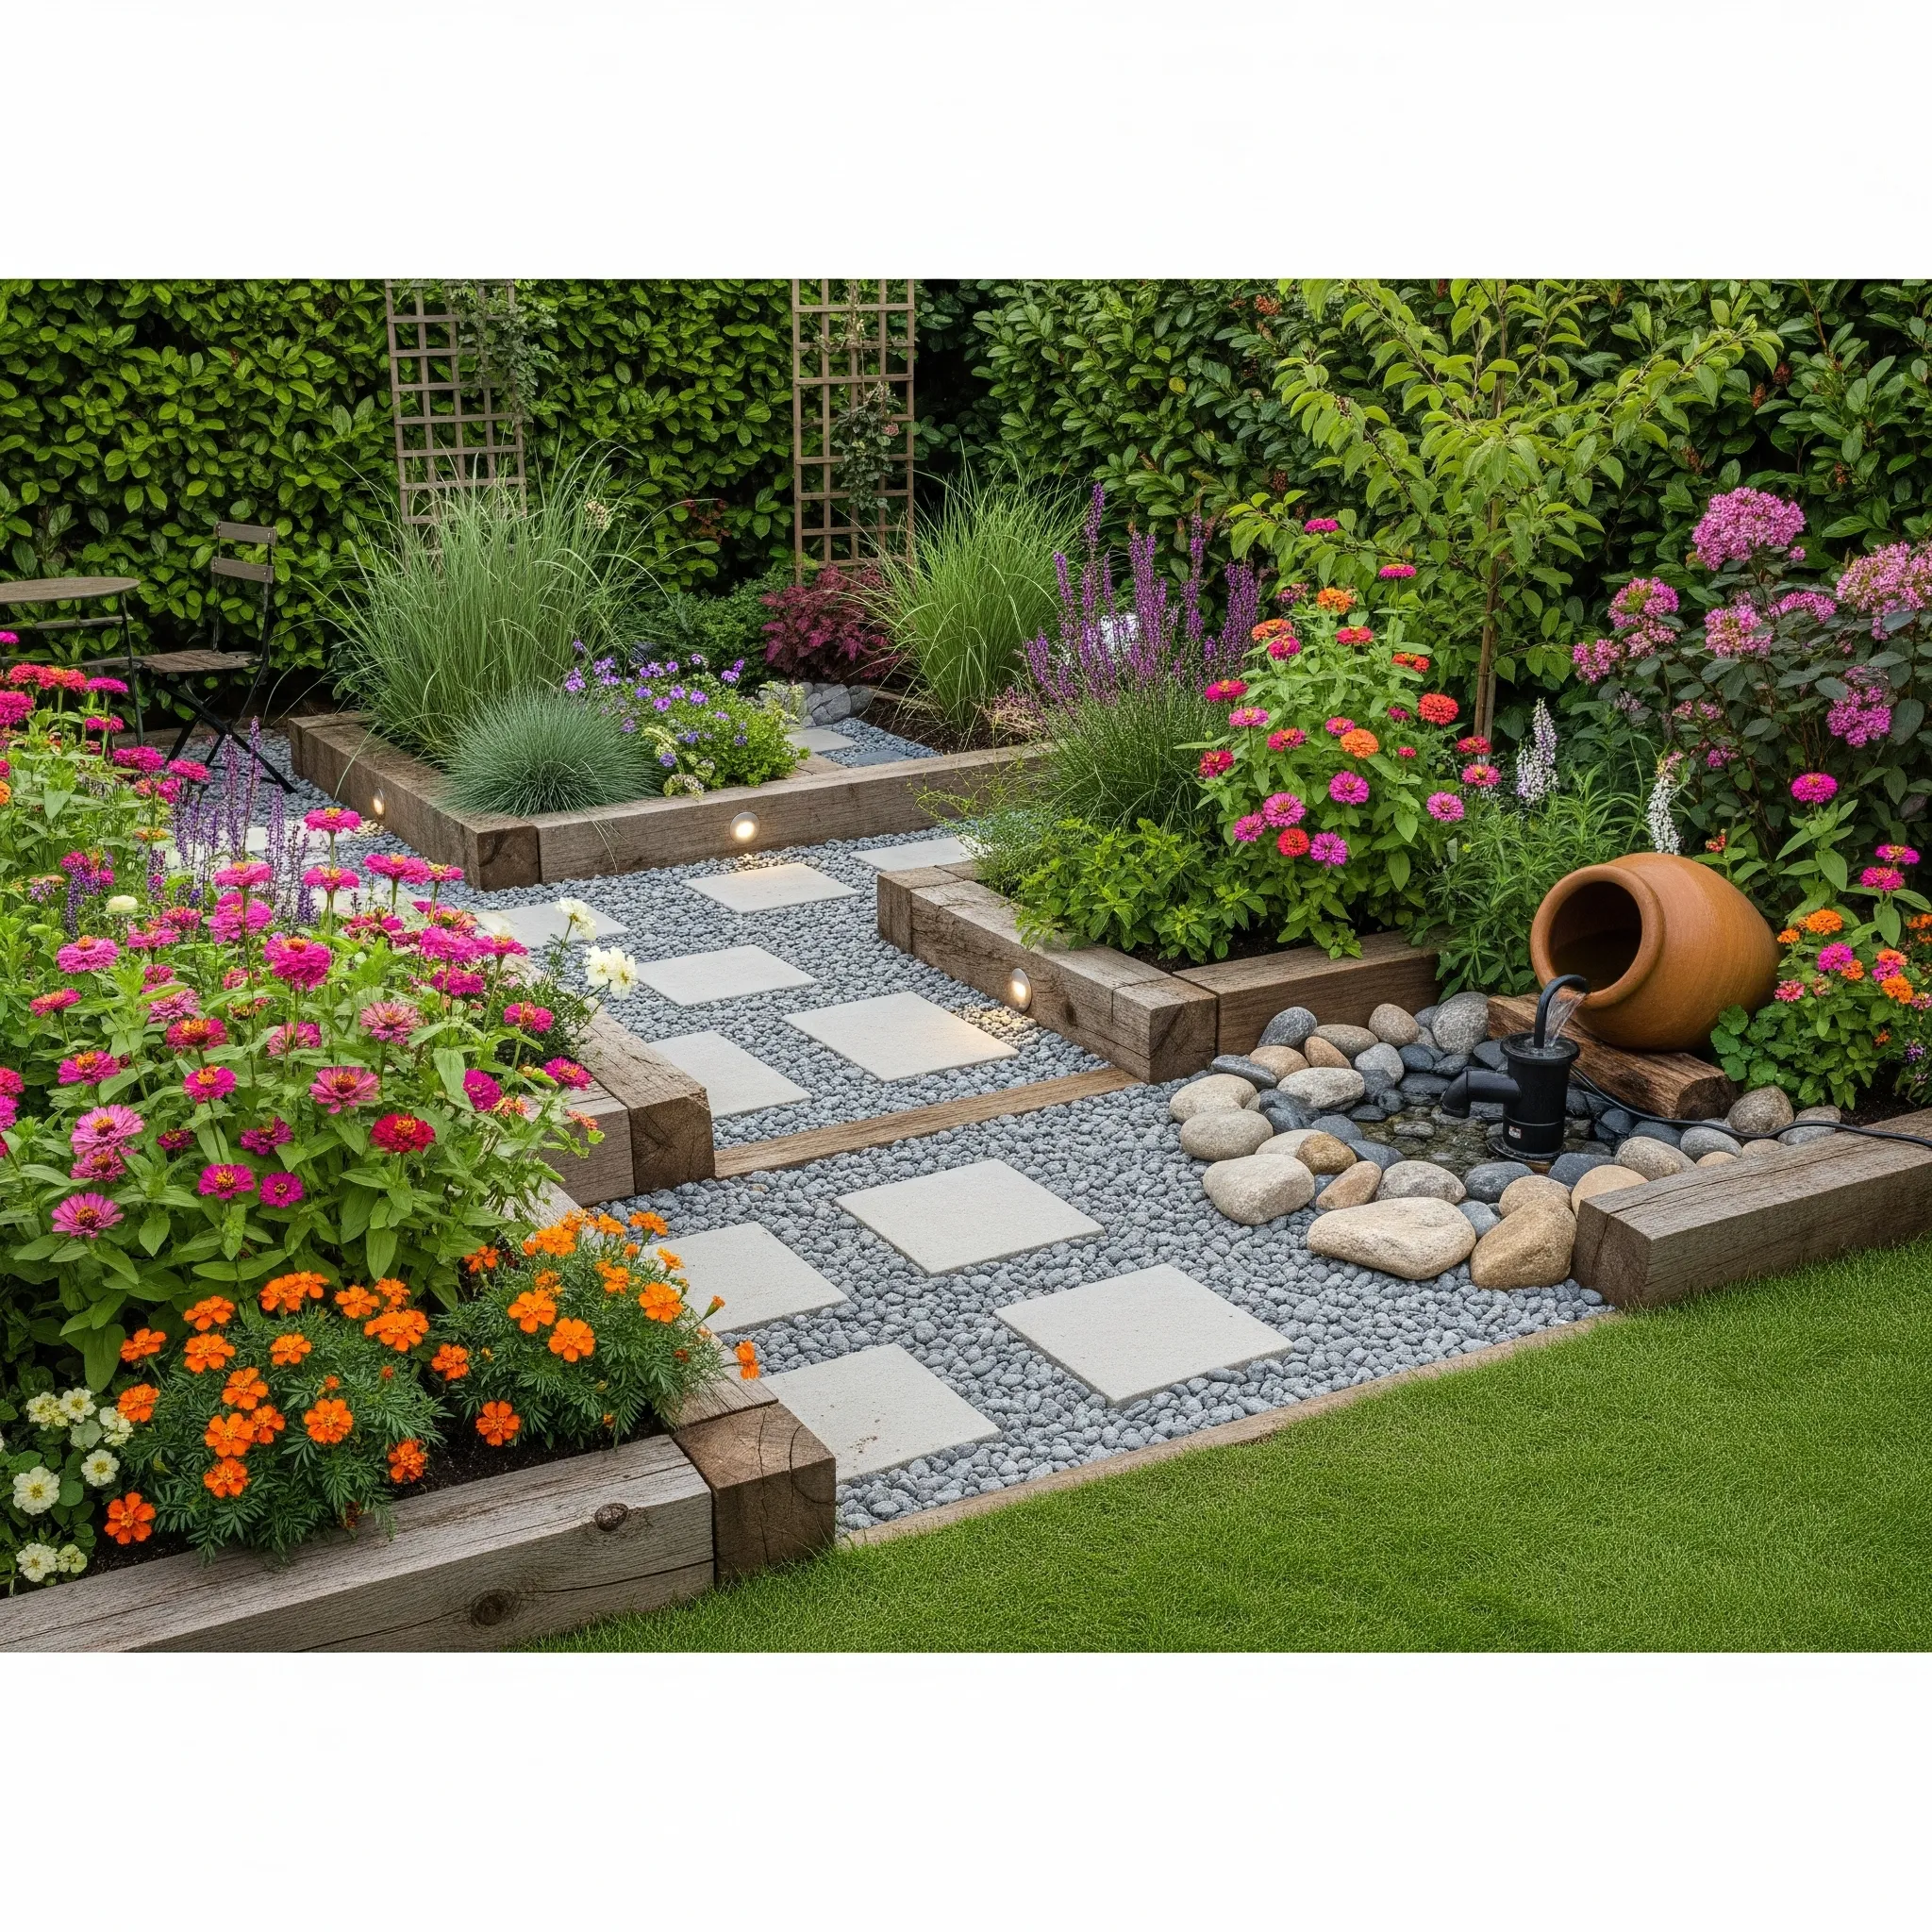
Ever dreamed of snipping fresh basil for your pasta, or plucking fragrant mint for a mojito, right from your own backyard (or windowsill)? Me too! For years, I was that person buying sad, limp herbs from the grocery store, only to have them wilt before I could use half of them. Then I decided enough was enough and embarked on my herb gardening journey. Let me tell you, it’s been a game-changer! From tiny apartment balconies to sprawling backyards, I’ve seen (and killed, let’s be honest, we all have a few casualties) enough herbs to become a self-proclaimed expert. Now, I practically live off my homegrown bounty, and I’m here to spill all my secrets so you can too.
Why Even Bother With an Herb Garden, Anyway?
You might be thinking, “Is it really worth the dirt under my fingernails?” And my answer, my friend, is a resounding YES. Beyond the obvious culinary perks, growing your own herbs offers a boatload of benefits that might just surprise you.
Flavor That’s Out of This World
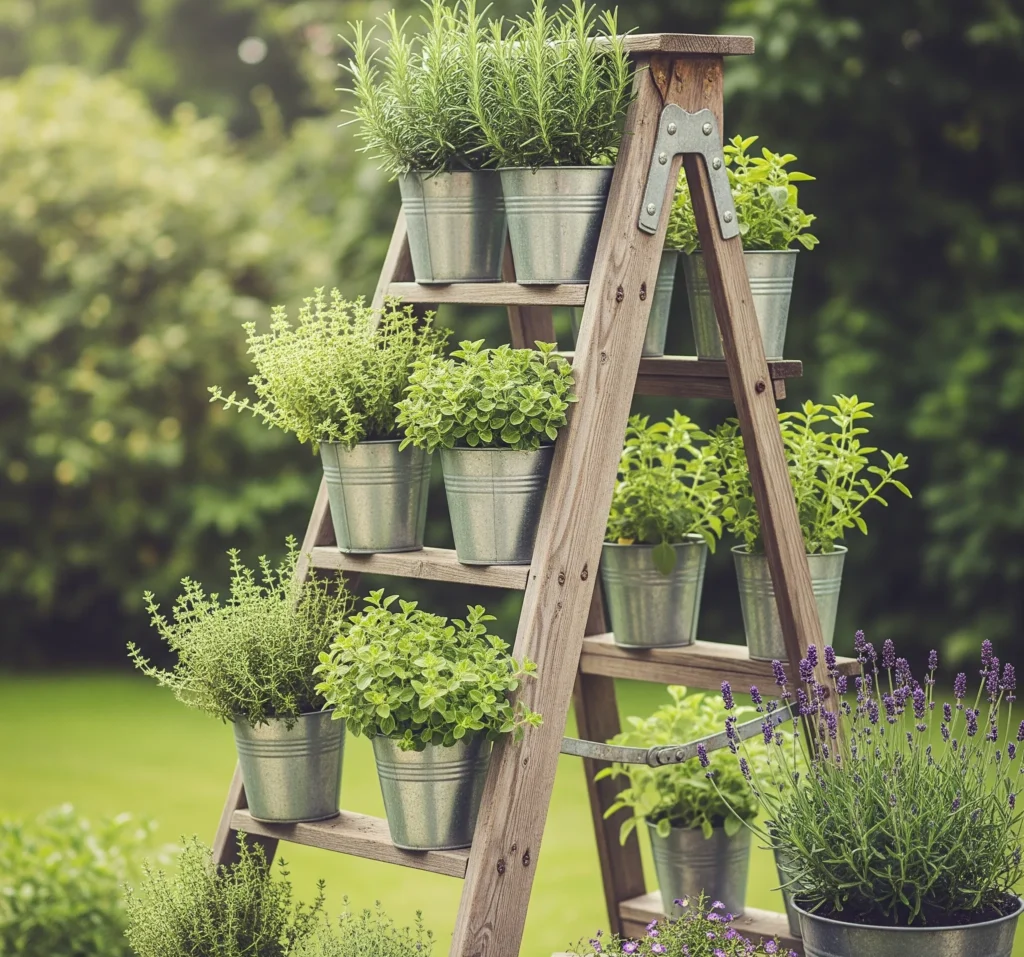
Seriously, nothing beats the taste of freshly picked herbs. That supermarket stuff? It’s often been on a truck for days, losing its potency.
- Intense Aromas: When you snip a sprig of rosemary straight from the plant, the aroma alone is enough to make your mouth water. It’s concentrated flavor, ready to elevate any dish.
- Peak Freshness: You’re getting herbs at their absolute prime. No sad, bruised leaves here. Just vibrant, flavorful goodness.
- Customization: You can experiment with different varieties you might never find in a store. Ever tried lemon basil or chocolate mint? You’re missing out, IMO!
Budget-Friendly Bliss
Those little plastic containers of herbs add up, don’t they? It’s borderline highway robbery for a few sprigs.
- Continuous Supply: One plant can give you harvests for weeks, months, or even years, depending on the herb. Compare that to a single-use plastic clamshell.
- Reduced Waste: You only pick what you need, when you need it. No more tossing half-used herbs because they went bad in the fridge.
- Long-Term Savings: The initial investment in a few plants or seeds quickly pays for itself. Plus, the satisfaction? Priceless.
Your Own Green Oasis (Therapy Included!)
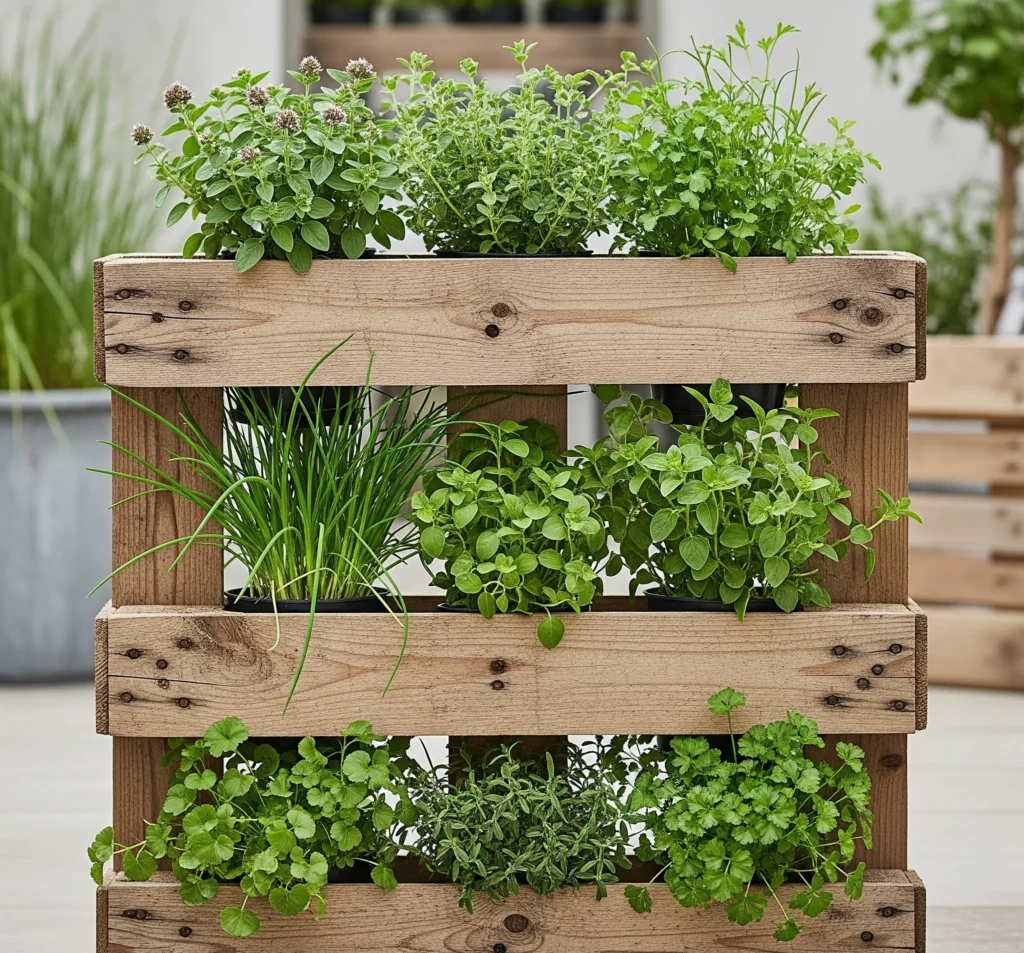
Gardening, even on a small scale, is incredibly therapeutic.
- Stress Buster: There’s something inherently calming about tending to plants. It’s a mindful activity that connects you with nature. It’s better than scrolling through social media, that’s for sure.
- Sense of Accomplishment: Watching your little seedlings grow into lush plants that you can actually eat? Pure joy, folks.
- Instant Curb Appeal: Even a few pots of herbs on a patio or windowsill can add a touch of charm and life to your space.
Pro Tip: If you’re new to gardening, start with just three or four of your absolute favorite herbs. Don’t overwhelm yourself. You can always expand later!
Designing Your Herb Haven: Big or Small, We’ve Got a Plan!
Whether you live in a sprawling suburban home or a cozy city apartment, there’s an herb garden design perfect for your space. It’s all about making the most of what you have.
Location, Location, Location: Sun is King!
Herbs, for the most part, are sun worshippers. They need at least 6 hours of direct sunlight per day to thrive.
- South-Facing Windows: If you’re gardening indoors, a south-facing window is your best bet. West-facing works too, but might get a little too intense in the afternoon.
- Patio or Balcony: These are prime spots for container gardens. They usually get ample sun and are easily accessible from your kitchen.
- Sunny Corner of the Yard: If you have outdoor space, scout out the spot that gets the most unobstructed sunlight throughout the day. Avoid areas shaded by large trees or buildings.
- Proximity to the Kitchen: This is super important for convenience. You want to be able to dash out and snip herbs mid-cooking without a major expedition. Trust me, if it’s too far, you just won’t use them as often.
Garden Styles: Pick Your Perfect Patch
From humble pots to elaborate beds, your herb garden can take many forms.
In-Ground Gardens: For the Earth Lovers
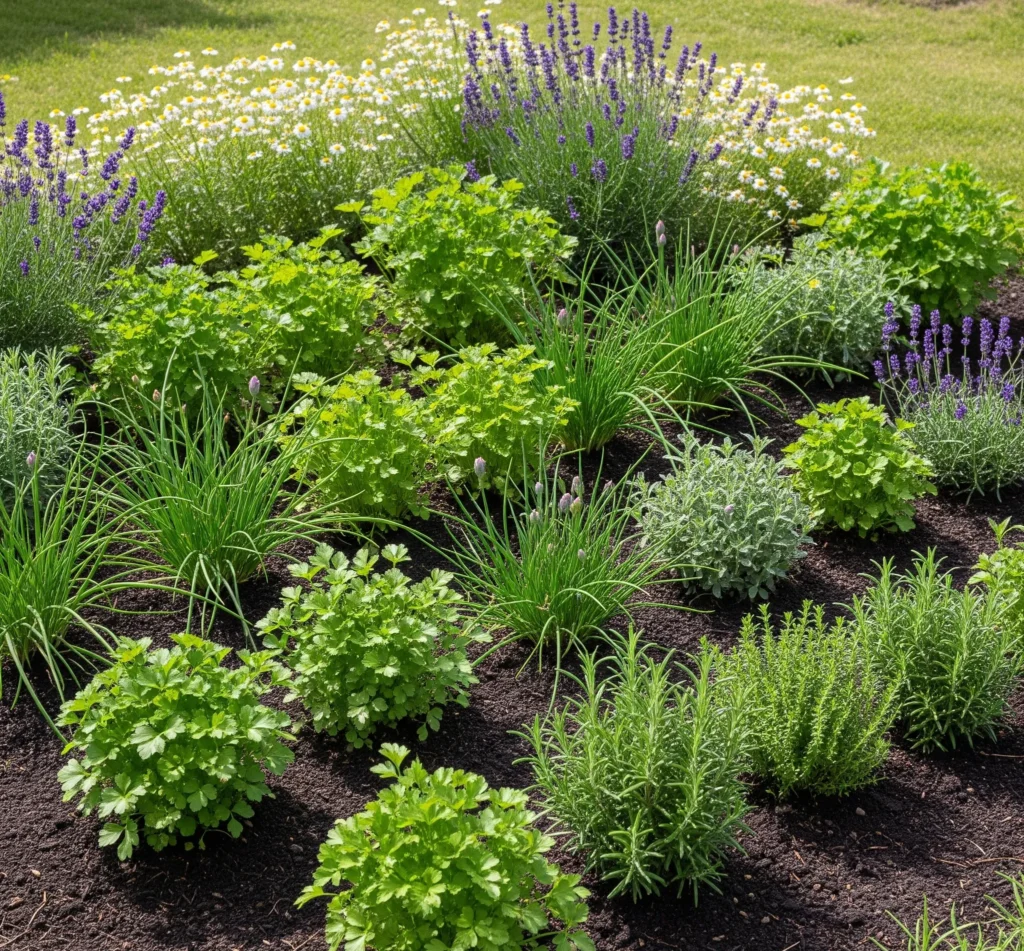
If you have yard space, planting directly in the ground can be incredibly rewarding.
- Dedicated Beds: Create a specific herb bed. This helps contain spreading herbs (looking at you, mint!) and allows you to amend the soil perfectly for your green friends.
- Integrated into Landscaping: You can also mix herbs in with your existing flower beds or vegetable patches. Just make sure they’re getting enough sun and won’t get overshadowed.
- Pathways: Consider placing herbs along pathways or near seating areas. The brushing of leaves releases their fragrance, adding another sensory layer to your garden.
Raised Beds: Elevated Elegance & Easy Access
Raised beds are my personal favorite for outdoor herb gardening.
- Better Drainage: They offer superior drainage, which most herbs absolutely love. No soggy roots here!
- Soil Control: You can fill them with custom soil mixes, ensuring your herbs get exactly what they need without worrying about native soil quality.
- Ergonomics: Less bending over! Your back will thank you, especially during planting and harvesting.
- Pest Deterrent: They can offer some protection from ground-dwelling pests (though not all, unfortunately, because some critters are just determined).
Container Gardens: The Ultimate in Flexibility
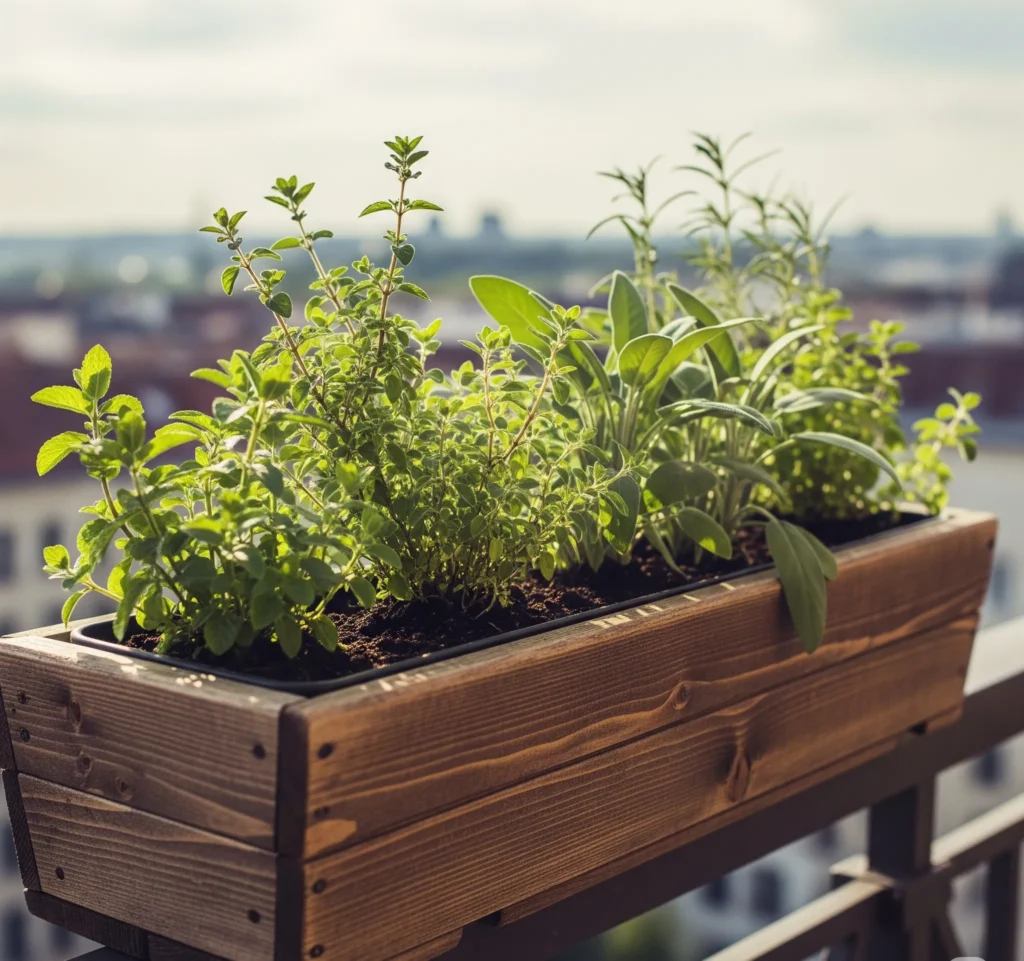
No yard? No problem! Containers are your best friend.
- Portability: You can move them around to chase the sun or bring them indoors when the weather turns frosty. This is huge if you live in an area with harsh winters.
- Space Savers: Perfect for balconies, patios, windowsills, or even just a sunny corner of your kitchen counter.
- Aesthetic Appeal: Use beautiful pots to add to your decor. Mix and match sizes, colors, and textures for a visually interesting display. Just make sure they have drainage holes, for goodness sake!
Vertical & Indoor Gardens: Reaching for the Sky
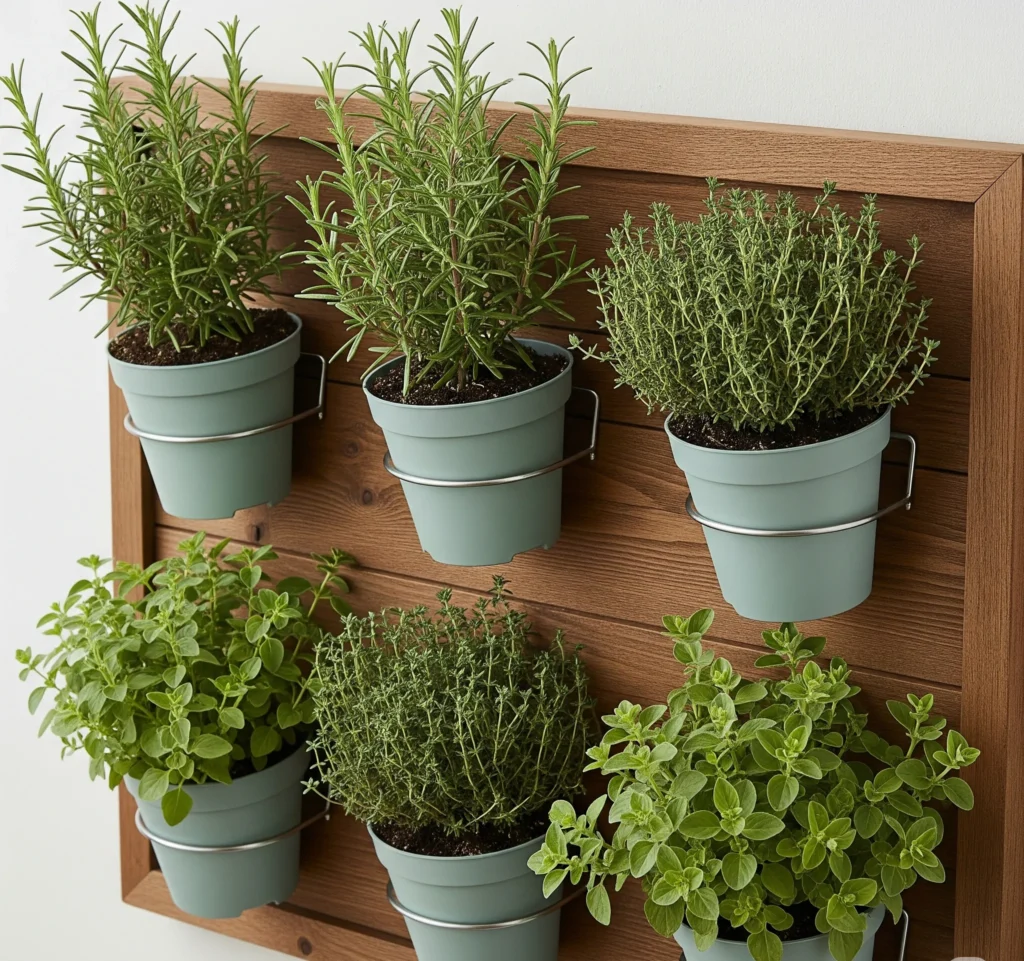
When space is at a premium, go vertical!
- Wall-Mounted Planters: These are fantastic for tight spaces. You can find systems with multiple pockets or individual pots that attach to a wall.
- Tiered Planters: These stack upwards, allowing you to grow multiple herbs in a small footprint.
- Hydroponic Systems: For the tech-savvy (or truly space-challenged), indoor hydroponic systems use water and nutrients, often with LED grow lights, allowing you to grow herbs year-round. It’s like a mini science experiment that yields delicious results.
- Window Boxes: A classic for a reason! They make use of exterior window space and bring your garden right to your kitchen.
Pro Tip: If you’re planting mint, ALWAYS put it in its own container, even if you’re planting it in a raised bed. That stuff spreads like wildfire and will take over your entire garden if you let it. Don’t say I didn’t warn you!
Choosing Your Crew: Herbs for Every Taste & Space
With so many amazing herbs out there, how do you pick? Start with what you love to eat, then consider their growing habits.
Popular Picks for Beginners & Beyond
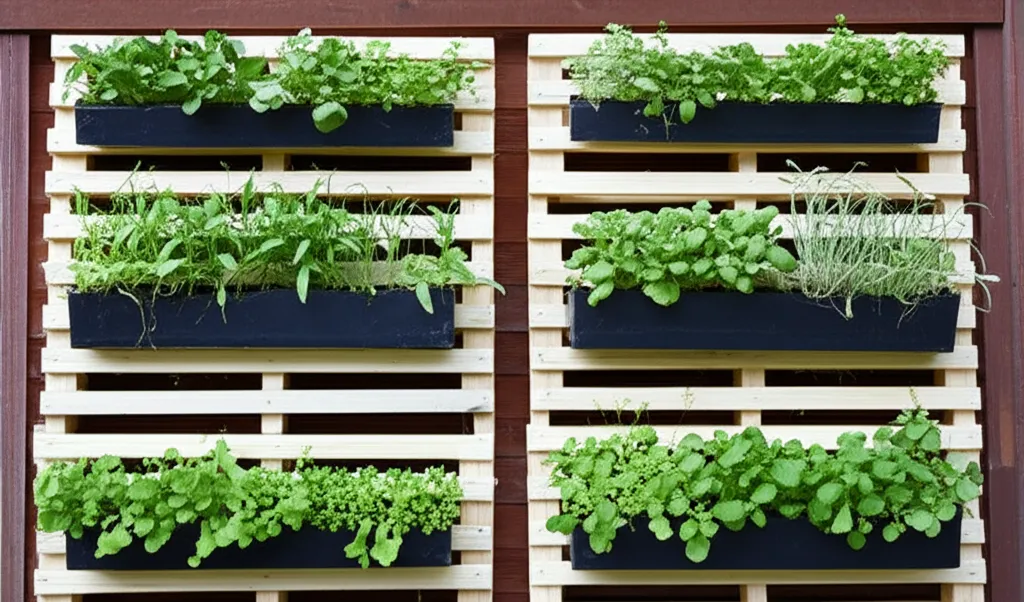
These are some of the easiest and most rewarding herbs to grow.
- Basil (The King of Summer):
- Loves: Lots of sun, consistent moisture, and warm temperatures. Hates cold.
- Uses: Pesto (obviously!), Caprese salad, pasta dishes, bruschetta.
- My Take: Basil is my absolute favorite. It grows quickly, and you can almost hear it saying, “Eat me!” But it’s a bit of a drama queen if it gets too cold or too dry.
- Mint (The Energetic One):
- Loves: Partial sun to full sun, moist soil. Spreads aggressively.
- Uses: Mojitos, tea, fruit salads, lamb dishes.
- My Take: See “Pro Tip” above. Seriously, contain this beast! But it’s so refreshing, you’ll forgive its territorial nature.
- Rosemary (The Robust Evergreen):
- Loves: Full sun, well-drained soil, tolerates some neglect.
- Uses: Roasted potatoes, chicken, focaccia, infused oils.
- My Take: Hardy and beautiful. It’s almost impossible to kill this one, which is perfect for us less-than-perfect gardeners. It even smells amazing just brushing past it.
- Thyme (The Tiny but Mighty):
- Loves: Full sun, well-drained soil, relatively drought-tolerant once established.
- Uses: Soups, stews, roasted vegetables, poultry.
- My Take: So unassuming, but delivers big flavor. Plus, it often grows in lovely sprawling mats.
- Parsley (The Versatile Star):
- Loves: Full sun to partial shade, consistent moisture.
- Uses: Garnish, tabbouleh, sauces, salads, almost everything!
- My Take: Flat-leaf (Italian) parsley is my go-to. It has more flavor than curly parsley, IMO. Grows like crazy!
- Cilantro (The Love-It-or-Hate-It Guy):
- Loves: Full sun (but prefers cooler temps to prevent bolting), consistent moisture. Tends to “bolt” (go to seed) in hot weather.
- Uses: Tacos, salsa, curries, guacamole.
- My Take: This one can be finicky. It bolts fast in summer, so plant in succession (plant a new batch every few weeks). Or, grow it in partial shade if you’re in a hot climate.
Know Their Needs: Sun, Water, & Soil
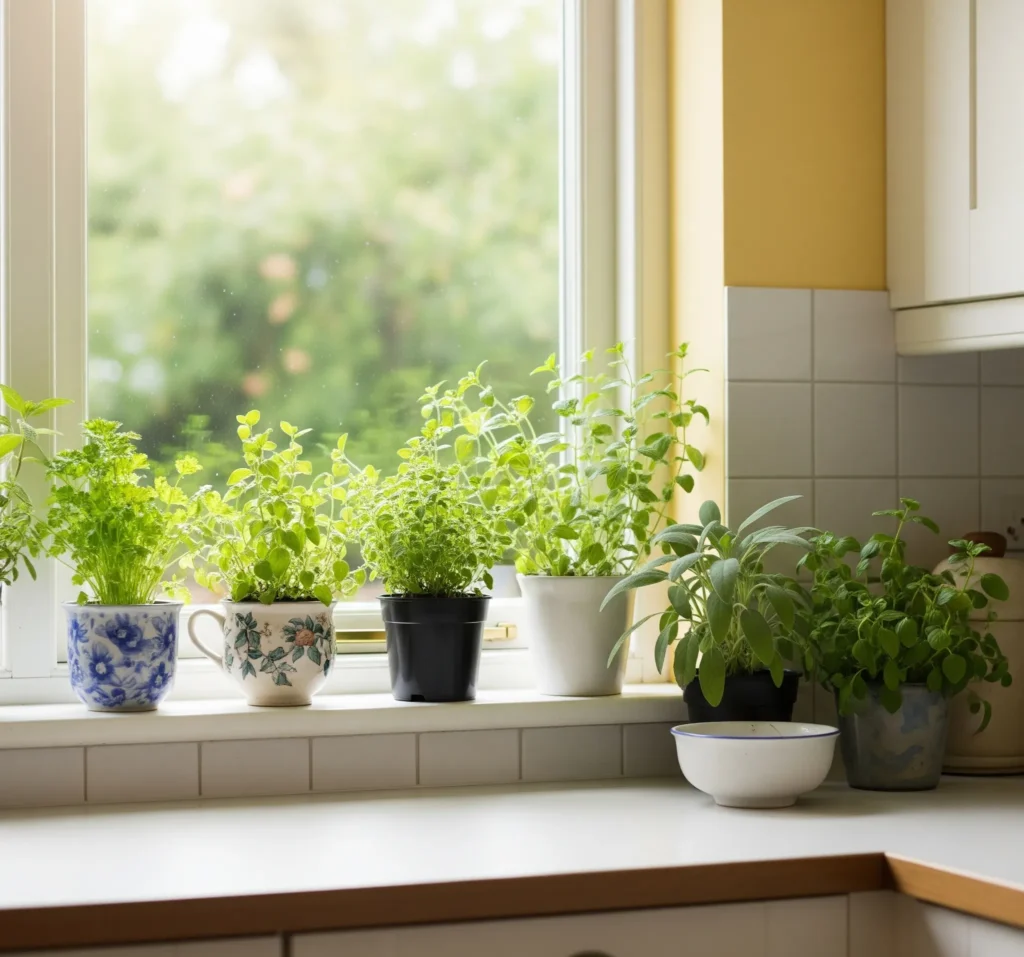
Different herbs have different personalities. Group them accordingly!
- Sun-Lovers: Basil, rosemary, thyme, oregano, sage, lavender. These guys want all the sun they can get.
- Partial Sun/Shade Tolerant: Mint, parsley, cilantro, chives, dill. They appreciate a break from intense afternoon sun, especially in hot climates.
- Water Wisely:
- Drought-Tolerant: Rosemary, thyme, oregano, sage, lavender prefer well-drained soil and don’t like wet feet. Water sparingly once established.
- Water-Lovers: Basil, mint, parsley, cilantro, dill need more consistent moisture.
- Soil Story: Most herbs prefer well-drained soil that isn’t too rich. A good quality potting mix for containers or amending garden soil with compost and perlite works wonders. They’re not super demanding, thankfully.
Pro Tip: When buying seedlings, gently check the roots. You want to see healthy, white roots, not a tangled, brown mess that’s circling the pot. That’s a sign of a root-bound plant that will struggle to establish.
Planting & Caring: Nurturing Your Green Babies
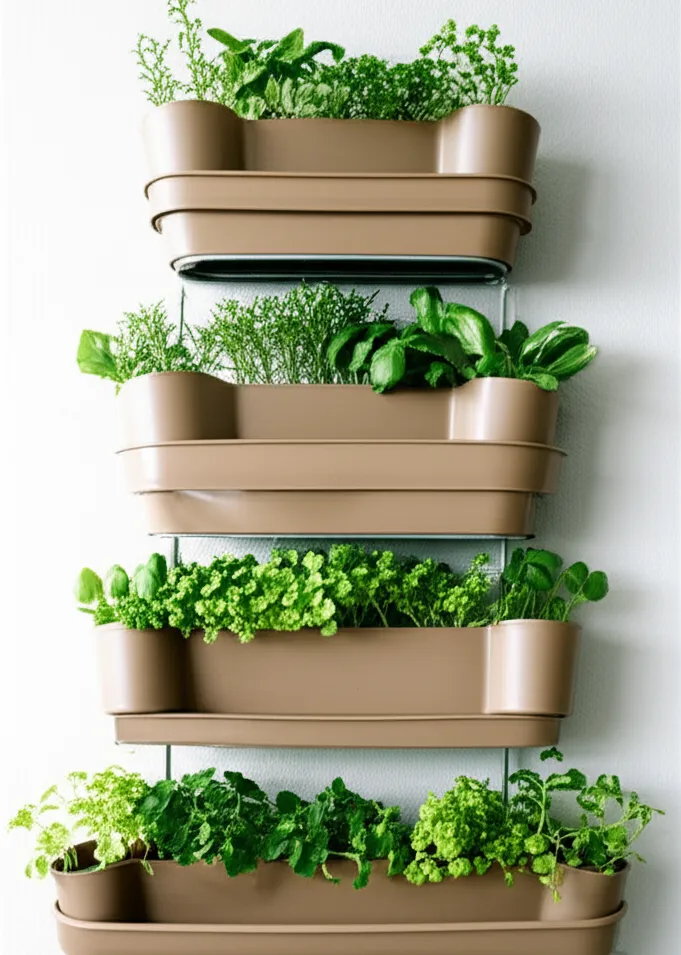
Once you’ve designed your space and picked your herbs, it’s time to get your hands dirty!
Seed or Seedling? Your Call!
Both methods work, it just depends on your patience and preference.
- Starting from Seed:
- Pros: Cheaper, wider variety of options, incredibly satisfying to watch them sprout.
- Cons: Takes longer, requires more attention to light and moisture in the early stages.
- My Advice: Great for herbs like basil, parsley, cilantro, and dill.
- Buying Seedlings (Young Plants):
- Pros: Instant gratification, already established, quicker harvest.
- Cons: More expensive, limited variety at nurseries.
- My Advice: Excellent for herbs like rosemary, thyme, oregano, and mint if you want to get a head start.
Soil: The Foundation of Flavor
Good soil is everything. Don’t skimp here.
- For Containers: Use a high-quality potting mix that drains well. Never use garden soil in pots – it compacts too much.
- For In-Ground/Raised Beds: Amend your native soil with compost to improve drainage and add nutrients. Herbs don’t need super rich soil, so don’t overdo the fertilizer. A balanced, organic compost is usually plenty.
Watering: The Goldilocks Zone
Not too much, not too little, but just right!
- Check the Soil: The best way to know when to water is to stick your finger about an inch or two into the soil. If it feels dry, it’s time to water. If it’s still damp, wait.
- Water Deeply: When you do water, water thoroughly until it drains out the bottom of the pot (for containers) or soaks deeply into the bed.
- Morning is Best: Water in the morning to allow the leaves to dry before nightfall, which helps prevent fungal diseases.
- Avoid Overhead Watering: Try to water the soil directly, not the leaves, especially for herbs like basil, which can be prone to mildew.
Feeding: A Little Something Extra (Sometimes)
Herbs generally don’t need a lot of fertilizer. Too much can make them grow leggy and reduce their flavor.
- Compost Tea: A diluted compost tea once a month can give them a gentle boost.
- Balanced Liquid Fertilizer: If your herbs seem to be struggling, a half-strength dose of a balanced liquid organic fertilizer every few weeks can help.
- Less is More: When in doubt, err on the side of less fertilizer. They prefer lean conditions for concentrated flavor.
Pruning & Harvesting: Keep Them Coming!
This is where you get to enjoy the fruits (or leaves!) of your labor. Plus, harvesting actually encourages more growth.
- Pinch Regularly: For bushy growth, especially with basil, pinch off the top sets of leaves. This makes the plant branch out instead of growing tall and spindly.
- Harvest from the Top: For most herbs, harvest from the top leaves down. This encourages the plant to produce more foliage.
- Don’t Take Too Much: Never remove more than about one-third of the plant at once. It needs enough foliage to photosynthesize and recover.
- Prevent Bolting: For herbs like basil and cilantro, snip off any flower buds you see forming. This prevents the plant from “bolting” (going to seed), which makes the leaves taste bitter.
Pro Tip: Use sharp, clean scissors or snips for harvesting. Tearing or dull tools can damage the plant and make it more susceptible to disease.
Troubleshooting: When Things Go Sideways (They Will, FYI)
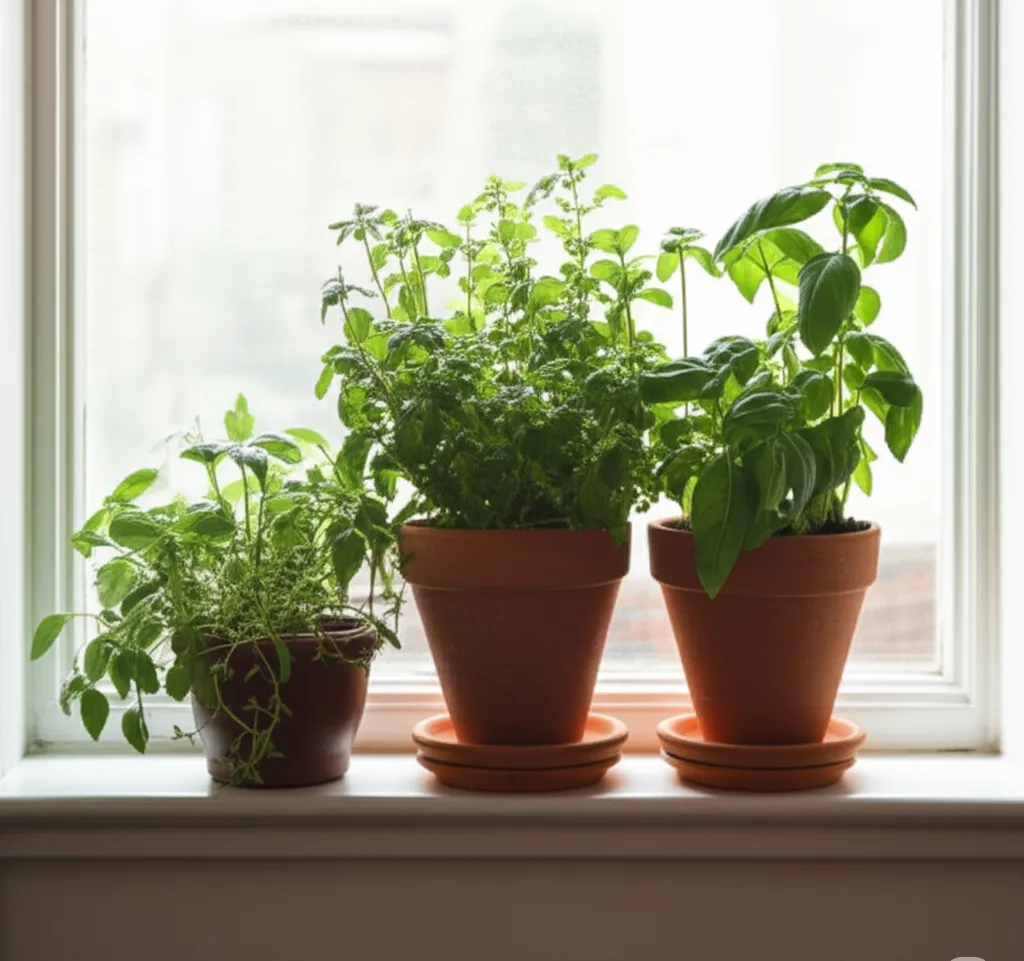
Even the greenest thumbs face challenges. Don’t get discouraged!
Pests: Uninvited Dinner Guests
It’s annoying, but common.
- Aphids: Tiny green or black bugs on new growth. Blast them off with a strong stream of water or use insecticidal soap.
- Spider Mites: Look for fine webbing and tiny specks on the undersides of leaves. Increase humidity and use insecticidal soap.
- Cabbage Worms: Chewed leaves, especially on parsley and dill. Pick them off by hand (gross, but effective!) or use a a product like Bacillus thuringiensis (Bt).
- My Take: I’ve learned to accept that some pests are just part of the deal. Regular inspection and early intervention are key. A little bit of neem oil diluted in water can also be a good preventative.
Diseases: The Unseen Enemy
Often caused by too much moisture or poor air circulation.
- Powdery Mildew: White, powdery spots on leaves. Ensure good air circulation, avoid overhead watering, and remove affected leaves.
- Leaf Spot: Dark spots on leaves. Similar solutions to powdery mildew.
- Root Rot: Yellowing, wilting plants despite watering. Caused by overwatering or poor drainage. Repot with fresh, well-draining soil.
Wilting & Yellowing: What’s the Diagnosis?
These are common signs that something is off.
- Wilting: Could be underwatering (soil bone dry) or overwatering (soil soggy). Check the soil moisture!
- Yellowing Leaves: Often a sign of overwatering, nutrient deficiency, or too little sun. Again, check soil moisture first, then consider light and feeding.
- Leggy Growth: Plants stretching for light. Move them to a sunnier spot or provide supplemental lighting.
Pro Tip: Keep a small spray bottle with diluted insecticidal soap (or even just water with a tiny bit of dish soap) handy for spot treatments. It’s like a mini pest SWAT team.
Enjoying Your Delicious Harvest: The Best Part!
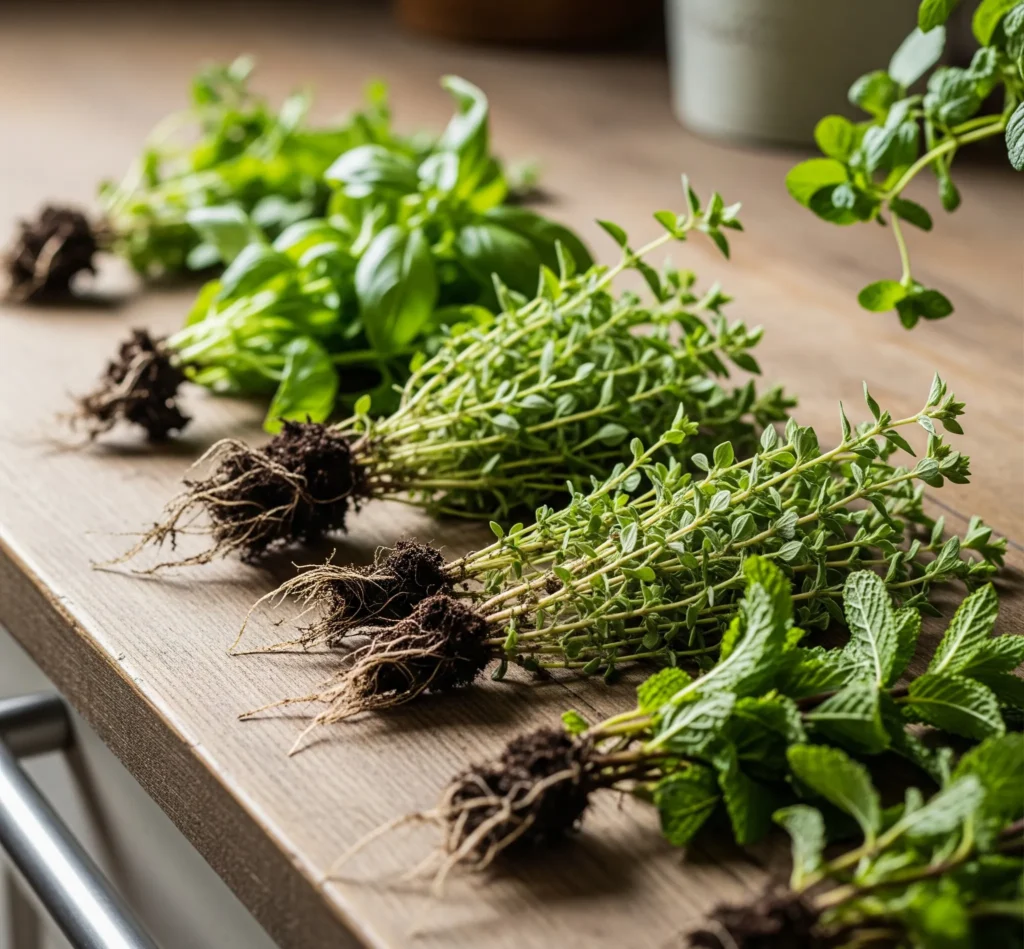
You’ve grown them, nurtured them, and now it’s time to enjoy them!
Culinary Delights: From Garden to Plate
This is why we do it, right?
- Fresh is Best: Use them straight from the plant whenever possible. The flavor is unmatched.
- Infused Oils & Vinegars: Steep herbs like rosemary, thyme, or basil in olive oil or vinegar for delicious homemade infusions.
- Herb Butters: Chop fresh herbs and mix them into softened butter for a fantastic spread on bread or for cooking.
- Teas & Beverages: Mint, lemon balm, and chamomile are perfect for fresh herbal teas. Use mint in your favorite cocktails (Mojitos, anyone?).
Preserving Your Bounty: Make It Last
When you have an abundance, don’t let it go to waste!
- Drying:
- Air Drying: Tie small bunches and hang them upside down in a cool, dry, well-ventilated spot. Good for rosemary, thyme, oregano, sage, and mint.
- Dehydrator/Oven: Use a dehydrator or a very low oven setting for quicker drying.
- Freezing:
- Ice Cube Trays: Chop herbs, place them in ice cube trays, cover with water or olive oil, and freeze. Pop out cubes as needed for cooking. This works great for basil, parsley, cilantro, and chives.
- Freezer Bags: Lay flat on a baking sheet to freeze, then transfer to freezer bags. This prevents them from clumping.
Pro Tip: When storing dried herbs, keep them in airtight containers away from direct sunlight. This preserves their flavor and potency for longer.
Final Thoughts: Get Growing!
Building your own herb garden, whether it’s a bustling outdoor bed or a few cheerful pots on your kitchen windowsill, is one of the most rewarding gardening adventures you can undertake. It’s not just about having fresh ingredients; it’s about connecting with your food, reducing waste, and adding a little burst of nature to your daily life. Sure, you might have a few plant mishaps (RIP to my first cilantro plant, you bolted too soon), but every mistake is a lesson learned. So grab some pots, a bag of soil, and your favorite herb seeds or seedlings. Your taste buds—and your soul—will thank you. What are you waiting for?
